

- by John White
UV Printing on Acrylic: Distortion, White Ink and Light Transmission
- by John White
Print bigger, print faster — wide-format UV flatbed printers for signs, decor and industrial work.

Acrylic is the substrate where the artwork decision and the production decision are the same decision. Whether a sign is viewed from the printed face or through the sheet determines the order of the colour and white layers, and that order has to be settled before the file is released rather than adjusted at the printer.
This guide covers what actually changes the result on acrylic: the sheet type and its coating, the viewing direction, the white ink strategy, film removal and cleaning, positioning for repeat work, and the tests that tell you whether a finished part will survive handling and cleaning. It closes with the configuration question, since acrylic work spans from compact plaques to full display panels.
Cast, extruded and coated sheets behave differently.
Cast, extruded, coated, mirrored, recycled and specialty sheets can require different preparation and settings, so the material should be printed and adhesion-tested rather than assumed.
The practical difference shows up in two places. Surface energy affects how the ink wets and how the cured layer adheres, and that varies with formulation and with any factory coating or protective film residue. Optical behaviour affects how the print reads, because a highly transparent cast sheet and a slightly hazy extruded sheet transmit light differently behind the same white layer.
Record four properties before approving a job: sheet type, thickness, finish, and the intended viewing side. That record is what makes a repeat order reproducible, and it is also the information a supplier needs to recommend a configuration and arrange a representative test rather than a generic one. The published material route for this substrate lists cast, extruded, clear, coloured, frosted, mirrored, coated and recycled acrylic as inputs that change the recommendation.
It determines the order of colour and white.
A panel viewed from the printed face and a panel viewed through the sheet require opposite layer sequences, and reverse viewing also requires the artwork to be mirrored.
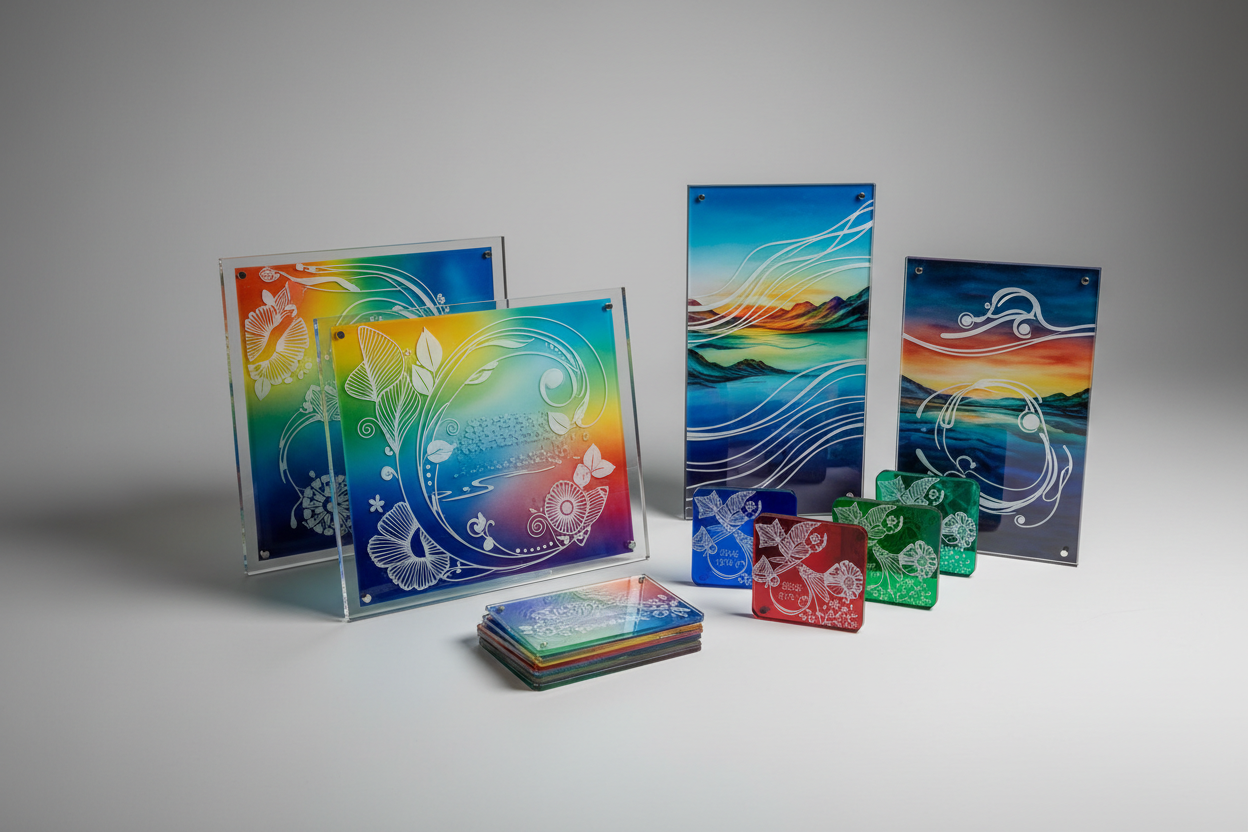
Three configurations cover most acrylic work. Front-viewed, where colour is printed on the face and read directly. Reverse-viewed, where the print sits behind the sheet so that the acrylic itself protects the graphics, which requires a mirrored file and a colour-then-white sequence. And second-surface work on a coloured or opaque sheet, where white functions as a backing layer rather than as an underbase.
Deciding this early prevents the most expensive acrylic error, which is producing a beautiful panel that reads backwards because the layer order was set for the wrong face. It also affects how the part is handled afterwards, since a reverse-printed panel has its graphics protected by the sheet and a front-printed panel does not.
Only when opacity is part of the design.
Colour without white creates transparent or stained-glass effects, a selective white controls opacity in chosen areas, and a full white layer makes the graphic independent of whatever is behind it.
The choice is a design decision with a cost attached. White adds ink, passes and registration requirements, and on a fine-detail graphic it also adds the risk of misregistration between the white and the colour. The published guidance for this material is to compare opacity, colour, registration, texture and surface feel on the real acrylic before approving the file, because a white density that looks correct on a solid colour patch can look wrong behind a photograph or a fine line.
Selective white deserves particular attention because it is where acrylic printing earns its margin. It is the technique behind highlight effects, partial transparency and the layered look that distinguishes a printed panel from a vinyl graphic, and it is the reason a job may be quoted with a higher white coverage than the artwork suggests.
Remove film at the right stage, then clean without residue.
The published workflow places film removal and cleaning as a defined step of its own, because residue left on the sheet changes how ink wets and how white covers.
Protective film protects the sheet in transit and becomes a contamination risk in the workshop if adhesive residue is left behind. It should be removed at a defined point in the workflow, using an approved method, followed by cleaning that leaves no cleaner residue on the printable face. Handling is part of the same step: fingerprints and edge contaminants behave exactly like adhesive residue when ink lands on them.
Acrylic also carries a static charge that attracts dust after cleaning, which is why an anti-static step or a controlled environment matters more here than on a board substrate. On a large transparent panel, a single speck of dust under a white layer is visible from the viewing side and cannot be corrected after curing.
Sometimes, and the test decides rather than the supplier.
Some acrylics print well after consistent cleaning while others need a compatible primer or pretreatment, so the decision should follow an adhesion test on the production sheet.
The reason pretreatment varies is that what is sold as acrylic describes a polymer family rather than one surface. A cast sheet, an extruded sheet, a recycled sheet and a coated sheet can all be chemically different at the surface even when they look identical and are sold under the same thickness and colour code. A preparation method that works on one is not evidence for another.
Where a primer or pretreatment is adopted, it becomes part of the process and has to be documented with its application amount, method and drying interval, exactly as a sealer would be on wood. The published guidance is to evaluate a compatible primer only when adhesion is insufficient, and to record the result rather than to prescribe a treatment for every acrylic.
Use the bed, registration points or a fixture.
The published workflow specifies positioning as a defined step using vacuum hold-down, registration points or a suitable fixture, which is what makes a batch of plaques identical.
Positioning matters disproportionately on acrylic because the material is usually cut to a finished size before printing, and the print has to sit within a visible margin. On a run of nameplates or awards, a 1 mm variation in placement is the difference between a set and a mixed batch. Where the parts are small and numerous, a fixture or a positioning system does that work; where the parts are large and few, vacuum hold-down plus registration marks is usually enough.
Machine capability supports this step in specific ways. The compact flatbed in this range is published with a positioning tolerance of 0.01 mm using dual Y-axis motors, and with an optional wide-beam scanning camera for locating parts rather than aligning them by hand. For acrylic work consisting of many small personalised parts, that combination reduces the labour that would otherwise be spent on placement.
Adhesion, abrasion and the real cleaning routine.
A sample from the actual production acrylic should pass the required adhesion and use-condition tests before a full run, because acrylic parts are handled and cleaned more than flat signage.
Adhesion is measured with the tape method under ASTM D3359 (ASTM D3359), and resistance to handling, stacking and cleaning with abrasion testing under ASTM D4060 (ASTM D4060). Where a part will be exposed to moisture or used near entrances and washrooms, humid-condition resistance under ASTM D2247 is a more relevant test than weathering (ASTM D2247).
Two further checks belong in the approval. The first is colour consistency across the batch, which depends on the profiles maintained for that acrylic rather than on the printer alone (International Color Consortium). The second is the finish: whether the panel is trimmed, flame-polished or edge-bonded after printing, because any of those steps can damage a cured ink layer if it is performed without masking.
Match the platform to the part and the CCD option to volume.
Compact flatbeds cover plaques, nameplates and small display parts, while large panels move to the 2.1 × 3.0 m and 3.2 × 2.0 m platforms.
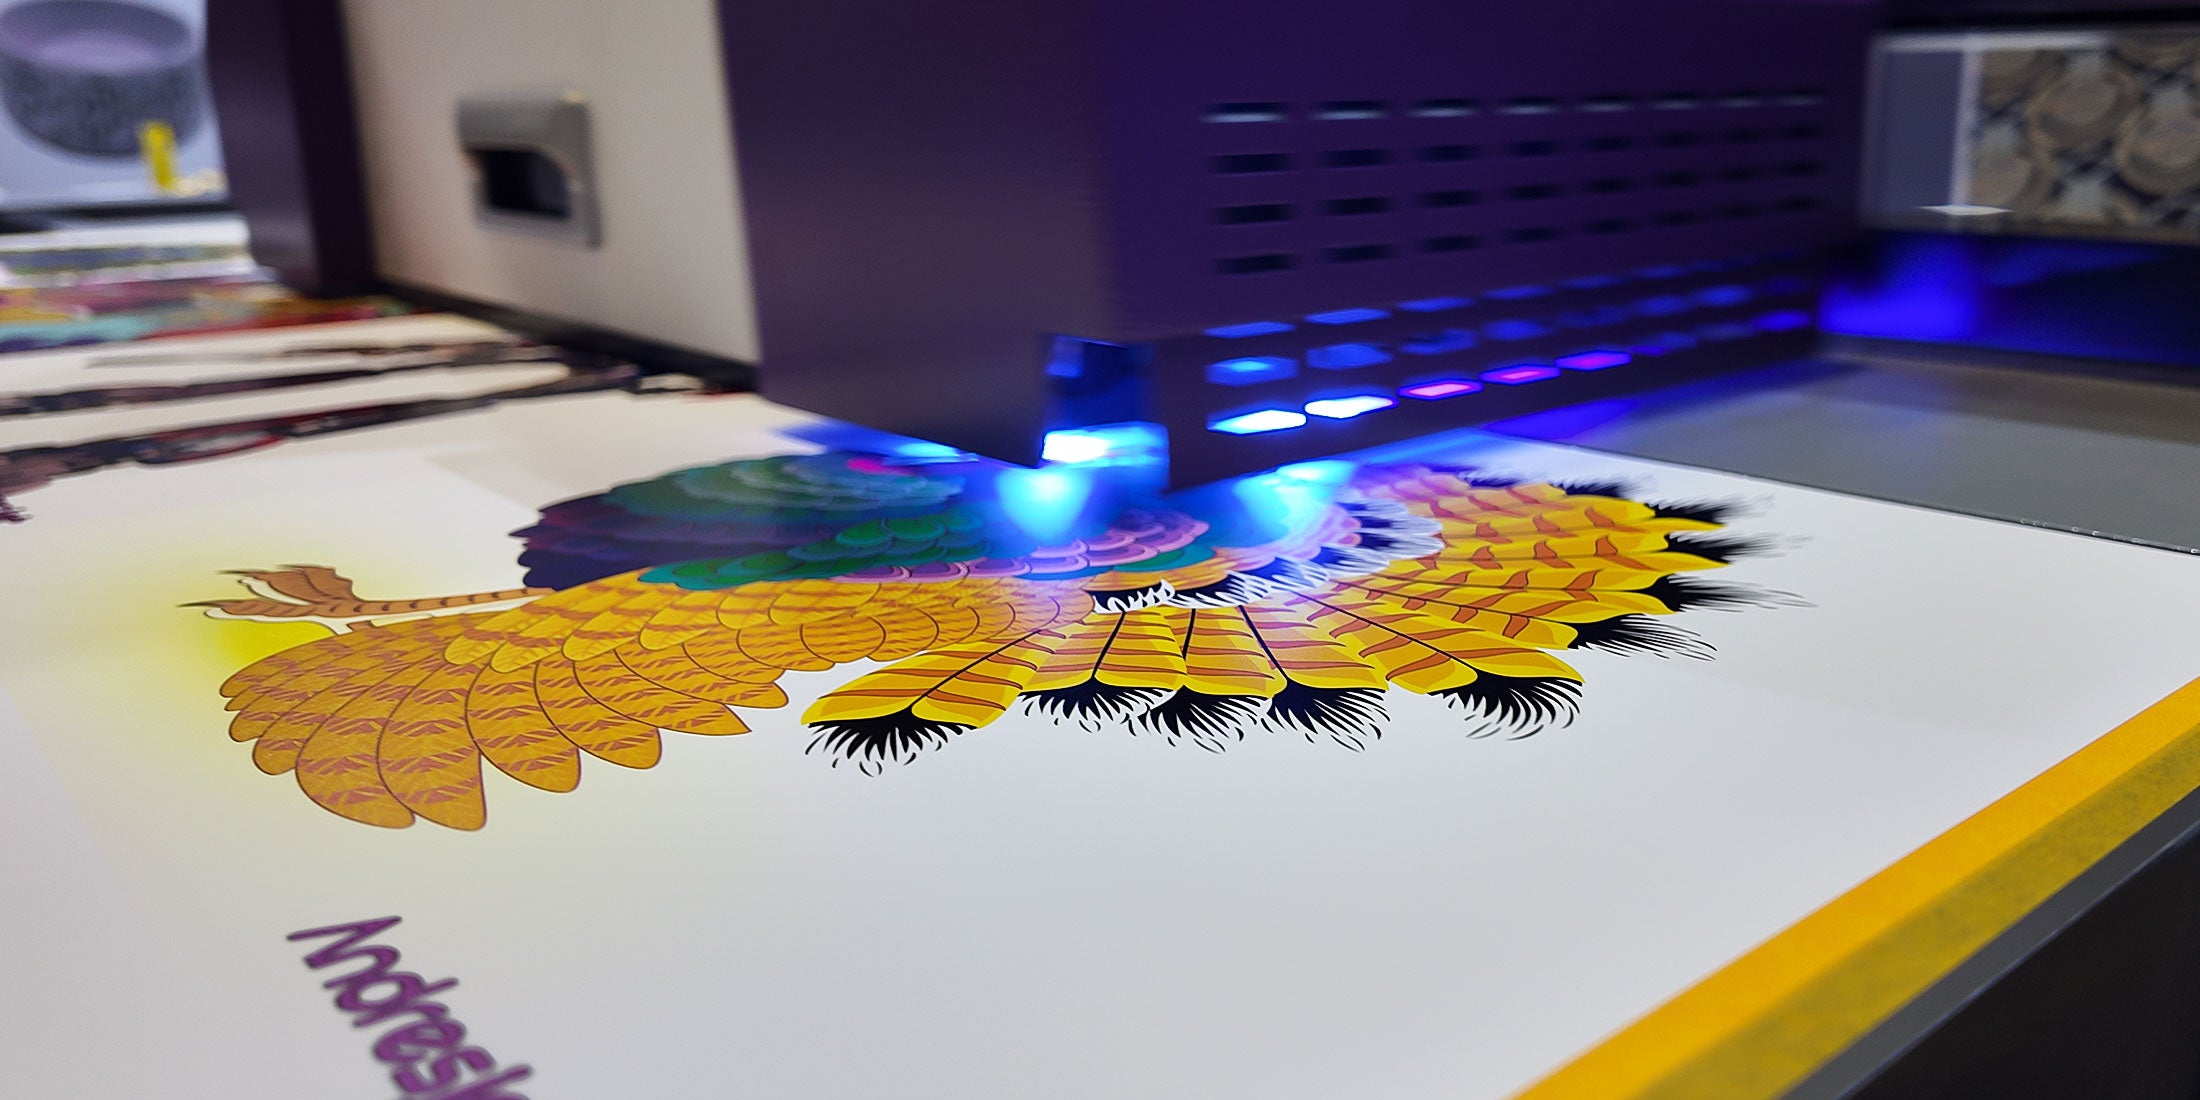
For a shop producing acrylic signs, awards, nameplates and small display panels, the published capabilities of the compact flatbed in this range are the relevant comparison. The AJ1206 is published with a maximum print area of 1200 × 600 mm, media clearance from 0 to 35 mm, a CMYK plus white plus varnish configuration, resolution modes up to 300 × 2400 dpi, UV LED curing, and an optional CCD positioning system. Its published colour support extends to eight colours including light cyan, light magenta and light black.
Larger acrylic work moves up the range, and the choice follows the same logic used elsewhere: format from the largest panel, ink channels from whether white and varnish are part of the product, and heads from the volume. Where a shop mixes acrylic with other rigid substrates, the wider range offers the same platform with configurations intended for different production levels.
It is also worth comparing the decoration routes honestly. Direct UV printing suits full-colour artwork, personalisation and short-to-medium runs, with white and varnish prepared as separate digital layers. Screen printing can be efficient for large quantities of simple spot-colour artwork, but design and colour changes may require additional screens and setup. Vinyl, labels and transfers are useful for some signs and displays, but they add a separate material and an application step rather than printing directly on the acrylic — a trade-off the wider industry literature on print processes covers in more depth (PRINTING United Alliance).
Can every type of acrylic be printed with UV ink?
No single setup guarantees the same result on every acrylic. Cast, extruded, coated, mirrored, recycled and specialty sheets can behave differently, so the production material should be printed and adhesion-tested before approval rather than judged by the generic name acrylic.
Is white ink required on clear acrylic?
Not always. Colour printed without white creates transparent or stained-glass effects, while a selective or full white layer increases opacity and reduces the influence of whatever sits behind the panel. The correct approach follows the intended viewing direction and appearance, not the substrate name.
Can artwork be printed on the reverse side of clear acrylic?
Yes, when the material and job are compatible. The file may need to be mirrored, and the order of colour and white layers must be prepared for viewing through the acrylic rather than on it. Both changes belong in the artwork preparation step, not in the printer settings.
Does acrylic need primer or pretreatment before UV printing?
It depends on the acrylic formulation, surface coating and required durability. Some materials print well after consistent cleaning, while others need a compatible primer or pretreatment. The production acrylic should be tested and adhesion approved before a full run, using a tape test on the actual sheet.
How durable is UV printing on acrylic?
Durability depends on the acrylic formulation and coating, surface preparation, ink adhesion, exposure conditions and the cleaning or abrasion the part will see. A sample made from the actual production acrylic should pass the required adhesion and use-condition tests before a full run is quoted.
Acrylic rewards decisions made before printing. Identify the sheet and its coating, settle the viewing direction, choose the white strategy deliberately, remove film and clean as a defined step, and fix a positioning method for repeat parts. Then test adhesion and wear on the finished piece, because acrylic parts are handled rather than simply displayed.
The material route for this substrate is published in the compact UV flatbed printer for acrylic collection, with configuration detail on the AJ1206 product page and adjacent application routes for promotional products and retail displays.
Send us the acrylic sheet you use, the thickness, the viewing direction and the artwork. We will return printed samples with the ink layer sequence and test results recorded.
Request acrylic sample testing
 Industrial Nameplates and Control Panels: Printing Legends and Safety Marks
Knowledge
Industrial Nameplates and Control Panels: Printing Legends and Safety Marks
Knowledge
 Starting a Signage Production Line: Which UV Flatbed Printer Fits First
Knowledge
Starting a Signage Production Line: Which UV Flatbed Printer Fits First
Knowledge
 Inside a UV Printer Factory: What the Build Process Should Look Like
Knowledge
Inside a UV Printer Factory: What the Build Process Should Look Like
Knowledge
 2.5x1.3m vs 2.1x3.0m vs 3.2x2.0m: Picking the Right UV Flatbed Size
Knowledge
2.5x1.3m vs 2.1x3.0m vs 3.2x2.0m: Picking the Right UV Flatbed Size
Knowledge