

Signs and plaques
Interior signs, room identifiers, branded plaques and information panels.
Explore acrylic applications
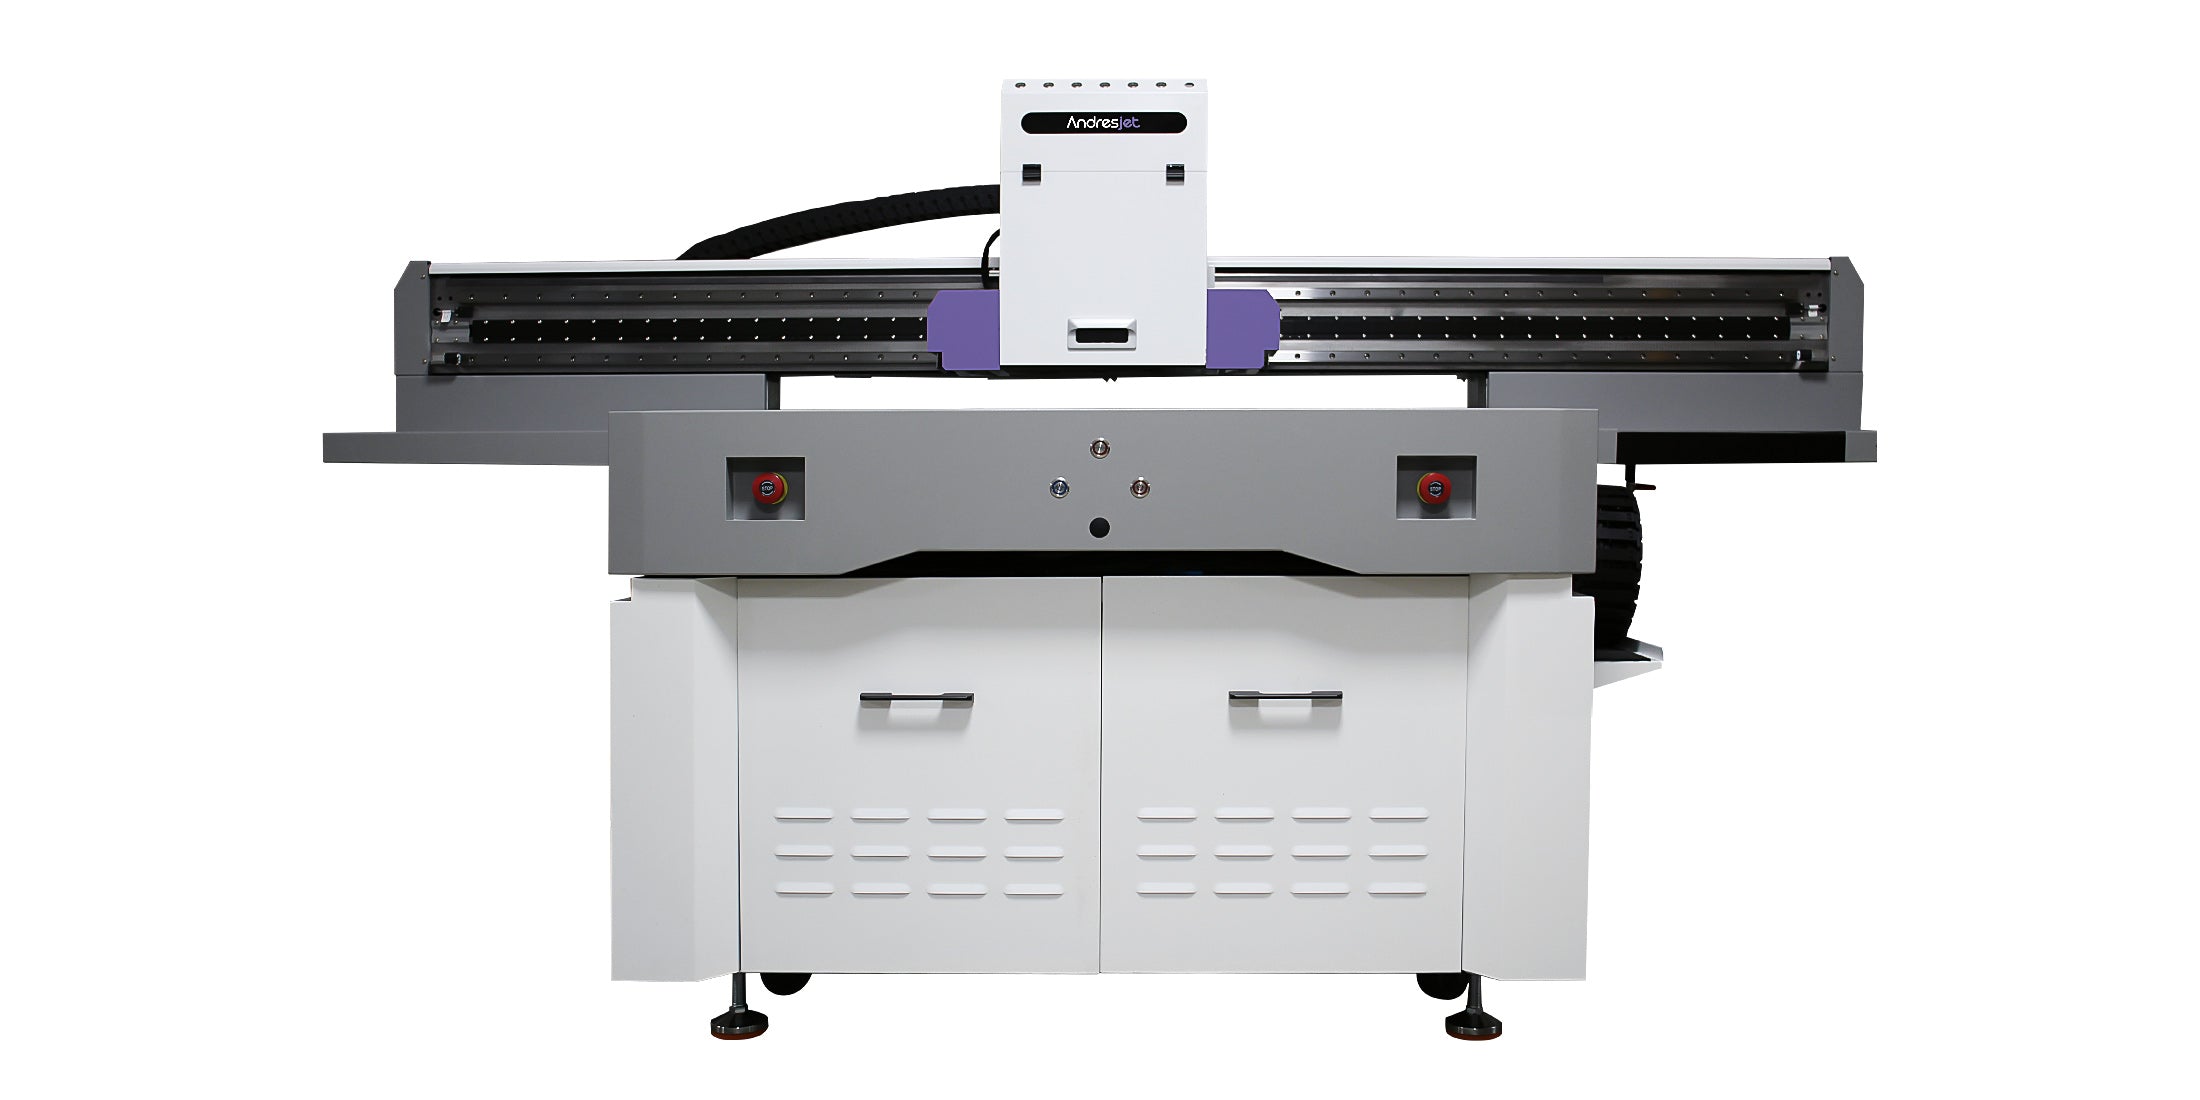
The AndresJet AJ1206 brings industrial-grade printing to small and medium-sized businesses. Get professional performance and exceptional speed in a compact, budget-friendly design perfect for scaling your production.
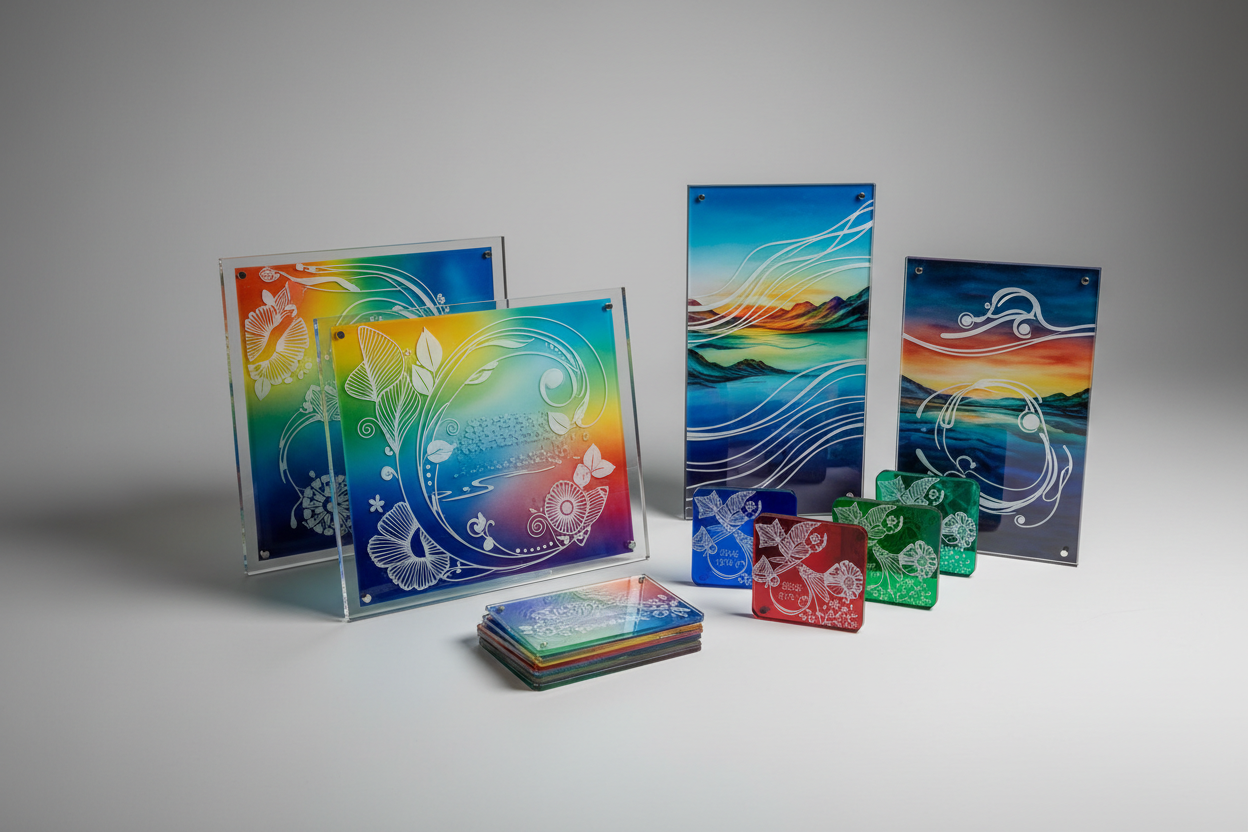
Produce vibrant graphics directly on acrylic sheets for signs, plaques, displays, awards, nameplates, and personalized products. White ink supports clear or colored acrylic, while varnish can add selective gloss and raised visual effects.
The AJ1206’s compact flatbed format and optional CCD positioning support short runs, mixed designs, and customized production without relying on separate labels or transfer films.
Application overview
Produce full-color graphics directly on compatible acrylic sheets and products. The AndresJet AJ1206 combines CMYK, white and varnish printing with a compact flatbed format for signs, displays, awards, nameplates and customized short runs.
Interior signs, room identifiers, branded plaques and information panels.
Explore acrylic applicationsRecognition pieces, equipment labels, tags and personalized nameplates.
Review the AJ1206Counter displays, promotional panels, product stands and branded fixtures.
See printing possibilitiesPhoto panels, decorative pieces, prototypes and variable-design small batches.
Discuss your applicationPrint on tested acrylic without adding a separate label or transfer-film application step.
Use a full or selective white layer to manage opacity on clear, colored or dark acrylic.
Add selected gloss, highlighted details and layered effects after testing the actual material.
Change names, artwork and product variations digitally for customized and mixed-design orders.
Recommended compact flatbed printer
The AJ1206 is designed for compatible flat materials and objects that fit its print area and media limits. It is a practical choice for detailed acrylic signs, plaques, displays and batches of smaller personalized products.
Published specifications are configuration references. Confirm the actual acrylic, coating, artwork, viewing direction and production target through sample testing.
View AJ1206Before selecting a configuration
These four inputs help AndresJet evaluate printer fit, ink-layer strategy, positioning method and the sample-testing plan. They are also the most useful details to include with an inquiry.
Maximum sheet or object dimensions, thickness, weight and required print area.
Cast, extruded, clear, colored, frosted, mirrored, coated or recycled material.
Front or reverse viewing, white coverage, varnish areas, opacity and fine-detail needs.
Quantity, artwork variations, required output, durability expectations and deadline.
No single setup guarantees the same result on every acrylic. Cast, extruded, coated, mirrored, recycled and specialty sheets can behave differently, so the production material should be printed and adhesion-tested before approval.
Not always. Color without white can create transparent effects, while a selective or full white layer increases opacity and reduces background influence. The correct approach depends on the intended viewing direction and appearance.
Yes, when the material and job are compatible. The file may need to be mirrored, and the order of color and white layers must be prepared for viewing through the acrylic.
Durability depends on the acrylic formulation and coating, surface preparation, ink adhesion, exposure conditions and cleaning or abrasion requirements. A sample made from the actual production acrylic should pass the required adhesion and use-condition tests before a full run.
It depends on the acrylic formulation, surface coating and required durability. Some materials print well after consistent cleaning, while others may need a compatible primer or pretreatment. Test the actual production acrylic and approve adhesion before the full run.
For production planning
Good acrylic output depends on material type, surface preparation, viewing direction, white-ink strategy, artwork layers and a repeatable production workflow.
Suitable for full-color artwork, personalization and short-to-medium runs. White ink and varnish can be prepared as separate digital layers.
Can be efficient for large quantities of simple spot-color artwork, but design and color changes may require additional screens and setup.
Useful for some signs and displays, but they add a separate material and application step rather than printing directly on acrylic.
Confirm the acrylic. Record its type, thickness, color, finish, protective film and intended viewing side.
Prepare the surface. Remove protective film at the correct stage and clean without leaving residue.
Set the viewing direction. Decide whether the artwork is viewed from the printed face or through clear acrylic.
Build the ink layers. Separate CMYK, white and varnish data for the required opacity and finish.
Position the work. Use the vacuum bed, registration points or a suitable fixture for repeatable placement.
Print and inspect. Check color, white density, adhesion, detail, surface marks and varnish registration.
Cast, extruded, coated, mirrored and recycled acrylic can react differently to the same UV ink. Surface contamination, static, prior treatment and storage conditions may affect adhesion and print quality. Test the actual production substrate; depending on the material and application, a primer or pretreatment may be required.
Approve a physical sample using the actual acrylic, artwork, ink layers and viewing conditions. Photos and generic material descriptions are not enough to confirm color, opacity, surface compatibility or durability.