






Rigid promotional panels
Produce flat in-store campaign boards on a qualified rigid substrate after confirming sheet construction, printable face, color target, viewing distance and finishing.
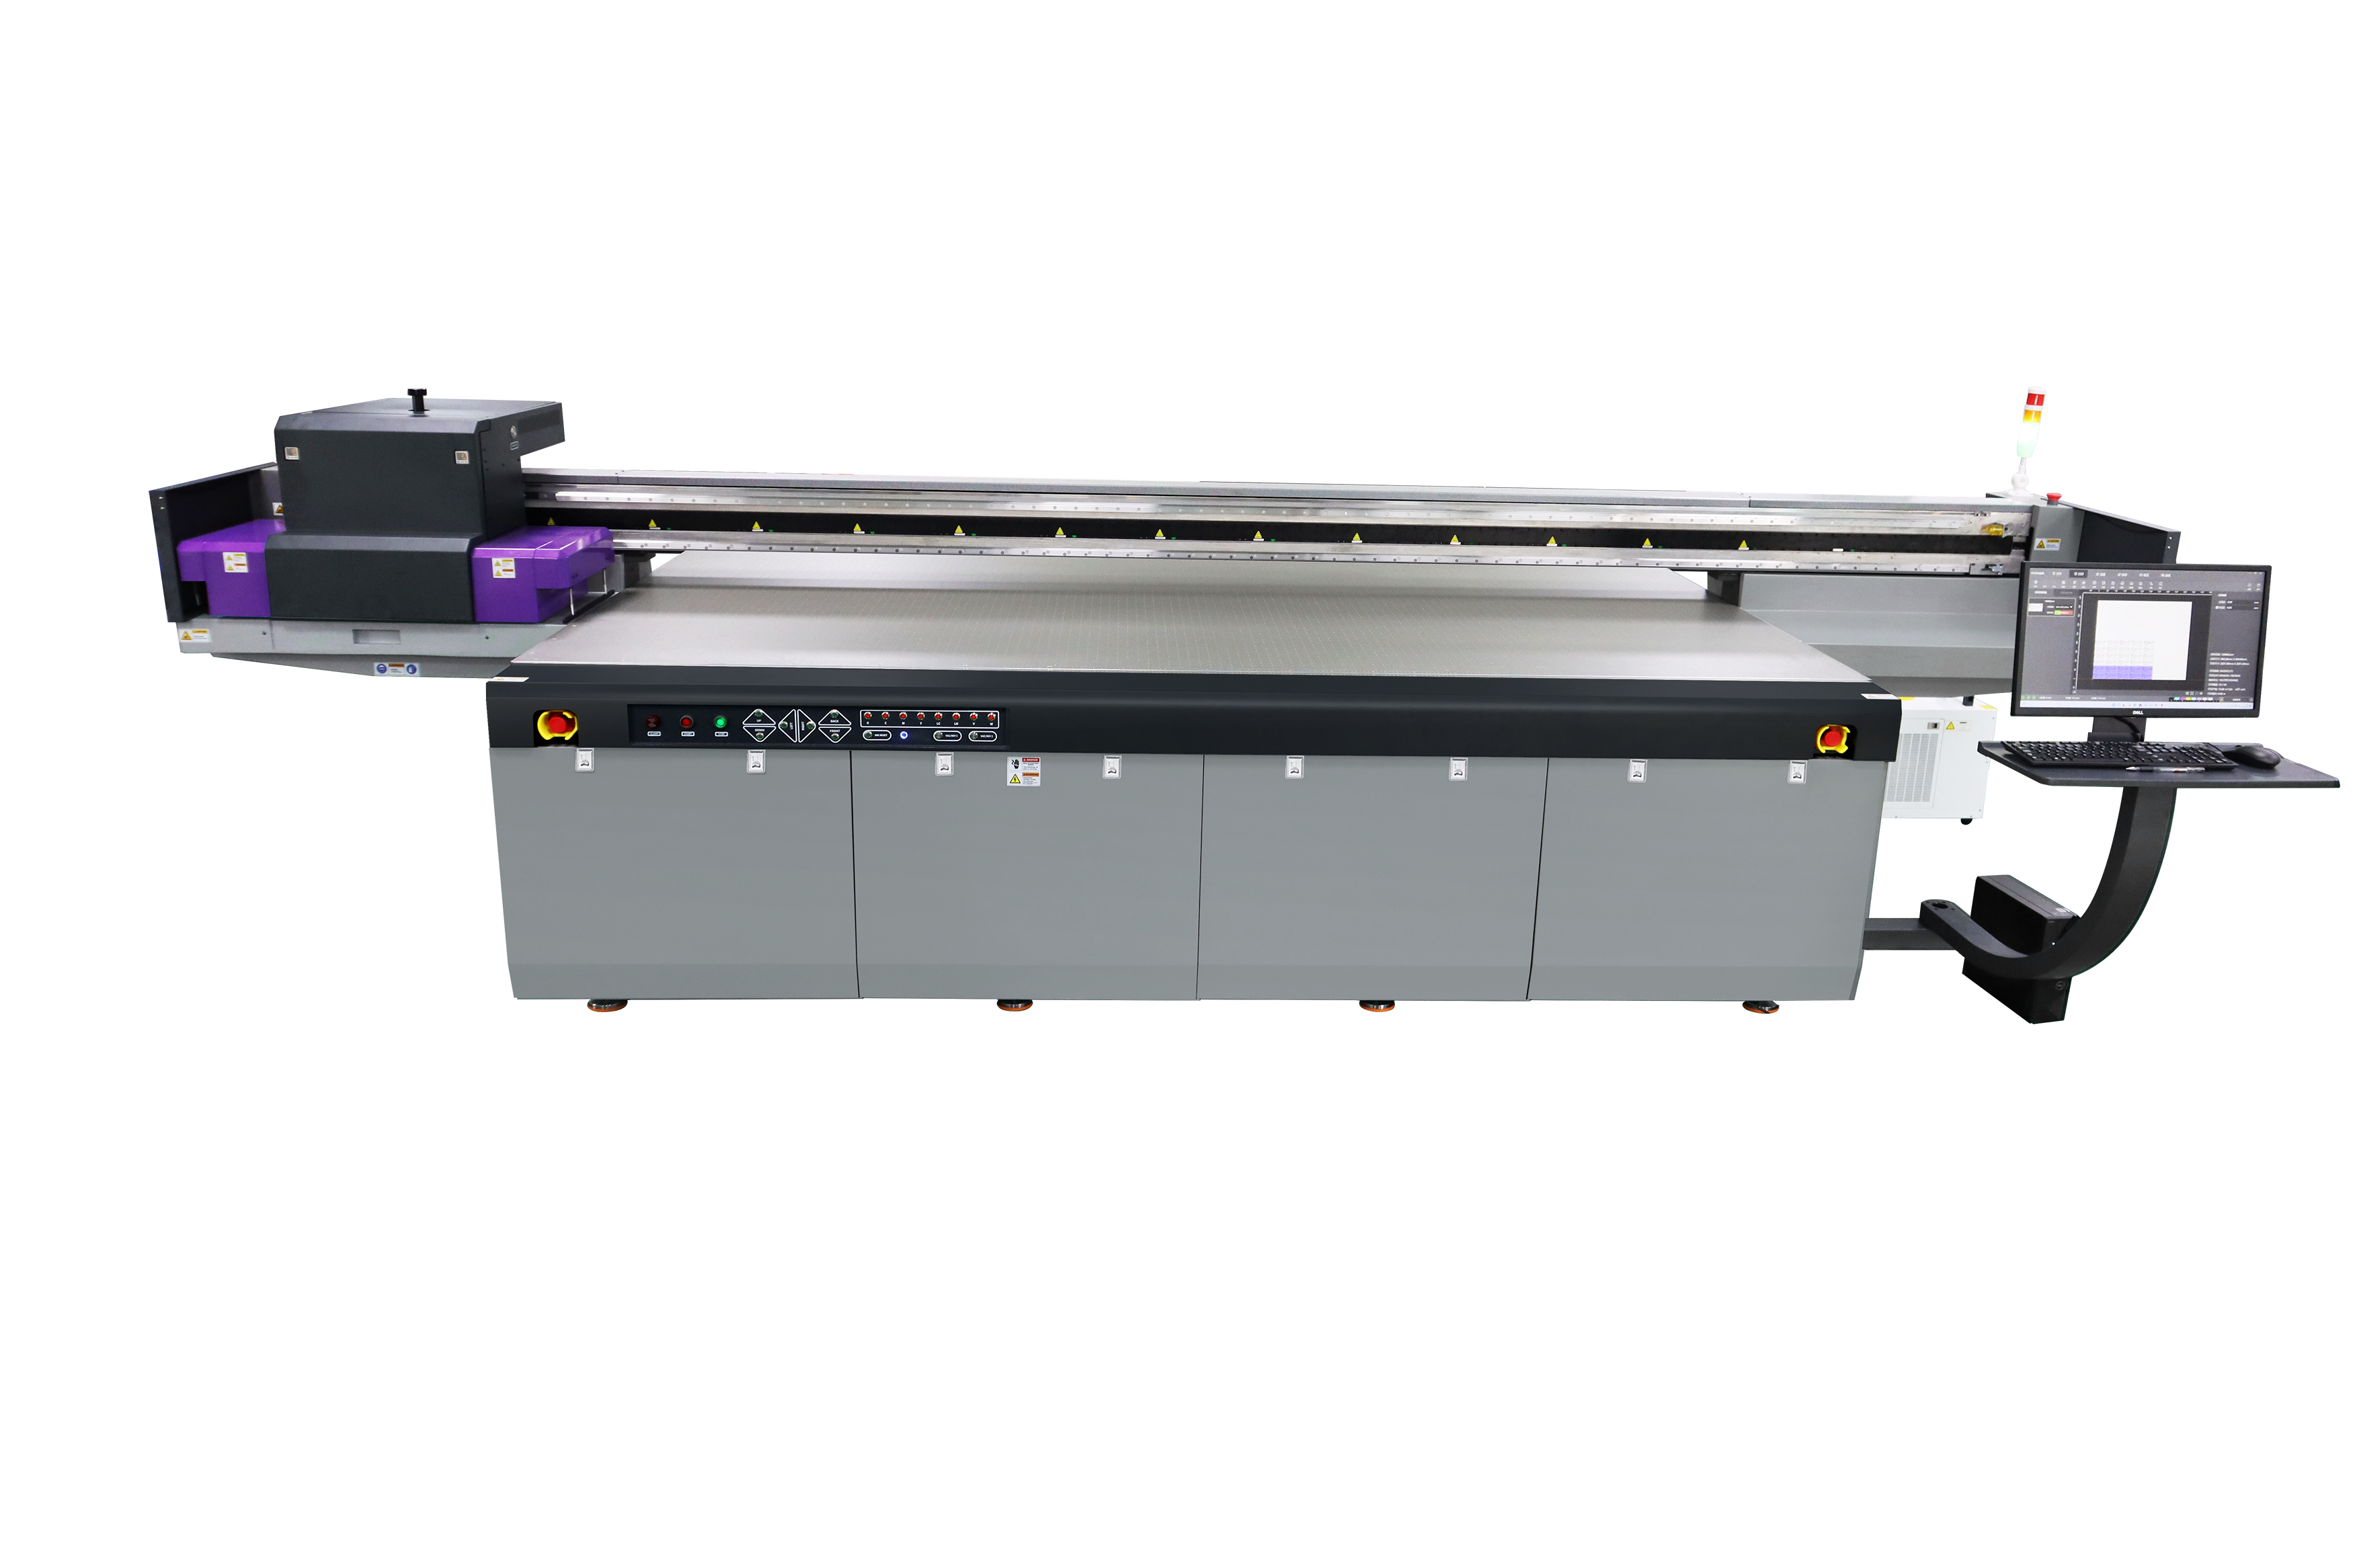
Review the AJ2130G/R

A retail rollout can reuse one visual identity across shelf headers, counter units and freestanding panels while changing size, material, store, language or offer. Stable component IDs, released artwork revisions and a panel map keep the physical parts connected to the correct production files.
Approve a representative set using the intended materials, print layers, trimming, mounting and packing. The sample should test both visual consistency and whether each component arrives ready for its assigned location and installation sequence.
Rigid retail campaign production
Retail displays can combine rigid poster boards, shelf headers, counter units and freestanding panels in several sizes and materials. Direct UV printing can support short campaigns and artwork changes, but each component still needs a named material, controlled file, finishing plan and approved sample. Treat the campaign as a production system rather than one generic print job.
Produce flat in-store campaign boards on a qualified rigid substrate after confirming sheet construction, printable face, color target, viewing distance and finishing.
Review the AJ2130G/RNest shelf headers, side panels, counter-display faces and related flat parts while keeping cut lines, folds, hardware zones and artwork orientation traceable.
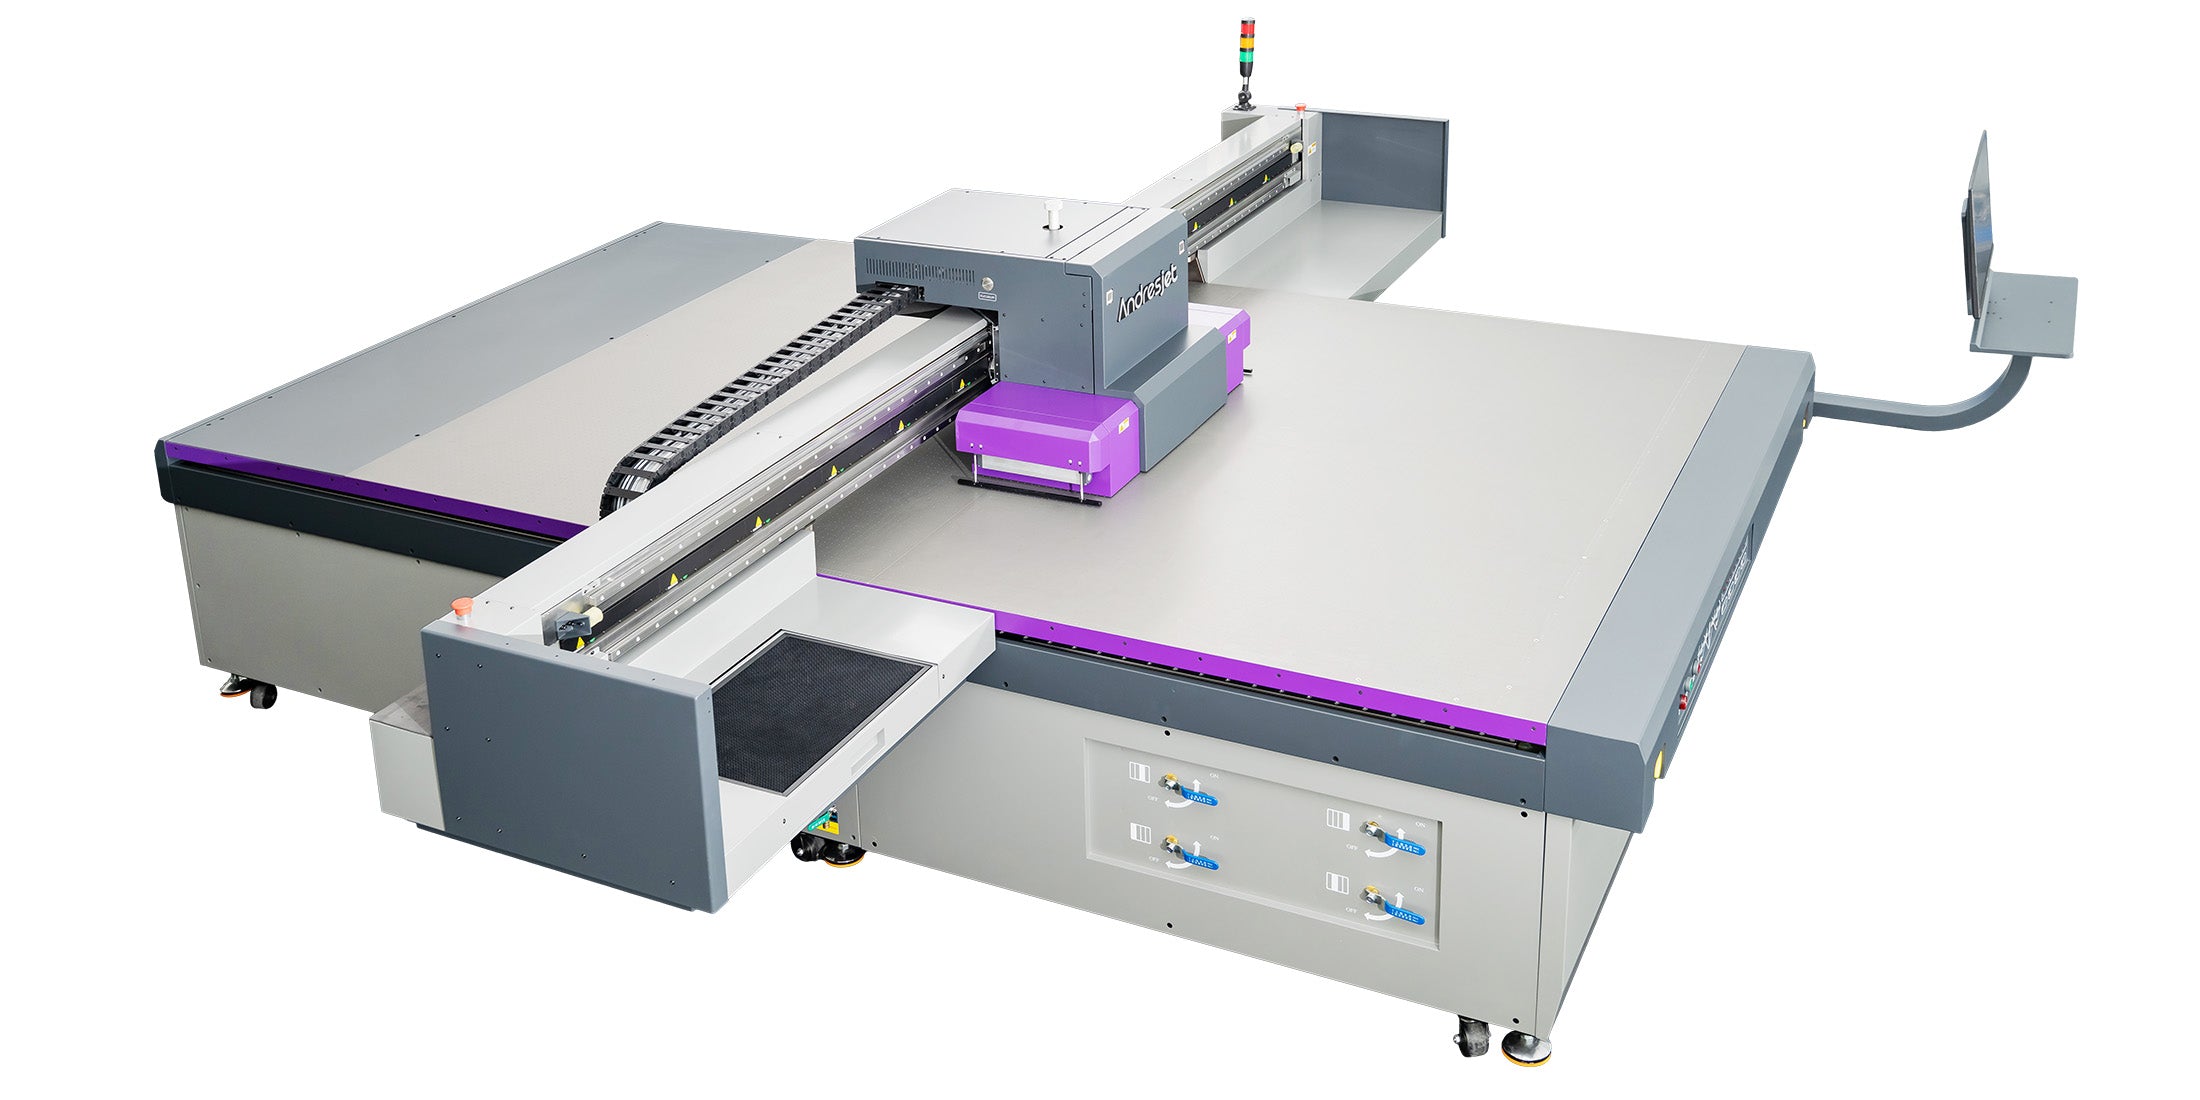
Review the AJ3220G/RConsider a production-focused platform only after the material set, store versions, approved files, loading, inspection, finishing and packing sequence have been timed together.
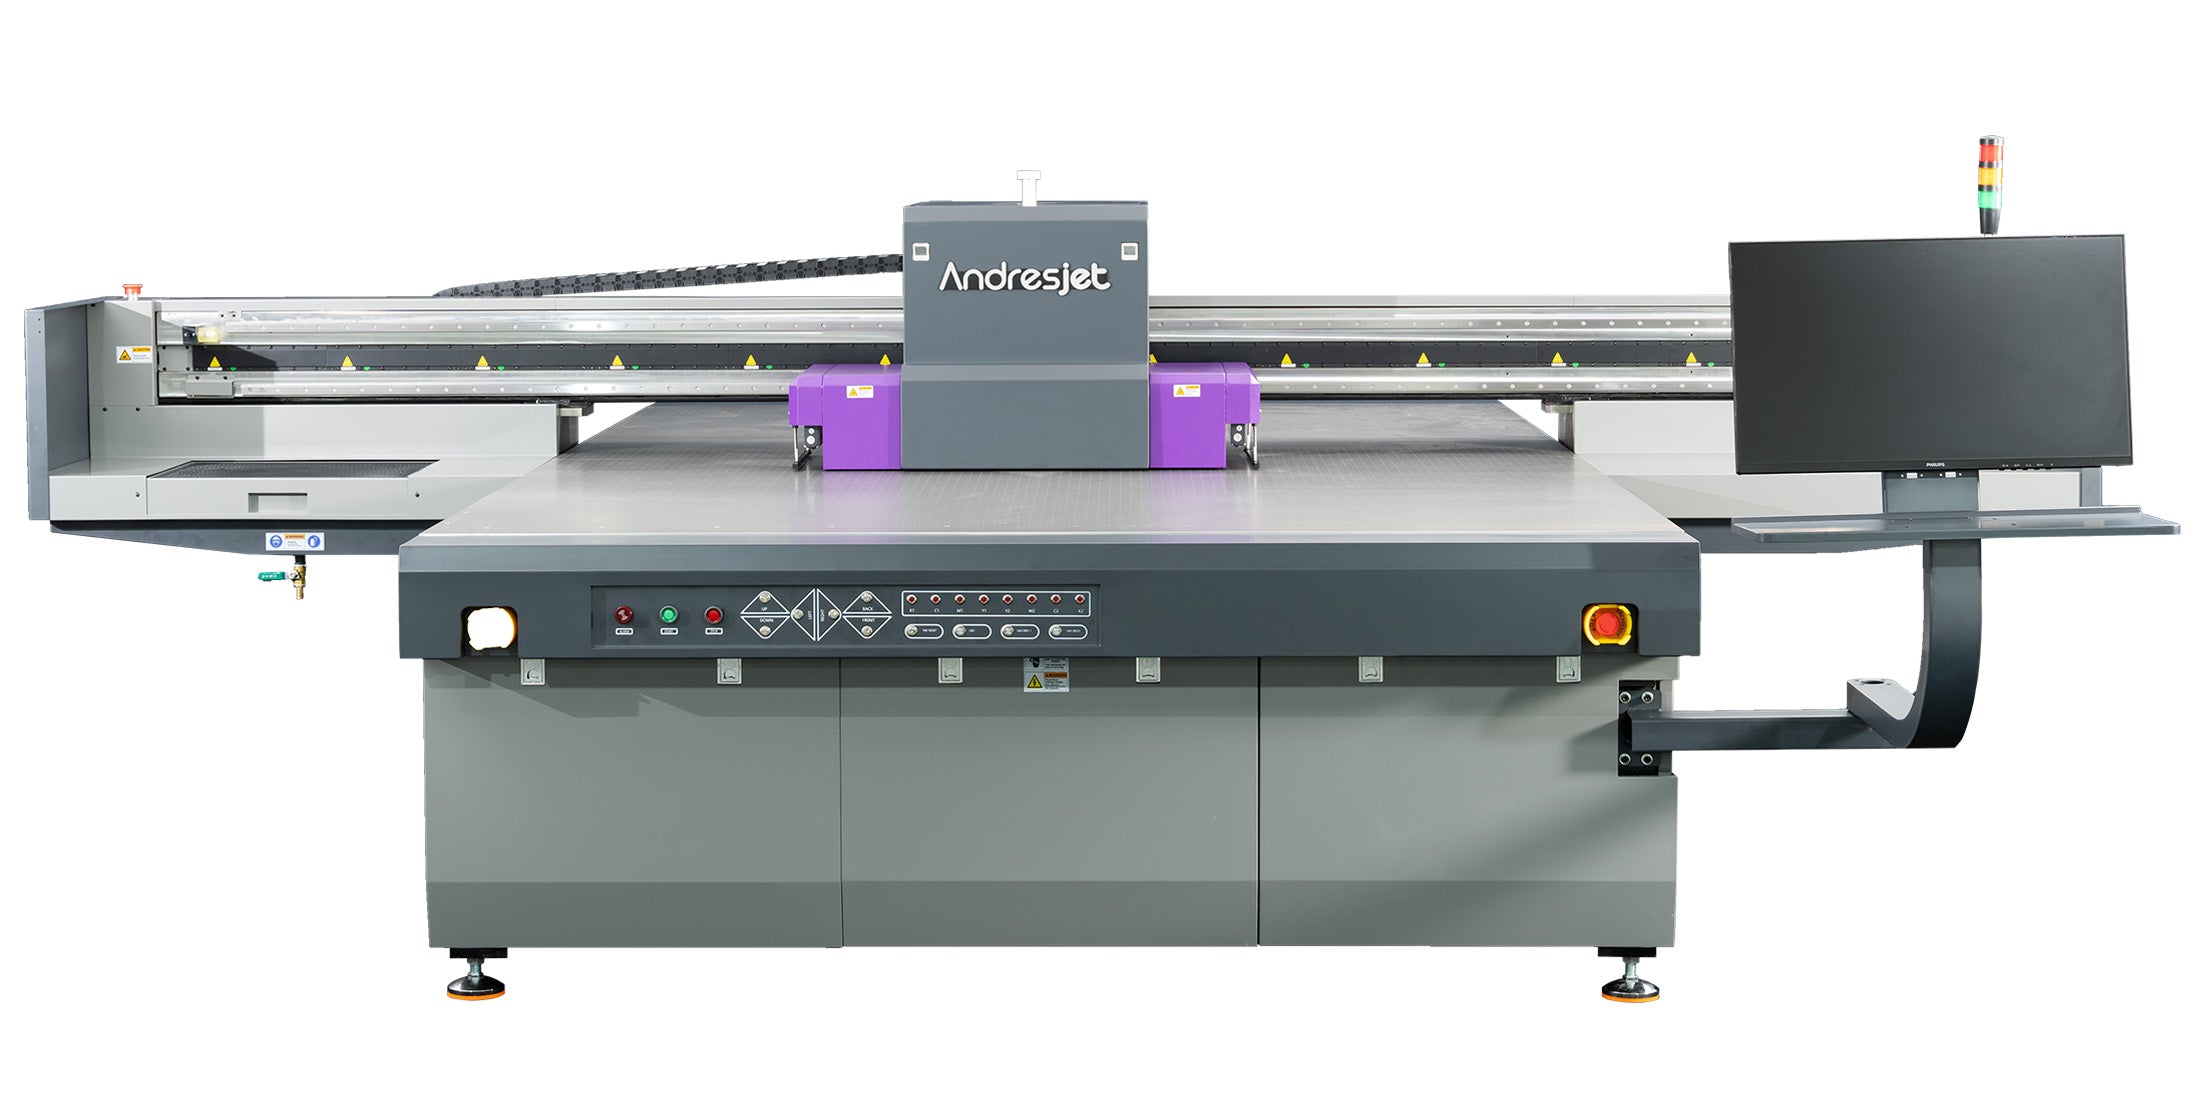
Review the AJ3220EXWhen foam-core or PVC foam sheet is the primary buying intent, use the dedicated material route for liner, core, flatness, hold-down and edge requirements.
Compare foam board printersList panel ID, material, dimensions, printable side, orientation, bleed, cut path, hardware zone, location and quantity before nesting begins.
A campaign may mix boards that differ in surface, thickness, static, flatness and handling. Approve settings and finishing by material, not by visual similarity.
Use stable naming, revision status, color reference, panel map and release approval so the right creative reaches the right component and store.
Inspect trimming, folds, mounting, assembly, protective packing, store grouping and installation sequence before approving full production.
Three current wide-format platforms
Start with the largest flat component and common production sheet, then compare nesting, artwork changes, loading, ink layers, finishing and campaign volume. A machine bed does not by itself prove compatibility with every board or guarantee an installed-display result.
Configurable 2100 × 3000 mm platform
Large 3200 × 2000 mm platform
Production-focused 3200 × 2000 mm platform
Actual output changes with component size, nesting, resolution, pass count, coverage, white or varnish layers, file changes, loading, inspection, trimming, assembly and packing. Time an approved campaign set before setting units-per-shift targets.
For a useful recommendation
A useful printer recommendation needs representative components and files, not only the largest panel dimension or a photograph of the assembled display.
Panel list, material for each part, dimensions, thickness, printable side, flatness, weight, folds, hardware, assembly and installed viewing distance.
Approved files, revision status, color references, language or store variants, panel orientation, bleed, cut paths, white layers and no-print zones.
Pieces per version, repeat frequency, nesting, changeovers, loading, inspection, trimming, mounting and the target dispatch schedule.
Store grouping, labels, protective packing, installation order, indoor or outdoor use, handling, color tolerance and approved sample criteria.
Printer fit and finished-display performance should be confirmed with the actual materials, component files and finishing method.
Its main scope is rigid poster boards and flat retail-display components supported on a UV flatbed. Thin flexible paper may require a separate carrier and controlled loading, while roll-to-roll poster production is a different equipment and workflow decision. Confirm the actual media before selecting a route.
No. Foam board, corrugated plastic, PVC, acrylic, coated metal and other sheets can differ in surface, static, thickness, flatness, white-point and finishing. Qualify settings and approval samples by named material and batch even when the artwork is shared.
Use a component ID, store or market code, revision number and release status in the production file name and job ticket. Connect each file to its material, quantity, finishing and packing group, then approve one representative set before the complete rollout.
No. Outdoor suitability depends on the substrate, ink and coating system, edges, mounting, structure and actual exposure. Use materials specified for the environment and verify the finished component rather than assuming that UV curing alone makes the display weatherproof.
Include the actual material, planned print layers, representative color and detail, cut or fold method, mounting hardware, assembled appearance, packing and identification. For a multi-material display, approve every construction that has a different printable face or finishing route.
Test one representative display set
Share the component list, named materials, dimensions, artwork versions, quantities, finishing, packing and installation environment. AndresJet can review the flatbed application, identify a suitable current platform and arrange representative panel testing.
Campaign production guide
A reliable pilot combines the correct files and materials with finishing, packing and installation. Approving only one attractive panel does not prove that the complete campaign set is ready for rollout.
Places digital artwork directly on a qualified rigid panel or flat component. It can reduce a separate mounting step, but each substrate and finishing route still needs approval.
Prints paper, film or another graphic layer before applying it to a display board. This adds adhesive, alignment, trimming, bubble and edge-lift considerations.
Uses film for selected graphics or updates. Film specification, seams, application method, removal and substrate interaction follow a different production path.
Create the component map. Assign every panel and part a stable ID, material, size, printable side, orientation, finishing and store or market destination.
Lock the material set. Record supplier, product code, batch, thickness, color, surface and any protective film for each construction.
Release controlled files. Verify revision, color reference, language or store version, bleed, cut path, white layer and no-print zones.
Print a representative set. Include the important materials, sizes, coverage, versions and any white or varnish construction planned for production.
Finish and assemble it. Trim, fold, mount, fit hardware and build the display using the intended production methods and tolerances.
Approve packing and rollout. Inspect the assembled result, identification, store grouping, protection, installation order and service environment.
A coordinated visual identity can be applied to panels with different white-points, surfaces, thicknesses, static behavior and ink requirements. Matching the artwork does not make the substrates interchangeable. Separate material qualification from creative version control, then bring both together in the approved display set.
Approve every distinct material construction and every critical artwork route used in the rollout.
Use one ID across the panel map, artwork file, job ticket, inspection record and packing list so a physical part can be traced without relying on appearance.
Separate draft, approved and superseded files. Do not overwrite an approved production file without a new revision and documented release.
Include the most important sizes, materials, colors, white layers, folds and mounting conditions instead of approving only the easiest flat panel.
Completed sets per shift depend on panel size, nesting, resolution, pass count, coverage, white or varnish layers, material changes, file versions, loading, inspection, trimming, assembly, labeling and packing. Compare machines with a timed representative set rather than a maximum print-speed figure alone.