






Yard and event signs
Plan short and repeat runs around the real sheet size, flute direction, stake or frame system, artwork versions and outdoor exposure requirement.
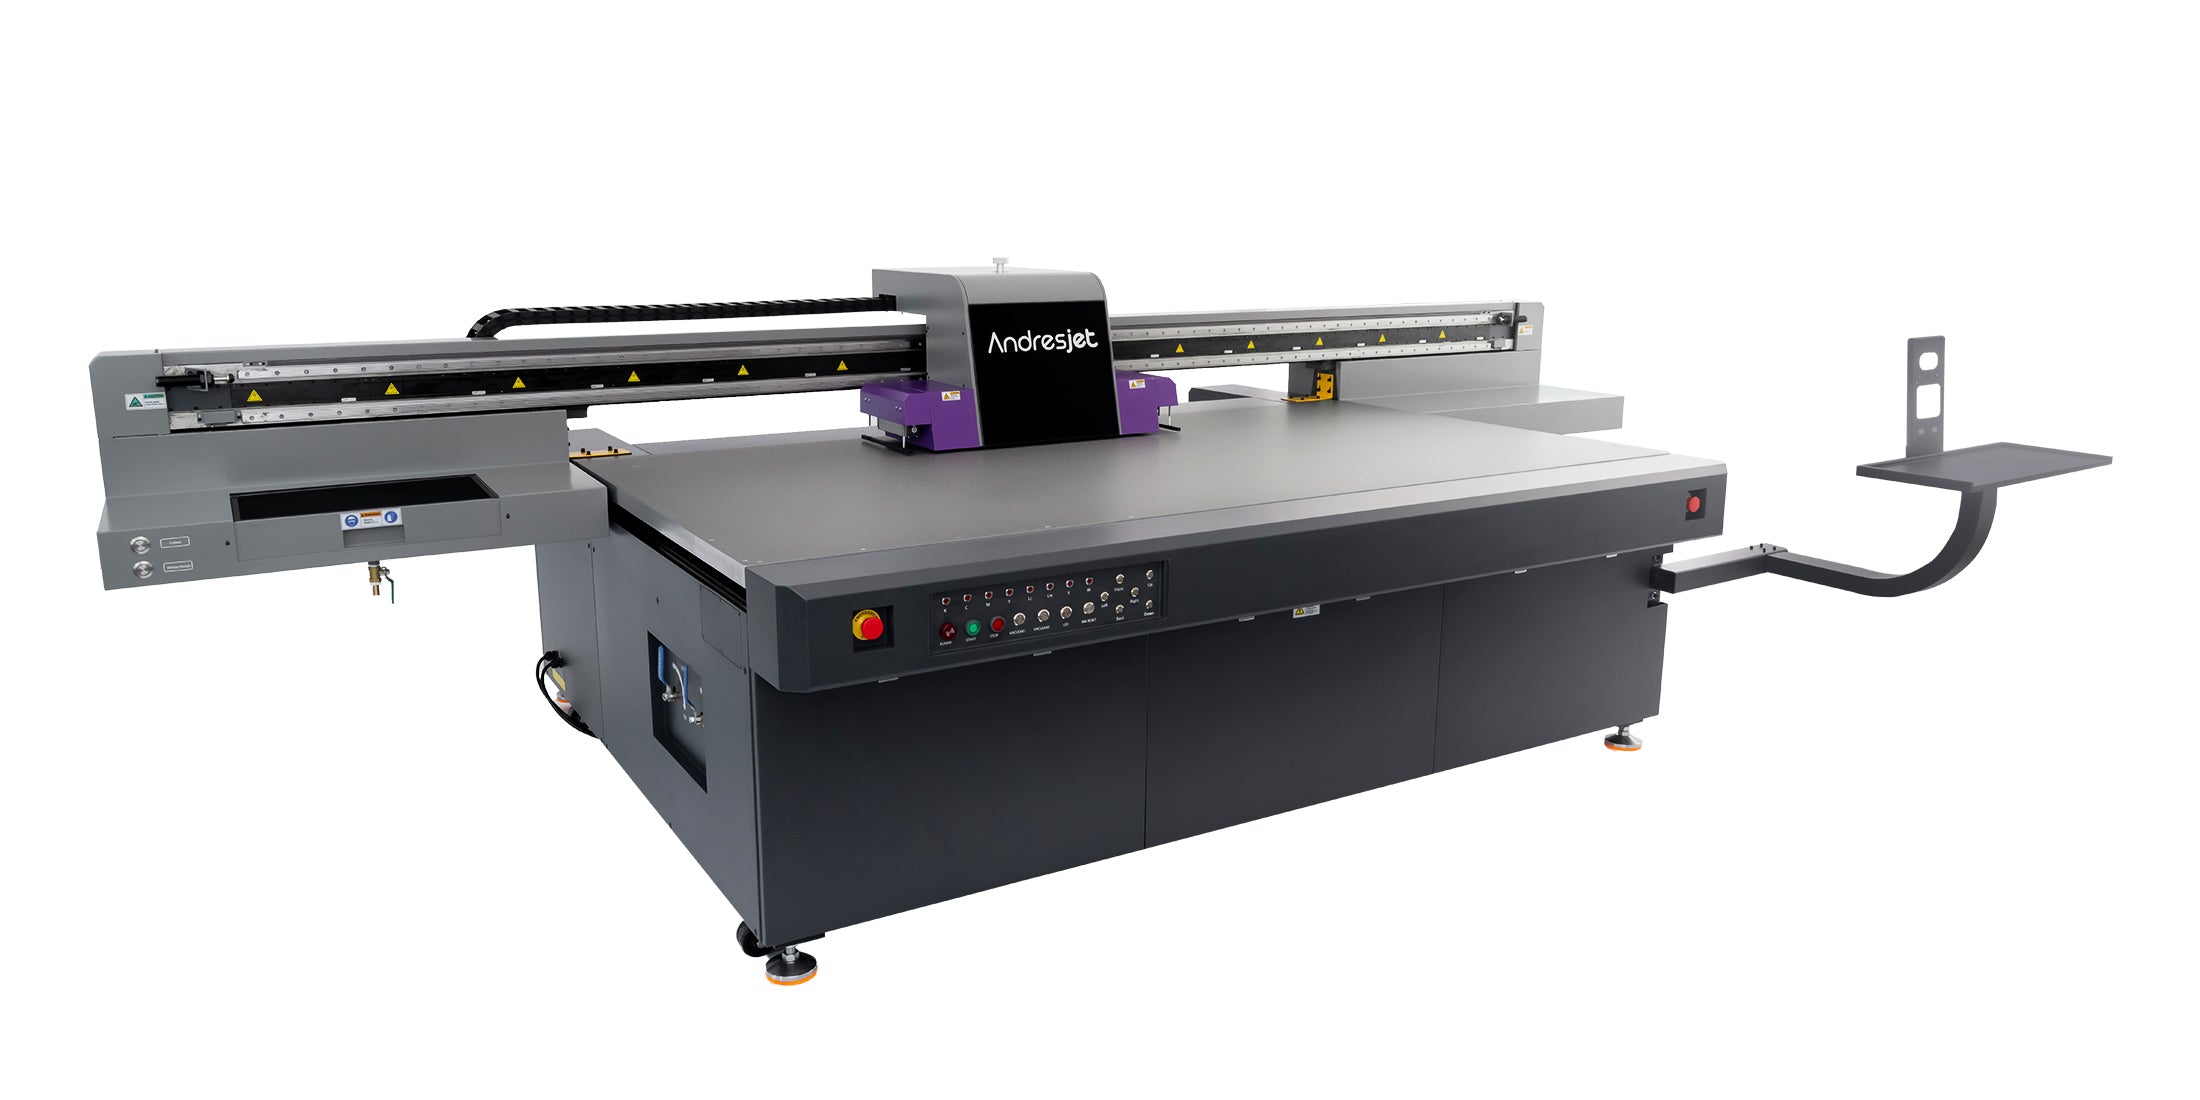
Review the AJ2513G/R

Corrugated plastic signs are commonly made from fluted polypropylene, but resin, surface treatment, coating and storage condition vary by supplier and batch. Clean and control static using a method approved for the sheet, then test color, white-layer options and adhesion on the actual printable face.
Confirm sheet flatness, flute direction, edge condition, hold-down and carriage clearance before printing. Approve the completed sign after cutting, mounting, bending, handling and representative indoor or outdoor exposure rather than relying only on a freshly printed flat sample.
Corrugated plastic sign production
Corrugated plastic sign sheets are commonly made from fluted polypropylene, but supplier, resin, surface treatment, coating, static, storage and flute construction can change how a sheet prints and handles. Qualify the exact production material, then approve the cut, mounted or installed sign rather than treating every Coroplast-style sheet as identical.
Plan short and repeat runs around the real sheet size, flute direction, stake or frame system, artwork versions and outdoor exposure requirement.
Review the AJ2513G/RProduce display panels and campaign graphics after confirming surface cleanliness, color appearance, cut edges, mounting and the required viewing distance.
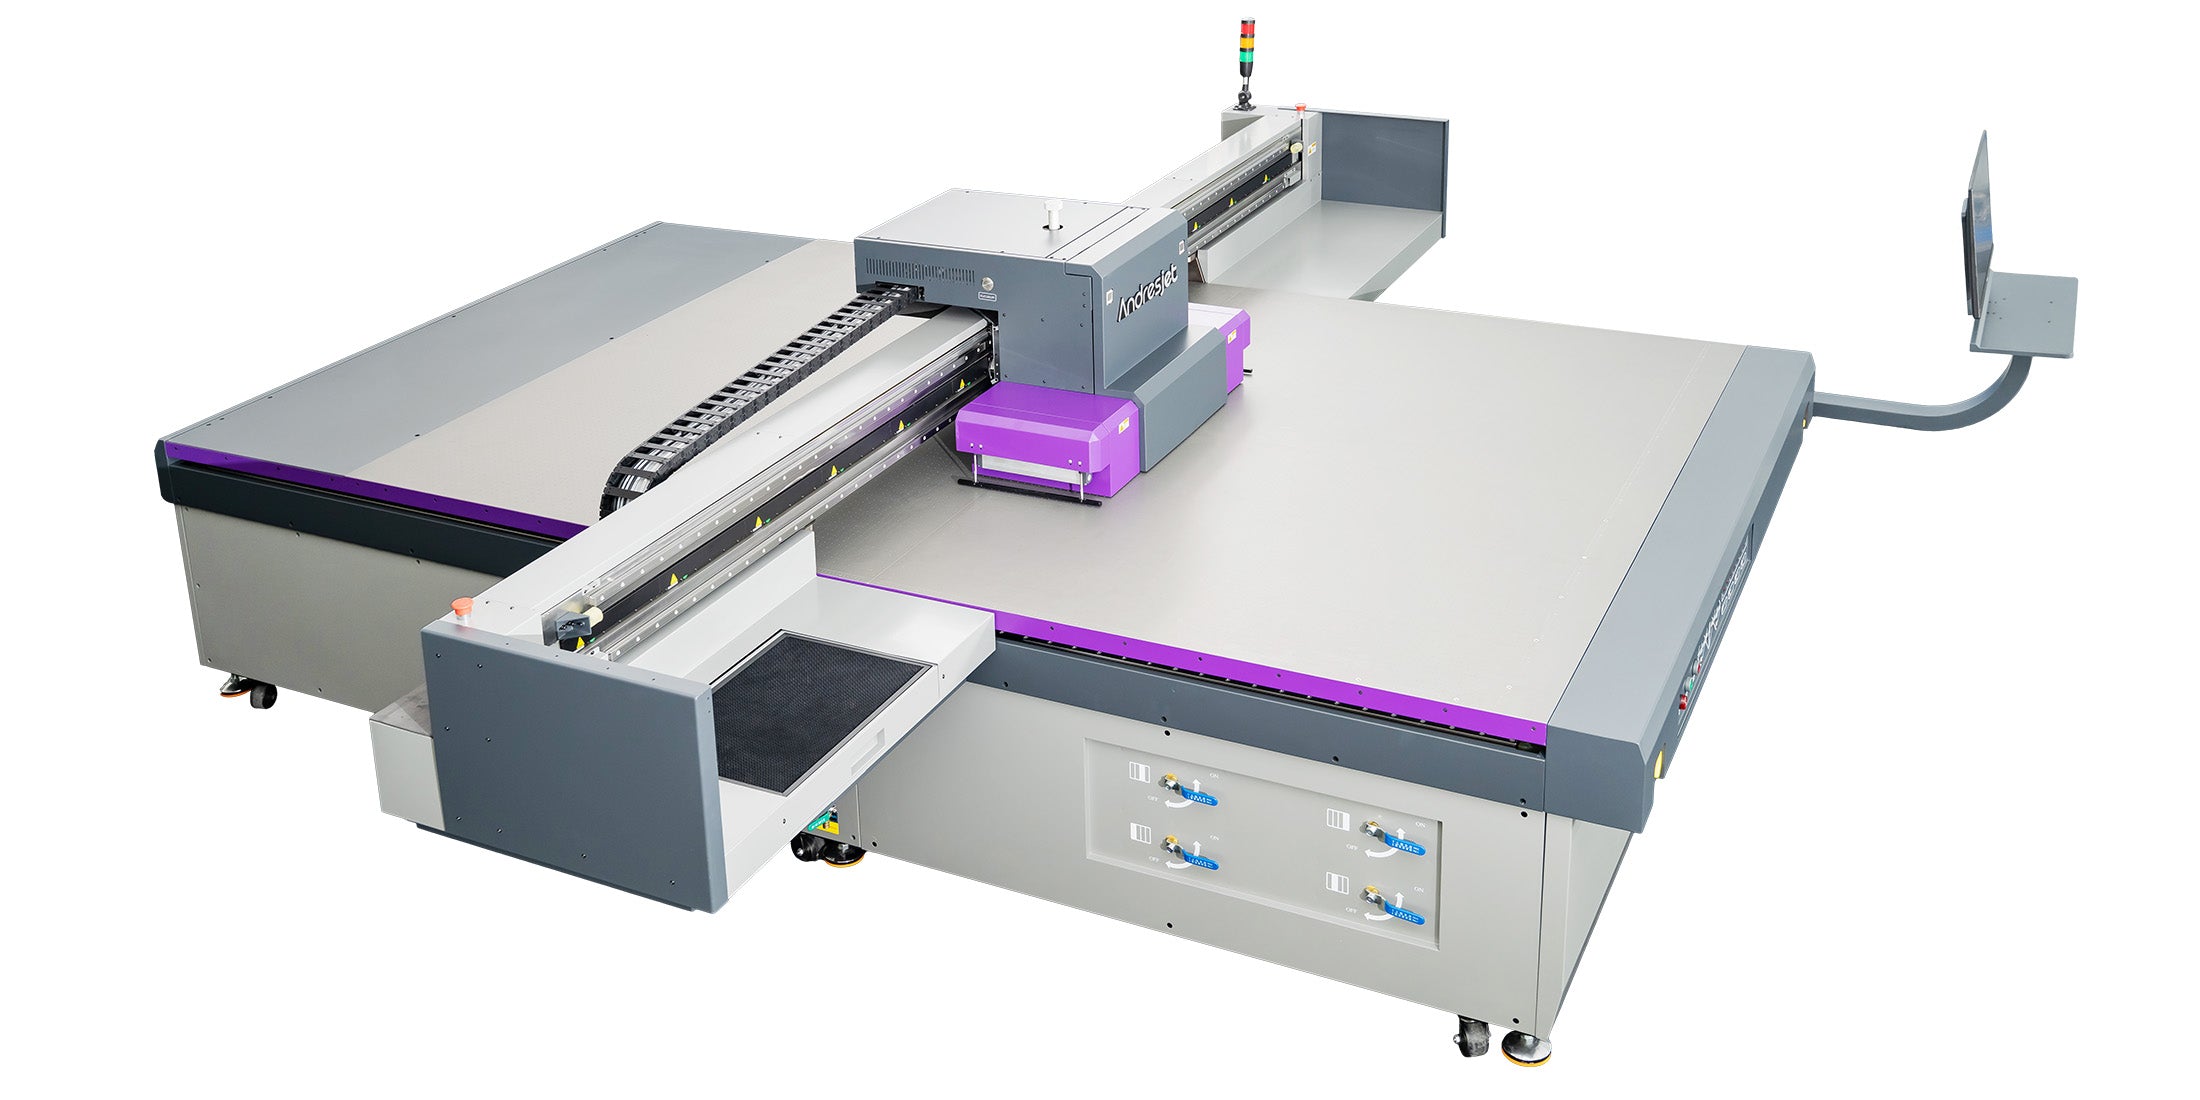
Review the AJ2130G/RControl sheet orientation, white or color layers, small type, arrows, trimming and mounting so the approved sample represents the finished sign.
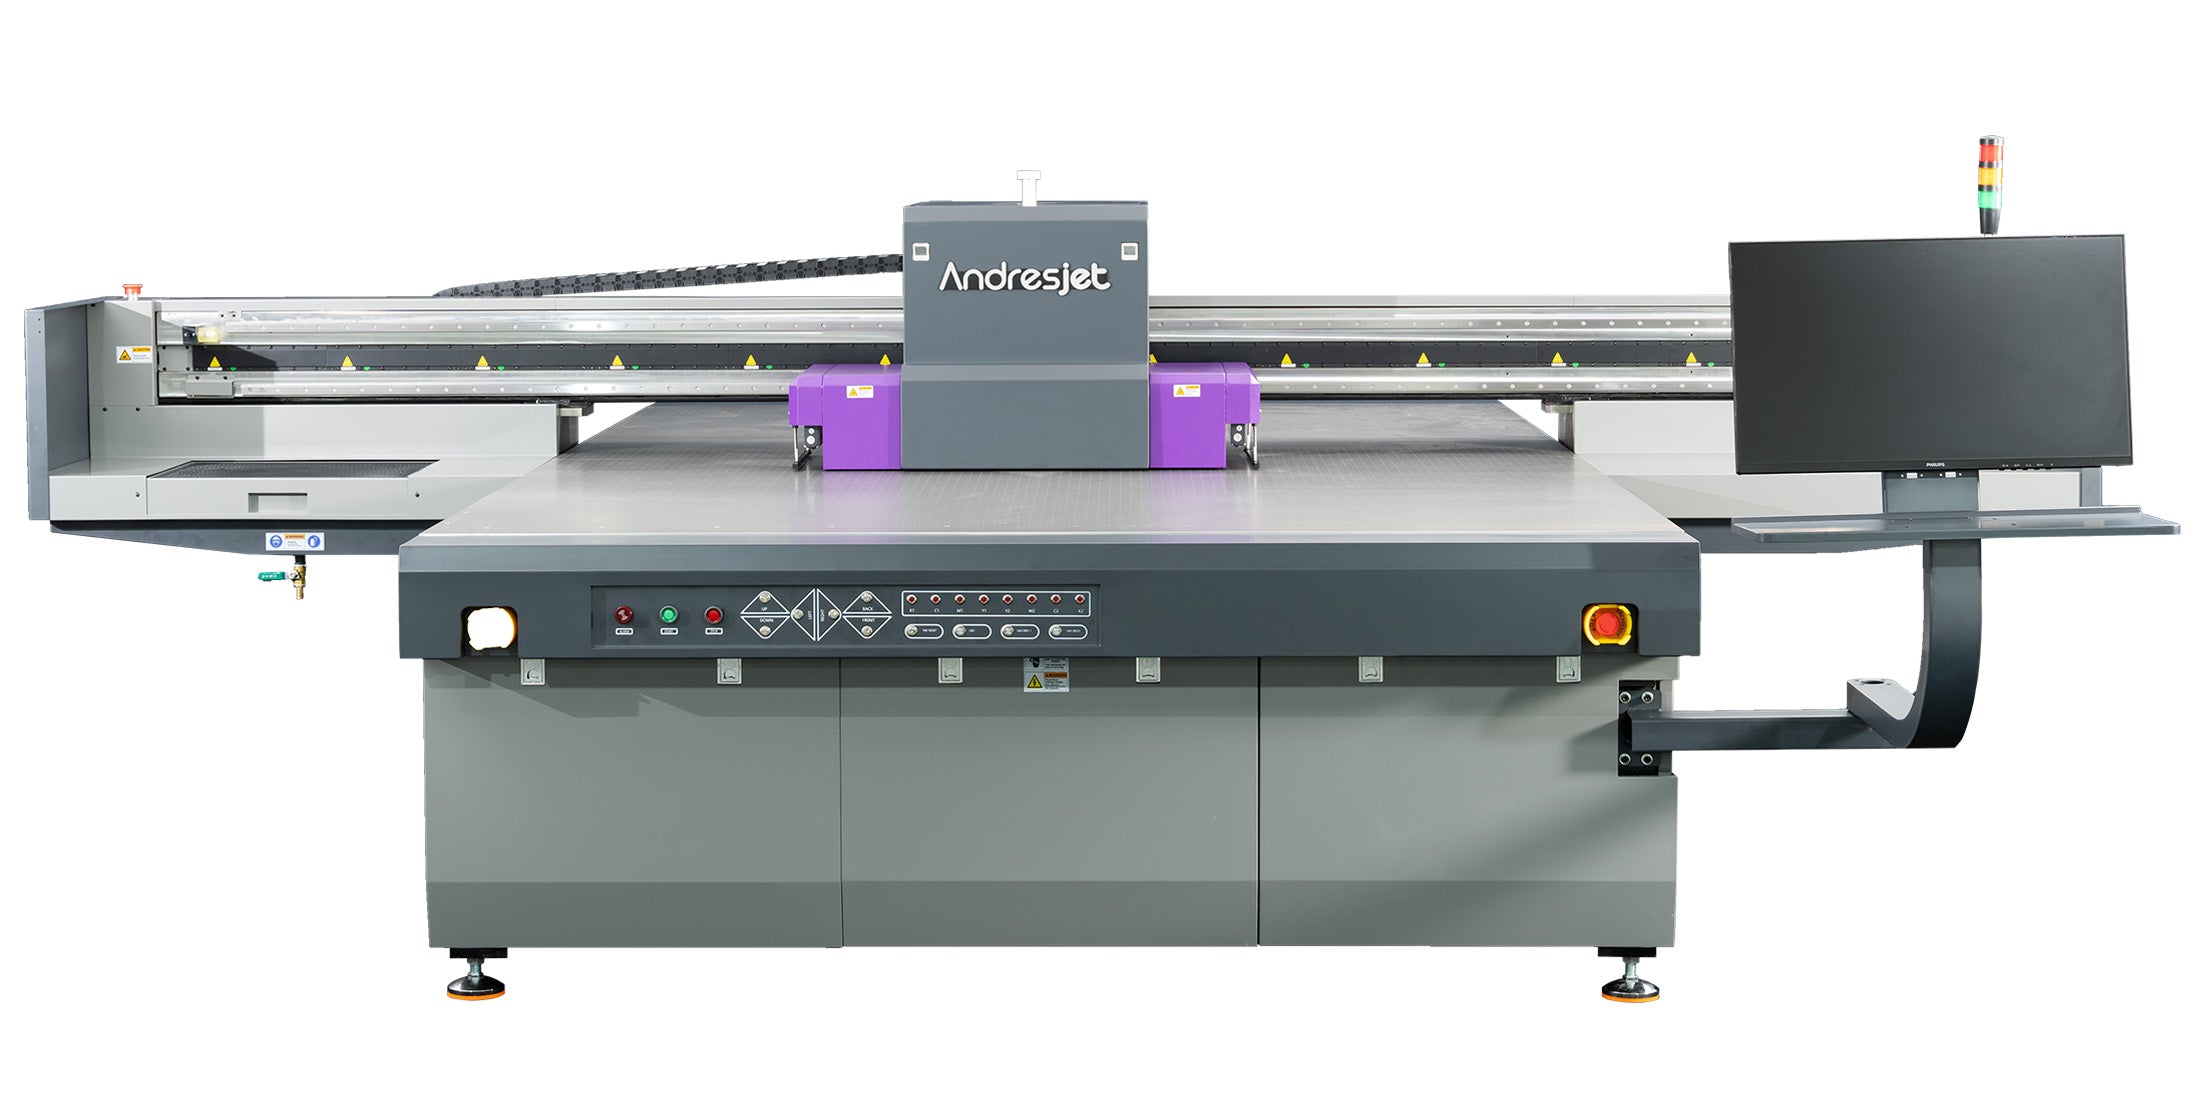
Review the AJ3220G/RCompare board utilization, loading, static control, inspection and cutting time—not only headline print speed—when several signs share one sheet.
Review the signage workflowRecord polymer, supplier, product code, coating or treatment, thickness, flute construction, printable face, color and production batch.
Dust and electrostatic charge can affect handling and print cleanliness. Use only a preparation method approved for the supplied sheet and ink workflow.
Confirm flatness, flute direction, edge condition, vacuum hold-down, origin, height and safe carriage clearance before production.
Repeat cutting, bending, mounting, staking, cleaning, packing and representative exposure before approving adhesion or durability.
Three current wide-format platforms
Start with the largest production sheet and the planned nested layout. Then compare loading access, workspace, flute orientation, flatness, hold-down, ink layers, inspection, cutting and real order mix. Published bed dimensions do not prove compatibility with every corrugated plastic sheet.
Standard sign-board platform
2100 × 3000 mm production
Large 3200 × 2000 mm platform
Actual finished output changes with sheet preparation, nested layout, artwork coverage, resolution, pass count, white or varnish layers, loading, static control, inspection, cutting and packing. Time an approved pilot before setting pieces-per-shift targets.
For a useful recommendation
A useful inquiry gives enough information to recommend and test a workflow. It should not rely on the material name or bed size alone.
Polymer, brand or trade name, product code, coating, surface treatment, sheet color, supplier, batch and storage condition.
Length, width, thickness, flute direction, flatness, edge condition, individual weight, pieces per bed and loading method.
Production file, smallest text or detail, color reference, viewing distance, ink coverage and required white or varnish layers.
Cutting, scoring, bending, mounting, stakes or frames, quantity, versions, cleaning, packing and indoor or outdoor exposure.
These answers are starting points. Final compatibility and durability should be confirmed with the supplied sheet and finished-sign workflow.
No. Corrugated plastic sign board is commonly fluted polypropylene, while PVC board is a different solid or foamed plastic construction. Trade names, resin formulations and surface treatments also vary. Identify the exact sheet instead of transferring settings or test results from PVC.
No single answer applies to every supplier, coating, surface energy, ink set and end use. Clean the sample using an approved method, print the intended ink layers, condition it and test adhesion. A suitable primer or other treatment may be required for some combinations, but it should be selected from evidence rather than assumed.
Keep sheets covered and clean, inspect both faces and use an approved lint-free and antistatic workflow before loading. Environmental conditions, wiping materials and ionizing or antistatic equipment may affect the process. Record the method used for the approved sample and repeat it in production.
No. The sheet must fit the printer's published area, clearance and loading limits and remain flat and safely held. Flute structure, curl, crushed edges and low stiffness can change hold-down and carriage clearance. Test the actual size and loading orientation.
There is no universal life from the printer or material name alone. Resin, surface treatment, ink layers, color, orientation, sunlight, temperature, moisture, abrasion, cleaning, mounting and location all matter. Define the exposure and acceptance criteria, then use a representative test or qualified weathering plan.
Test the production sheet
Share representative material, sheet dimensions, flute direction, artwork, finishing, quantity and exposure. AndresJet can review the application, identify a suitable current platform and arrange sample testing.
Practical production guide
A reliable pilot controls the sheet identity, preparation, static, layout, print layers and post-print handling so repeat orders can be compared with an approved physical result.
Prints digital artwork directly on a qualified flat sheet without making a screen. Material preparation, hold-down, adhesion, cutting and exposure still require control.
Can suit stable repeat quantities and limited designs, but screens, color setup and cleaning add preparation. Compare the complete order mix rather than one production step.
Adds a separately printed or cut layer and an application process. Edge lift, bubbles, adhesion, labor and finished-sign exposure should be assessed as a system.
Identify the sheet. Record polymer, supplier, product code, surface treatment, coating, color, thickness, flute direction and batch.
Inspect and prepare. Check dust, static, curl, crushed edges and printable face; use the approved cleaning or antistatic method.
Plan the bed. Set orientation, nested layout, margins, origin, safe height, hold-down and clearance without forcing an unstable sheet flat.
Print a controlled target. Test representative color, fine detail, ink coverage and any white or varnish layer on the actual production sheet.
Finish the sign. Cut, score, bend, stake, mount, clean, handle and pack it using the planned production sequence.
Approve and document. Record media batch, preparation, file, ink sequence, settings, layout, conditioning and pass/fail result.
“Coroplast” is widely used as a reference for fluted polypropylene sign sheet, but suppliers and product grades can differ in resin, surface treatment, coating, color, thickness and storage history. Two visually similar sheets may not produce the same adhesion or handling result.
Approve and record the actual supplier, product code and production batch whenever possible.
Orientation changes bending stiffness, cut behavior, stake insertion and how the board is handled. Fix the production direction before approving artwork and nesting.
Keep important content clear of cuts, folds, fasteners and frames. Inspect crushed or open flutes and confirm that finishing does not damage the printed face.
Use additional layers only when the approved design requires them. They affect opacity, appearance, production time and the adhesion test and should not be assumed.
Printer speed alone does not describe finished-sign capacity. A realistic pilot includes:
Time the approved process before committing to signs per shift or turnaround.
Representative production sheets, supplier, product code, coating or treatment, color, thickness, flute direction and batch information.
Production file, final dimensions, smallest detail, color reference, viewing distance, ink coverage and white or varnish expectations.
Cutting, scoring, bending, stakes, frames, fasteners, mounting, handling, cleaning and packing sequence.
Quantity, sizes, versions, turnaround, indoor or outdoor use and written approval and durability criteria.