


Decorative wall and interior panels
On-demand patterns, textures and branded graphics on qualified rigid sheets for interior fabrication workflows.
Review the AJ2130G/R



PVC and ABS sheets can vary in surface energy, additives, protective films and previous treatments. Before production, identify the panel grade, remove the protective film, clean the printable face consistently and confirm whether primer or another pretreatment is required.
A representative sample test should verify adhesion, scratch resistance, color, white-ink opacity and the required finish. This prevents printer selection from being based only on bed size or nominal speed.
Rigid panel printing overview
Direct UV printing can turn compatible rigid plastic sheets into signs, decorative panels, displays and fabricated components without conventional plates. The correct printer and print mode still depend on the panel grade, surface condition, artwork, finish, batch size and required production speed—not on the material name alone.
On-demand patterns, textures and branded graphics on qualified rigid sheets for interior fabrication workflows.
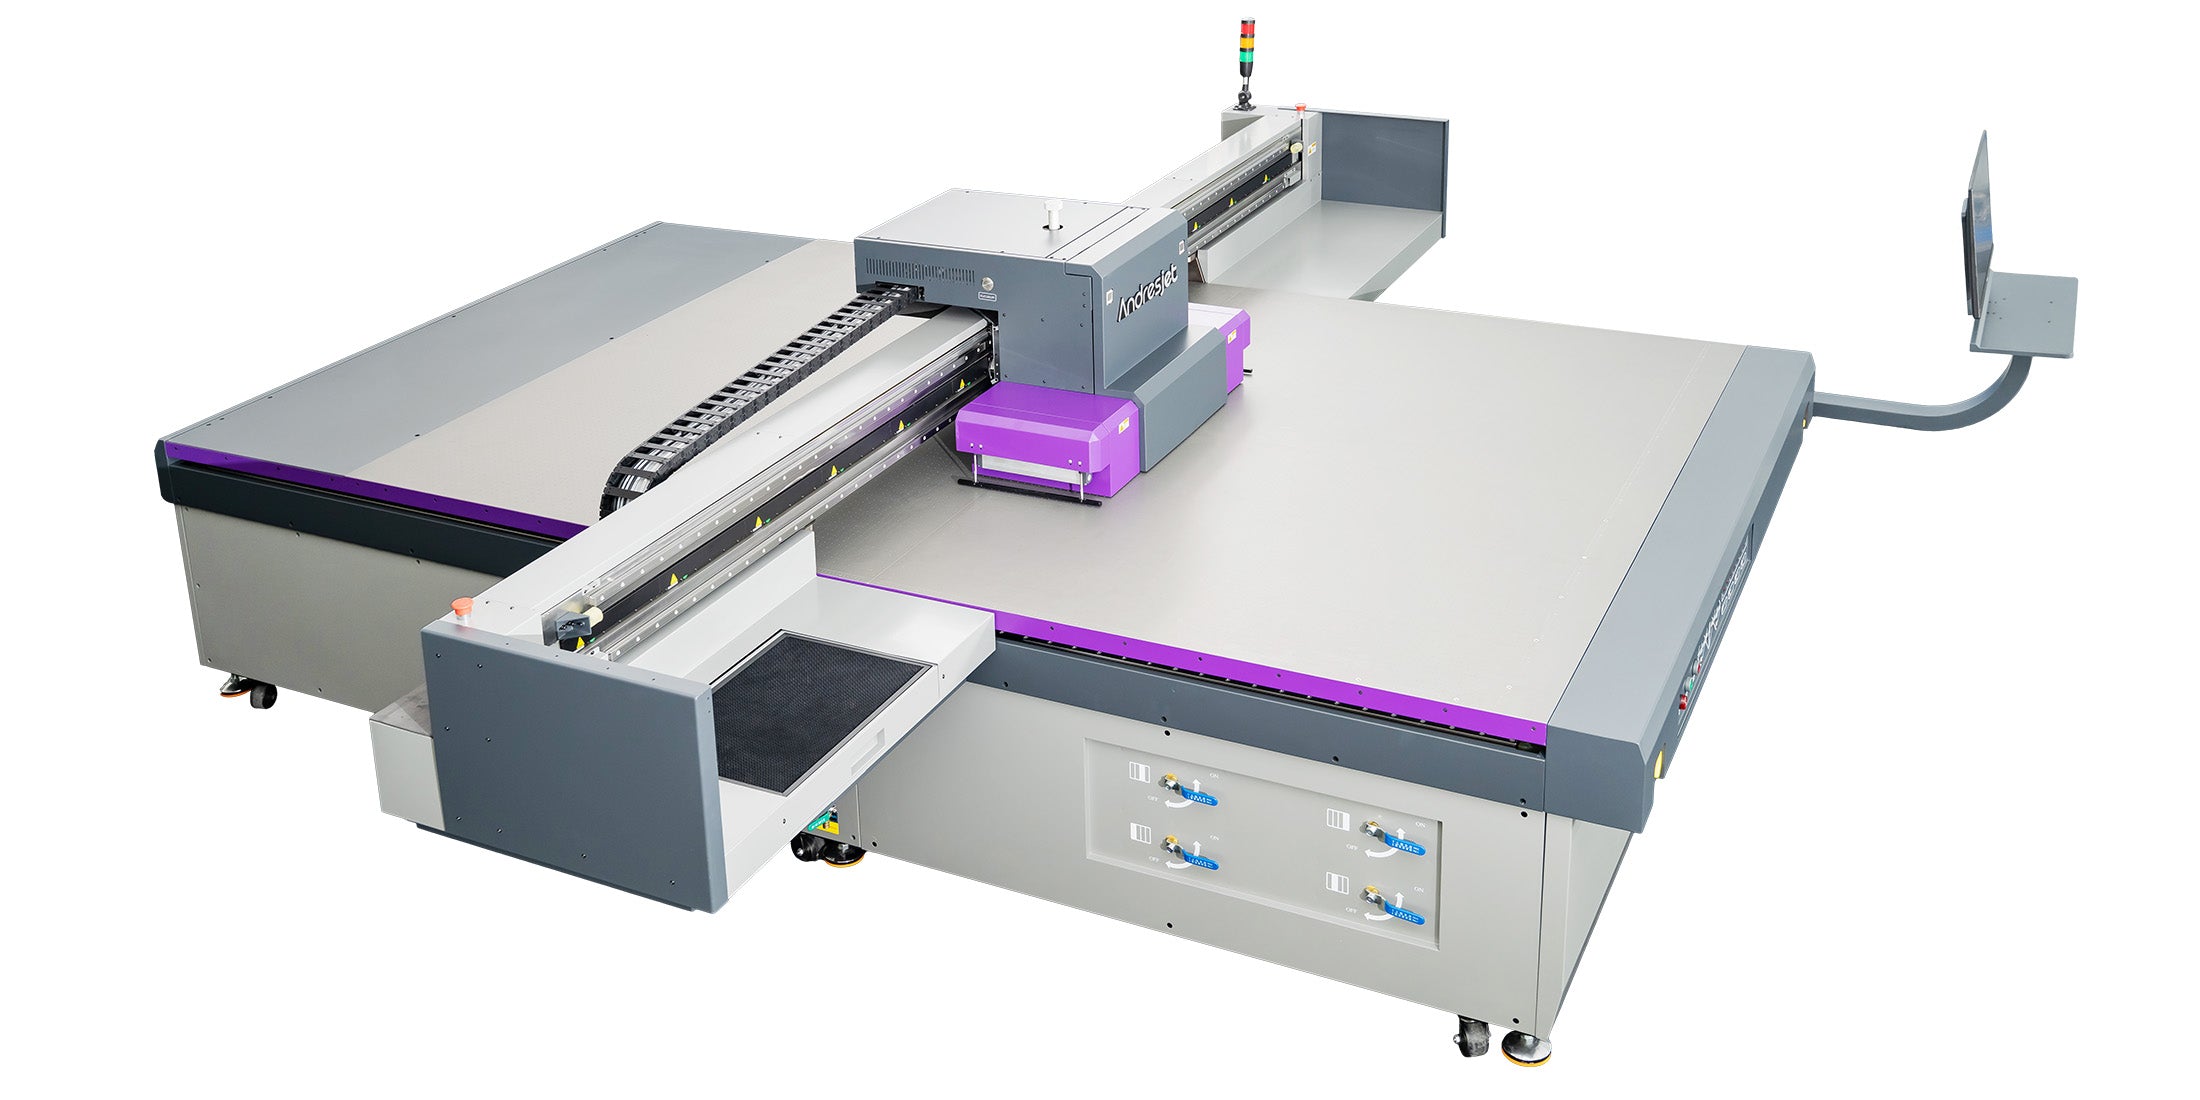
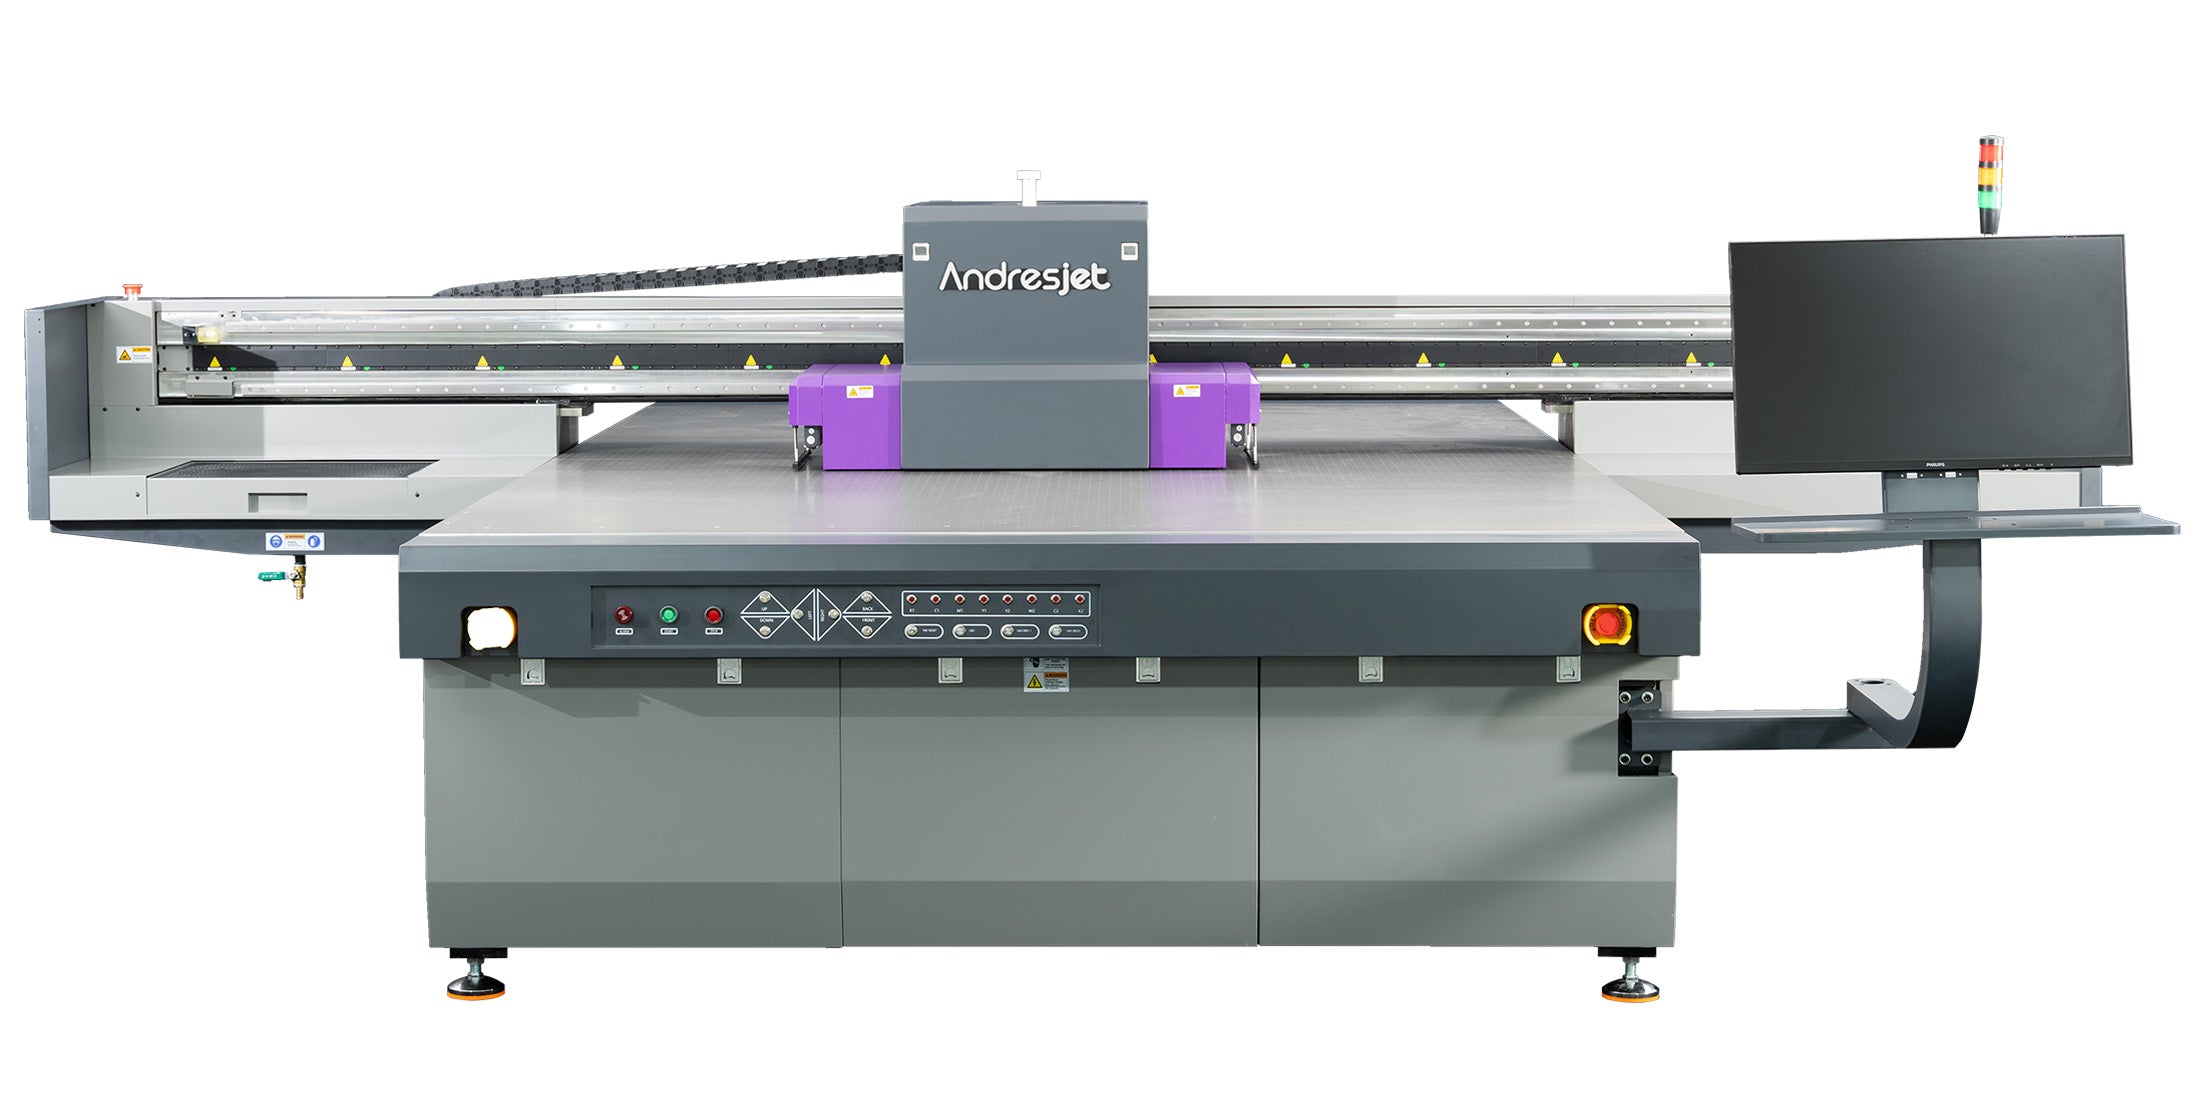
Review the AJ2130G/RShort and repeat production of graphics for rigid signs, point-of-sale panels and display components.
Review the AJ2130EXDirect decoration of compatible pre-cut parts where loading, orientation and the acceptance test are defined.
Request panel testingVariable designs and production batches planned around nesting, print mode, handling and inspection capacity.
Review the AJ2130UltraRecord the manufacturer, grade, color, thickness, coating, protective film and previous treatment before testing.
Use a repeatable film-removal, cleaning and pretreatment method approved for the actual panel surface.
Confirm that the sheet lies safely on the bed and that dust, curl, static and edge lift are controlled.
Evaluate adhesion, color, white opacity, finish and durability using an agreed sample and test method.
AJ2130 production choices
All three options use the 2100 × 3000 mm size class, but their published head configurations, ink choices and production levels serve different workflows. Confirm the final configuration, print mode and achievable output for your artwork in the quotation.
Configurable production
High-speed CMYK production
Maximum panel throughput
Published maximum figures are not a production guarantee. Actual output changes with resolution, pass count, direction, ink coverage, white or varnish layers, nesting, loading, unloading, cleaning, inspection and operator workflow.
Information for a useful recommendation
A material name and target speed are not enough for a reliable recommendation. Provide these four groups of information so AndresJet can assess physical fit, surface compatibility, configuration and realistic production output.
Sheet size, thickness, weight, flatness, printable area, pieces per bed and whether panels arrive as full sheets or pre-cut parts.
PVC or ABS supplier, grade, color, coating, texture, protective film, prior treatment and any approved cleaning restrictions.
Coverage, resolution, color reference, white or varnish requirement, viewing distance, adhesion test and expected handling or exposure.
Quantity per design, designs per shift, turnaround, inspection rate, working hours, available space, power and material-handling plan.
No universal material name guarantees adhesion. Resin formulation, additives, recycled content, coatings, contamination, protective-film residue and surface energy can differ between suppliers and batches. Test the actual panel after the intended cleaning or pretreatment and approve it against the required adhesion and durability standard.
Not always, and the answer should come from testing rather than assumption. Begin with the material supplier's guidance and a controlled cleaning method. Compare untreated and appropriately pretreated samples when necessary, then select the simplest repeatable process that passes the agreed test without damaging the surface.
White ink may be used as an underbase on dark or strongly colored panels, as a selective design layer or where greater opacity is needed. It adds ink, passes and production time, and it requires a printer configuration that supports the planned white workflow. Approve opacity, registration and cost with the actual artwork.
Start with the required ink configuration and acceptable print mode, then calculate output from the actual panel layout, artwork coverage and complete handling cycle. The G/R provides a configurable route for mixed production, while the EX and Ultra target progressively higher panel throughput. A representative print and timed workflow are more useful than comparing maximum speed alone.
Suitability depends on the specific plastic, ink system, pretreatment, color, exposure, cleaning chemicals, abrasion and service life required. Define the real use conditions and test adhesion, scratch resistance, weathering or chemical resistance accordingly. A compatible topcoat or laminate may be considered when the approved system requires additional protection.
From sample sheet to repeat production
A commercially useful result combines material compatibility, correct ink layers, stable sheet handling and a production cycle that meets the required output. Use this framework to prepare samples and compare printer configurations.
Confirm dimensions, thickness, weight, flatness, curl, edge condition and bed support. Control protective-film fragments, dust and static before the carriage passes over the panel.
Test the actual sheet after the intended cleaning or pretreatment. Evaluate whether surface variation, coatings or residue affect wetting, curing and adhesion.
Approve color, opacity, finish and the required resistance to handling, abrasion, cleaning, chemicals, light or weather under representative conditions.
Identify and label the panel. Record supplier, grade, batch, color, thickness, coating, protective film and the face intended for printing.
Prepare the surface consistently. Remove film and residue, control dust and static, and document cleaning or pretreatment products, tools and waiting time.
Print representative artwork. Include realistic coverage, gradients, small detail, solid areas and any required white or varnish layers using candidate production modes.
Allow the agreed conditioning period. Do not compare adhesion at inconsistent times. Record when the sample was printed and when each test was performed.
Evaluate against defined criteria. Inspect appearance and perform the agreed cross-hatch, tape, scratch, cleaning or exposure test appropriate to the finished product.
Run a timed pilot batch. Include panel loading, alignment, printing, unloading, cleaning and inspection to calculate achievable output rather than relying only on carriage speed.
Square-meter speed is useful for comparing print modes, but it does not by itself predict finished panels per shift. Begin with the sheet layout and printed coverage, then include resolution, pass count, uni- or bi-directional printing, white and varnish layers, edge margins and the number of panels that fit safely on the bed.
Add the time required for staging, cleaning, static control, loading, alignment, unloading, inspection, artwork changes and routine maintenance. A faster printer only improves finished output when upstream material preparation and downstream inspection can keep pace. Time a representative pilot batch and record the assumptions used.
Select the configuration that delivers an approved finished panel at the required rate—not the one with the highest isolated speed figure.
Send representative sheets from the intended supplier and batch, including any coating, protective film or fabrication already used in production.
Provide a real file or representative design with the intended color, coverage, detail, white underbase and varnish areas.
State how appearance, adhesion, scratching, cleaning, chemical exposure or outdoor durability will be judged and who approves the result.
Share panels per shift, designs per batch, operating hours, changeovers, inspection rate and the date by which finished work must ship.