






Foam-core display graphics
Produce interior presentation, event and retail display panels on qualified paper-faced foam core after confirming liner strength, edge condition, flatness and handling.
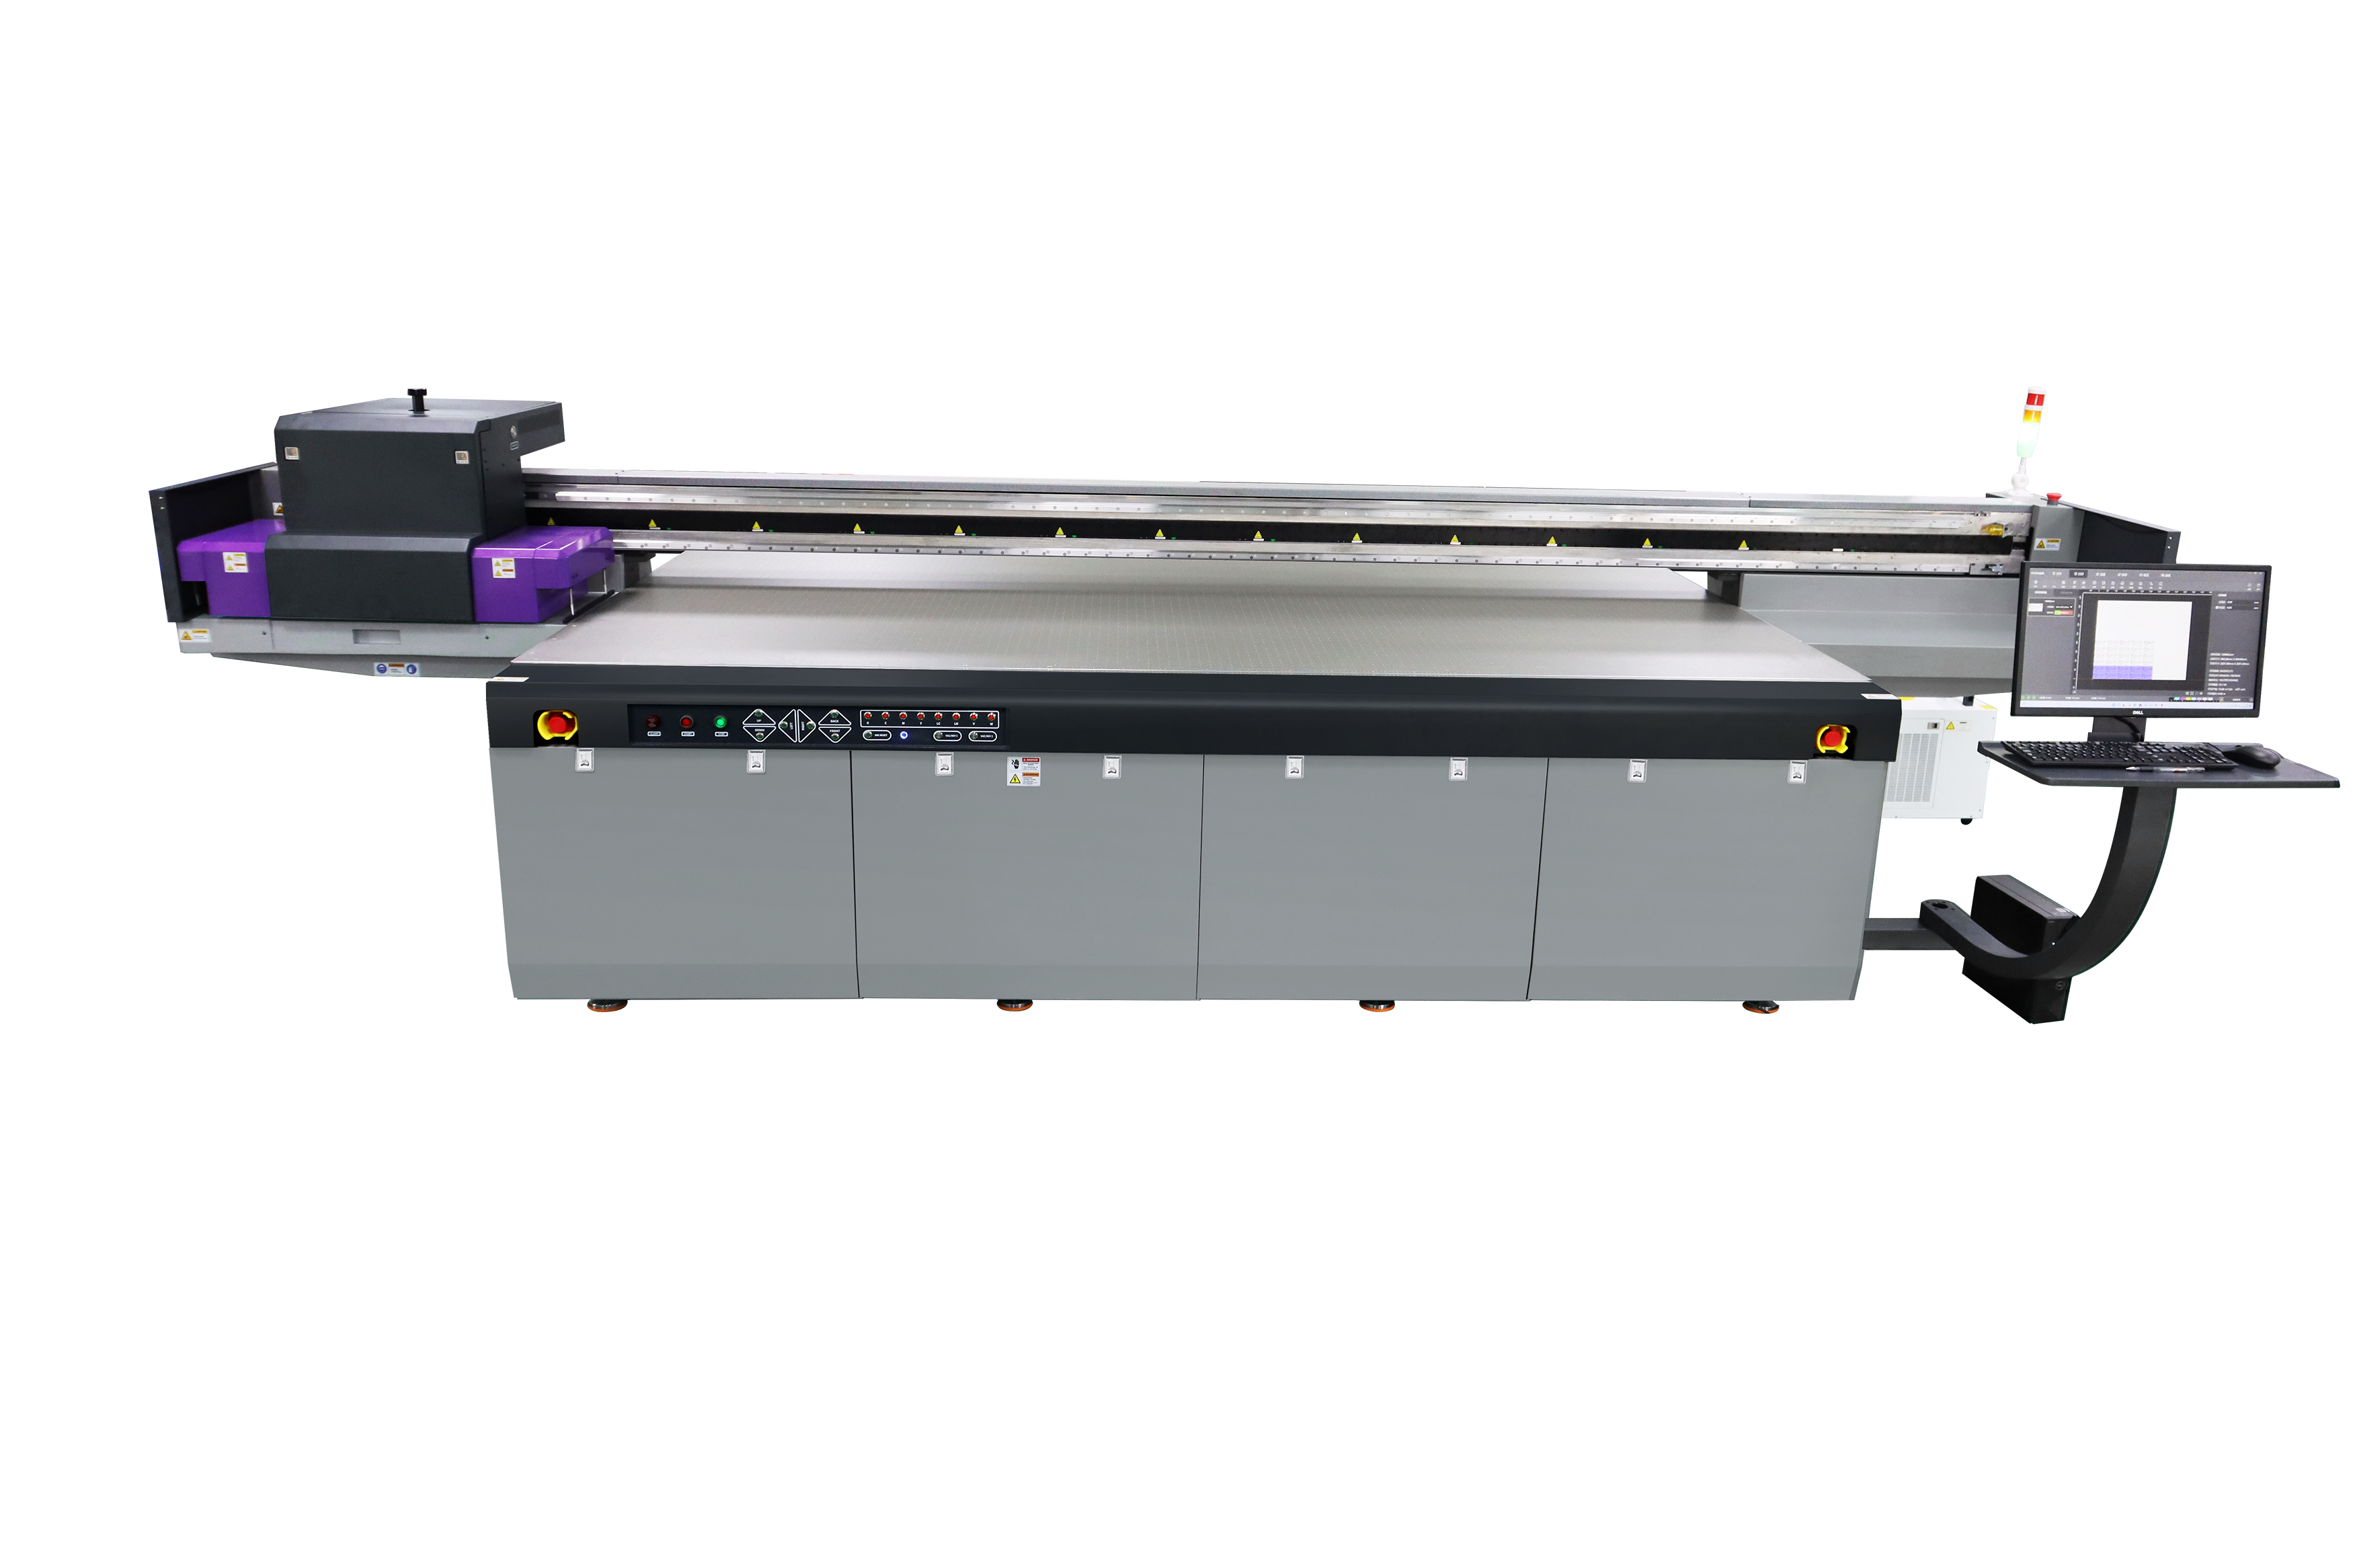
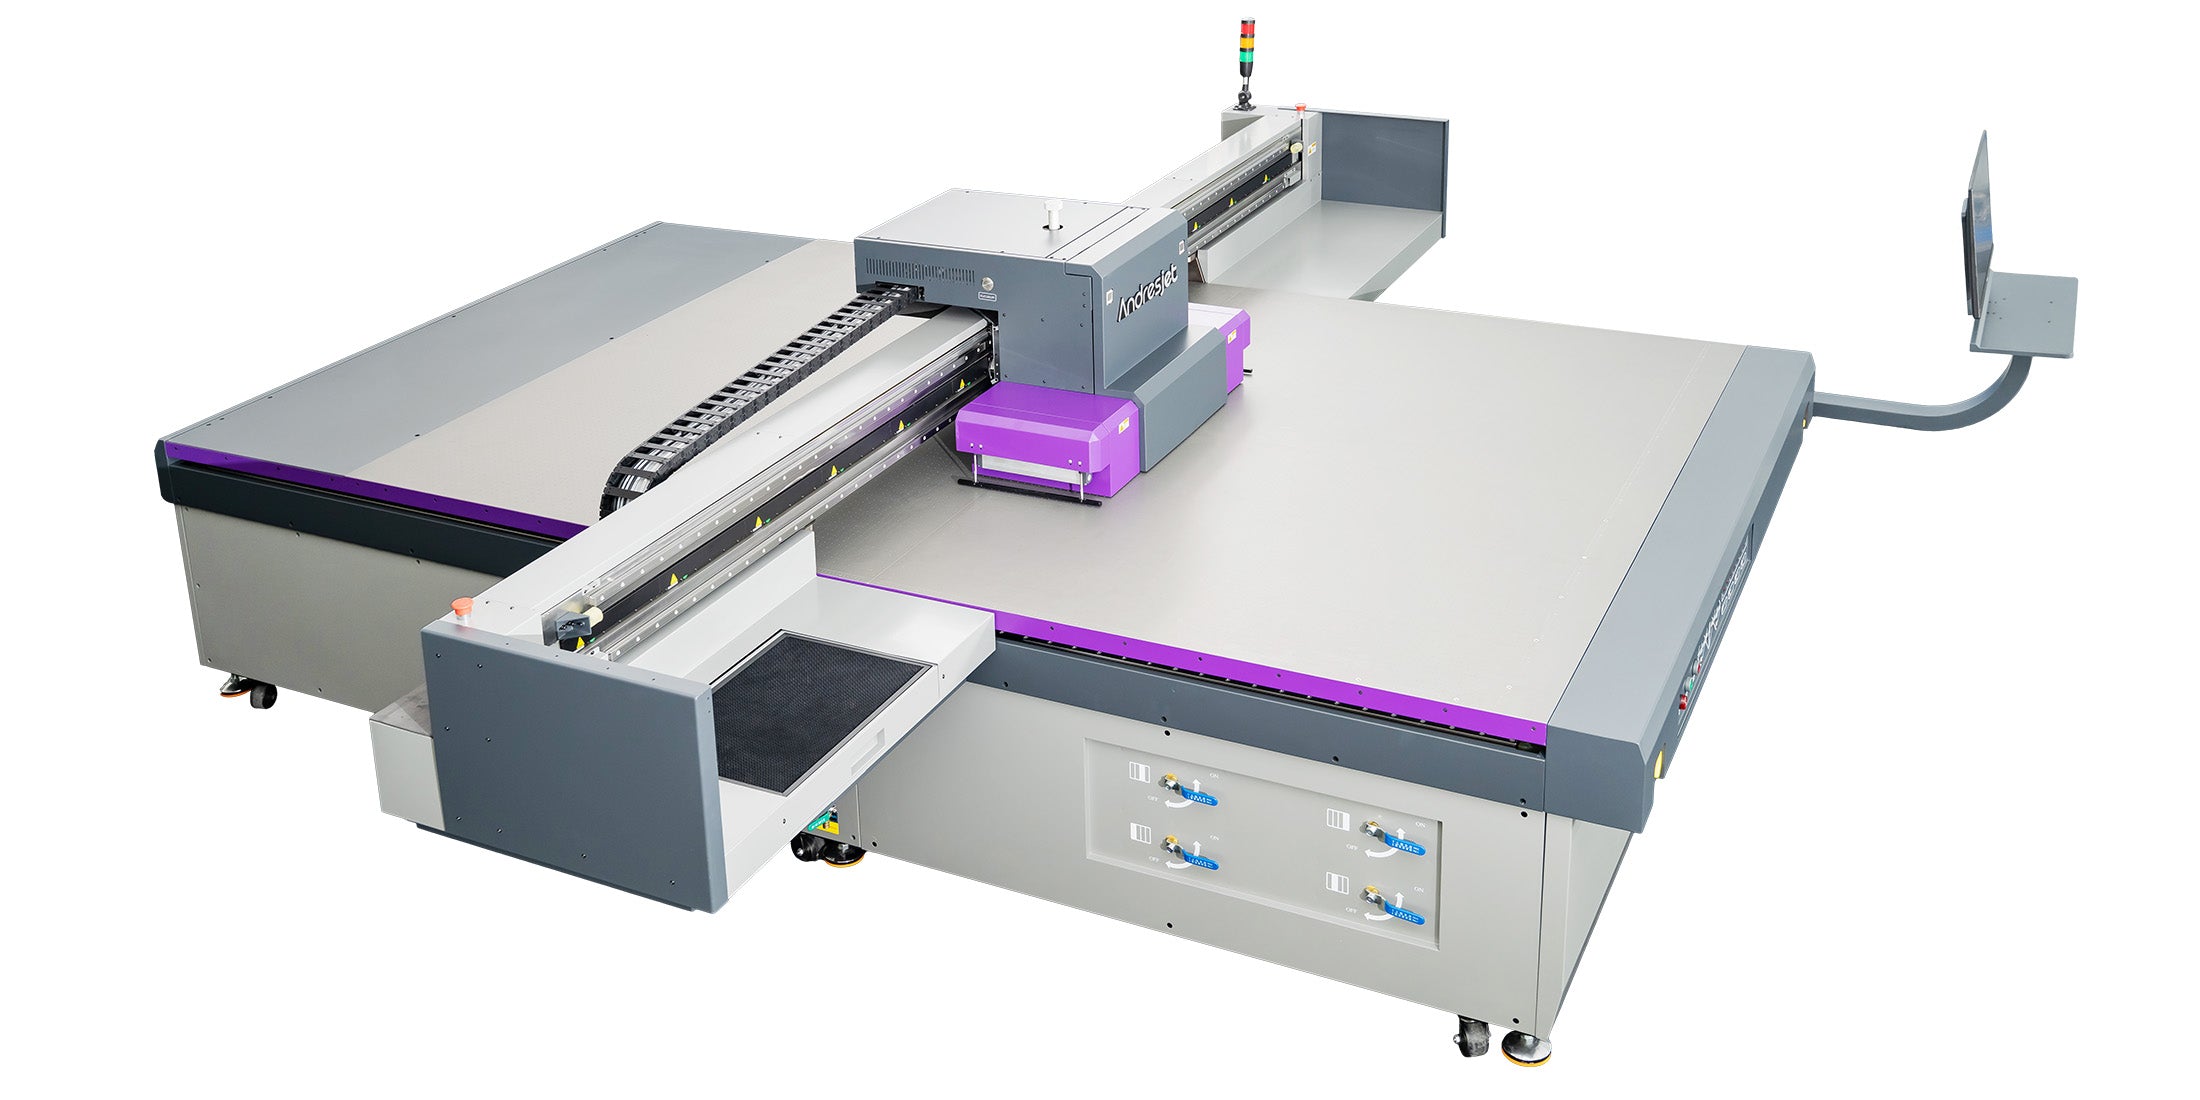
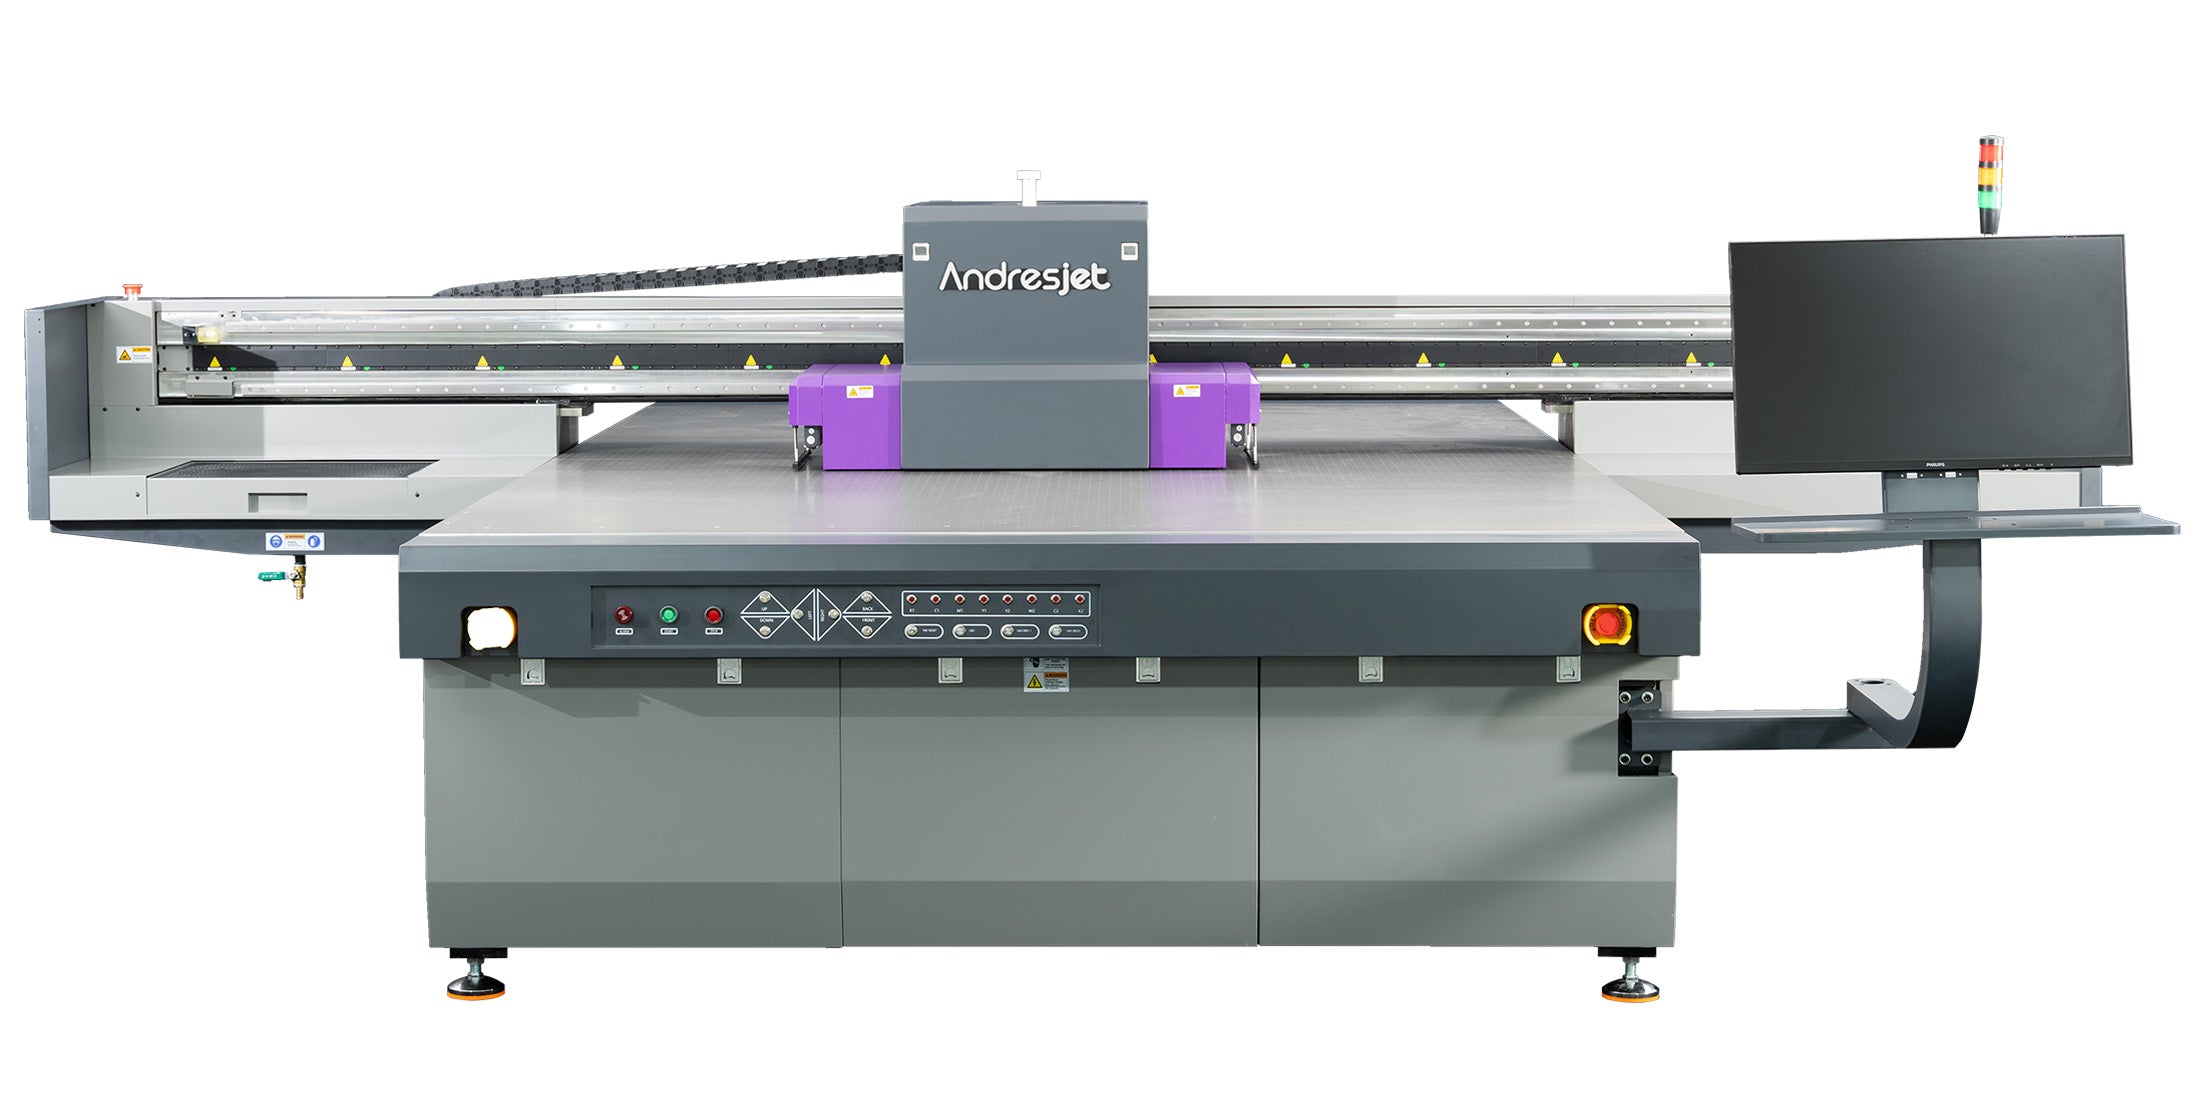
Review the AJ2130G/R

Paper-faced foam core and PVC foam sheet can look similar in a product photograph while using different faces, cores, densities and coatings. Confirm the supplier, product code, batch, printable side, thickness, flatness and intended environment before transferring settings from another board.
Measure the real sheet, inspect bow and edge damage, then compare representative color, white-ink and finishing samples. The approved test should use the same board construction and downstream trimming or mounting process planned for production.
Lightweight display-board production
Foam board is a commercial label used for different constructions, including paper-faced foam core and PVC foam sheets. Surface liner, core, thickness, flatness, static, edge condition, hold-down, ink coverage and end use can change the result. Identify and test the exact board before selecting a machine or promising output.
Produce interior presentation, event and retail display panels on qualified paper-faced foam core after confirming liner strength, edge condition, flatness and handling.
Review the AJ2130G/RArrange compatible boards, bleeds, cut marks and panel sequence on a 3200 × 2000 mm bed when the job format benefits from a wider platform.
Review the AJ3220G/RConsider a production-focused platform after one construction, artwork mode, loading plan and inspection standard have been approved and timed together.
Review the AJ3220EXSolid PVC and ABS panels have different weight, surface and handling requirements. Use the dedicated material route when the job is not a lightweight foam display board.
Compare PVC and ABS panel printersRecord paper-faced foam core, PVC foam or another board type together with supplier, product code, batch, facing, core, coating and intended use.
Check thickness, flatness, dents and raised edges. Use an approved loading and hold-down method without crushing a soft core or lifting into the carriage path.
Keep the face clean and dry, avoid damaged edges and test how the liner responds to ink coverage, white layers, curing and downstream trimming.
Inspect color, adhesion, surface appearance, edge integrity, cutting, mounting and the actual indoor or outdoor conditions required by the job.
Three current wide-format platforms
Start with the production sheet size and printable face, then compare construction, flatness, nested layout, loading, coverage and required output. A published bed size confirms machine geometry; it does not prove that every board sold as foam board is compatible.
Configurable 2100 × 3000 mm platform
Large 3200 × 2000 mm platform
Production-focused 3200 × 2000 mm platform
Actual output changes with sheet size, nesting, resolution, pass count, coverage, white or varnish layers, loading, cleaning, inspection, trimming and changeover. Time an approved production job before setting boards-per-shift targets.
For a useful recommendation
A useful recommendation needs the exact board and acceptance standard, not only the words "foam board" or a photograph of the finished display.
Supplier, product code, batch, paper or plastic facing, core, coating, color, thickness, sheet size, weight, flatness and any protective film.
Production file, printable side, bleed, color reference, smallest detail, total coverage, white or varnish requirement and no-print zones.
Pieces per bed, origin, hold-down, safe clearance, cut method, edge finish, mounting, lamination and handling sequence.
Typical quantity, artwork variations, turnaround, viewing distance, indoor or outdoor use, adhesion, rub, moisture and packaging requirements.
Compatibility and finished-display performance should be confirmed with the exact production board and intended use.
No. Paper-faced foam-core display board and PVC foam sheet differ in facing, core, density, surface chemistry, weight, edge behavior and end use. Record the full product identity and test each construction separately rather than transferring settings or durability expectations between them.
No. Liners, coatings, recycled content, protective films, surface energy, thickness, flatness and heat sensitivity vary. The board must also remain stable and safely below the carriage path. Use a representative sample from the intended production batch before approving the job.
It depends on the face color and desired opacity. A white board may not need a full white underbase, while dark or colored faces may benefit from a controlled white layer. Compare the actual color and white-layer constructions because added ink affects appearance, cure time and output.
Do not assume so from the print process alone. Many paper-faced foam-core products are intended for dry interior displays. Outdoor suitability depends on the board construction, ink and coating system, edges, mounting and exposure. Use a board specified for the environment and verify the finished sign.
Do not load a sheet that cannot remain safely flat or has raised edges within the carriage path. Separate damaged material, check storage and humidity, confirm the approved hold-down method and remeasure height and clearance. A stronger vacuum setting is not a substitute for an unsuitable board.
Test the production board
Share the supplier and product code, board construction, dimensions, photos, artwork, quantity, finishing and intended environment. AndresJet can review the application, identify a suitable current platform and arrange representative sample testing.
Lightweight display production guide
The material name is only a starting point. A dependable pilot identifies the facing and core, controls storage and flatness, tests the planned ink layers, then evaluates the trimmed and mounted display under its real use conditions.
Places the graphic on a qualified board face without first printing a separate sheet. It can simplify short-run artwork changes, but surface compatibility, hold-down and finishing still require testing.
Prints paper, film or another graphic layer and mounts it to the board. This separates printing from the board surface but adds adhesive, alignment, trimming and possible edge-lift considerations.
Applies cut or printed film for selected display work. Film type, adhesive, seams, bubbles, edge finishing and removal follow a different workflow from direct printing.
Identify the board. Record supplier, product code, batch, facing, core, coating, color, thickness, dimensions, weight and stated use conditions.
Inspect condition. Check protective film, dust, moisture, dents, crushed corners, liner separation, bow, edge lift and printable-side consistency.
Confirm safe loading. Verify bed layout, origin, hold-down, thickness, raised edges and carriage clearance without compressing the core.
Print controlled tests. Compare representative color, detail, coverage and any white or varnish layer while keeping settings and board identity traceable.
Finish the sample. Trim, mount, laminate or package it using the intended process; inspect the face, edges and any adhesive interfaces.
Approve the real use case. Check viewing appearance, handling and the actual indoor or outdoor exposure before releasing the production run.
Two white sheets can look similar while using different paper liners, plastic skins, foam chemistries, densities, coatings and recycled content. These differences can change static, hold-down, ink appearance, adhesion, edge behavior and sensitivity to handling or environment.
Approve the named production board and batch鈥攏ot a generic material nickname.
Allow the required bleed and keep critical content away from cut edges. Confirm whether trimming can crush the core or mark the printed face.
Use only when the approved visual result requires them. Extra layers change ink coverage and production time and must be included in the timed sample.
Map hooks, tapes, adhesives, frames and no-print areas so the graphic and finishing plan do not conflict during assembly.
Boards per shift depend on sheet size, pieces per bed, nesting, resolution, pass count, ink coverage, white or varnish layers, loading, hold-down, cleaning, inspection, trimming, finishing and artwork changeover. Compare machines with a timed job made from the intended board and files rather than a maximum speed figure alone.