

What Causes Cosmetic Packaging Print Defects?
- by John White
Curved surfaces? Print straight onto bottles, tubes and cylinders — no labels needed.

Defects in cosmetic bottle and tube decoration should be classified before settings are changed. Stop and label affected output, compare it with the last accepted sample, verify material and file identity, map where the defect repeats, then test one controlled variable. Adhesion loss, banding, color shift, pinholes, pooling, warping and handling damage have different causes and require different evidence.
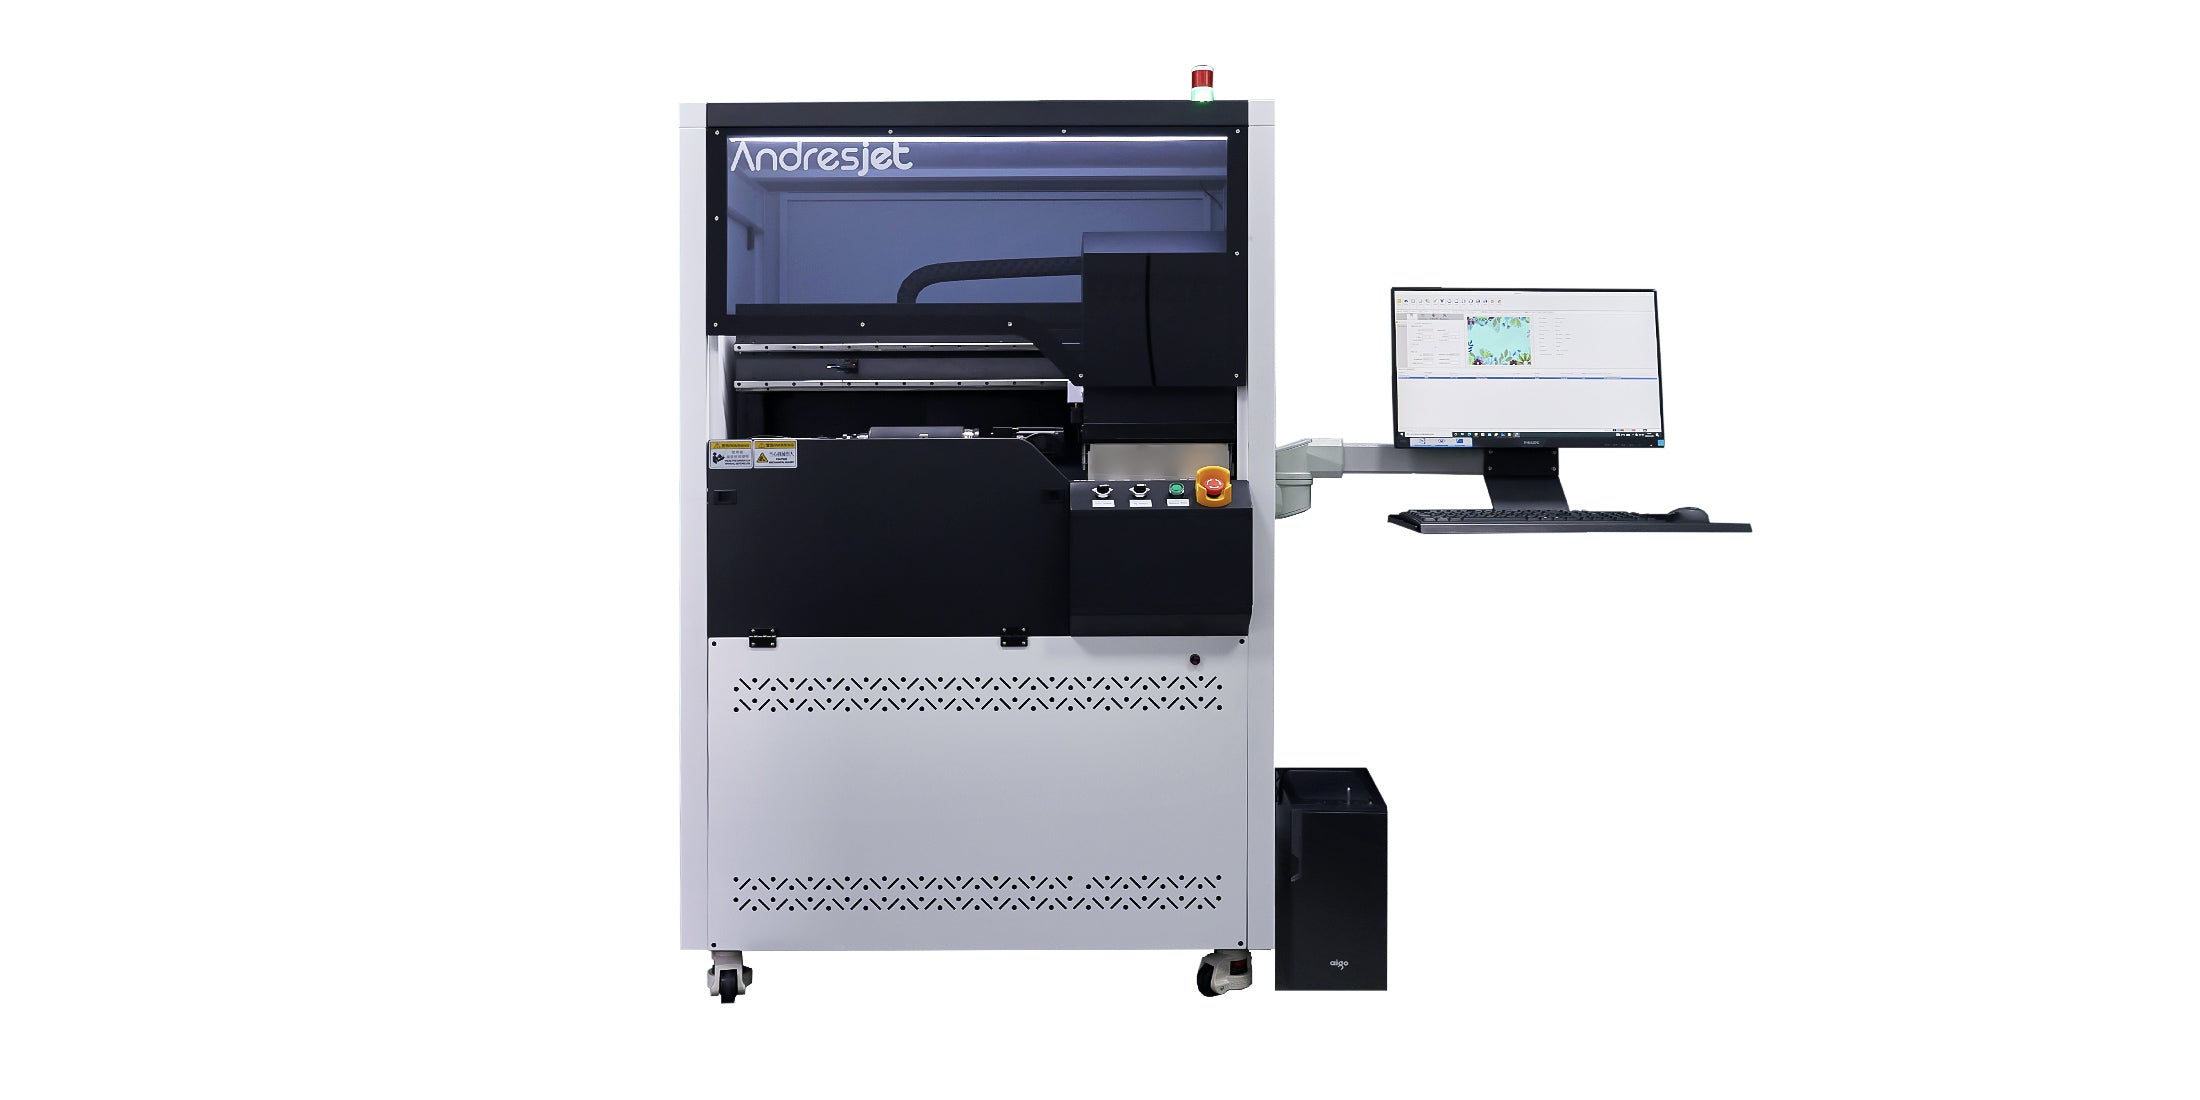
A defect map should identify type, location, direction, frequency and the first production stage where it appears. A mark repeated at the same carriage position suggests a different investigation from damage repeated at a stacking edge or variation that follows the material surface.
The cosmetic bottle and tube printer collection provides application context for curved and tapered packaging.
For cosmetic bottle and tube decoration, diameter, taper, seam position, coating, moulding variation and rotary datum can cause alignment or adhesion patterns that do not occur on flat samples. Preserve the failed sheet, last good sheet, material label and production file before cleaning the evidence away.
Adhesion loss can originate from contamination, a weak coating, unsuitable preparation, excessive deposit, cure mismatch or premature handling. Compare a control and identify whether the ink, interface or substrate coating failed. Do not add primer and cure energy simultaneously.
The operational consequence is not limited to rejection at the printer: weak output can fail during cutting, packing, installation or customer cleaning. Prevention is a qualified surface recipe plus an application-specific handling test.
Banding and color variation require checks of file, RIP preset, approved maintenance condition, print mode, substrate background and environment. Follow the manufacturer’s approved nozzle and maintenance procedure rather than improvising aggressive cleaning.
Artwork geometry and rotation setup are covered in the bottle UV artwork-alignment guide.
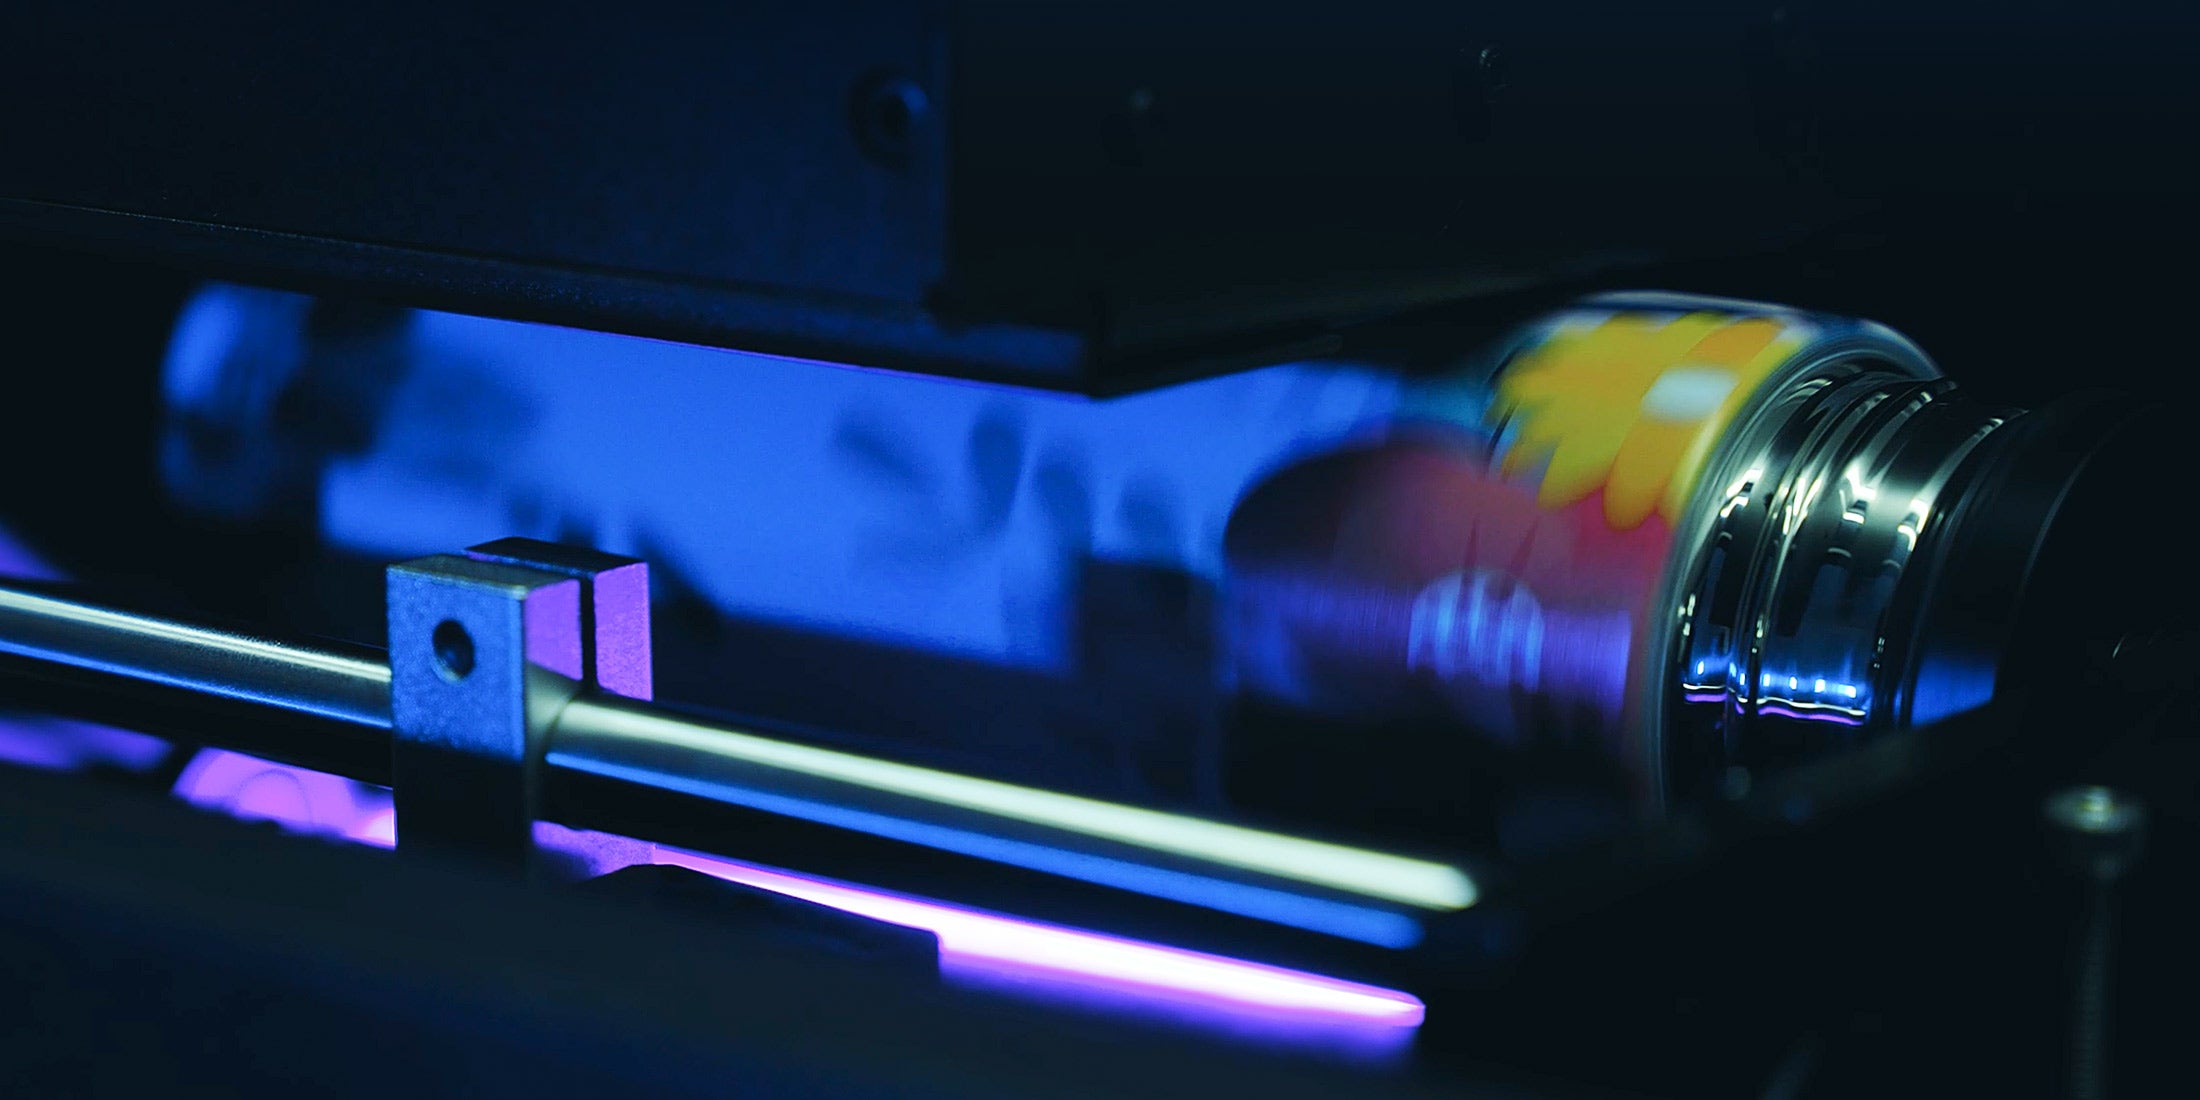
Compare against the same reference under stable viewing conditions. If the effect follows a material lot or surface zone, changing the ICC profile first may hide rather than solve the process variation.
Pinholes and pooling can follow dust, surface-energy variation, rough texture or an unsuitable ink deposit. Check rotation, circumference, fixture pressure and seam overlap; excessive heat or pressure can distort thin tubes and must be controlled. Heat-related distortion or clearance change should be treated as a material-and-process risk, not merely a cosmetic defect.
Reduce the investigation to one variable: cleaned control, alternative preparation, verified print mode or verified cure condition. Record the result before moving to the next branch.
| Defect | First evidence to check | Controlled action |
|---|---|---|
| Peeling or edge lift | Surface, coating, preparation | Compare approved control |
| Banding | File, mode, nozzle check | Restore documented condition |
| Color shift | Material lot, profile, viewing | Compare retained reference |
| Pinholes or pooling | Dust, texture, deposit | One preparation or mode test |
| Warping or scratches | Heat, clearance, handling | Simulate production handling |
Use this order: stop and identify affected output; preserve the last accepted reference; confirm file and material; map the defect; inspect preparation and loading; perform the approved maintenance check; verify RIP and print recipe; change one variable; repeat the limiting test; document release or rejection.
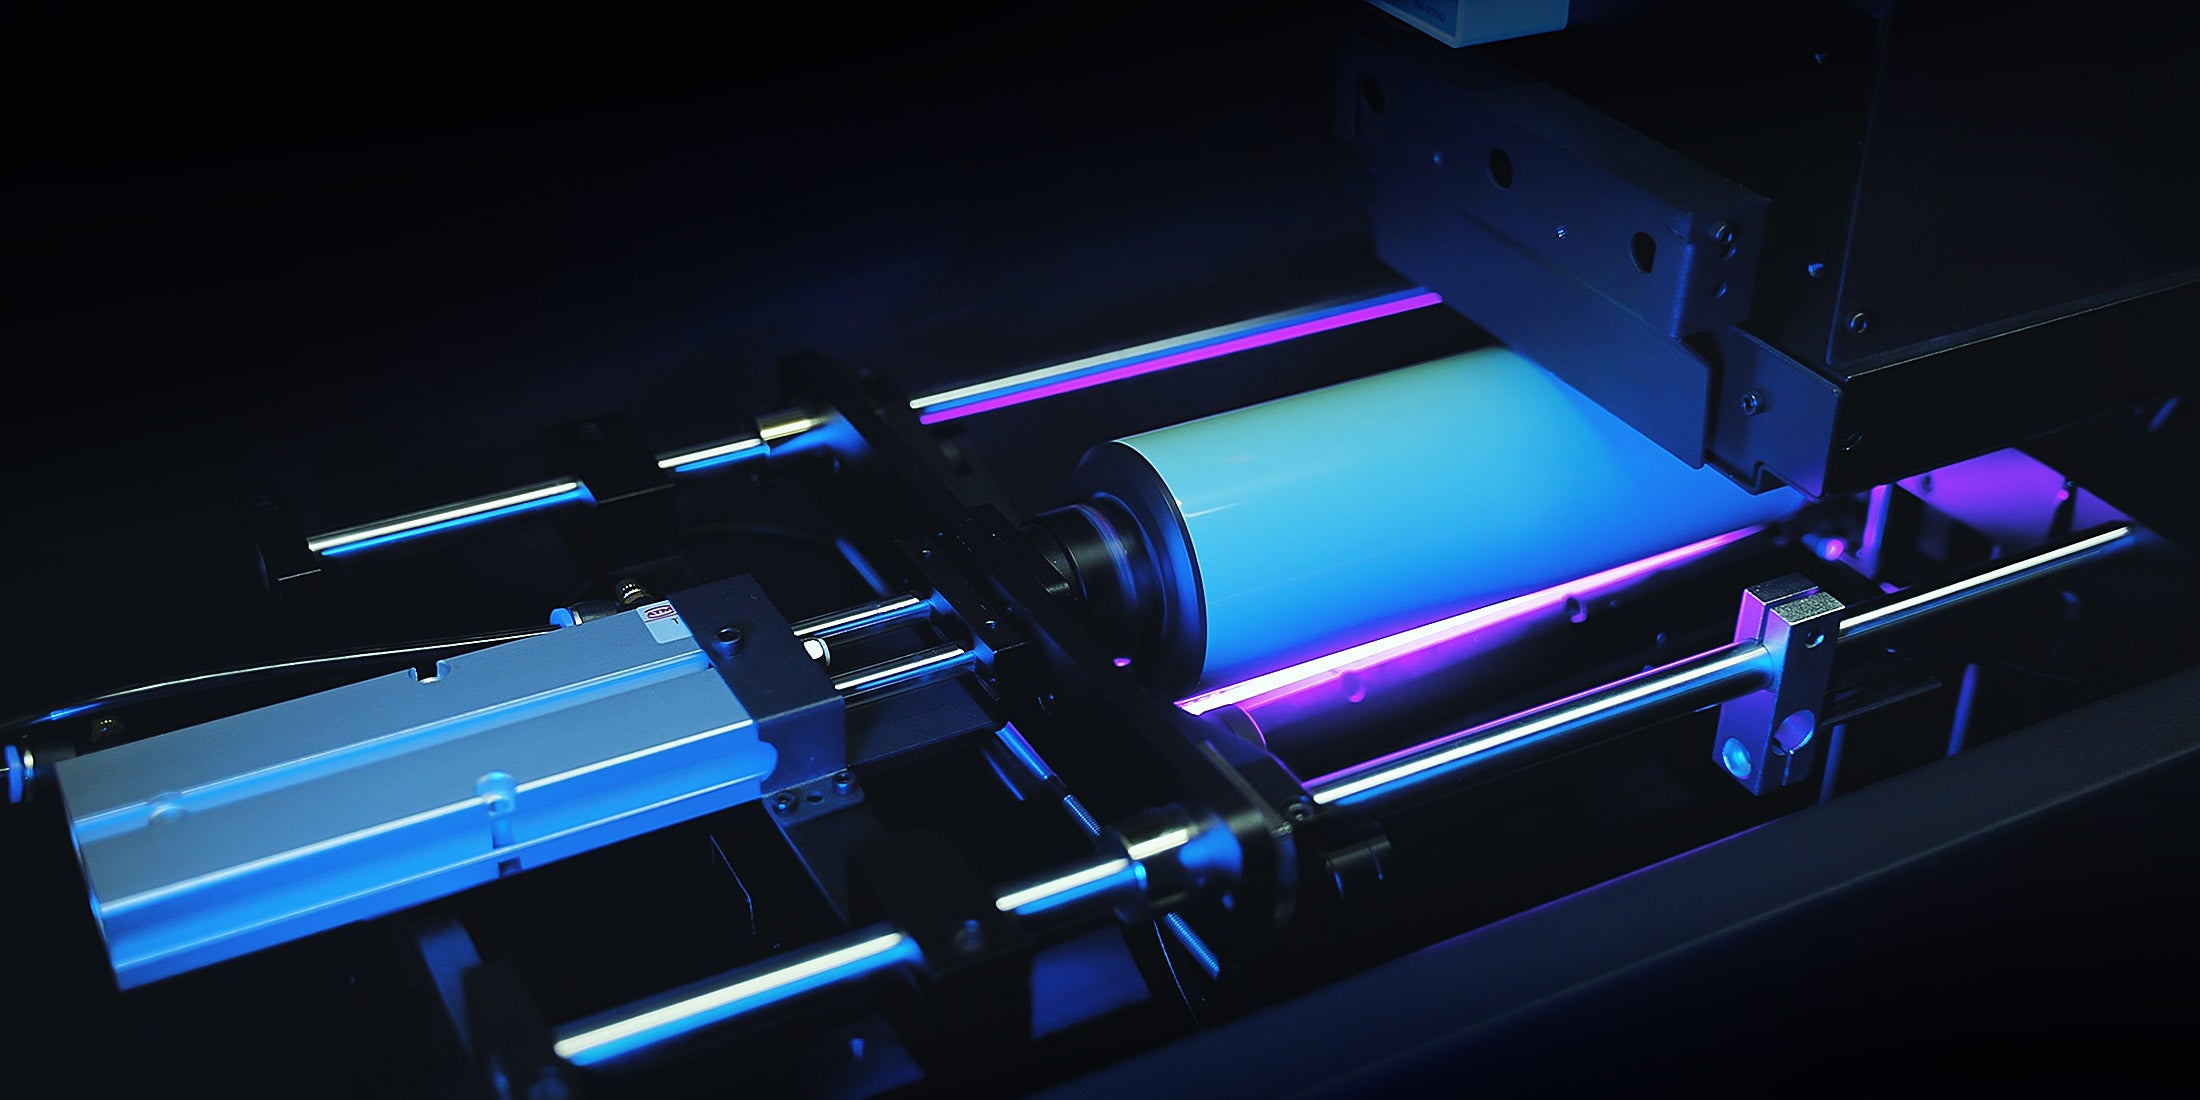
Production should stop when a repeated defect can affect acceptance, traceability, safe clearance or downstream converting. Continuing to print while experimenting increases the suspect quantity and weakens root-cause evidence.
AndresJet can help define the test sequence, but a remote description cannot establish the cause without the specimen, material lot, file, configuration and production record. That limitation should remain visible in any corrective-action report.
Use the AJ360i product page for published configuration details, then test the actual container, coating and artwork.
Cosmetic packaging defects should be separated by surface, rotational position, artwork layer and production stage before settings are changed. Curved geometry, coatings and seam behavior make a preserved sample and defect map especially valuable. AndresJet can support AJ360i application testing, while the buyer approves the actual container family, decoration area, appearance and handling criteria.
Verify measured circumference, artwork width, scaling, rotary calibration, taper and the defined seam allowance before changing the image.
Check fixture seating, rotational zero, file layers, registration and whether the container moves during the cycle.
Stop for repeated misregistration, unsafe container movement, adhesion loss or distortion that can affect acceptance or downstream filling/packing.
 UV Printer Installation, Commissioning and Operator Training: What Buyers Must Plan For
Knowledge
How a Pre-Order UV Printer Sample Test Works: What to Send and What You Get Back
Knowledge
UV Printer Installation, Commissioning and Operator Training: What Buyers Must Plan For
Knowledge
How a Pre-Order UV Printer Sample Test Works: What to Send and What You Get Back
Knowledge
 Order to Delivery: How UV Printer Lead Time Is Actually Built
Knowledge
What MOQ Applies to a UV Printer Order, and When Customisation Changes It
Knowledge
Order to Delivery: How UV Printer Lead Time Is Actually Built
Knowledge
What MOQ Applies to a UV Printer Order, and When Customisation Changes It
Knowledge