

Straight-sided bottles
Measure the body diameter, printable length, base and shoulder transitions, cap clearance, parting lines and the intended artwork seam on the actual container.

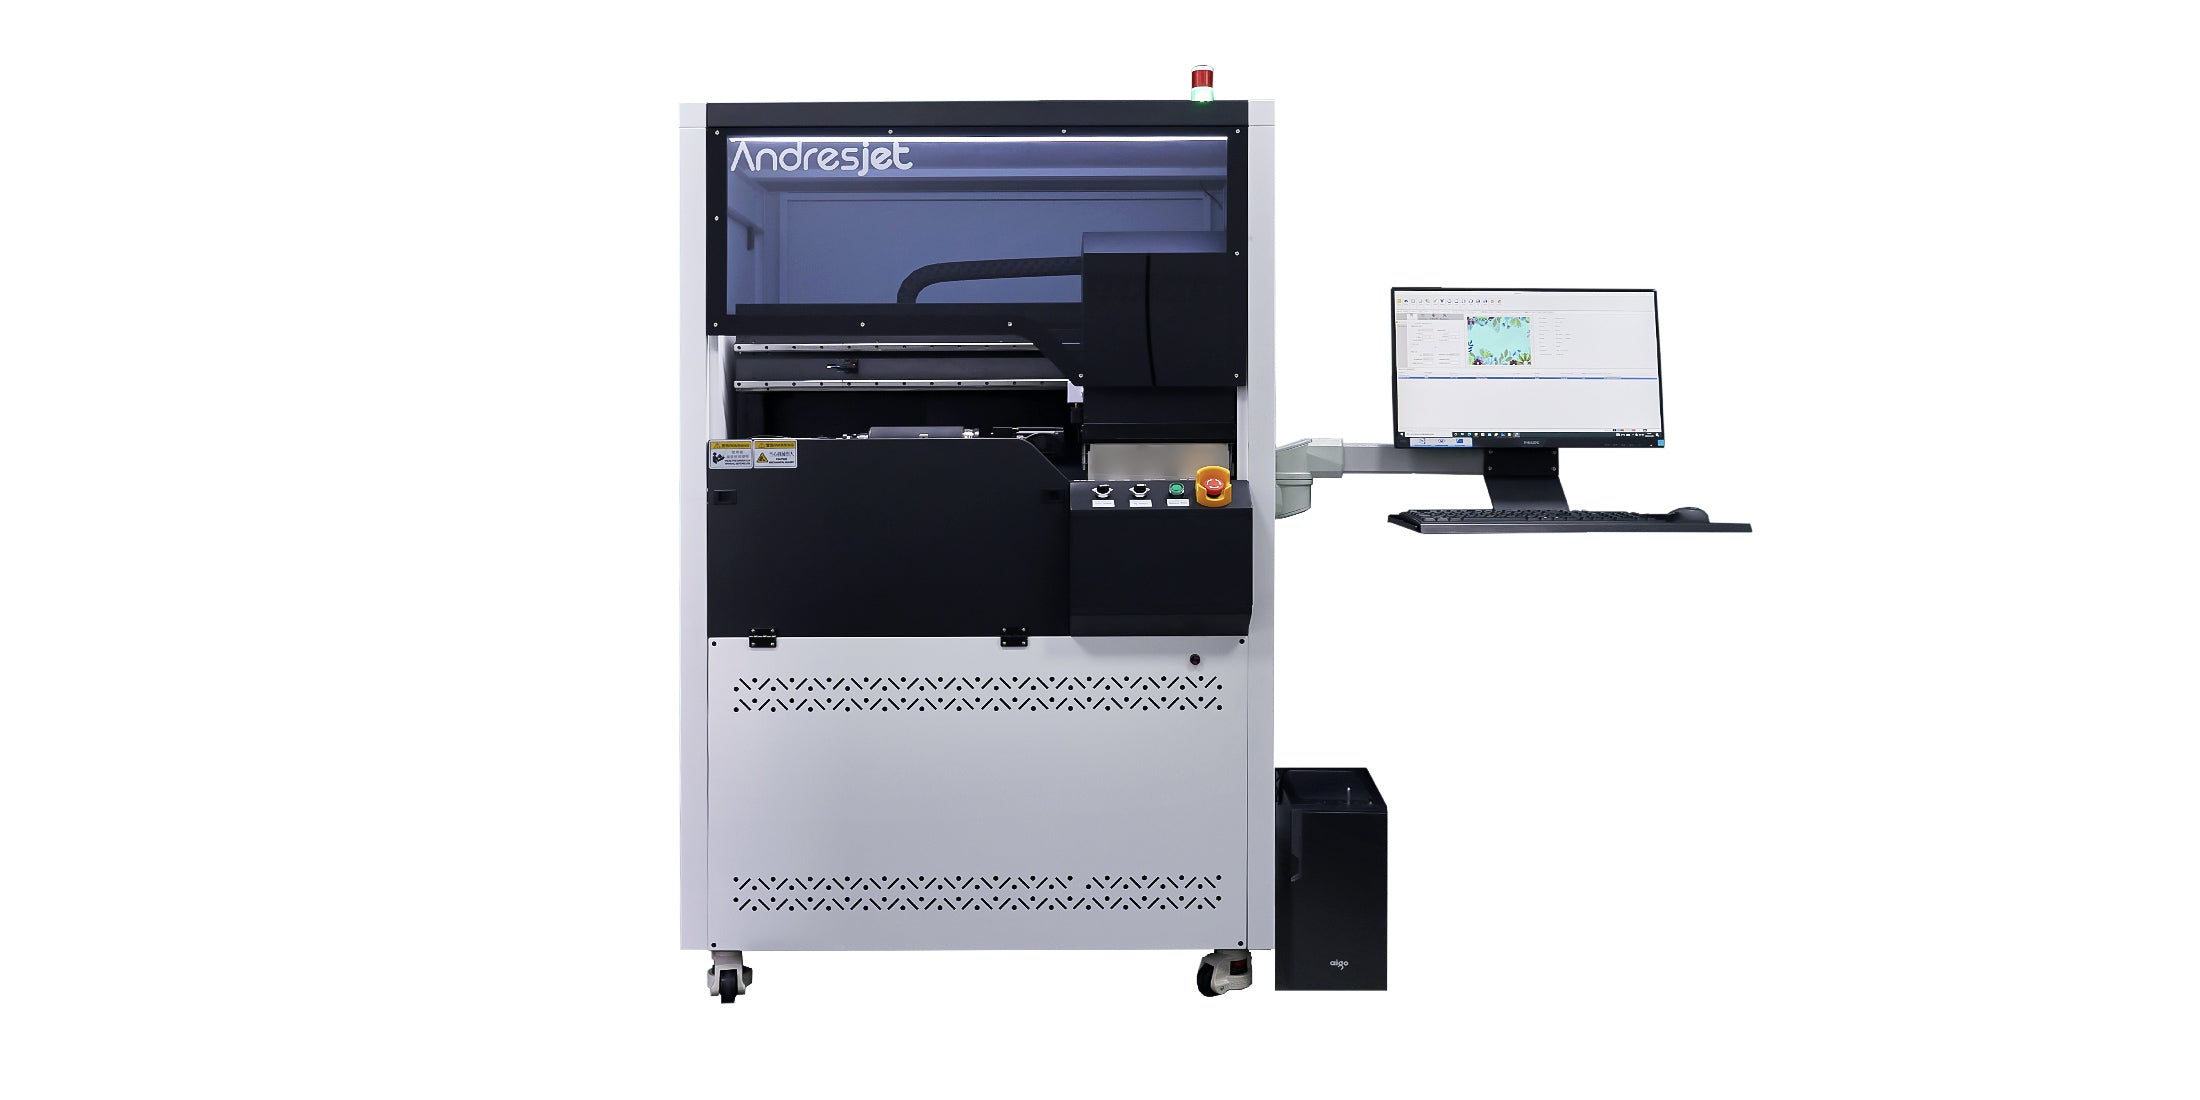
Transform your products with the AndresJet AJ360i. This direct-to-object printer is built to apply breathtaking, seamless graphics onto a wide variety of cylindrical and conical items with exceptional speed and reliability.
Direct-to-Shape: Prints flawlessly on both straight-walled cylinders and tapered vessels
Full-Spectrum Ink: Features CMYK, White, and Varnish for incredible depth and quality
24/7 Uptime: Engineered for continuous, around-the-clock industrial production
Dedicated Local Support: Access expert teams in Asia, the EU, and the USA

Measure representative production containers at the proposed fixture and print zones. Record the diameter, taper, usable sidewall, shoulder and base transitions, closure clearance, exterior surface and the intended artwork seam.
Print the required color, white and varnish layer tests on the actual pack. Keep the approved sample tied to the container SKU, supplier, batch, fixture, files, preparation method and inspection criteria before repeat production is released.
Cosmetic-container decoration planning
Cosmetic bottles and rigid tubes can look similar while differing in diameter, taper, shoulder shape, closure interference, exterior surface and viewing conditions. Start with the exact empty pack, define the printable sidewall and artwork seam, then confirm the fixture, ink construction, durability checks and finished-pack requirements with representative samples.
Measure the body diameter, printable length, base and shoulder transitions, cap clearance, parting lines and the intended artwork seam on the actual container.
Record the taper angle across the proposed print area. A general product description is not enough to confirm rotary support or image mapping.
Confirm that the tube body is rigid enough for the intended fixture, that the diameter fits the selected range and that the closure does not interfere.
Viewing side, pack color, transparency and desired opacity affect artwork preparation, white-ink construction and the way color is approved.
Record supplier, product code, material description, color, coating, dimensions and production lot before sample work begins.
Define fixture contact, support points, cap or shoulder clearance, loading orientation and the position used for the artwork seam.
Prepare color, white and varnish only where required by the approved design, container color and viewing condition.
Use the intended cleaning, filling, handling, closure, packing and brand-approval conditions to define appropriate exterior tests.
Current AndresJet cylinder route
The current AJ360i product page identifies a cylinder and taper platform with the following published ranges. They help screen container geometry; they do not replace fixture, surface, artwork or finished-pack testing.
Cosmetic bottle and rigid-tube candidate
Do not infer compatibility from diameter alone. Shoulder transitions, taper, wall rigidity, fixture contact, closures, exterior surface, seam location and inspection requirements can change the result. Test the exact container and record the approved setup.
For a useful recommendation
A useful review connects the real empty container, closure, exterior surface, artwork, order quantity, filling route and acceptance criteria.
Representative empty packs with supplier, SKU, material description, dimensions, taper, wall rigidity, cap and batch information.
Color, transparency, coating, decoration side, current cleaning or pretreatment process and required adhesion or resistance checks.
Printable area, seam position, viewing side, color reference, white or varnish layers, variable versions and no-print zones.
Quantity by SKU, changeovers, inspection, filling stage, closure installation, handling, packing, storage and regulatory ownership.
These answers are a qualification starting point. Final equipment and settings should be confirmed with the exact container, artwork and production route.
No. The published diameter, taper and print-length ranges are only the first screen. The container must also suit the fixture, provide a usable exterior decoration area and pass surface, artwork, handling and finished-pack testing.
Measure representative production containers at the actual fixture contact and print zones. Confirm which current base or optional range is intended, then review support points, closure clearance, taper and changeover requirements with AndresJet.
Approve the design under the real viewing condition. Clear, colored and dark packs may need different white-underbase, color and varnish constructions. The required layers should be determined with printed samples, not a generic material rule.
Do not assume it can. Define the stable rotating sidewall and no-print zones first. Shoulder transitions, bases, caps, pumps and other interruptions can change head clearance, fixture support, image distortion and the usable print area.
No. Supplier, resin, coating, color and surface condition can vary. Keep the approved sample and process record tied to the named container SKU, and establish incoming checks and revalidation rules for material or supplier changes.
Test the real empty packs
Share representative packs, dimensions, supplier and surface information, print area, artwork layers, quantities and finished-use tests. AndresJet can review the current AJ360i route and arrange sample testing without treating one sample as approval for unrelated containers.
Practical container qualification guide
Direct decoration begins with the physical package, not the marketing render. Container geometry, exterior surface, closure, artwork construction, filling route and finished-use requirements must remain connected from sample approval through repeat production.
Confirm diameter, taper, length, wall rigidity, shoulder and base transitions, closures, seams and the stable rotating print zone.
Identify the named substrate, coating, color, transparency, contamination risk, preparation method and required durability checks.
Record when decoration occurs, how containers are filled and closed, what handling follows and who owns compliance approval.
Freeze the sample set. Identify representative container and closure SKUs, suppliers, batches, dimensions, colors and exterior surfaces.
Map the usable print zone. Define the stable sidewall, seam position, viewing side, no-print areas and closure or shoulder clearance.
Review the current fixture route. Confirm diameter range, taper, support points, loading orientation and whether a current standard or reviewed optional route is appropriate.
Build and print the layer test. Compare color, white and varnish constructions using the intended preparation, resolution, passes and curing conditions.
Test the decorated pack. Evaluate placement, color, opacity, seam, adhesion and the handling or resistance conditions defined by the brand and pack owner.
Record the approved process. Keep the container SKU, fixture, files, layer construction, settings, inspection criteria and approved sample together for repeat work.
This page addresses exterior decoration qualification. It does not establish cosmetic-contact, food-contact, migration, chemical-resistance or regulatory compliance. The brand, pack owner and relevant suppliers should define applicable requirements and approve the complete finished-pack process.
Approve the exact exterior decoration and the complete packaging route under the requirements that apply to the finished product.
Define the viewing side and compare transparent, white-backed and selective-white constructions under the intended contents and lighting conditions.
Test white-underbase coverage, color appearance, layer registration and any surface preparation on the named production pack.
Keep artwork inside the approved rotating zone and review distortion, seams and clearance near shoulders, bases, closures or molded features.
Finished output depends on incoming inspection, cleaning or preparation, fixture loading, calibration, artwork changes, resolution, passes, ink coverage, white or varnish layers, unloading, inspection, filling-stage requirements and packing. Time the complete representative batch before making capacity or delivery commitments.