

- by John White
How to Prepare Acrylic Sheets for UV Printing?
- by John White
Print bigger, print faster — wide-format UV flatbed printers for signs, decor and industrial work.

To prepare acrylic sheets for UV printing, identify the exact material and print side, maintain flat storage, remove the correct masking, neutralize static, clean without leaving residue, and inspect the sheet before loading. Then set the viewing direction, CMYK-white layer order, material holding, print height, and first-piece acceptance criteria. Preparation must be validated with the actual production acrylic rather than a generic sample.
Acrylic preparation affects far more than surface cleanliness. It influences ink wetting, adhesion, dust contamination, white-layer registration, material holding, head clearance, and the appearance of a print viewed through a transparent sheet.
A sheet can arrive with a protective film, surface coating, fingerprints, static, moisture-related bowing, saw chips, or residue from fabrication. If these variables are not controlled before printing, operators may try to correct the result by changing ink density or curing settings even though the underlying problem is the material.
For repeatable B2B production, preparation should be a documented process. The material record should identify the supplier, grade, construction, finish, thickness, coating, masking, print side, and production batch when available. “Clear acrylic” is not a sufficient job specification.
The approved process should also reflect what happens after printing. Acrylic that will be routed, drilled, cleaned, mounted, backlit, or installed outdoors may require different validation from an interior display protected from contact.
Start by confirming what the sheet actually is. Cast, extruded, print-grade, coated, frosted, mirrored, recycled, and specialty acrylic can present different surfaces to UV ink. The visible finish alone does not establish print compatibility.
| Material detail | Why it matters |
|---|---|
| Supplier and grade | Allows the approved result to be reproduced and purchasing substitutions to be controlled. |
| Cast or extruded | Material construction can affect flatness, fabrication behavior, and surface consistency. |
| Clear, colored, frosted, or mirrored | Changes viewing direction, white-ink strategy, and visual inspection. |
| Printable coating or hard coat | Determines which surface should be printed and may affect ink compatibility. |
| Thickness and dimensions | Affects handling, vacuum holding, print height, and head-clearance planning. |
| Protective masking | The wrong print side or masking residue can cause immediate production failure. |
| Post-print process | Routing, drilling, cleaning, and installation must be included in approval. |
If purchasing changes the supplier or grade, treat the replacement as a new material until a representative sample has passed the agreed print and fabrication checks.
Store acrylic according to the sheet manufacturer’s instructions and protect it from contamination, moisture, heat, and deformation. Printable acrylic technical guidance commonly recommends horizontal storage to maintain flatness and keeping protective packaging sealed until material is needed.
Flatness is important because a bowed edge can reduce vacuum holding and narrow the safe distance between the media and printhead carriage. A head strike can damage the print, contaminate the carriage, interrupt production, or require service.
Before moving a sheet to the printer, inspect the pallet and material for:
Allow material moved from a substantially different storage environment to stabilize under the production conditions specified for the acrylic, ink, and printer. Do not invent a universal acclimation time; approve the interval for the facility and material involved.
Confirm the intended print side before removing any film. Some print-grade acrylic uses different masking on the printable and non-printable faces. Specialty sheets may also contain a hard coat, texture, or other functional layer on only one side.
Keep the masking in place during storage and earlier fabrication stages when it protects the surface, but remove it from the print area before final cleaning and printing. Peel it carefully to avoid dragging contamination across the sheet or introducing unnecessary scratches.
Removing paper or plastic masking can create a static charge. Static attracts dust, fibers, and chips immediately after the surface is exposed. For that reason, film removal, static neutralization, cleaning, and printing should be organized as one controlled sequence rather than separated by uncontrolled storage or handling.
Do not place a sheet back onto a dirty cutting table after its print surface has been exposed. Use a clean staging area and handle the sheet by its edges whenever practical.
Use a cleaning process approved for the specific acrylic grade and printing workflow. The objective is a clean, dry surface without haze, scratches, lint, oil, adhesive, or chemical residue.
Avoid treating all plastics with the same aggressive solvent. An unsuitable chemical can craze, soften, discolor, or damage acrylic and may leave a surface that appears clean but performs poorly in printing. Follow the material supplier’s instructions and review the relevant safety documentation for every cleaning or pretreatment chemical used in production.
A practical controlled process is:
Use fresh cleaning materials as defined by the work instruction. A cloth that has already collected oil, primer, dust, or ink can transfer contamination to subsequent sheets.
Static is a common acrylic-processing issue, particularly after masking is removed. Dust held by electrostatic charge can produce visible defects, interfere with ink deposition, and contaminate the production area.
Ionizing equipment can neutralize charge without relying on ordinary compressed air alone. The appropriate method depends on the factory layout and the material supplier’s guidance. Grounding, humidity control within the printer and ink specifications, clean staging, and regular housekeeping also contribute to a stable process.
Do not automatically apply an anti-static liquid to a print surface. Some products can leave residue that affects adhesion. If a chemical anti-static treatment is proposed, include it as a controlled variable in the material test rather than adding it informally during production.
Inspect the sheet again after static neutralization. Light viewed across the surface at a low angle can make dust, fibers, fingerprints, scratches, and cleaning streaks easier to detect.
Decide whether the finished image will be viewed from the printed face or through the acrylic. This decision controls artwork orientation and CMYK-white layer order.
For a first-surface print, the viewer sees the ink directly. White normally sits behind selected or full CMYK areas when greater opacity is required. For a second-surface print, the artwork is generally mirrored and viewed through the sheet, with CMYK printed before its white backing.
Prepare CMYK, white, and optional varnish as separate, controlled data. Confirm:
For a fuller explanation of opacity planning, see Do You Need White Ink on Clear Acrylic? and First-Surface vs. Second-Surface UV Printing on Acrylic.
Inspect the flatbed before loading. The table and active vacuum area should be free from chips, cured ink, adhesive, and raised debris. Even a small particle beneath acrylic can lift the sheet or mark its surface.
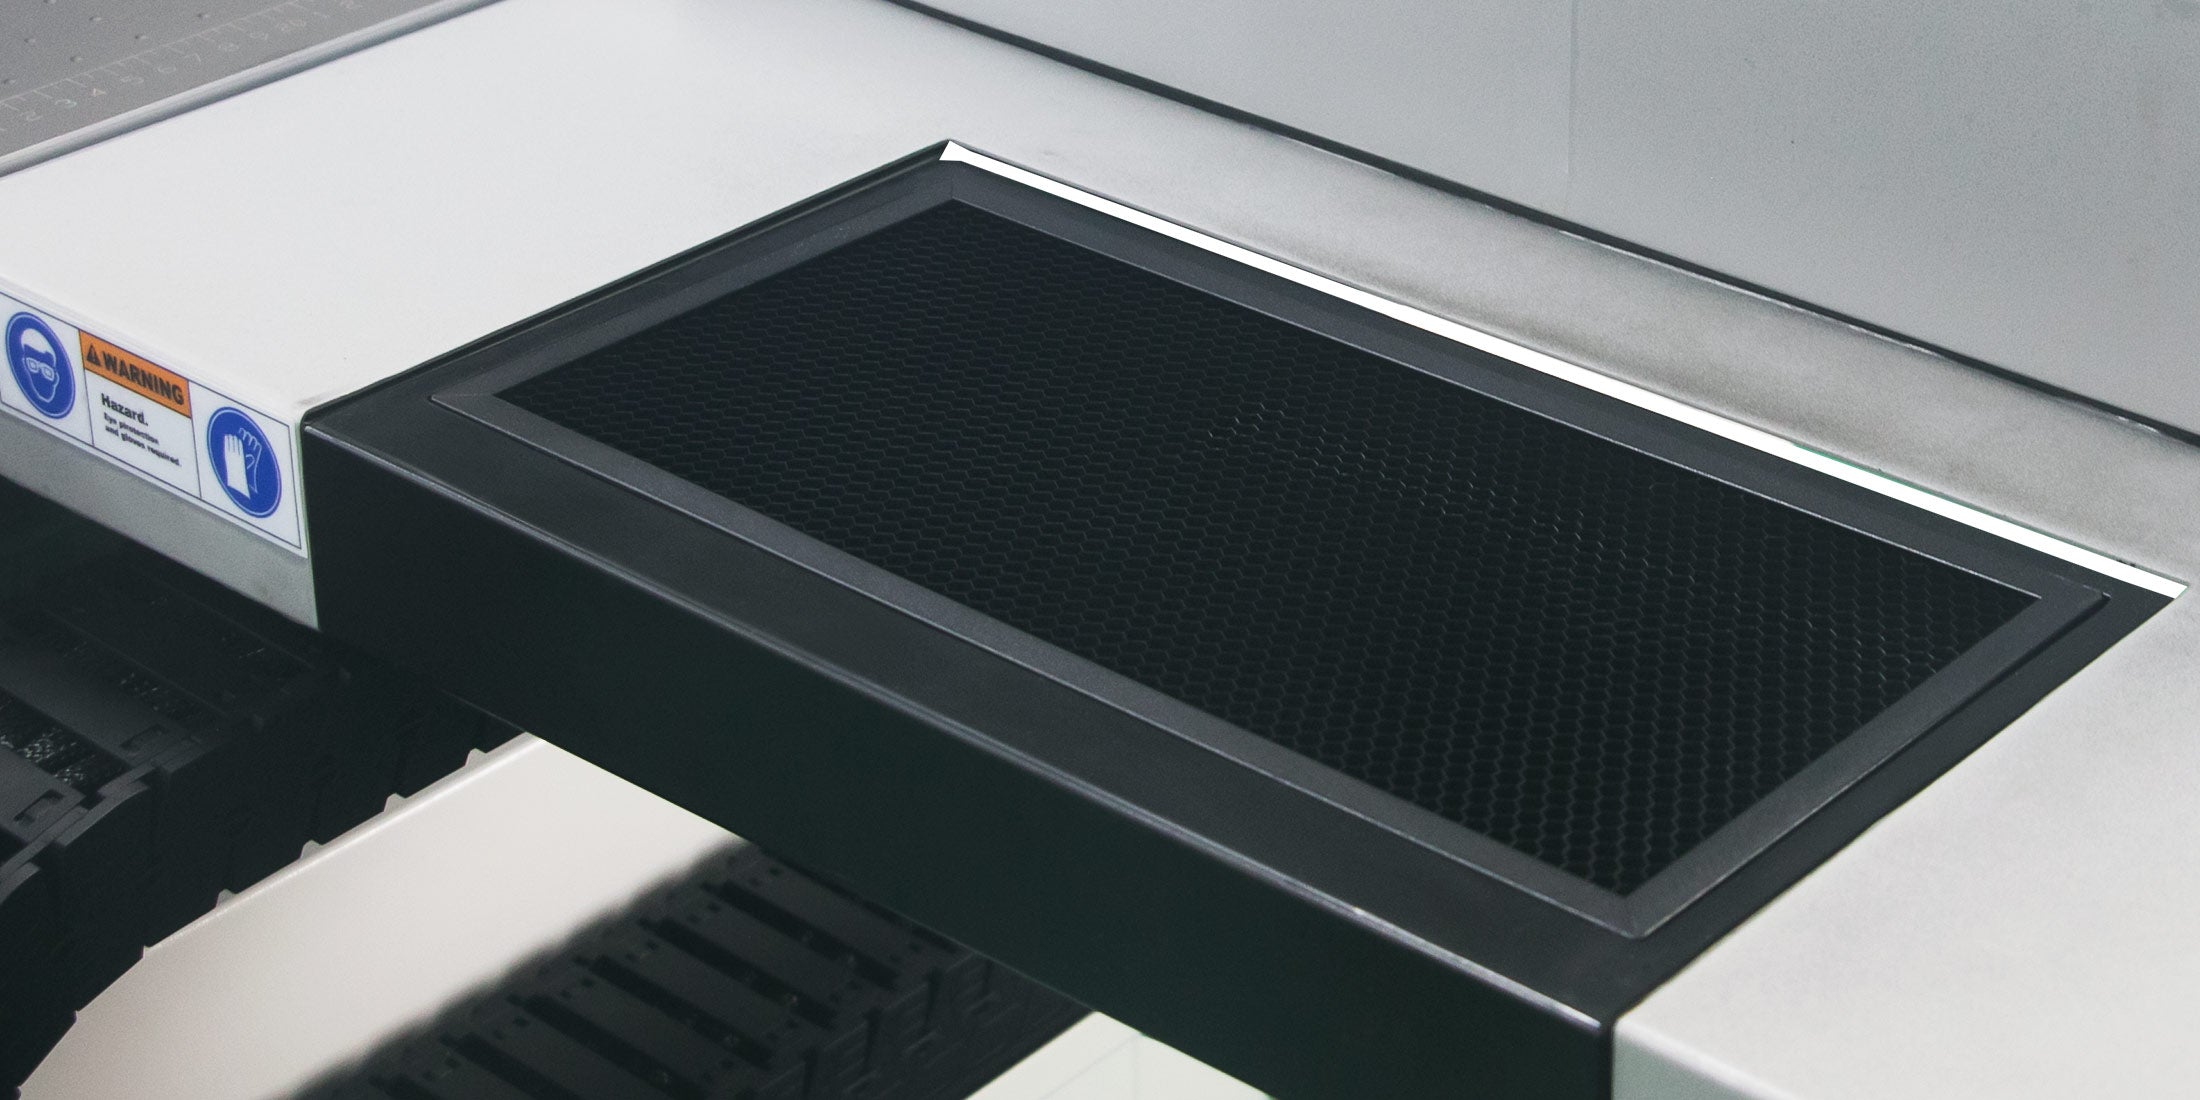
Measure the material rather than relying only on its nominal thickness. Check flatness across the complete printed area and confirm sufficient head clearance using the printer’s approved setup procedure. Activate only the appropriate holding zones where the machine supports zoned vacuum control.
Block exposed vacuum areas when required by the equipment procedure so that the sheet remains stable. Do not use improvised tape or supports that can lift into the carriage path, contaminate the sheet, or interfere with curing.
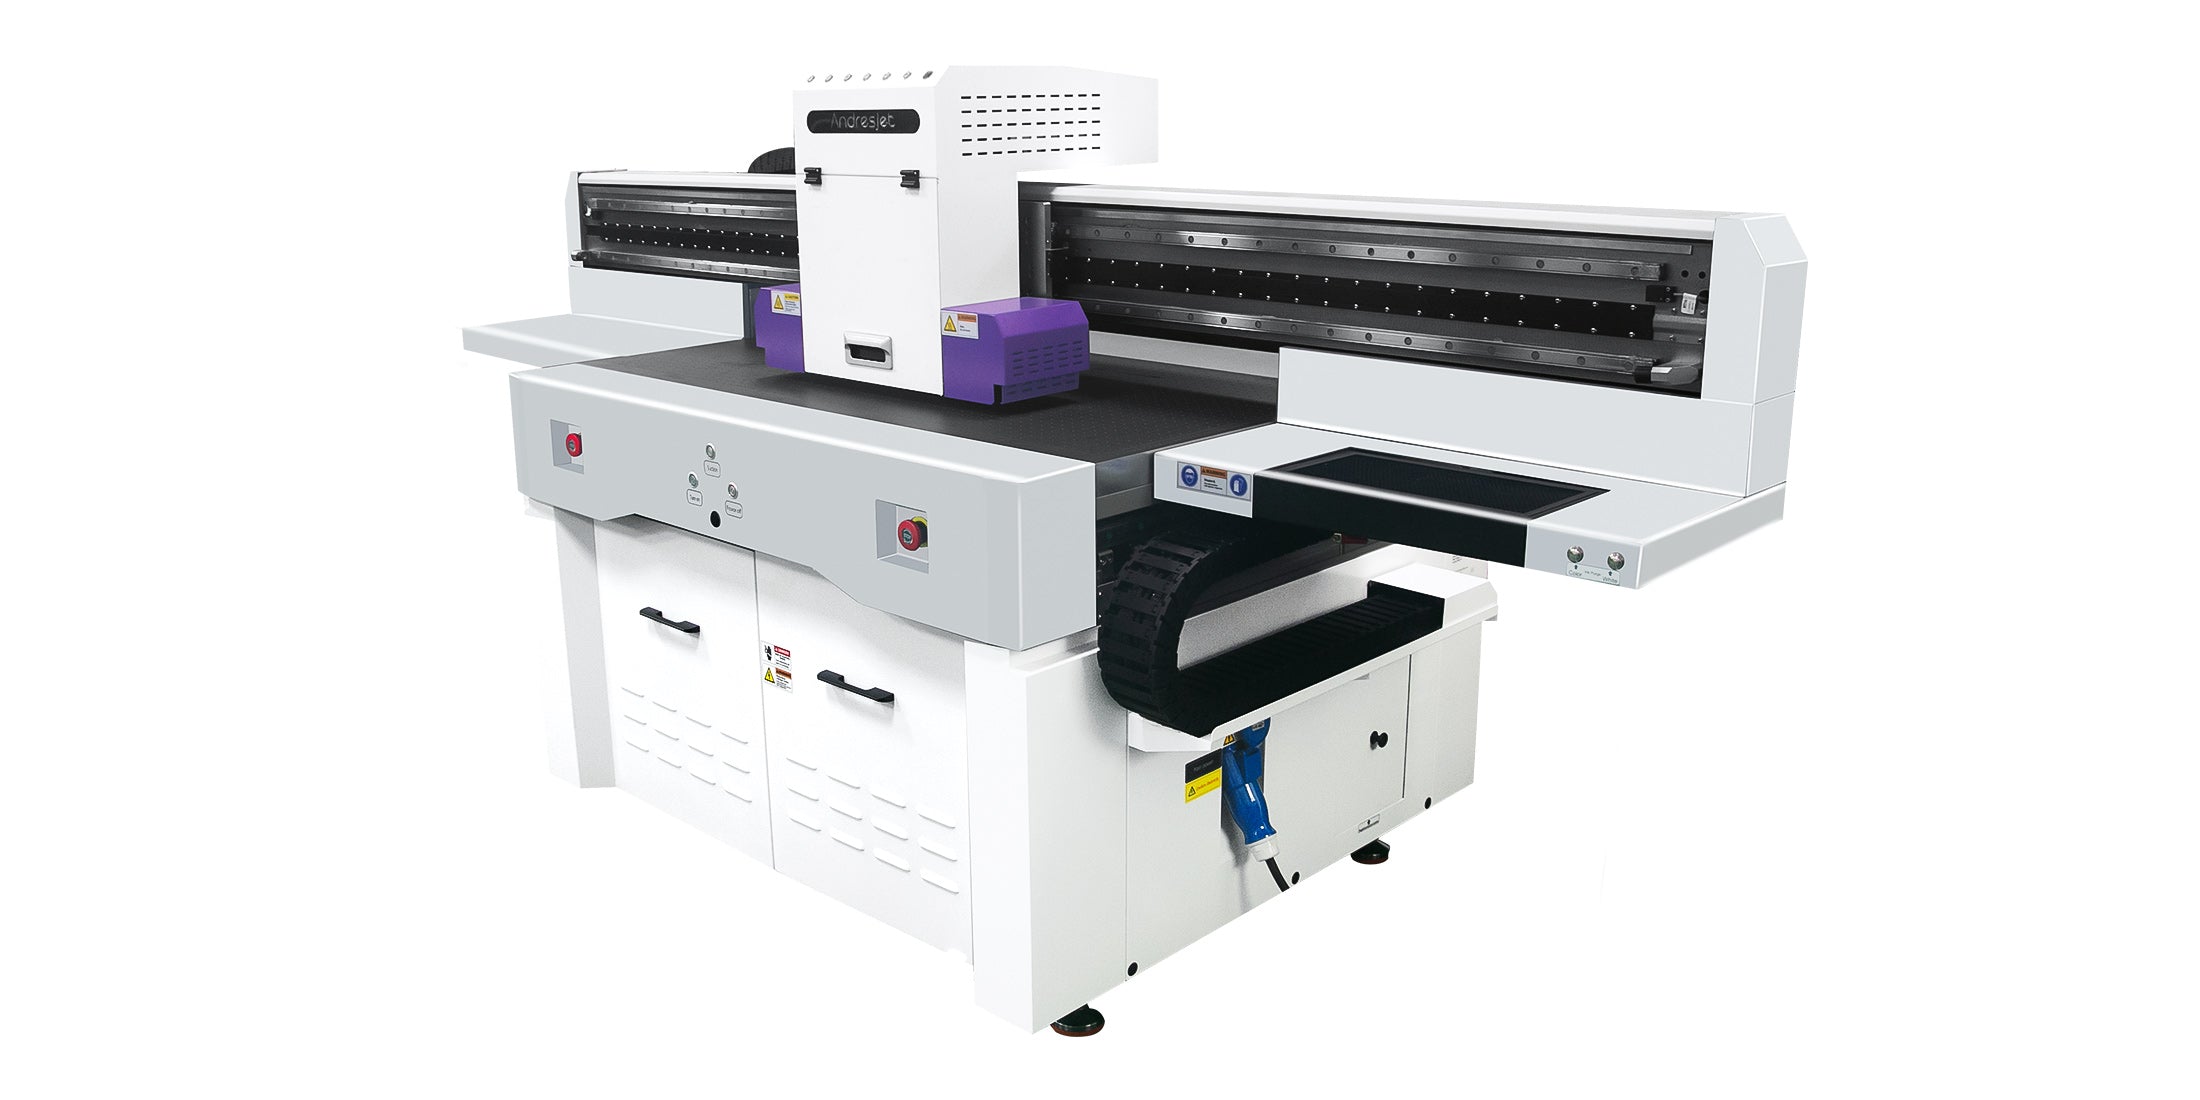
For factories evaluating equipment for this workflow, the AndresJet compact UV flatbed printer for acrylic collection presents the AJ1206 application direction for acrylic signs, plaques, displays, awards, and customized products. The published AJ1206 configuration includes a 1,200 × 600 mm print area, UV LED curing, CMYK-white-varnish capability, a vacuum flatbed, and optional CCD positioning.
These features do not guarantee compatibility with every acrylic. Confirm the material, dimensions, coating, flatness, ink-layer strategy, and production acceptance criteria through sample testing.
The first-piece check should represent the final process rather than only confirm that an image appeared. Inspect the sample before releasing the remaining batch.
| Checkpoint | Approval question |
|---|---|
| Surface | Is the print free from dust marks, pinholes, streaks, haze, and contamination? |
| Orientation | Is the artwork mirrored or unmirrored correctly for the viewing side? |
| White layer | Does white coverage provide the approved opacity without visible misregistration? |
| Color | Does the sample match the approved reference under the agreed background and lighting? |
| Position | Are margins, edges, cut paths, holes, and variable graphics aligned correctly? |
| Adhesion | Does the conditioned sample pass the agreed screening method? |
| Fabrication | Does the print survive the required routing, drilling, cleaning, or installation check? |
Record the approved preparation method, RIP settings, material-holding setup, print mode, and inspection result. Retain a physical reference sample when possible. If the result fails, change one controlled variable at a time rather than simultaneously changing cleaning, primer, ink density, and curing.
Acrylic preparation should be treated as part of the print specification. The material grade, masking, storage, static, cleaning, viewing side, white coverage, and flatness all affect the result before ink reaches the sheet. An approved sample is most useful when the factory also keeps the preparation and RIP record that produced it. If the supplier, coating, or cleaning method changes, verify the process again before releasing a full batch.
AndresJet Application Engineering Team
Reliable acrylic UV printing begins with a controlled sheet-preparation process. Identify and store the correct material, confirm the print side, remove masking carefully, neutralize static, clean without residue, inspect flatness, prepare the correct CMYK-white sequence, and approve the first piece under realistic conditions.
Before production, ask the printer manufacturer how acrylic samples are identified, how flatness and head clearance are checked, how white layers are prepared, and how approved settings are transferred to operators.
Send AndresJet the acrylic supplier and grade, thickness, dimensions, finish, artwork, viewing direction, quantity, and post-print requirements. Then review the compact UV flatbed printer for acrylic collection to discuss an appropriate AJ1206 configuration and representative sample test.
For the complete decision path, continue with the uv printing acrylic & plastics guide.
Should acrylic be cleaned immediately before UV printing?
Preparation should occur close enough to printing that the exposed surface does not collect new dust or fingerprints. After the masking is removed, neutralize static, clean using the approved process, allow the sheet to dry, inspect it, and move it through a controlled staging and loading sequence.
Can ordinary glass cleaner be used on acrylic before printing?
Do not assume a general glass cleaner is compatible with acrylic or UV ink. Some cleaners may damage plastic or leave residue. Follow the acrylic supplier’s instructions and validate the complete cleaning-and-printing process on the actual production sheet before adoption.
Why does acrylic attract dust after the film is removed?
Peeling protective masking can create an electrostatic charge on the plastic surface. The charge attracts airborne dust, fibers, and chips. Suitable ionization, grounding, clean handling, and an approved preparation environment help reduce contamination before printing.
How do you know which side of acrylic to print?
Check the supplier’s product and masking documentation. Print-grade, coated, textured, mirrored, and hard-coated sheets may have different functional surfaces. Do not select a side only by appearance. Record the approved print face in the job specification.
What information should be sent for an acrylic sample?
Provide the supplier, grade, construction, thickness, finish, coating, dimensions, masking, artwork, viewing side, white and varnish requirements, quantity, fabrication steps, installation conditions, and acceptance criteria. The actual production sheet is preferable to a generic acrylic sample.


