

A mixed promotional product order may include phone cases, keychains, plaques, bottles, tumblers, tokens and other customized items under one campaign. Although these products may share the same logo or visual identity, they cannot always follow the same printing workflow.
Differences in shape, material, size, artwork and order quantity affect how each product should be prepared and printed. Flat items may require a UV flatbed printer, while bottles and tumblers usually need controlled rotational printing.
This guide explains how to classify products, prepare artwork and organize a practical UV printing workflow for promotional products.
What Is a Mixed Promotional Product Order?
A mixed promotional product order contains more than one type of printable item. It may be produced for a corporate event, sports team, retail campaign, employee program or personalized gift business.
For example, one order might include:
- 100 branded phone cases
- 200 acrylic keychains
- 50 personalized metal plaques
- 100 stainless steel tumblers
- 100 plastic drink bottles
The products may use the same brand colors, but their printable surfaces and production requirements are different. Treating the entire order as one undivided job can lead to unsuitable equipment selection, incorrect artwork dimensions and inconsistent delivery planning.
Start by Classifying Every Product by Shape
The first planning step is to classify each item according to the geometry of its printable surface.
Flat or Mostly Flat Products
Products with a stable, level printing surface are generally candidates for flatbed UV printing. Examples include:
- Phone cases with flat backs
- Acrylic keychains
- Medals, tokens and buttons
- Nameplates and plaques
- Small signs
- Flat wooden gifts
- Selected promotional boxes
These items can be arranged on a flatbed individually, placed into fixtures or positioned through a compatible camera-assisted system.
Cylindrical or Tapered Products
Round products requiring artwork around their circumference normally need a cylinder printer. Examples include:
- Drink bottles
- Tumblers
- Cups without obstructing handles
- Cosmetic bottles
- Rigid tubes
- Selected sports and promotional products
These products rotate while being printed. Their diameter, print length, taper and physical features must be measured before the artwork and fixture are prepared.
Irregular Products
Handles, raised edges, compound curves and rapidly changing diameters can make an item unsuitable for a standard flatbed or cylinder workflow.
Place these products into a separate “test required” category instead of assuming that every promotional object can be printed using one of the standard setups.
Create a Product Specification Sheet
Each product type should have its own specification record. This prevents important information from becoming mixed together when one customer order contains many different items.
Record the following information for every product:
- Product name and identification code
- Supplier and production batch
- Material and surface coating
- Overall dimensions
- Printable area
- Diameter and taper, if applicable
- Product color and transparency
- Required quantity
- Number of artwork versions
- White ink and varnish requirements
- Fixture or positioning method
- Sample approval status
This information helps determine which items can share one production setup and which should be separated into different jobs.
Separate the Customer Order from the Production Batches
A customer may view all the products as one order, but the factory should divide them into production batches according to compatible printing conditions.
For example, an order may be divided into:
| Production batch | Products | Likely route | Main setup requirement |
|---|---|---|---|
| Batch A | Phone cases | Flatbed printing | Camera-hole alignment and material testing |
| Batch B | Keychains and tokens | Flatbed printing | Fixture layout and artwork mapping |
| Batch C | Straight bottles | Cylinder printing | Diameter and print-length calibration |
| Batch D | Tapered tumblers | Cylinder printing | Taper compensation and seam approval |
This approach allows the customer to receive one coordinated campaign while the production team controls each printing process separately.
Do Not Use One Artwork File for Every Product
The same logo should not simply be resized and sent to every product without checking its shape and printable area.
A wide logo that fits a plaque may become too small on a bottle. A circular design created for a token may not align correctly around a phone case camera opening. Artwork prepared for a straight bottle may distort when applied to a tapered tumbler.
Create a master campaign design, then prepare a production version for each product category.
Each production file should define:
- Finished print dimensions
- Artwork orientation
- Safe distance from edges, openings and raised parts
- White ink areas
- Varnish areas
- Required bleed or overlap
- Cylinder seam position, if applicable
- Product and design identification code
Plan Variable Artwork Before Production
Mixed promotional product orders often contain variable information. Every tumbler may use a different name, or several phone case models may carry different designs.
Before printing, determine:
- How many unique designs are included
- Which design belongs to each product
- Whether names and numbers have been checked
- How the printed items will be matched to packaging
- Whether replacements can be produced without repeating the entire batch
Use clear file names rather than relying only on visual recognition. A practical file name might combine the order number, product code, artwork version and customer identifier.
For example, an internal file-naming format could be:
ORDER-ID_PRODUCT-CODE_ARTWORK-VERSION_RECIPIENT-ID.pdf
For example: JOB0245_CASE01_V03_NAME001.pdf. This is only an example; each business should establish a naming convention that matches its own order-management system.
Group Products by Compatible Material and Ink Requirements
Two flat products may fit on the same printer but still require different preparation or ink-layer settings.
For example:
- A transparent acrylic keychain may need selective white ink.
- A dark phone case may need a full white underbase.
- A coated metal plaque may require a different adhesion test.
- A flexible plastic item may need additional bending evaluation.
Products should be grouped only when their approved preparation and printing conditions are compatible. Combining unrelated materials merely to fill the printing bed can increase errors and complicate inspection.
Use Fixtures for Repeatable Flat-Item Production
A fixture holds multiple products in known positions on a flatbed. It can reduce manual alignment time and make repeated production more consistent.
Fixtures are particularly useful when:
- The same product model is printed repeatedly.
- The product has a predictable shape.
- Artwork must align with edges or openings.
- Multiple pieces are printed during one run.
- The order may return in the future.
A fixture should hold the item securely without covering the printable area or lifting the product into an unsafe position.
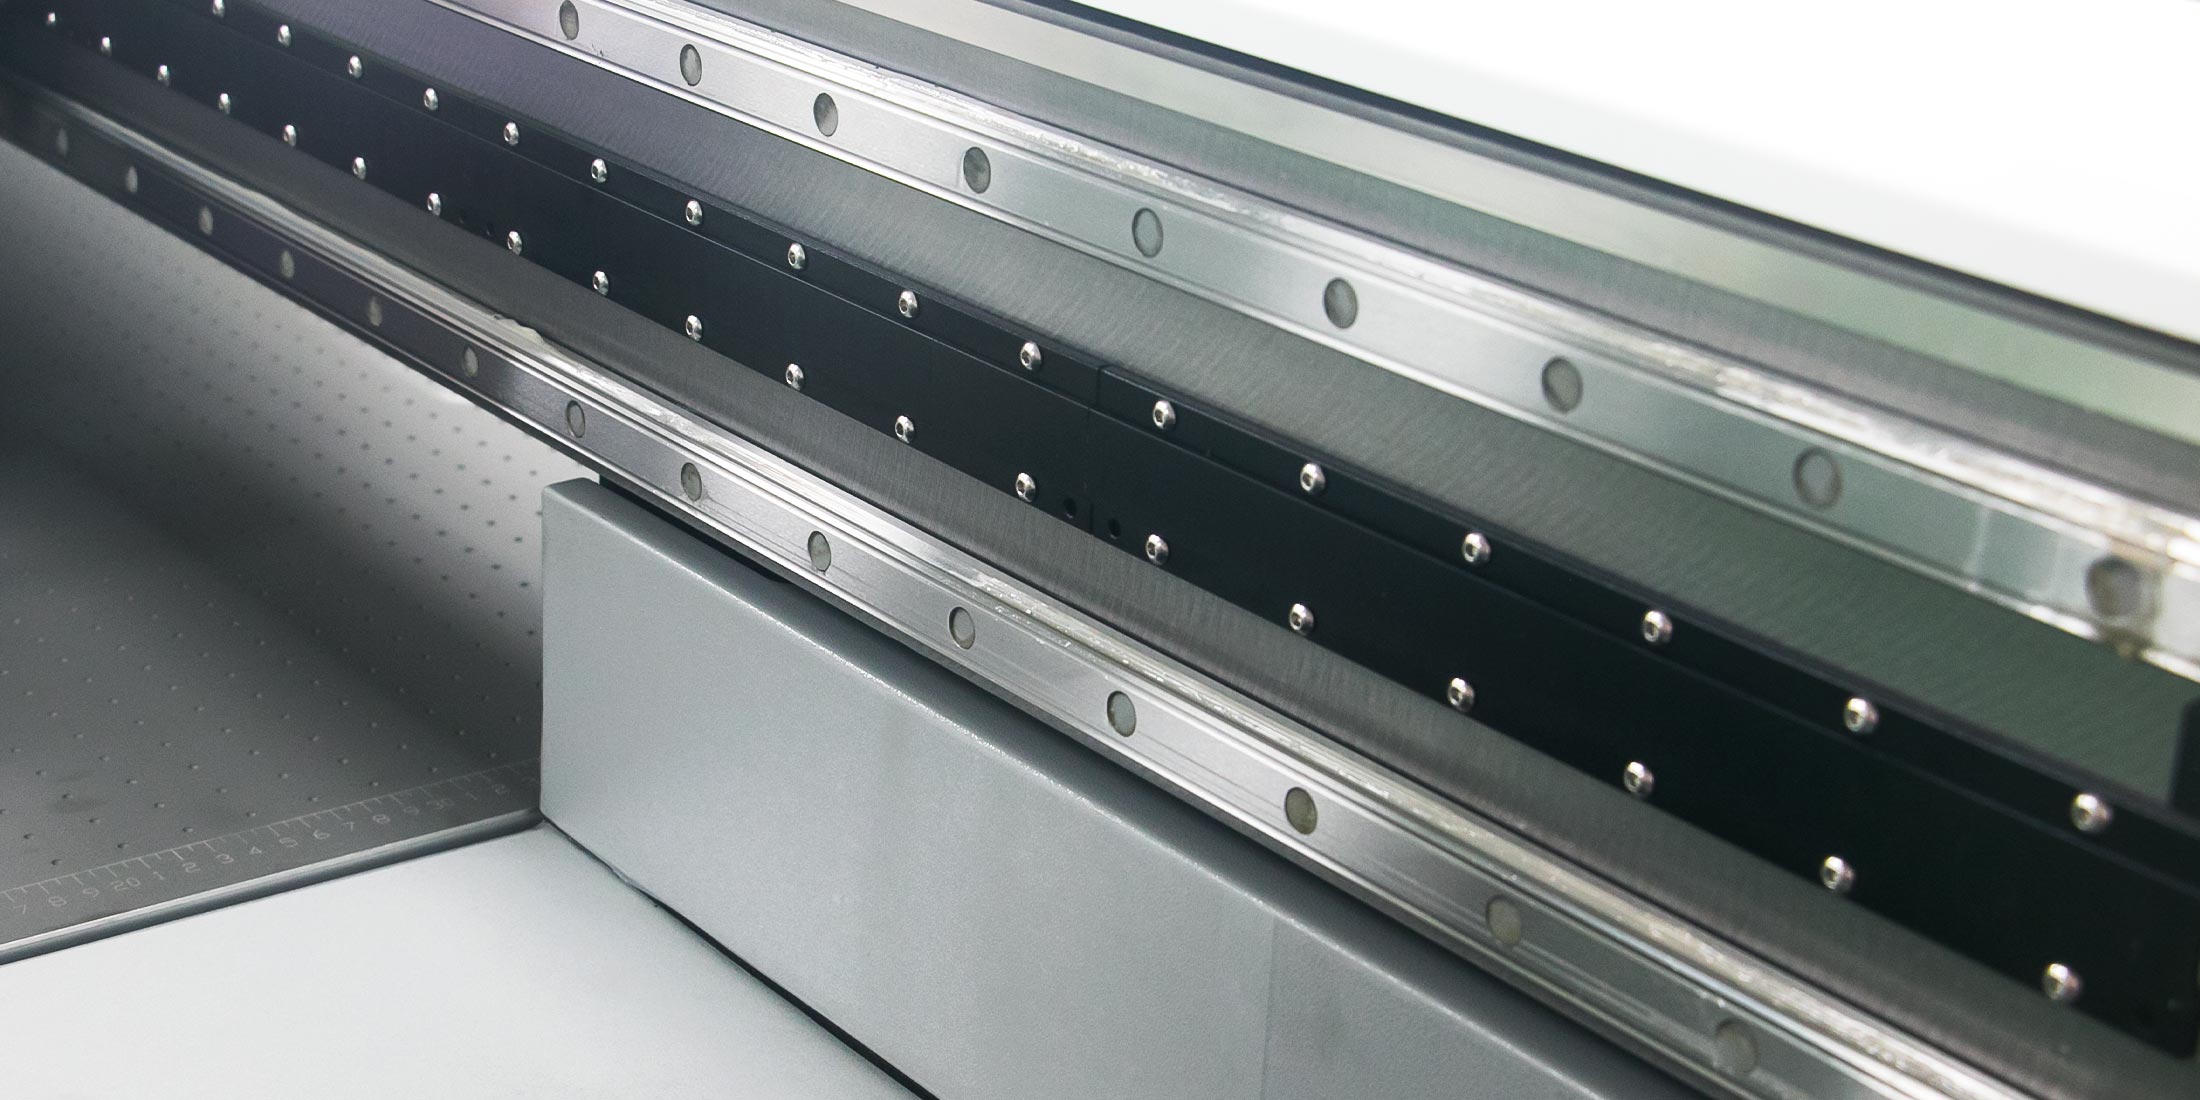
The AndresJet AJ1206 small UV flatbed printer provides a 1200 × 600 mm printing area for small flat products. An optional wide-beam CCD scanning camera can support visual positioning when the planned workflow benefits from camera-assisted detection.
Measure Cylindrical Products Separately
Bottles and tumblers should never be grouped only because they are all round. Different diameters, lengths and taper angles can require different fixtures, calibrations and artwork files.
For each cylindrical item, record:
- Minimum and maximum diameter
- Printable length
- Taper angle
- Desired circumferential coverage
- Artwork seam position
- Location of lids, threads, handles and raised features
- Product weight and balance during rotation
The AndresJet AJ360i digital cylinder printer is designed for direct printing on cylindrical and selected tapered products. It supports CMYK, white and varnish configurations, with a standard diameter range from 60 to 170 mm and a taper range from 0 to 7 degrees.

Products within the machine’s nominal dimensional range still require application evaluation. Handles, shoulders, irregular bottoms and other features may affect clamping, rotation or printhead clearance.
Approve Representative Samples Before the Full Order
A single sample cannot always represent an entire mixed promotional order. Approve at least one representative sample from every distinct combination of product, material, coating and artwork process.
The approval should cover:
- Artwork position
- Color appearance
- White ink opacity
- Varnish placement
- Ink adhesion
- Reasonable handling resistance
- Print seam on cylindrical items
- Customer spelling and variable information
Keep the approved sample or a controlled reference record alongside the corresponding production settings.
Build Quality-Control Checkpoints into the Order
Inspection should take place throughout production instead of only after every product has been printed.
A practical mixed-order inspection process includes:
- Incoming inspection: Confirm product model, quantity, color and surface condition.
- Setup approval: Compare the first printed item with the approved sample.
- In-process checks: Inspect positioning, color and adhesion at planned intervals.
- Variable-data check: Match names and designs against the order list.
- Final sorting: Separate products by recipient, kit or packaging requirement.
- Quantity reconciliation: Confirm completed, rejected and replacement quantities.
Plan Replacement Blanks
Mixed orders contain more opportunities for mismatches, handling damage and material variation. Production planning should therefore include suitable replacement blanks.
The required allowance depends on:
- Whether the product is new or previously approved
- Material and coating consistency
- Number of variable designs
- Complexity of alignment
- Availability and delivery time of replacement blanks
Replacement products should come from the same approved material batch whenever possible. A visually similar substitute may not have the same surface behavior.
Schedule by Setup, Not Only by Customer Line Item
Printing every item in the order-list sequence may cause unnecessary changeovers. A more efficient production schedule normally groups jobs by compatible equipment and setup.
For example:
- Complete approved flat products using the same ink configuration.
- Change the fixture for another flat-item group.
- Move cylinder products to the rotational printing workflow.
- Group straight bottles with matching diameters where practical.
- Schedule tapered products according to their individual calibration requirements.
- Complete final sorting and kitting after all batches pass inspection.
Delivery priorities and curing or stabilization requirements should also be included in the schedule.
Calculate Real Production Time
The printer’s output speed is only one part of the order. A realistic schedule should include:
- Artwork preparation
- Material testing
- Fixture preparation
- Product measurement
- Printer setup and calibration
- Loading and unloading
- Printing time
- Inspection
- Replacements and reprints
- Sorting and packaging
A smaller order containing many product models may require more preparation than a larger order of identical products.
Mixed Promotional Product Order Checklist
Before releasing the order for production, confirm the following:
- Every product has been classified as flat, cylindrical, tapered or irregular.
- Actual materials and coatings have been identified where possible.
- Representative blanks have passed printing and adhesion tests.
- Each product has its own correctly sized artwork file.
- White ink and varnish layers have been approved.
- Fixtures and cylinder settings have been prepared.
- Variable names and designs have been verified.
- Production batches and changeovers have been scheduled.
- Replacement blanks are available.
- Final sorting and packaging instructions are clear.
Choosing Equipment for Mixed Promotional Product Printing
A mixed promotional product business should begin with the products it plans to sell, not with the assumption that one printer can handle every object.
A flatbed printer such as the AJ1206 can support many small products with flat printable surfaces. A dedicated cylinder printer such as the AJ360i is the more appropriate route for wraparound graphics on bottles, tumblers and selected tapered products.
Some businesses may require both equipment types, while others can begin with the route matching most of their orders and outsource or postpone incompatible products.
Explore AndresJet’s UV printers for promotional products, or submit a mixed product list with photographs, dimensions, materials, artwork and quantities for application evaluation.
See More AndresJet Printing Applications
Follow AndresJet’s official social media channels for product demonstrations, printing applications and equipment updates:
Share:
Does a 4x8 Sheet Fit a 4x8 UV Flatbed Printer?
Direct UV Printing vs. Screen Printing and Labels for Bottles