

- by John White
How Do You Set Up Artwork for Cosmetic Bottle and Tube UV Printing?
- by John White
Curved surfaces? Print straight onto bottles, tubes and cylinders — no labels needed.

Artwork for cosmetic bottles and tubes should be built from measured container geometry, an agreed rotary datum, printable height, safe areas, seam limits and a controlled white or varnish layer. Diameter alone is not enough when a package is tapered, oval, flexible or inconsistent. A first-article template must be verified on the production container before batch release.
Record diameter or circumference at the print zone, printable height, taper, seam position, cap or shoulder clearance, bottom clearance, orientation feature and dimensional variation. For a nominal cylinder, base wrap width is circumference.
Artwork wrap width ≈ diameter × π. For a 50 mm diameter bottle, the theoretical circumference is 157.1 mm. If a 3 mm seam gap is required, the initial design width is about 154.1 mm before calibration. This is a starting calculation, not a final production value.
The cosmetic bottle and tube collection provides application context for curved packages.
Define a printable zone that excludes abrupt diameter changes, mould seams, cap interference and areas hidden during assembly. Keep critical text, regulatory marks and alignment-sensitive graphics inside a smaller safe area. Bleed may extend beyond the nominal image boundary only where the process can tolerate it.
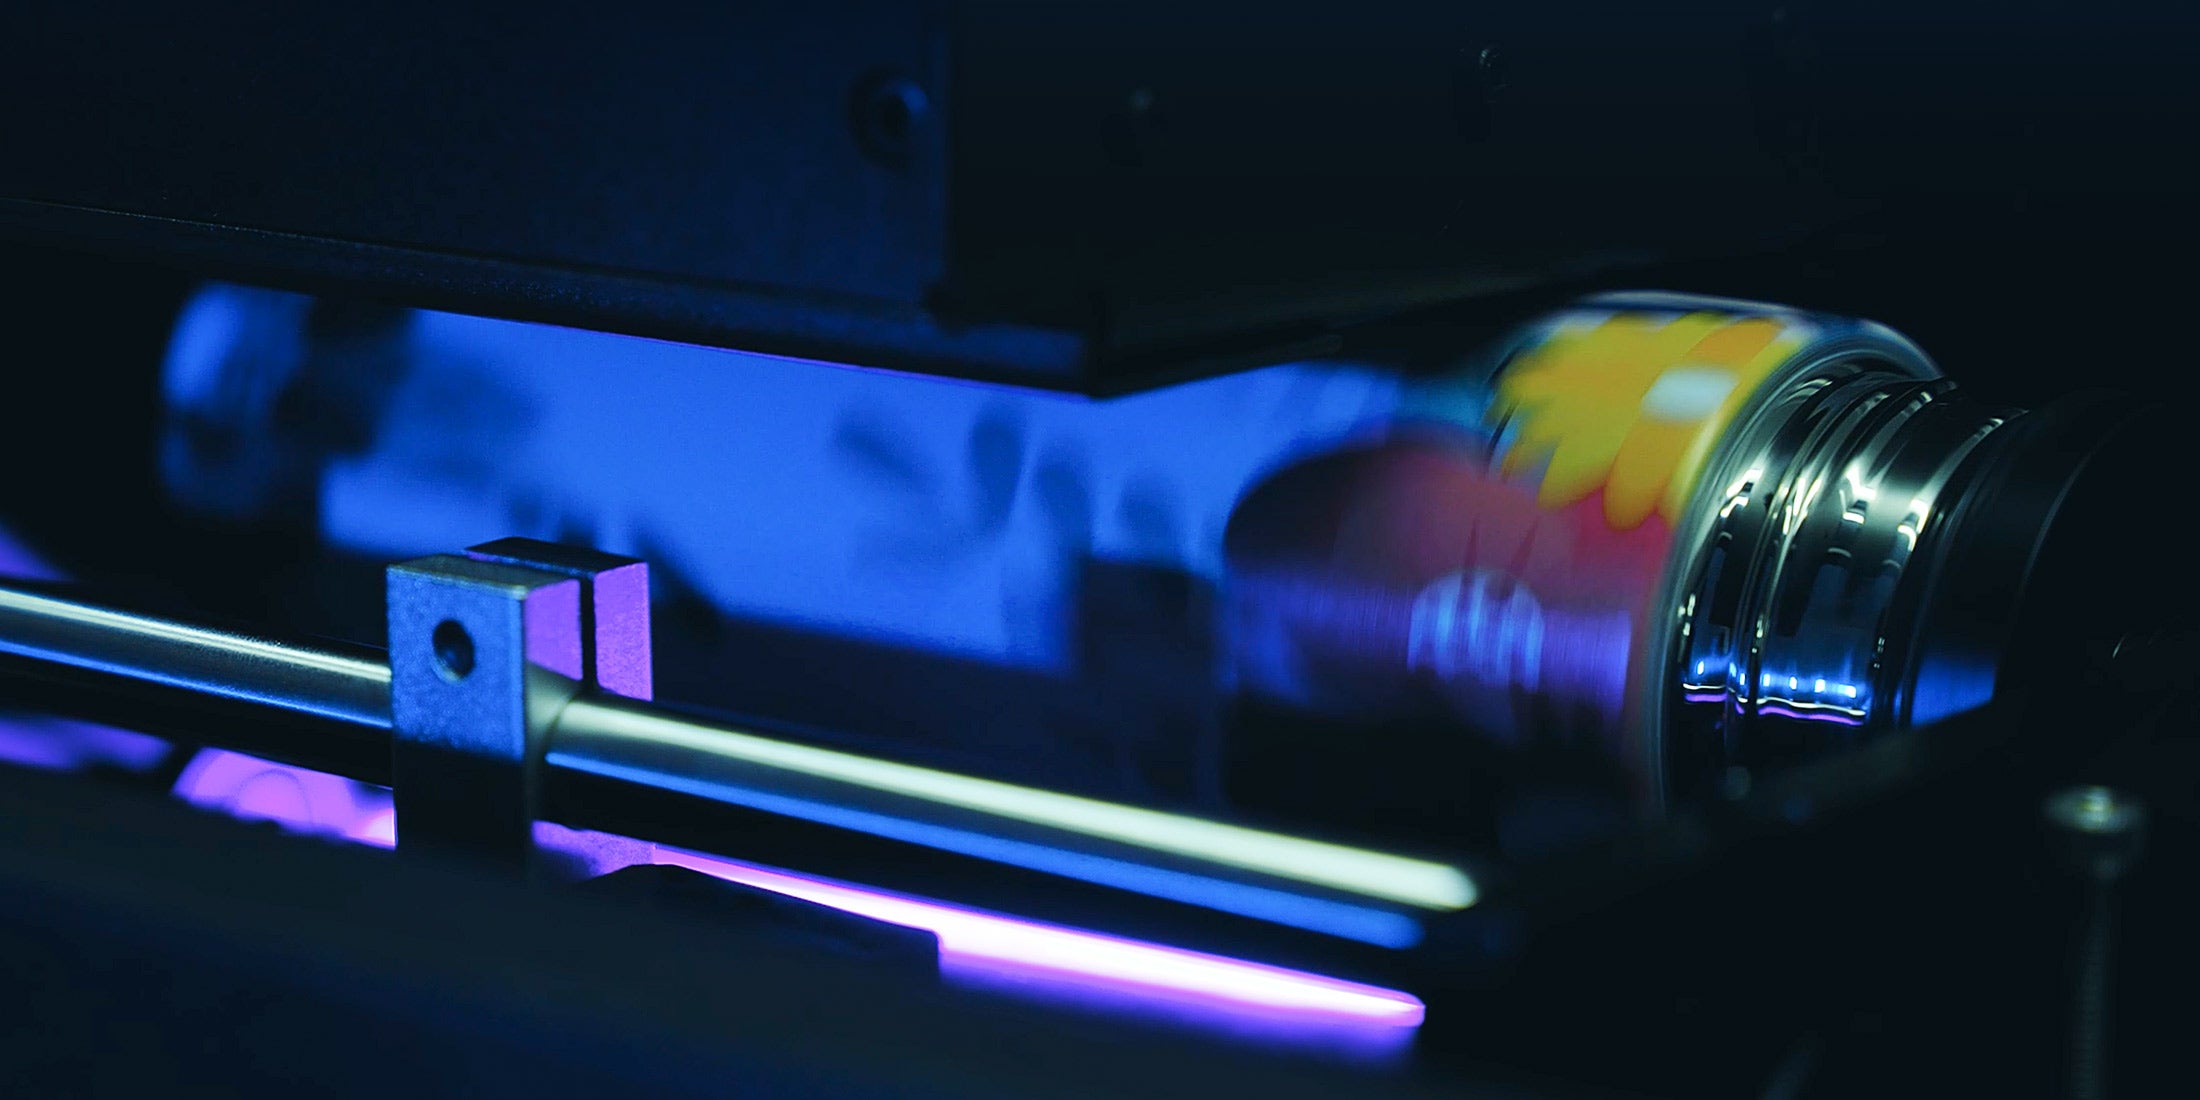
Choose a repeatable physical reference such as a mould seam, cap feature, registration mark or fixture stop. Record whether artwork starts clockwise or counter-clockwise from that datum and how the container is loaded. An accurate file can still print incorrectly if orientation is not controlled.
Create named spot layers and verify trapping or choke rules through a test. White underbase may need controlled inset to avoid a visible halo. Varnish should respect seams, grip zones and closure contact. Layer order and offsets must be documented with the approved artwork revision.
A taper changes circumference along the print height, so a rectangular design may distort or drift. Flexible tubes may also deform under holding pressure. Use a measured template and a grid test to map distortion. Do not apply the simple diameter formula as if the surface were a perfect cylinder.
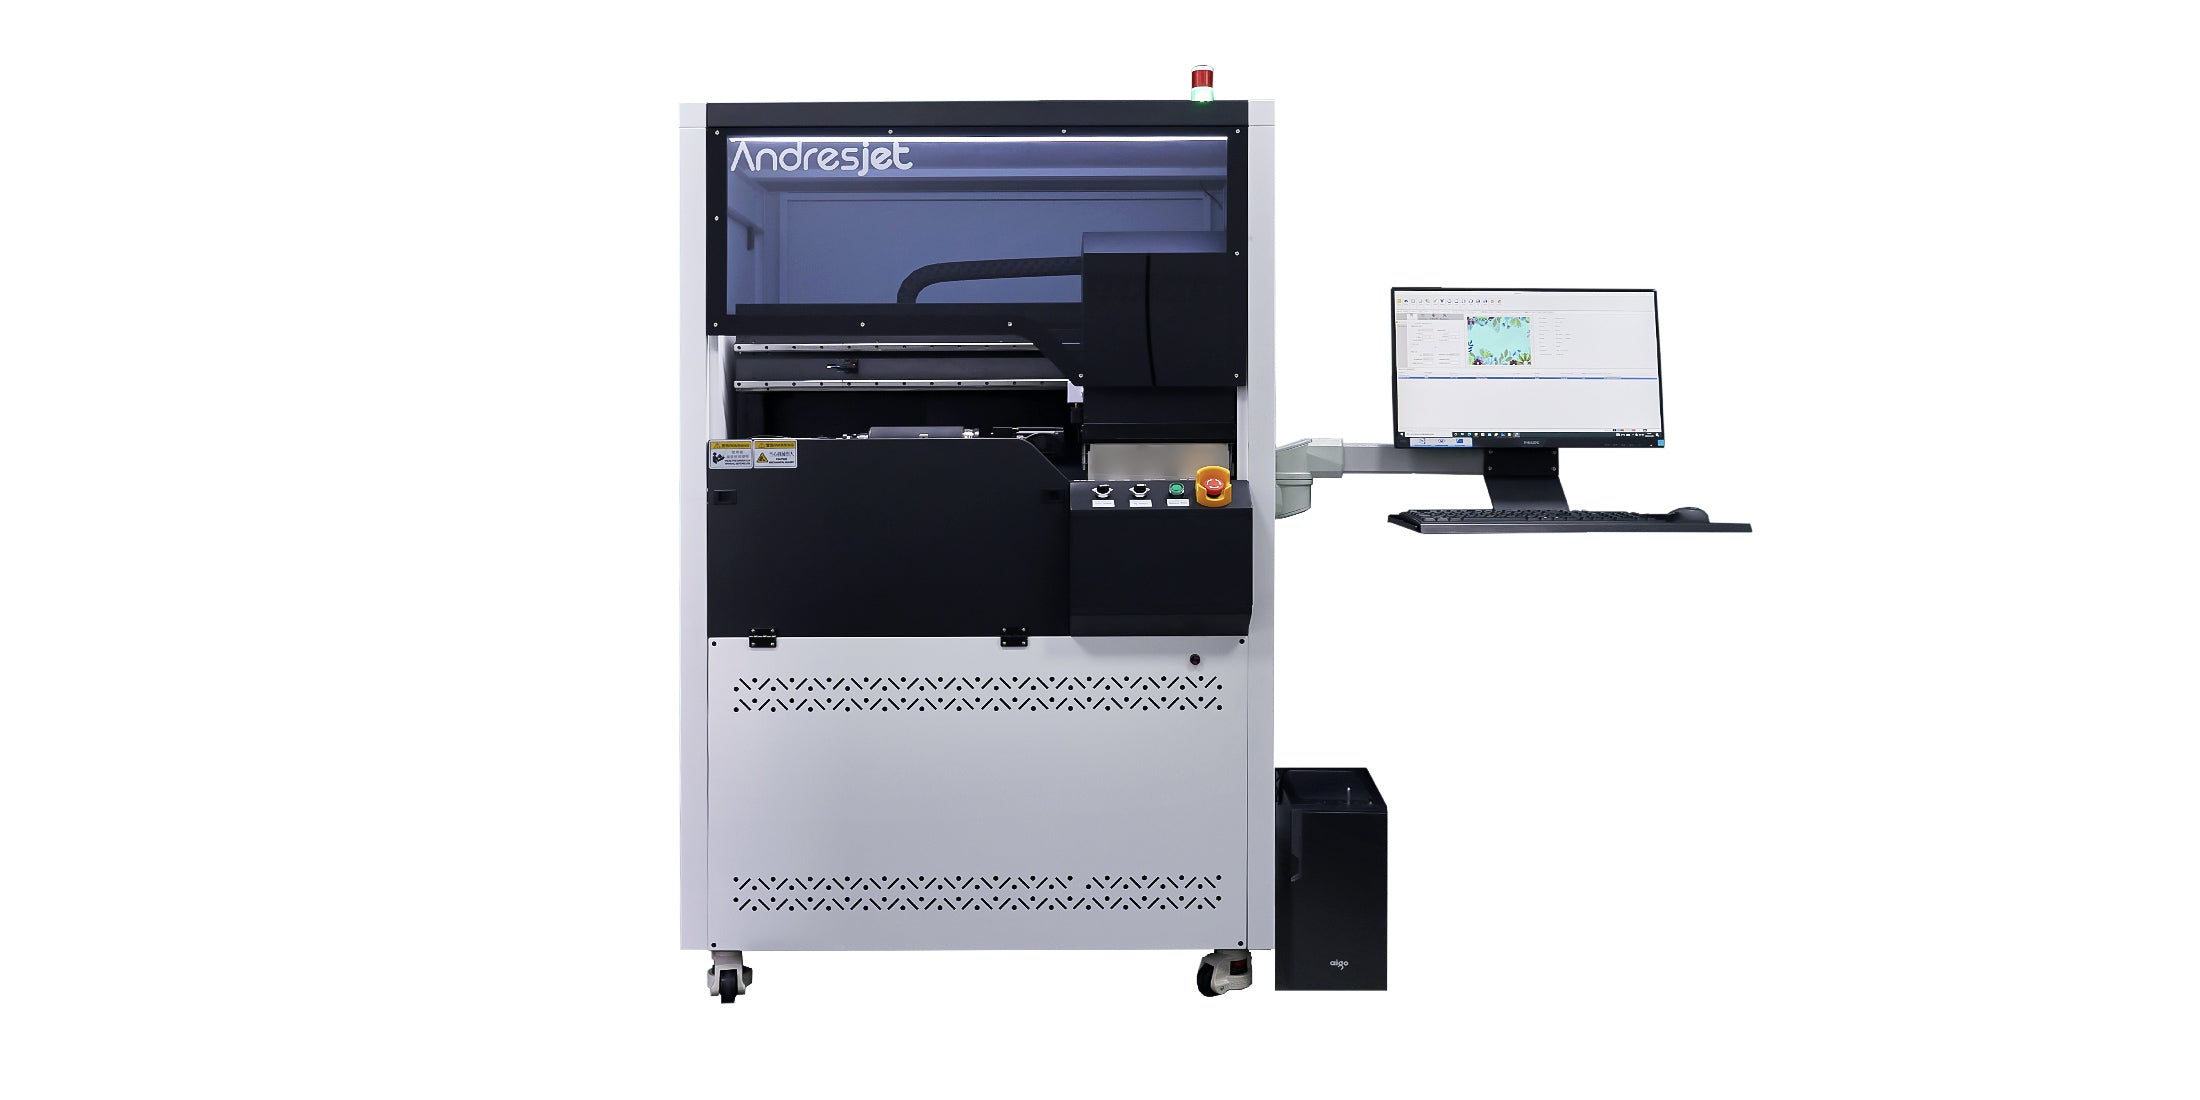
Review the AJ360i product page for published equipment information, then request a template test on the actual container geometry.
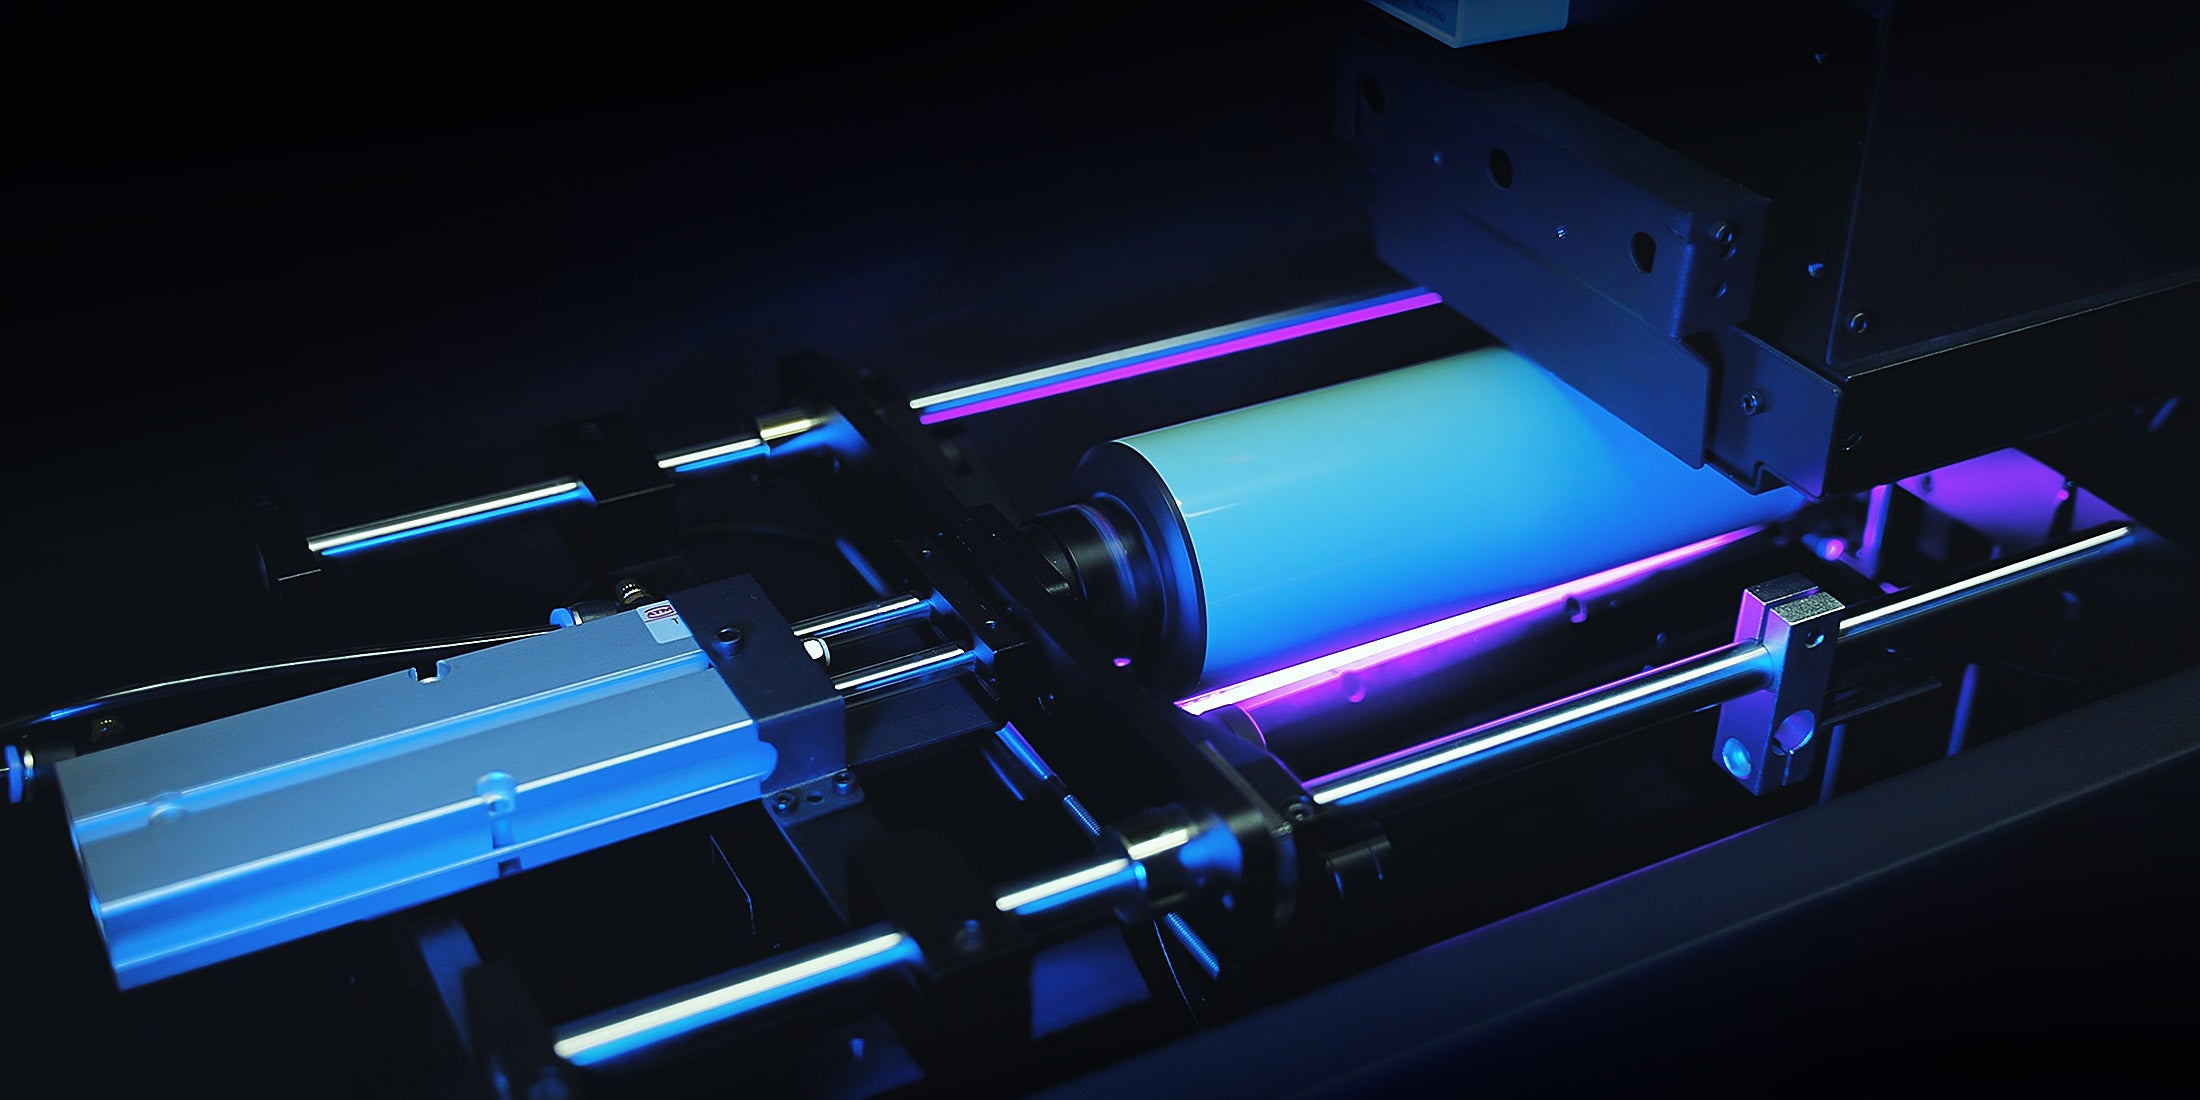
Create a temporary grid with numbered vertical lines around the calculated wrap and horizontal lines through the printable height. Print it on a representative container using the planned loading direction. Measure seam gap, start position, vertical drift and local distortion. Adjust the template once, record the correction and repeat on several containers to separate file error from moulding variation.
If the top of a tapered tube closes the seam while the bottom leaves a gap, a single percentage scale is unlikely to solve the geometry. The artwork may require a tapered transformation or a reduced print height. The production template should state which container family and dimensional range it covers.
Archive the measured template, grid result, released artwork, spot-layer names, orientation, fixture ID and approved sample. A later cap change, label-area change or container supplier change should trigger review. Reusing an old file without checking geometry is a common cause of apparently random seam movement.
Production artwork begins with geometry and datum control. Use formulas to create the first template, then use a grid and first article to correct the real container’s seam, taper and handling behavior.
Yes for a nominal cylinder, but the result must be calibrated on the real container.
Taper, skewed loading, deformation or rotary misalignment may change the path.
Not always. Controlled choke or spread may be needed to prevent halos, subject to testing.
 UV Printer Installation, Commissioning and Operator Training: What Buyers Must Plan For
Knowledge
UV Printer Installation, Commissioning and Operator Training: What Buyers Must Plan For
Knowledge
 How a Pre-Order UV Printer Sample Test Works: What to Send and What You Get Back
Knowledge
Order to Delivery: How UV Printer Lead Time Is Actually Built
Knowledge
What MOQ Applies to a UV Printer Order, and When Customisation Changes It
Knowledge
How a Pre-Order UV Printer Sample Test Works: What to Send and What You Get Back
Knowledge
Order to Delivery: How UV Printer Lead Time Is Actually Built
Knowledge
What MOQ Applies to a UV Printer Order, and When Customisation Changes It
Knowledge