





Rigid PVC and ABS signs
Qualify the named sheet, coating, protective film, cleaning or pretreatment, opacity and finished-use requirements before approving production.
Compare PVC and ABS panel printers


Print and finish a representative sign using the intended board, surface preparation, artwork layers, resolution, cutting or routing and mounting preparation. Inspect the completed sample at its planned viewing distance and under relevant lighting.
Record the approved color reference, white or varnish layers, registration, edge and cut details, finishing steps and any handling or service-condition tests. Use this approved route to compare equipment and establish repeat-job controls.
Sign-shop production planning
Rigid signs can share a flatbed workflow while differing in size, surface, opacity, viewing distance, expected service conditions and finishing. Compare UV printers by the actual sign construction, white or varnish layers, bed layout, loading method, inspection standard and the work that must leave the shop each shift.
Qualify the named sheet, coating, protective film, cleaning or pretreatment, opacity and finished-use requirements before approving production.
Compare PVC and ABS panel printersClear, colored, frosted and coated acrylic may need different image orientation, white-ink construction, surface preparation and sample approval.
Review acrylic UV printer planningLightweight boards require careful support, hold-down and edge handling. Confirm the exact board and finishing route instead of relying on a generic foam-board label.
Compare foam-board printersFlute direction, board flatness, static, surface treatment, edge condition and intended service environment should be recorded and tested.
Review corrugated-plastic sign printingRecord dimensions, material, viewing distance, mounting, edges, printed side and indoor or outdoor service conditions before selecting settings.
Confirm color reference, bleed, cut path, registration, white or varnish layers, clear areas and critical no-print zones.
Draw the real panels inside the published print area with safe margins, vacuum zones, origin, part spacing and operator access.
Time cleaning, loading, printing, unloading, cutting, routing, mounting preparation, inspection and packing before setting output targets.
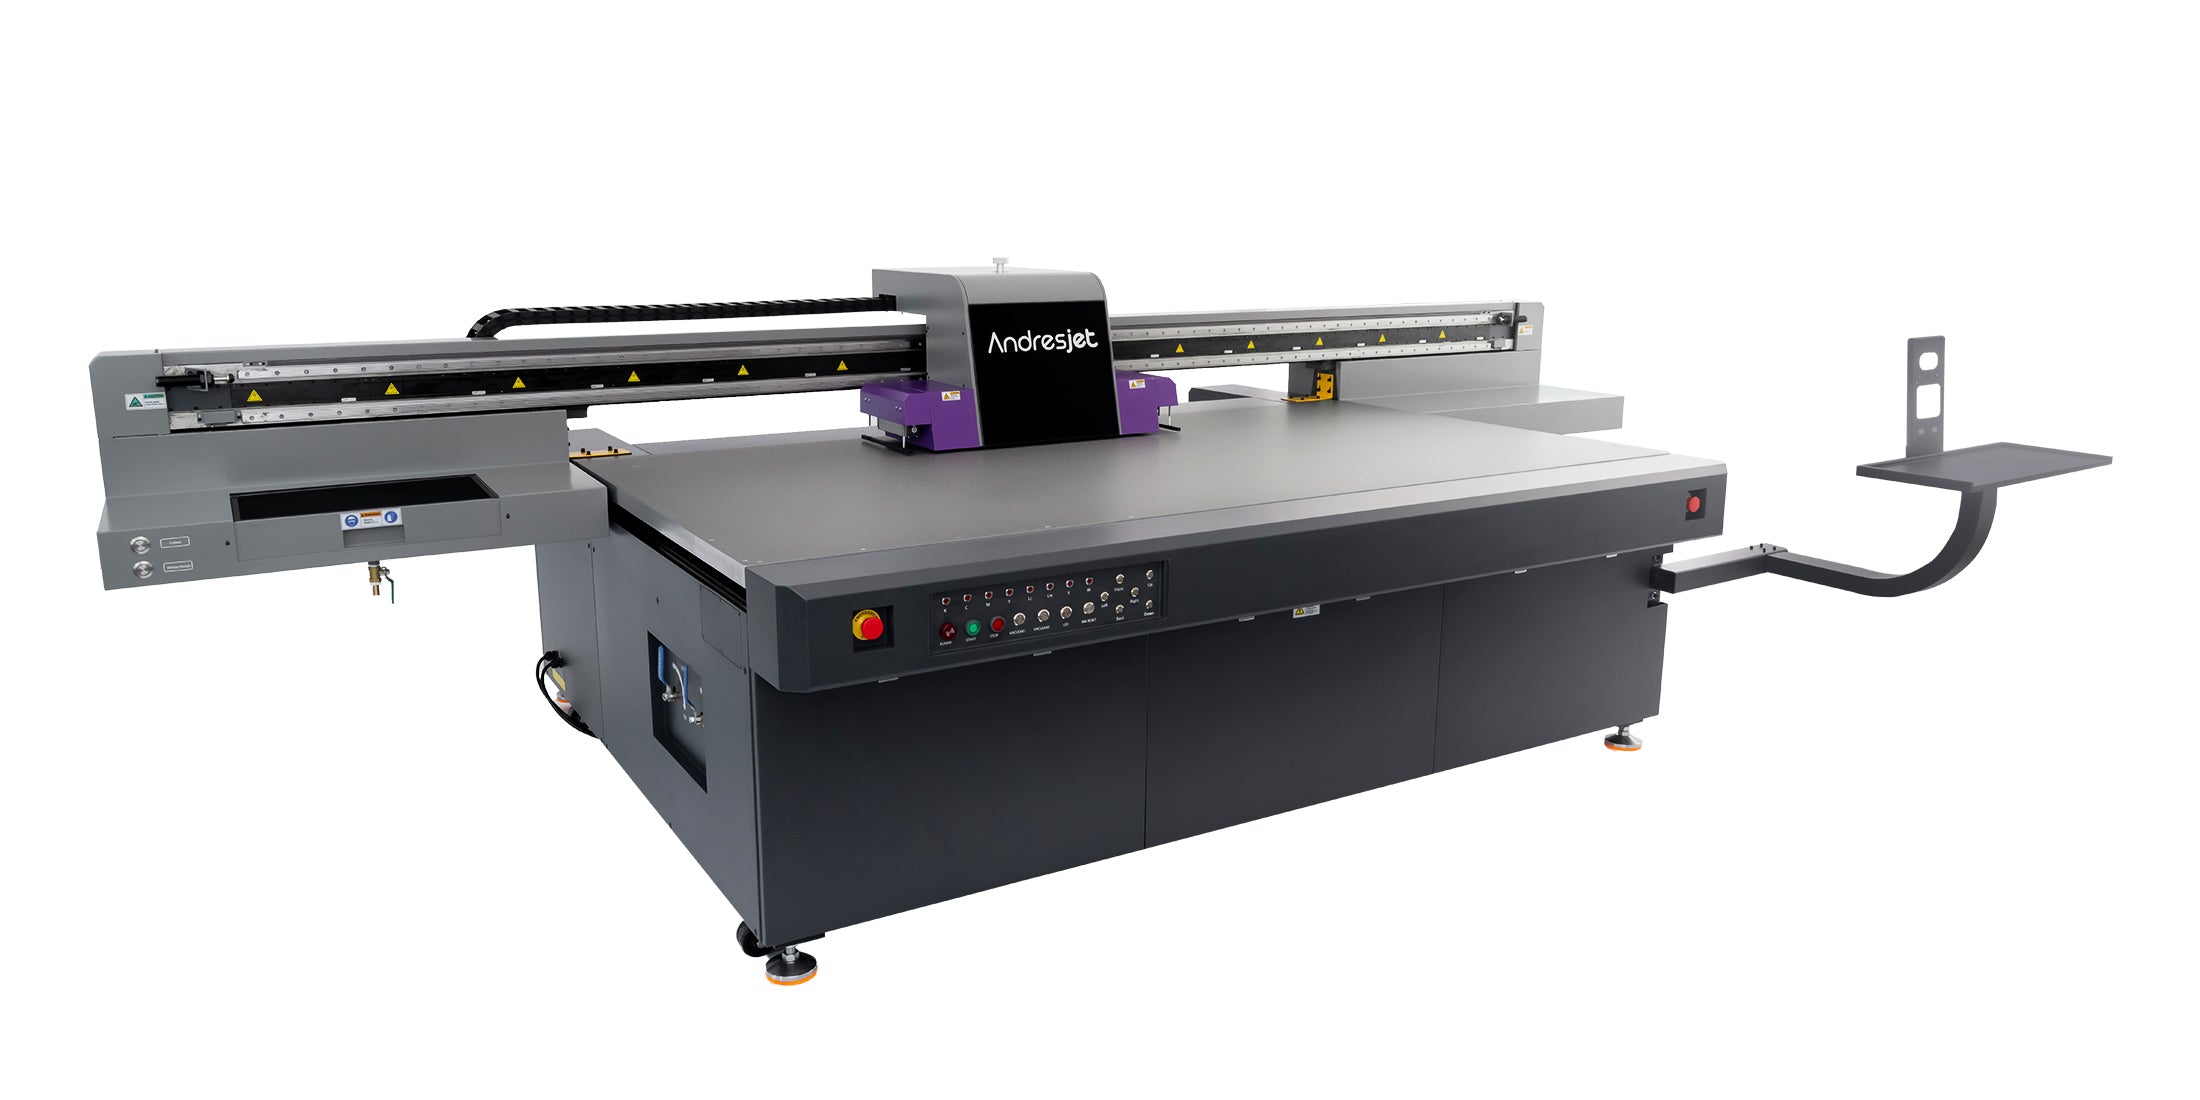
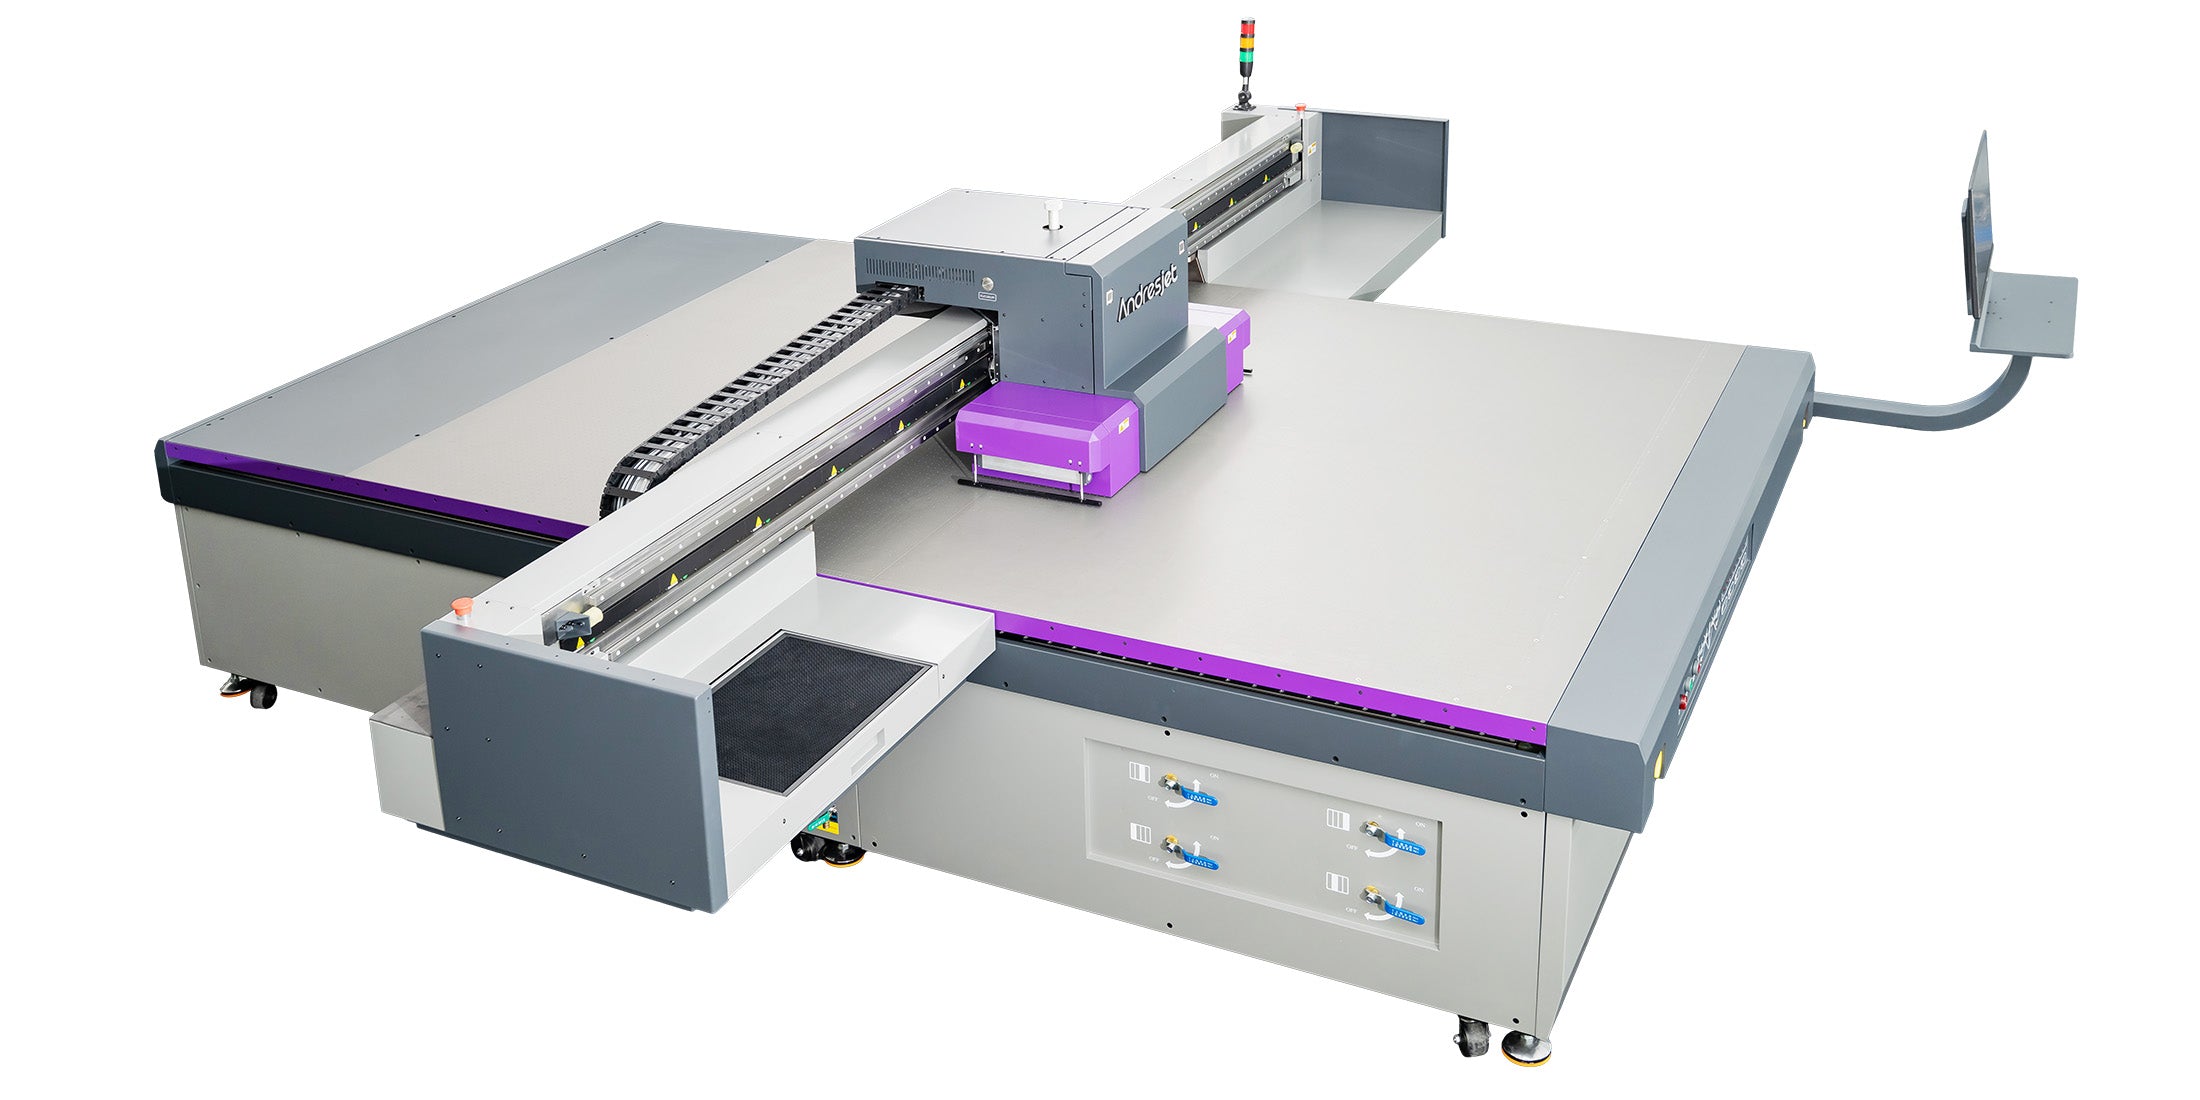
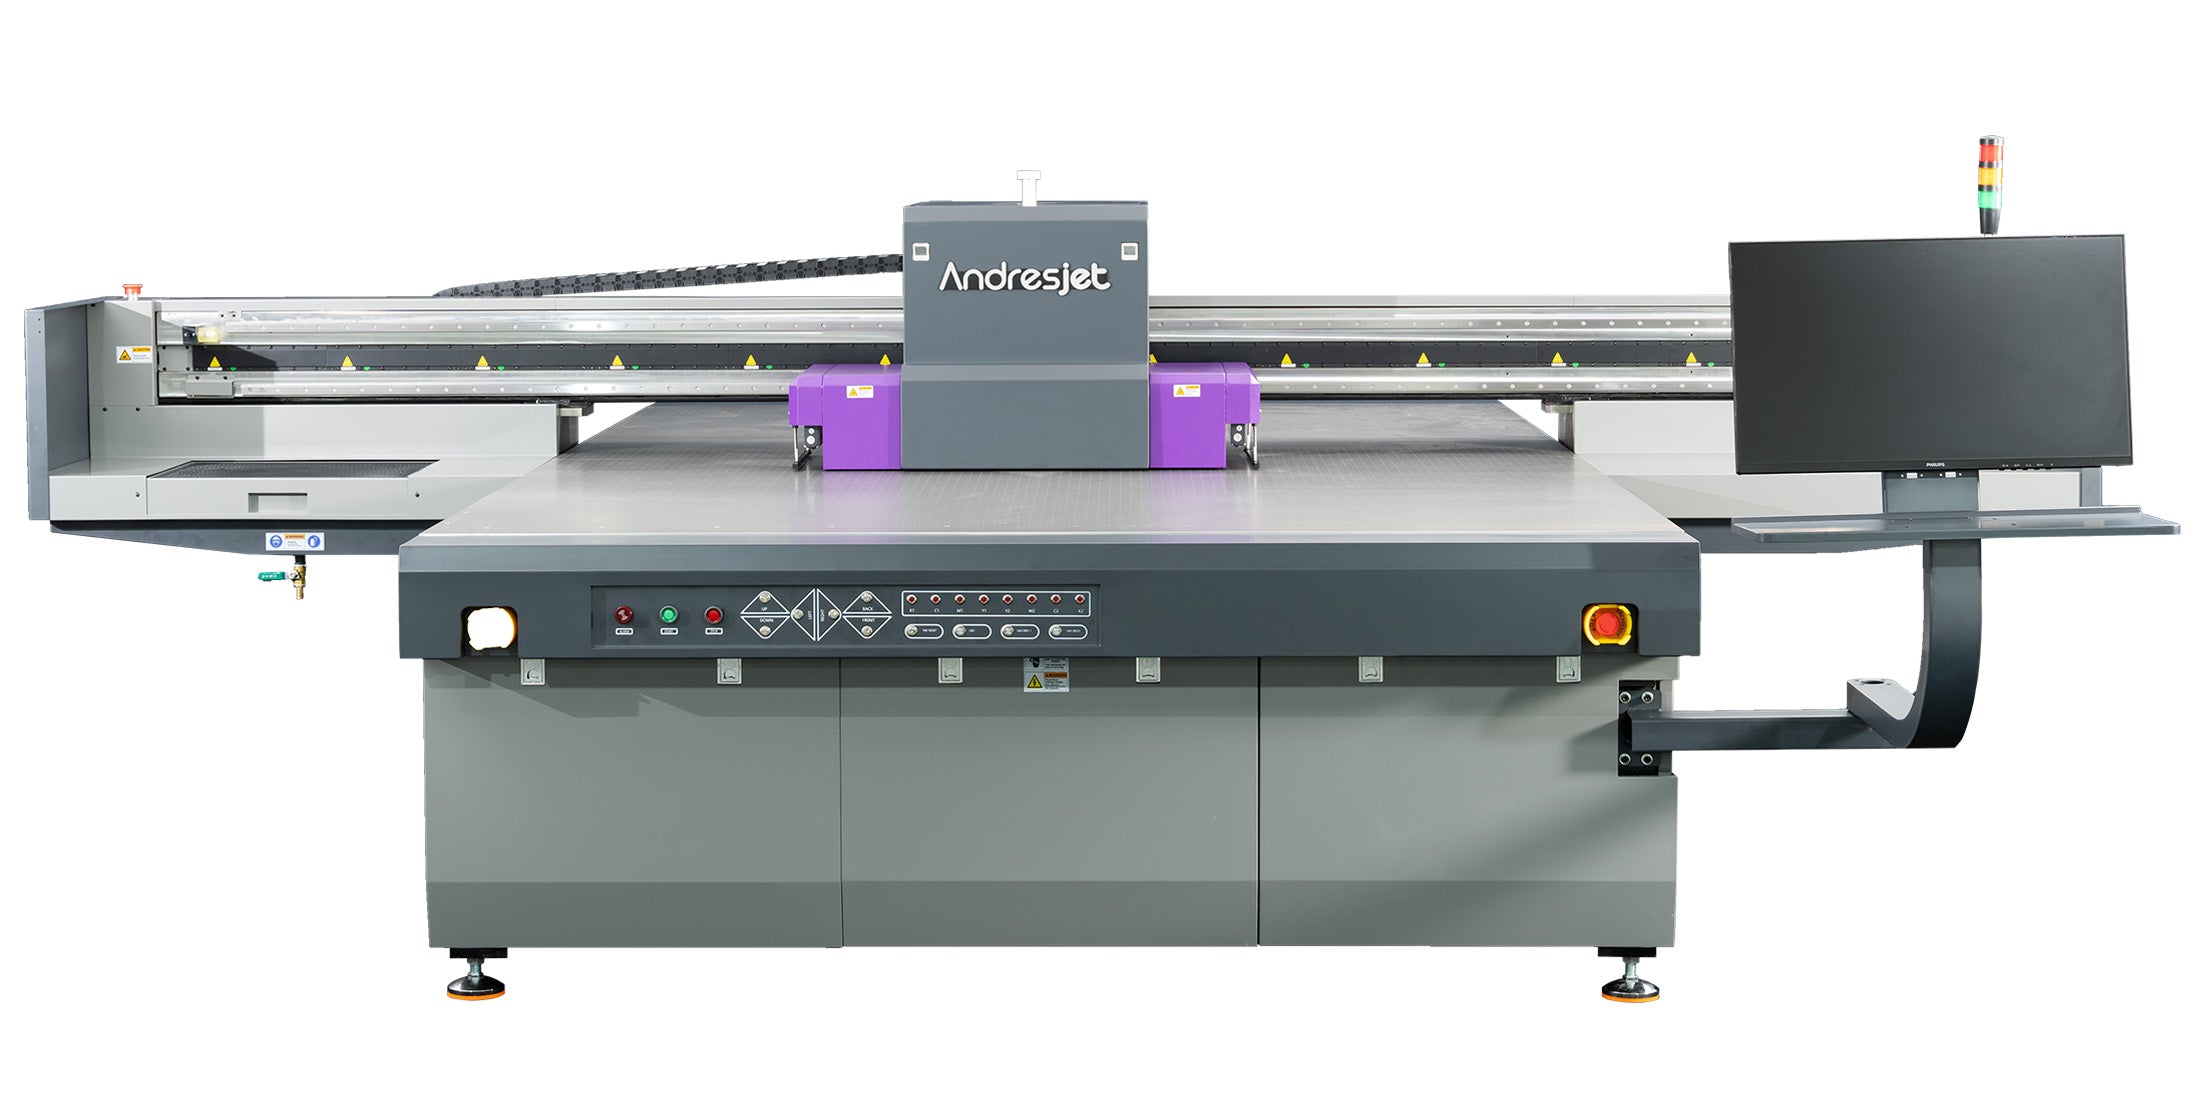
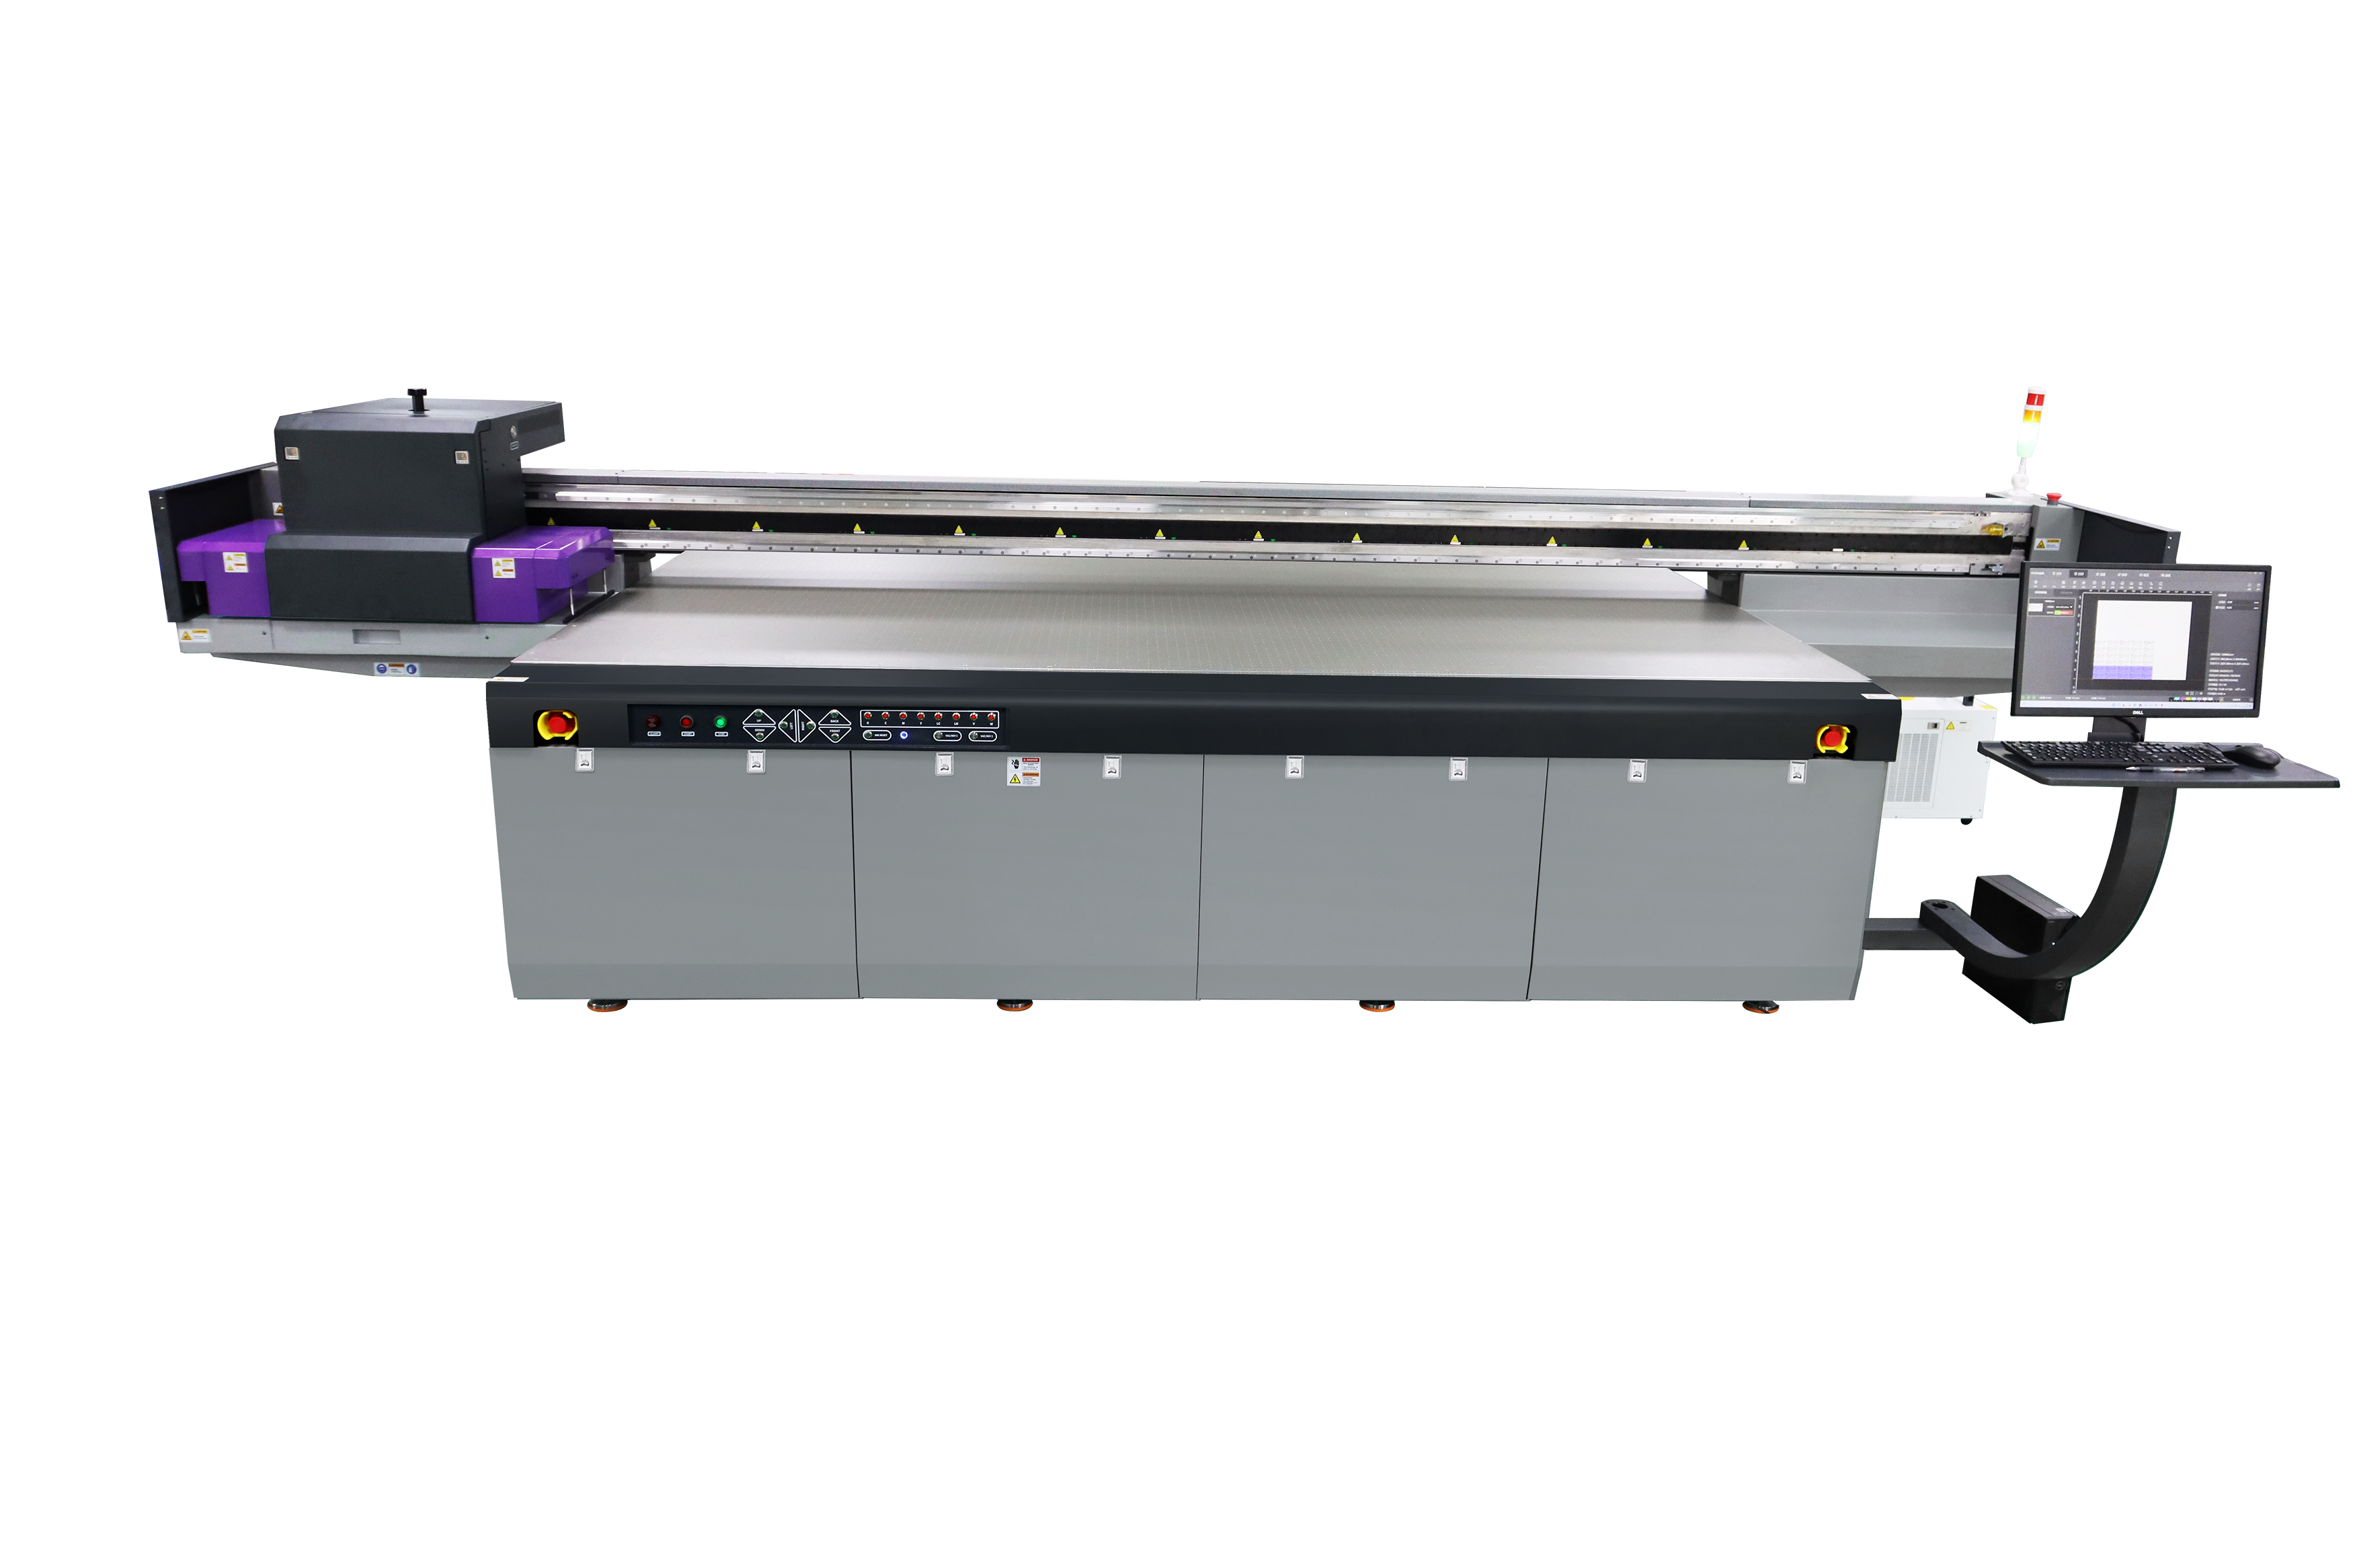
Three current signage-production routes
These current models provide distinct bed sizes and configuration levels. Published specifications help narrow the comparison, but the final choice should be confirmed with the real sign board, representative artwork and complete shop workflow.
Standard-sheet signage route
Configurable longer-bed route
High-intensity 3.2 × 2.0 m route
Published bed and printhead specifications do not guarantee finished signs per shift. Real output changes with board staging, cleaning, resolution, pass count, coverage, white or varnish layers, file changes, loading, inspection, cutting, routing and packing.
For a useful sign-shop recommendation
A practical recommendation needs representative signs, files and production targets—not only a material name or maximum machine speed.
Largest and most frequent panels, material grades, thicknesses, weights, printable sides, edge conditions and mounting methods.
Viewing distance, image coverage, color reference, clear areas, white or varnish layers, bleed, cut paths and version count.
Indoor or outdoor location, expected handling, cleaning, abrasion, exposure, finishing and the tests the approved sample must pass.
Batch sizes, jobs per shift, loading staff or equipment, RIP workflow, finishing capacity, turnaround and support expectations.
These answers are a starting point. Confirm the final configuration with the actual board, artwork and finished-sign requirements.
A flatbed route is suited to direct printing on supported rigid panels. Roll and hybrid systems address different media and transport requirements. Start with the shop's real mix of rigid boards, flexible media, sizes, quantities and finishing, then choose equipment around the dominant workflow.
The machine alone does not establish suitability or service life. The named board, surface preparation, ink construction, finishing, mounting and environmental exposure all matter. Test the representative finished sign against the actual indoor or outdoor requirements before production.
White ink may be used as an underbase on dark or colored boards, behind color on clear media, or as a selective design layer. The required order, coverage, opacity and registration depend on the sign design and viewing direction, so approve a representative sample.
Compare the largest sign, most frequent board, loading orientation, safe margins, nesting pattern, operator access and future job mix. A larger bed is useful only when the material handling, finishing and production schedule can use that capacity effectively.
Finished output includes board staging, cleaning, loading, printing, unloading, inspection, cutting, routing, mounting preparation and packing. Resolution, pass count, ink coverage, white or varnish layers and artwork changes also affect the result. Time a representative end-to-end job before setting targets.
Approve the workflow with a real sign
Share representative materials, dimensions, artwork, white or varnish layers, quantities, service conditions, finishing and output goals. AndresJet can compare current platforms and arrange sample testing around the intended sign.
Practical sign-production guide
A useful signage test continues beyond image quality. It verifies the real board, artwork layers, print layout, finishing, mounting preparation and the conditions the completed sign must meet.
Define sign type, dimensions, material construction, viewing distance, mounting and expected service conditions.
Confirm artwork versions, color reference, bleed, cut path, white or varnish layers, clear areas and inspection criteria.
Map staging, loading, printing, unloading, finishing, quality control, packing and repeat-job records.
Identify the exact board. Record supplier, grade, product code, batch, dimensions, thickness, surface, printable side and protective film.
Define the finished sign. Confirm viewing direction, mounting, edges, cutouts, indoor or outdoor conditions, handling and cleaning expectations.
Build the artwork and bed layout. Add origin, bleed, cut paths, part spacing, white or varnish layers, registration targets and safe margins.
Prepare and print a representative panel. Use the intended surface preparation, resolution, passes, ink layers and hold-down method.
Finish the sample. Apply the planned cutting, routing, edge treatment, mounting preparation or protective finish before approval.
Inspect and time the complete job. Record quality results and elapsed time from material staging through packing.
This page helps a sign shop compare printer scale, workflow and product mix. Material collections provide the deeper preparation and testing guidance for acrylic, PVC, foam board, corrugated plastic, metal and other named constructions. Keep the material identity attached to every approved sample.
Choose the platform around the sign portfolio; approve production around the exact material and finished sign.
Prioritize consistent origin, material staging, repeat-file control and a direct path from loading through finishing.
Review nesting, part identification, artwork version control, cut paths and inspection before promising short-turn variable work.
Compare the largest and most frequent boards, loading resources and downstream finishing rather than choosing only by the rarest job.
Do not assign outdoor durability from the printer name alone. Board grade, surface preparation, ink construction, image coverage, finishing, mounting, climate, exposure and maintenance affect performance. Define the actual requirements and test the representative finished sign accordingly.