

- by John White
How to Measure Bottle Diameter, Print Length and Taper Before Printing?
- by John White
Curved surfaces? Print straight onto bottles, tubes and cylinders — no labels needed.

Accurate bottle measurement is one of the most important steps before direct UV cylinder printing. A bottle may look cylindrical at first glance, yet small changes in diameter, a tapered wall, raised features or a curved shoulder can affect artwork scale, seam alignment and fixture selection.
Before requesting a sample from a supplier of UV printers for bottles and tumblers, record the bottle’s actual geometry instead of relying only on the capacity printed in a product catalog. “20 oz tumbler” or “500 ml bottle” describes volume, not the dimensions required for printing.
A useful bottle specification should include more than one diameter. At minimum, record:
Take measurements from several bottles from the same production batch. Molded plastic, glass and metal containers may have dimensional tolerances that are not visible in a product drawing but can affect a close-fitting fixture or a 360-degree seam.
Wrapping a flexible tape around the bottle provides a quick circumference measurement, but it should not be the only measurement used. A tape can sit at an angle, follow a textured surface or stretch slightly, producing an inaccurate result.
Use a caliper to measure the outside diameter at several positions. For a straight cylinder, the measurements should remain reasonably consistent through the intended print area. If the upper and lower measurements differ, the object may be tapered.
For a nominally straight bottle, circumference can be estimated from:
Circumference = diameter × π
This calculation is useful as an initial artwork reference, but it should not be treated as the final production width. The required seam allowance, printer calibration and artwork overlap depend on the actual machine workflow and sample result.
If the diameter changes when the bottle is rotated, the body may be slightly oval rather than perfectly circular. This can change the print gap during rotation and should be included in the sample assessment.
A tapered bottle has different diameters at the two ends of the proposed print area. Measure the diameter at both positions using the same reference line.
| Measurement | How to record it |
|---|---|
| Large-end diameter | Measure at the wider edge of the intended print area. |
| Small-end diameter | Measure at the narrower edge of the same area. |
| Axial distance | Measure the straight distance between the two diameter positions. |
| Taper direction | State whether the bottle becomes wider toward the base or opening. |
These measurements allow the printer supplier to evaluate the taper and determine whether the object falls inside the supported geometry. Do not estimate taper from a photograph alone. Perspective distortion can make a straight bottle appear tapered or make a gentle taper look more severe.
The supplier should also confirm how its software defines taper angle. Different drawings or systems may describe the full included angle or the angle on one side of the bottle. Providing both end diameters and the distance between them avoids ambiguity.
The total bottle height is rarely equal to the printable length. Exclude areas that cannot maintain a stable print gap or continuous rotation, including:
Mark the proposed print boundaries with removable tape and measure the straight axial distance between them. Photograph the marked bottle from the side and provide the image together with the dimensions.

An artwork position such as “approximately centered” is not precise enough for repeat production. Choose a physical reference point that operators can identify on every bottle.
Possible reference points include:
Record the distance between the reference point and the lower or upper edge of the artwork. If the artwork must align with a cap, handle or molded feature, photograph the required orientation and explain which feature defines the front of the bottle.
Accurate external dimensions do not automatically prove that the object can be held by the printer fixture. The bottle must rotate consistently without slipping, wobbling or being damaged.
Provide information about:
Thin plastic bottles may deform when clamped. Glass bottles require careful handling, while insulated tumblers may have internal structures that affect fixture selection. Send physical samples whenever the geometry cannot be communicated reliably with measurements alone.
Geometry determines whether the bottle can be positioned and rotated, but the material determines whether the ink system and preparation method are appropriate.
Identify the bottle as accurately as possible, for example:
Do not assume that every plastic, coating or glass treatment will accept the same printing process. The actual bottle should be tested for cleaning method, ink adhesion, curing and resistance to its intended handling conditions.
| Field | Example entry |
|---|---|
| Product identification | Customer SKU or internal bottle code |
| Material and coating | Confirmed by bottle supplier |
| Maximum diameter | Measured value in millimeters |
| Minimum print-area diameter | Measured value in millimeters |
| Usable print length | Straight axial distance in millimeters |
| Artwork start position | Distance from the selected reference edge |
| Taper | Large diameter, small diameter and distance between them |
| Batch variation | Minimum and maximum values from several samples |
Avoid using a file name such as BOTTLE_FINAL.pdf as the only connection between artwork and product. Use an internal product code or job number that appears in the artwork record, sample label and production instructions.
For a straight cylinder, the artwork can begin from the measured printable length and approximate circumference. For a tapered object, a simple rectangular artwork file may distort when wrapped around the changing diameter.
Before final production:
Geometry approval and color approval should be treated as separate checks. A design can have accurate color while still being stretched, compressed or misaligned around the seam.
Measurements allow AndresJet to screen a bottle for compatibility, but they do not replace a physical print test. A representative test should confirm:
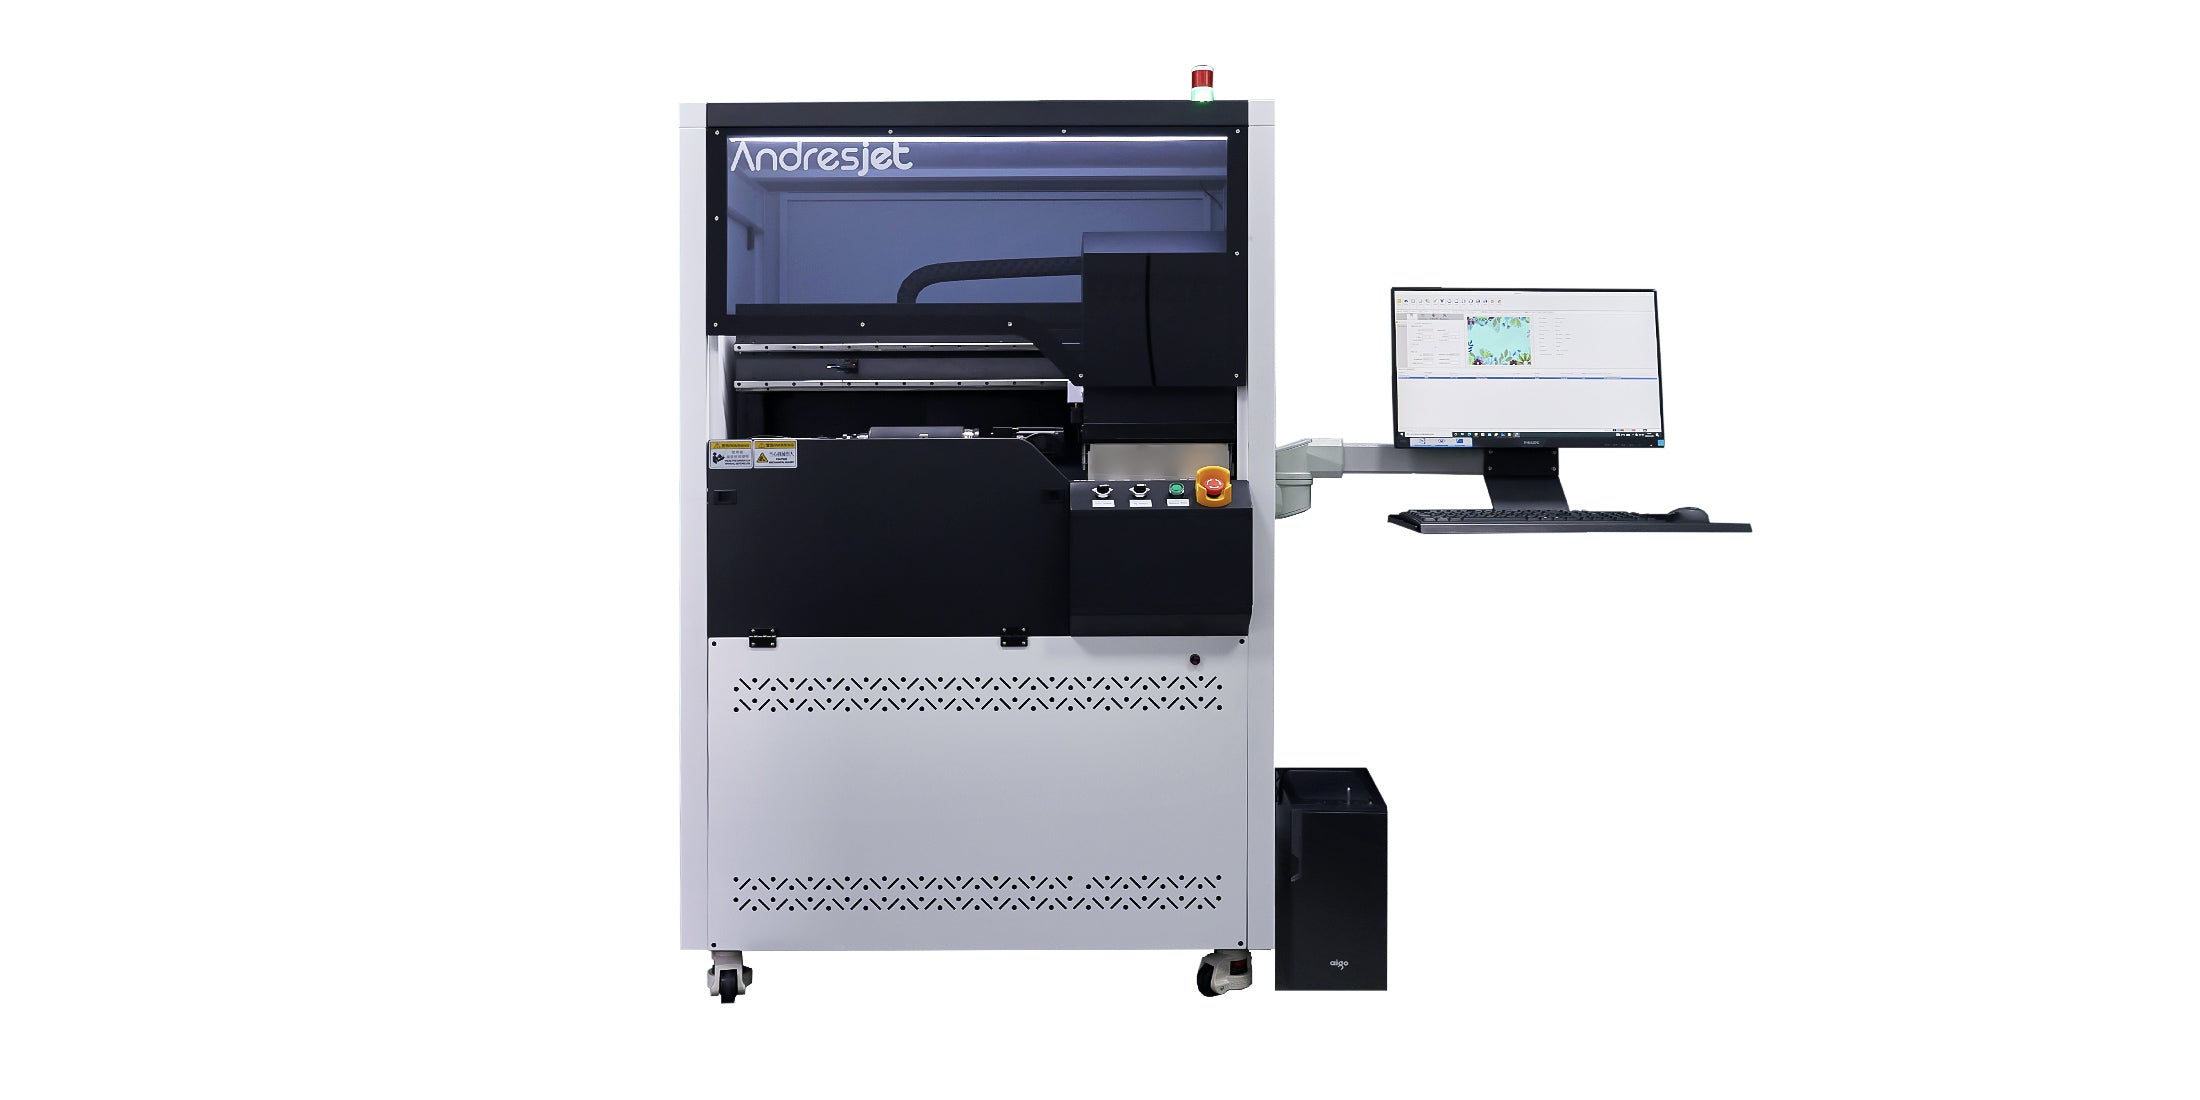
The AJ360i Digital Cylinder Printer is designed for direct printing on cylindrical and tapered objects. Final compatibility still depends on the bottle’s actual dimensions, geometry, material and application requirements.
For the complete decision path, continue with the digital bottle printing applications guide.
No. Capacity does not define outside diameter, printable length, taper or fixture requirements. Measure the actual bottle.
Measure at least the beginning, center and end of the proposed print area. Repeat the measurements after rotating the bottle to identify ovality.
Not without confirming the printer workflow. Tapered objects may require a compensated template or software adjustment to prevent distortion.
No. Geometry, fixture stability, adhesion, color and end-use durability are separate approval points.
Production batches may contain dimensional variation. Measuring several samples helps determine whether the fixture and artwork setup remain reliable across the expected tolerance range.
Good cylinder-printing results begin with a clearly documented object. Send AndresJet the bottle material, maximum and minimum diameters, printable length, taper measurements, opening dimensions, photographs, artwork and several physical samples.
Review the available UV printers for bottles and tumblers, or contact AndresJet to request an assessment using your actual bottle and artwork.
Follow AndresJet:

