

How Should a Compact UV Printer Site Be Prepared?
- by John White
Start UV printing without the floor space — compact flatbed printers built for small shops.

A compact direct-to-object installation should be released only after access, floor and working clearances, power and grounding, environment, ventilation, RIP workstation, network, material storage, safety controls and commissioning responsibilities have been verified against the selected configuration. A site-readiness checklist should assign an owner, evidence and due date to every item rather than relying on a general statement that the room is ready.
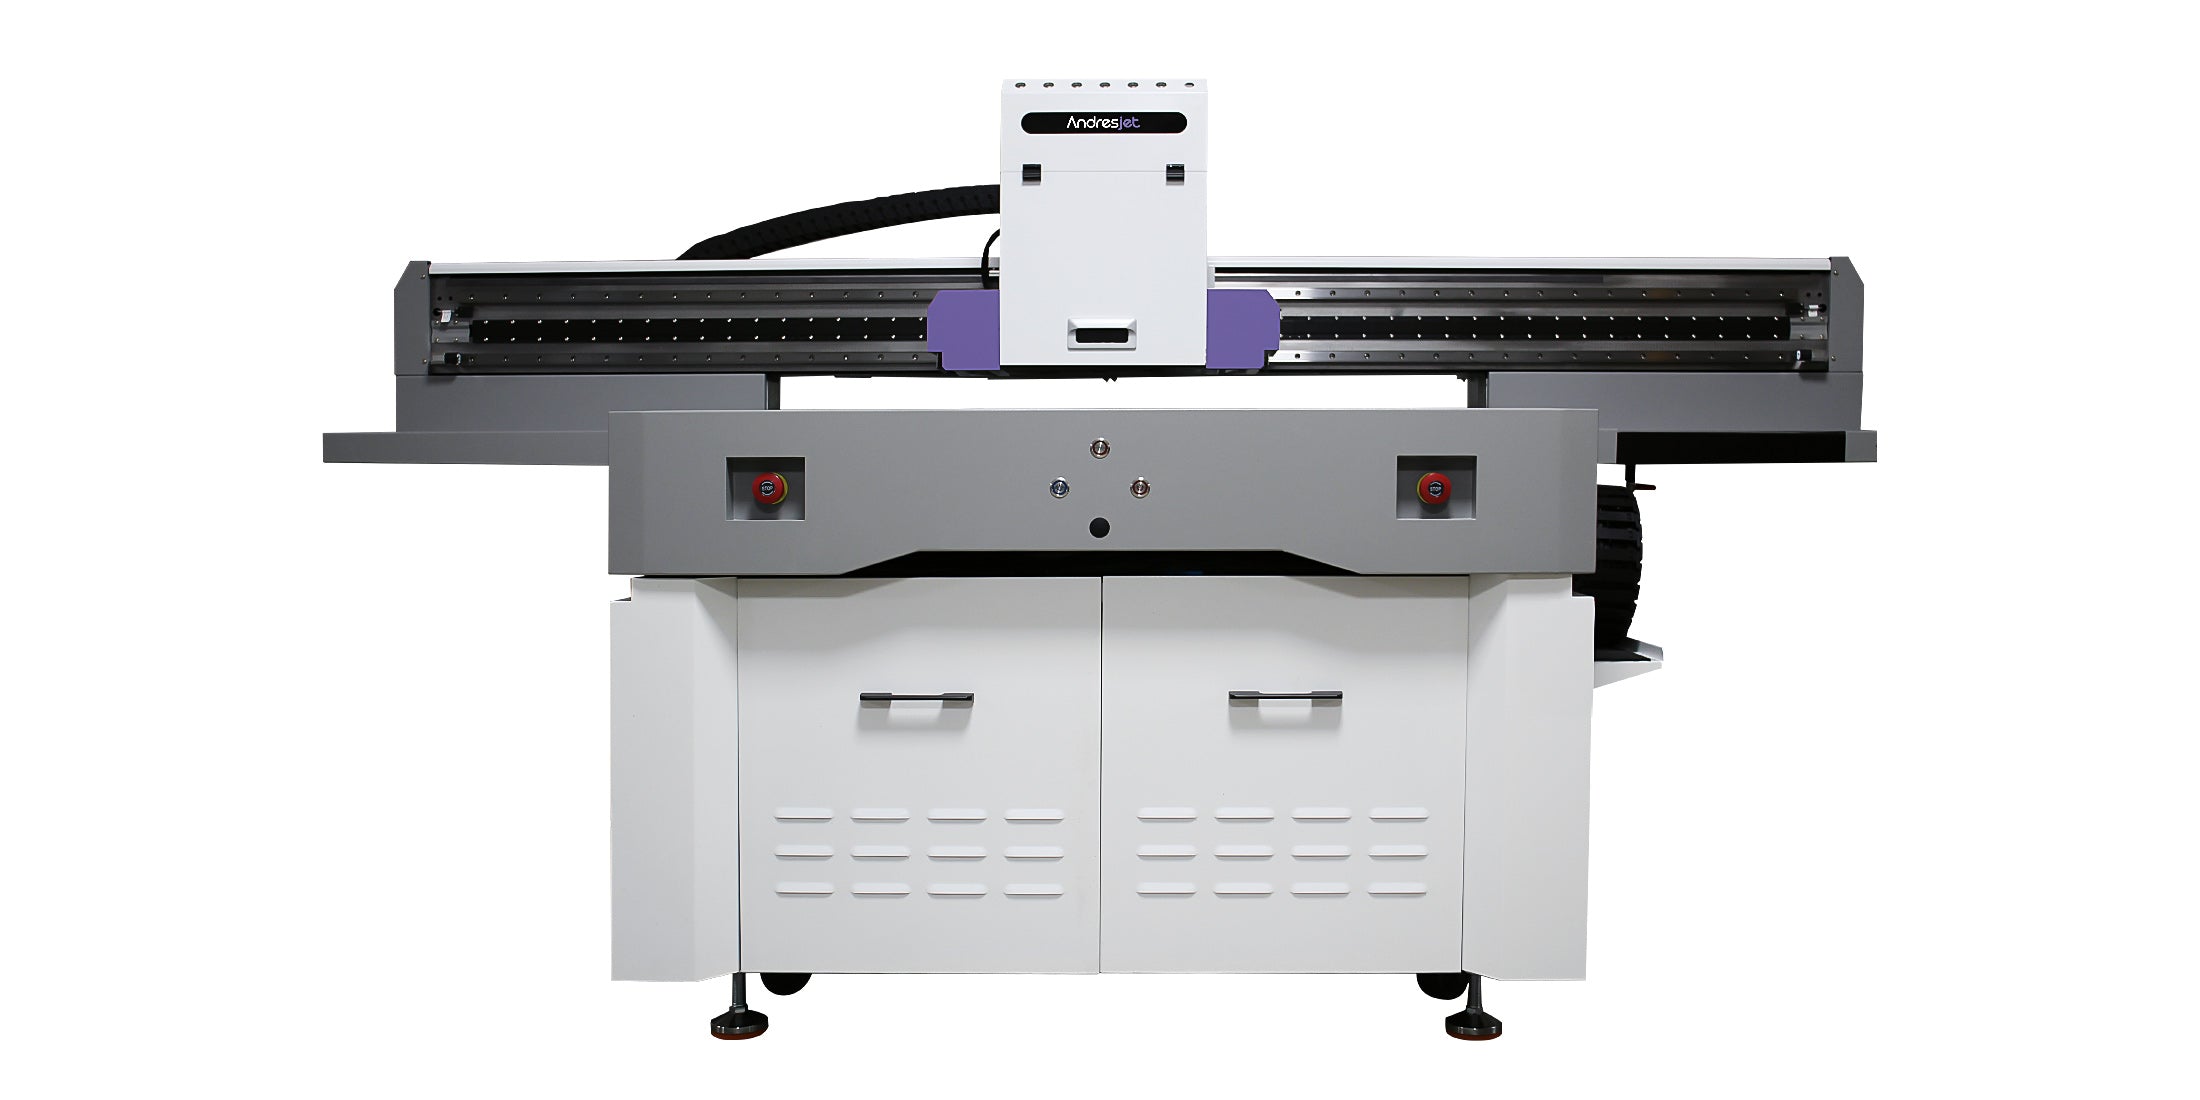
Map the complete delivery route: vehicle access, dock or lift, doors, corridors, corners, ceiling height, floor transitions and the final service envelope. Compact equipment still needs safe handling, doorway and bench/floor positioning checks; do not assume a small footprint removes service-clearance requirements.
The compact UV flatbed printer collection helps define the general equipment category before the room layout is finalized.
For a compact printer, measure the delivery route against the packed unit, lifting method and unpacking sequence—not only the installed footprint. Benches, door closers, low ceiling fixtures and tight turns can become the limiting dimensions in a small workshop.
Lay out the printer, operator stance, blank-object staging, fixture storage and finished-goods area at full scale. A compact room fails when doors, drawers or service panels can open only after production stock is moved.
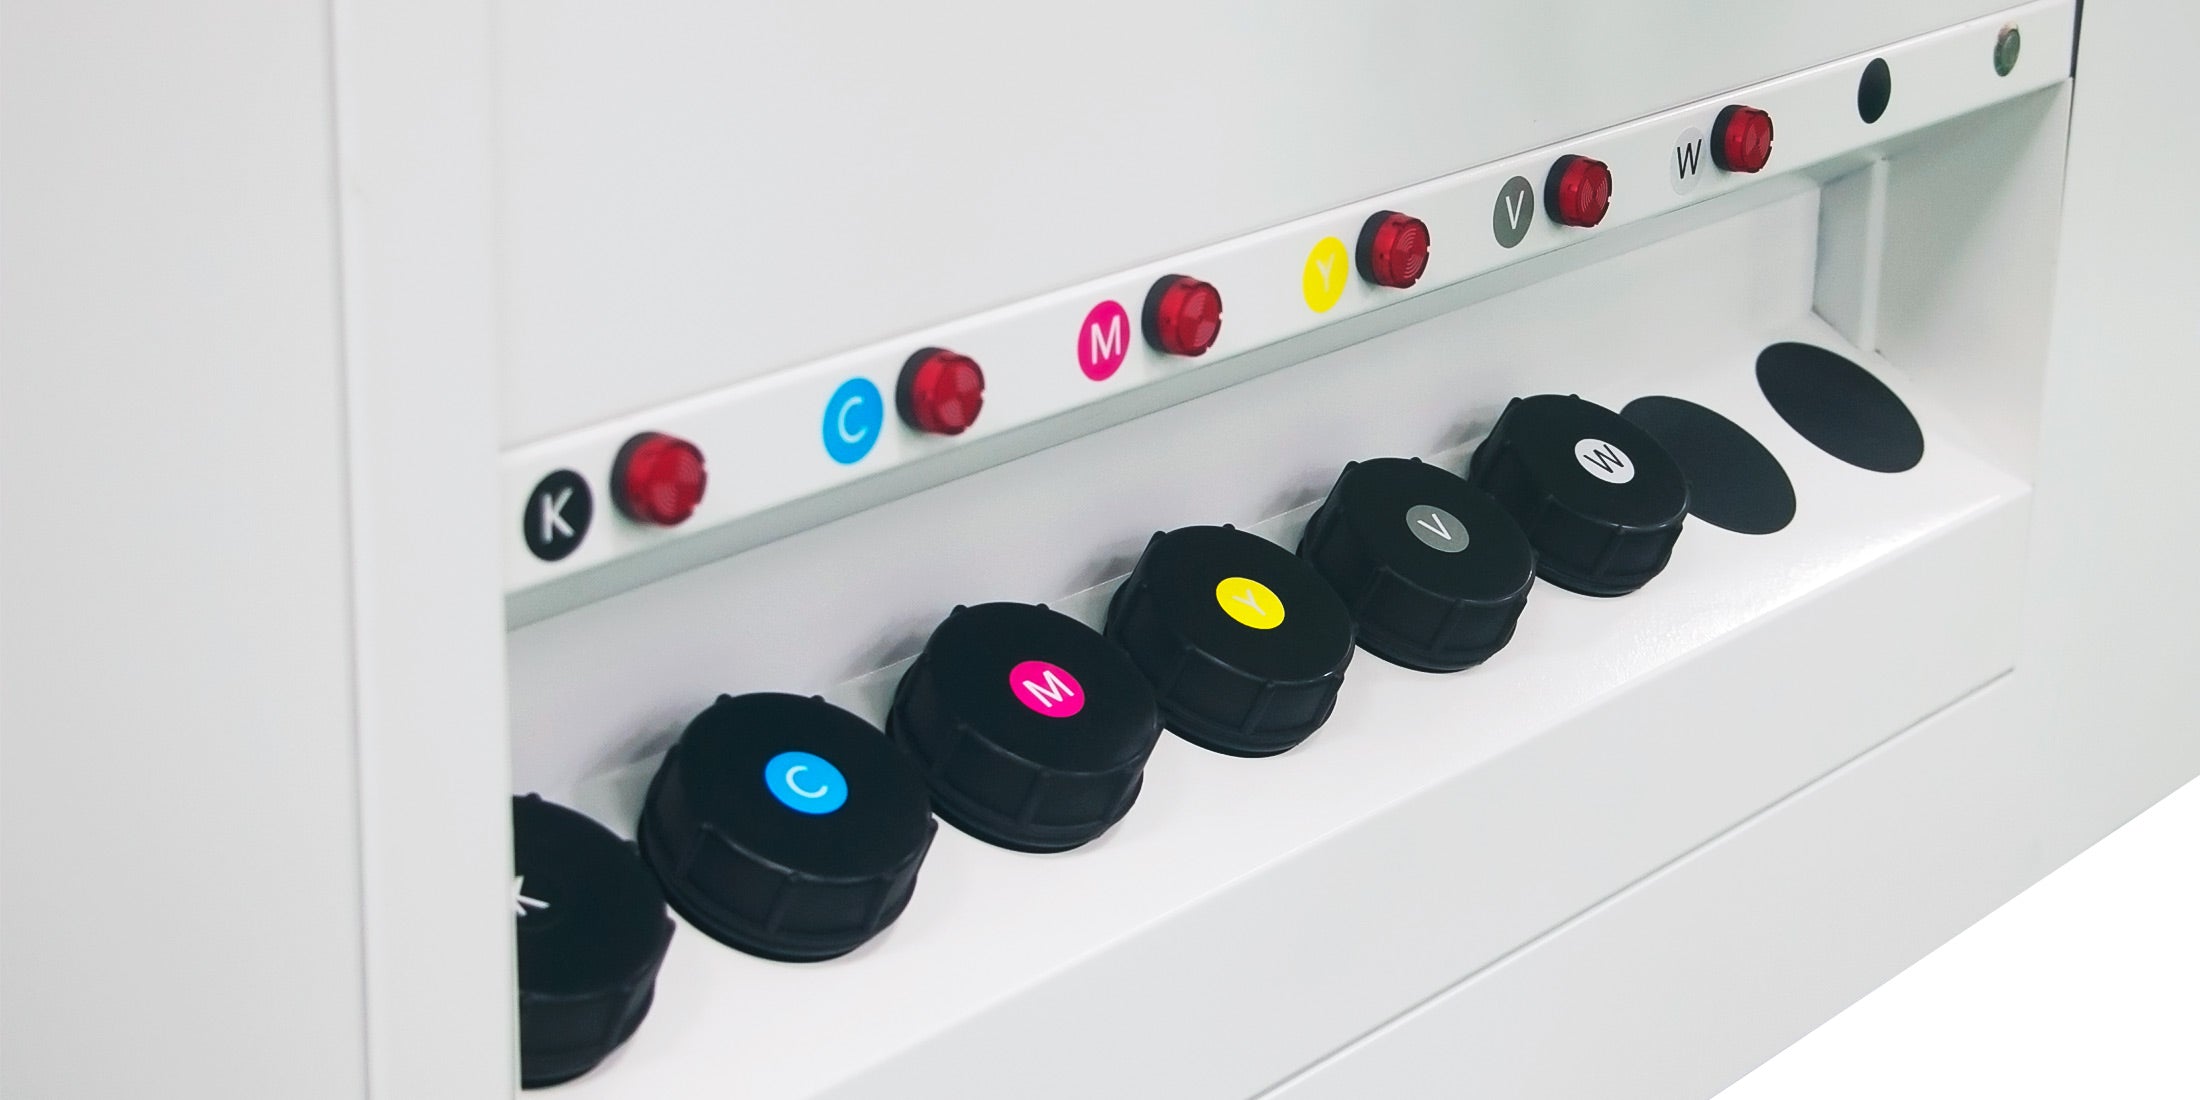
Walk a representative order through the room before delivery: receive blanks, clean, load, print, inspect and pack. This reveals cross-traffic, contamination and reach problems that a floor plan alone may miss.
The electrician should verify supply, protection, outlet location, grounding and any auxiliary equipment against the final purchase specification and local requirements. Confirm the final regional power specification and any workstation or accessory loads rather than using a generic office-circuit assumption.
Use the AJ1206 product page for published specifications, then confirm utilities and clearances for the purchased configuration.
A qualified electrician should match the final AJ1206 configuration and regional documentation to the outlet, protection and grounding at the exact installation point. Extension leads or shared office circuits should not be assumed acceptable without that sign-off.
Compact rooms can experience faster heat buildup and stronger local exposure to cleaning or primer vapors. Assess airflow at the operator position, keep the printer away from direct sun and heaters, and review the actual ink and chemical safety data before choosing ventilation controls.
Place temperature and humidity monitoring where the printer and materials are used rather than near a doorway. Small objects, fixtures and coated blanks should be conditioned in the same controlled area when dimensional or adhesion consistency matters.
Prepare the approved workstation, software responsibility, file-transfer route, backup, network security and color-measurement workflow. Separate unprinted objects, qualified samples, fixtures, chemicals and finished goods so a small room does not become a contamination or mix-up source.
Use labeled shelves or bins for unqualified blanks, approved lots, fixtures, printed work and rejects. In a compact shop, physical zoning prevents a rejected phone case or medal from re-entering the next batch and keeps chemicals away from finished output.
| Readiness area | Owner | Evidence |
|---|---|---|
| Delivery access | Facilities/logistics | Measured route and handling plan |
| Floor and clearances | Facilities | Marked layout and approval |
| Power/grounding | Qualified electrician | Measured sign-off |
| Environment/ventilation | EHS/facilities | Assessment and controls |
| RIP/network | IT/production | Test file transferred |
| Material storage | Production | Defined zones and handling |
Commissioning should follow one representative small-object job from file transfer through loading, first article, inspection and cleaning. Record operator access, fixture storage, routine maintenance space and unresolved room changes before the site is released for production.
A compact printer reduces floor demand but does not remove delivery, electrical, environmental, chemical-handling or service-access requirements. Map the real room, separate material states, test the digital workflow and close commissioning responsibilities before arrival. AndresJet can confirm AJ1206 configuration details; local facilities and production owners should document that the selected workspace is genuinely ready.
For a compact installation, facilities or the workshop owner, a qualified electrician, safety, IT and the lead operator should sign their own readiness items. One project owner should decide whether remaining actions block delivery or only production release.
No. Even two compact printers can differ in packed size, electrical configuration, accessory space, chemical use and service access. Use the documents for the exact purchased configuration and installation region.
Prepare a representative blank-object lot, approved artwork, the intended fixture or CCD workflow, inspection criteria and the operator who will own daily maintenance. Commissioning should finish with a traceable accepted sample, not only a startup demonstration.
UV Printer Installation, Commissioning and Operator Training: What Buyers Must Plan For
Knowledge
How a Pre-Order UV Printer Sample Test Works: What to Send and What You Get Back
Knowledge
Order to Delivery: How UV Printer Lead Time Is Actually Built
Knowledge
What MOQ Applies to a UV Printer Order, and When Customisation Changes It
Knowledge