

- by John White
Cutting and Edge Finishing Printed Panels
- by John White
Print bigger, print faster — wide-format UV flatbed printers for signs, decor and industrial work.

A printed sheet is not a product. It becomes one when it is cut to size, and the cut is where a good print can still become a reject. Chipped edges, an ink line running onto a visible face and a ragged routed profile are all finishing faults, and all of them are decided before the print job is booked.
This guide covers how cutting and edge finishing fit into a UV printing job: why finishing belongs in the print plan, how the cut path is defined, what causes edge damage, whether to print first or cut first, how an exposed edge is treated, how dust is managed, what to inspect, and what records keep the finishing repeatable.
Because the cut decides what the print is worth.
A printed panel is a finished part only after it is cut, routed and edged, so the finishing sequence belongs in the plan rather than in the schedule after printing.
The published guidance for panel work treats converting as part of the job rather than as a downstream task. The cardboard workflow, for example, lists cutting, scoring, folding, gluing and assembly alongside printing, and asks for the converting sequence to be recorded with the order. That is the correct order of thinking: the print is one stage in a sequence that ends with a part.
The practical consequence is that the cut path, the bleed and the hold-down are decided together, because they constrain each other. A layout that ignores the trimming tolerance produces parts that are slightly undersized, and a layout that ignores the hold-down produces parts that have moved before the cut.
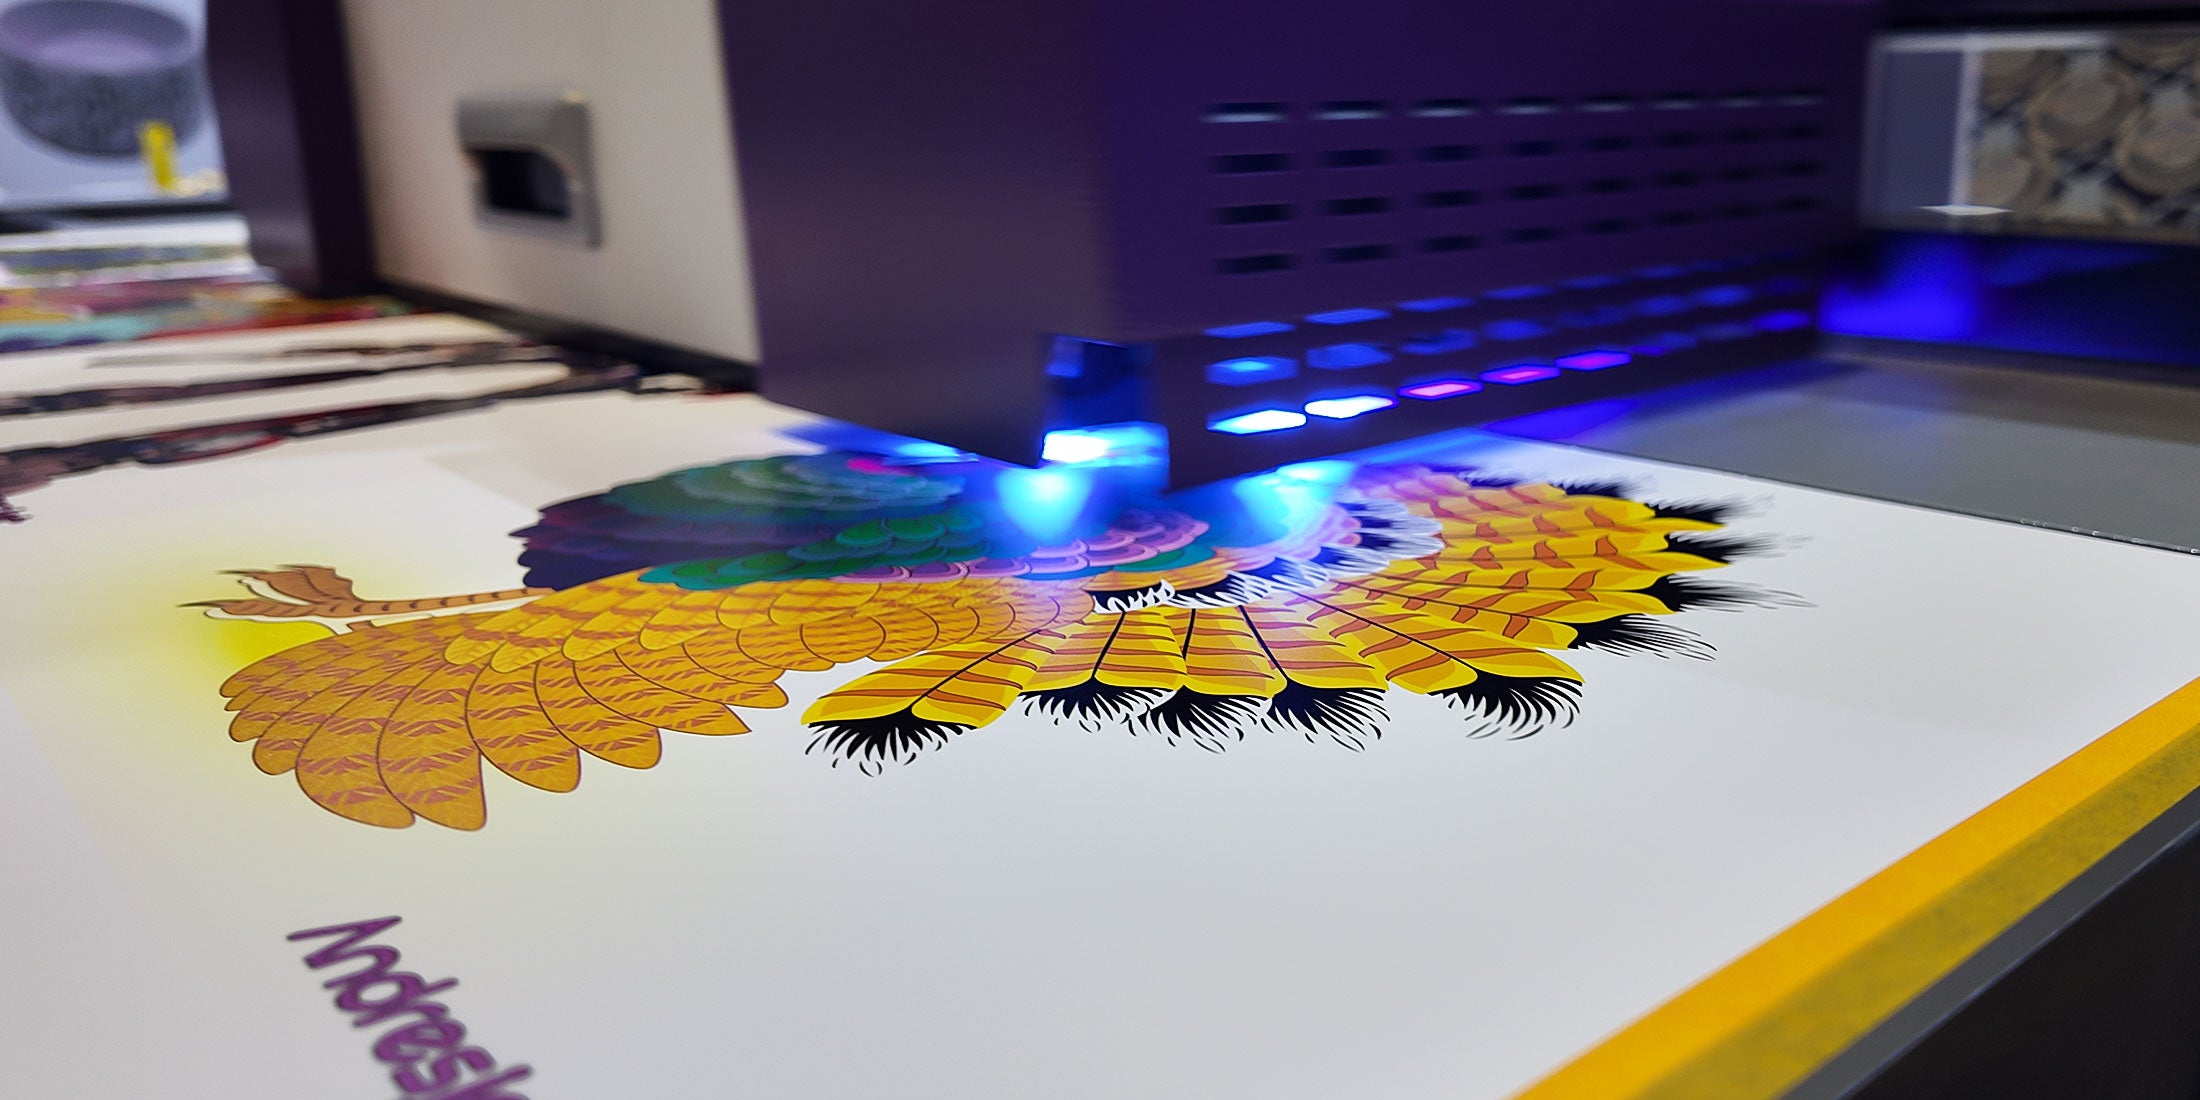
From the current drawing, with a bleed.
The published artwork guidance asks for the bleed and cut path to be recorded with the project, and for the tolerance of the cutting method to be part of the same decision.
Three values have to agree. The printed artwork, which is built to the part drawing. The bleed, which allows for the trimming tolerance. And the cut path itself, which is the line the tool follows. Where those three come from different sources, the part is usually small or the artwork is off-centre on the finished piece.
| Item | Why it is recorded |
|---|---|
| Cut path and bleed | Sets how much material is trimmed and how far the ink runs past it |
| Cutting method | Determines the tolerance the artwork has to accommodate |
| Edge treatment | Decides whether the edge is sealed, banded or left exposed |
| No-print zones | Keeps ink off openings, fasteners and sealing faces |
| Handling and packing | Protects a finished surface between the bench and the customer |
The no-print zone is the field most often omitted, and it is the one that most often causes a remake. The published panel guidance asks for cutouts, openings, fasteners and clearances to be taken from the current drawing and built into the file, which is what keeps a repeat order identical to the first.
Tool condition, feed rate and material support.
A printed edge is cut through the ink film and the substrate together, so tool wear, feed rate and how the sheet is supported all affect the result.
The failure appears as a ragged edge, a chip in the coating or a small lift of the ink film at the cut line. On a coated or laminated board the chip usually exposes the core, which is visible immediately on a dark board and stands out on a finished sign. On acrylic the risk is a stress crack rather than a chip, which is why the published guidance for that material is to test the actual sheet and the intended process rather than to assume a setting.
The most common single cause is a tool that has passed the end of its useful life without being noticed. Because the panel is printed, the operator is focused on the graphic rather than the edge, and a tool that was acceptable on a plain sheet can be marginal on a coated one. Changing the tool on a schedule, rather than when a defect appears, removes most of the variability.
Either, but the trade-offs differ.
Printing first puts the ink through the cutter; cutting first puts dust and handling on the board, and the published guidance is to control the surface either way.
Printing first is the common route for panels that must have a registered graphic relative to the cut, because the cutting follows the printed datum. The risk is that a chipped edge damages the print, and a part that fails at the edge is scrap even if the image is perfect.
Cutting first suits work where the blank is supplied to size and the print does not depend on the cut. The risk shifts to the surface, because cut edges and airborne dust sit on the board before it reaches the bed, and the published material guidance asks for dust and contamination to be removed before printing. Whichever route is chosen, the sequence belongs in the record so that a repeat order follows the same path.
To the specification of the finished part.
On a composite or laminated board the exposed core is the part most likely to fail in service, so the edge treatment is a specification decision rather than a finishing detail.
The published guidance for aluminium composite work makes the point by treating the routed edge as a service consideration rather than an aesthetic one: water can enter an exposed core, which is why sealing, capping or an alternative edge design is chosen deliberately. On a furniture panel the equivalent decision is the banding, and on an acrylic award it is the flame-polished edge.
What matters for the printer is that the edge decision affects the artwork. An edge that will be banded should not carry ink, because the band covers it and the ink is wasted. An edge that will be left exposed should be given the coverage the design intends, which means the bleed allowance has to reach the edge rather than stop short of it.

Clean before printing and after cutting.
Dust from cutting can sit on the surface and interfere with adhesion, and the published material guidance asks for cleaning to be standardised and recorded.
Two cleaning moments matter. The first is before printing, where the published guidance is to remove dust, oil, cleaner residue and any protective-film adhesive so the ink bonds to the intended surface. The second is after cutting, where the dust produced by the operation settles on the printed face and on the edges, and where a wipe that is too aggressive can dull a varnish or mark a soft film.
Standardising both steps is more valuable than choosing a better cleaner. A method that is written down and followed by every operator produces a consistent result, while a method that varies by shift produces variation that is later attributed to the ink or the material.
Chipping, ink coverage and straightness.
The published batch checks cover placement, colour, opacity and surface defects, and an edge inspection adds the cut quality the customer will see.
Three checks cover most failures. The edge profile, examined for chips, burrs and coating damage. The ink line, examined for a white sliver where the bleed was short, or an ink border where it was excessive. And the dimensional accuracy, checked against the drawing rather than against the previous part, because a slow drift in a cutter is easy to miss from one piece to the next.
Adhesion testing belongs in the same check where the part will be handled. The published method is the cross-cut tape test under ASTM D3359, and wear under ASTM D4060 where abrasion is a requirement. An edge is a good place to run the check, because a cut edge is where a film is most likely to lift.
The tool, the sequence and the result.
The published process record covers the substrate, the fixture and the inspection result, and a finishing record adds the tooling and the order of operations.
Four entries make that record useful. The cutting method and tool, so a change of tool is visible. The sequence, because printing before cutting and cutting before printing produce different risks. The edge treatment, because it changes the artwork. And the inspection result, including the reject reason where a part failed at the edge rather than in the image.
A reject reason is worth recording in more detail than a reject count. Where several parts fail on the same edge, the cause is usually the tool or the support rather than the print, and the record is what makes that pattern visible. Material and chemical obligations for the substrate and any sealing product follow the applicable regulations (REACH), humidity exposure where a customer requires it is covered under ASTM D2247, and occupational guidance for the workshop is published by the relevant authority (HSE printing). Process practice for print operations is published by the bodies in the field (PRINTING United Alliance).
Why does finishing belong in the print plan?
Because the cut decides what the print is worth. A printed panel only becomes a finished part after it has been cut, routed and edged, so the finishing sequence belongs in the plan rather than in whatever time is left after printing.
How should the cut path be defined?
From the current drawing and with a bleed. The published artwork guidance asks for the bleed and the cut path to be recorded with the project, and for the tolerance of the cutting method to be part of the same decision rather than a separate detail.
What causes chipping and edge damage?
Tool condition, feed rate and how the sheet is supported. A printed edge is cut through the ink film and the substrate at the same time, so a worn tool, a fast feed or an unsupported sheet will each show up as edge damage.
Should a panel be printed before or after cutting?
Either, but the trade-offs differ. Printing first sends the printed sheet through the cutter, while cutting first puts dust and handling on the board, and the published material guidance asks for the surface to be controlled either way.
How should an exposed edge be treated?
To the specification of the finished part. On a composite or laminated board the exposed core is the area most likely to fail in service, so the edge treatment is a specification decision rather than a finishing detail left to the bench.
Cutting and edge finishing are part of the print specification, not a step after it. Define the cut path and the bleed with the drawing, decide the sequence, control the dust, treat the exposed edge deliberately, and inspect the finished edge rather than only the image.
The published artwork and material guidance for this range sits with the acrylic collection and the AJ2130G/R page, the material workflow is covered in the guide to UV printing on acrylic, and the panel edge question is covered in the article on aluminium composite panels.
Send us the part drawing, the cutting method and the edge requirement. We will confirm the bleed, the no-print zones and the finishing sequence before the job is released.
Discuss a finishing plan


