

- by John White
Do You Need White Ink on Clear Acrylic?
- by John White
Print bigger, print faster — wide-format UV flatbed printers for signs, decor and industrial work.

For industrial UV printing on clear acrylic, white ink is usually needed when artwork must appear opaque, color-accurate, and readable against changing backgrounds. It is not required for every job. CMYK alone creates transparent effects, while selective white or a full white layer provides different levels of opacity. The correct setup depends on viewing direction, artwork, lighting, acrylic type, and production requirements.
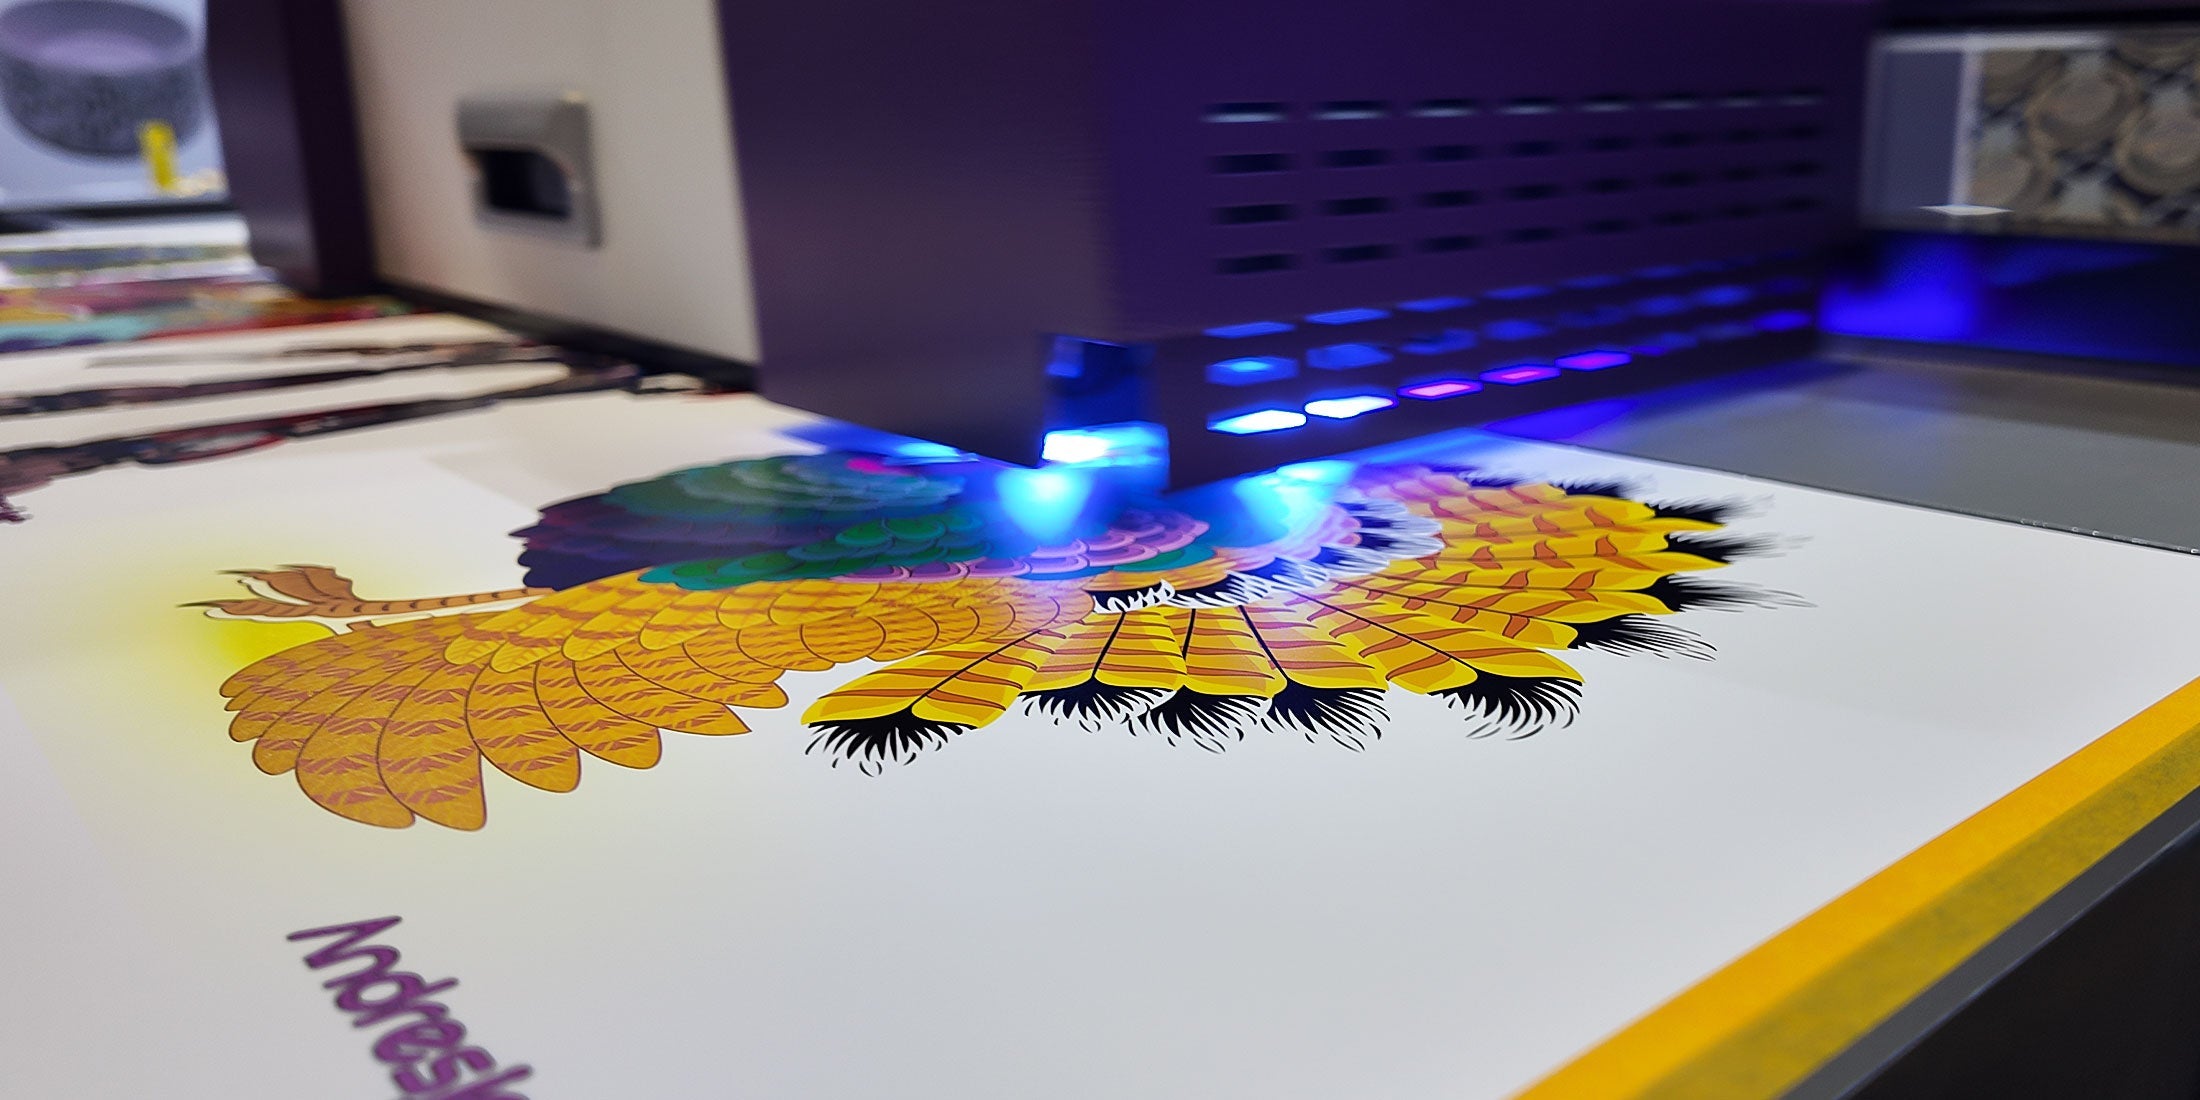
CMYK inks do not behave like an opaque coating. On white media, light reflects from the substrate and returns through the ink, helping colors appear saturated and predictable. Clear acrylic does not provide that reflective white background. Light passes through the sheet and printed color, so the result can appear lighter, more transparent, or strongly influenced by whatever is behind the acrylic.
This does not automatically mean the print is defective. A transparent appearance may be intentional for decorative panels, illuminated displays, layered graphics, or stained-glass-style effects. The problem occurs when a production team expects the artwork to look like it does on a white proof without defining the required opacity first.
Before preparing a production file, confirm four points:
These decisions determine whether the job needs no white ink, selective white, or a full white layer.
White ink can be omitted when transparency is part of the design rather than a production problem. CMYK-only printing allows light and background color to remain visible through the artwork.
This approach may be appropriate for decorative transparent graphics, window-facing elements, layered display components, subtle color tints, backlit experiments, and stained-glass-style artwork.
A CMYK-only sample should still be evaluated under the final viewing conditions. A print that looks attractive on a white inspection table may become difficult to read when installed in front of a dark wall, bright window, illuminated cabinet, or visually complex background.
Production approval should therefore use the actual acrylic, artwork, viewing distance, background, and lighting whenever possible. A monitor proof cannot accurately show how transmitted and reflected light will affect a transparent printed object.
Printing without white reduces white-ink consumption and removes one printing layer, but ink saving should not be the main decision criterion. If the finished part fails its opacity or readability requirement, the lower ink usage provides no production benefit.
A full white underbase is appropriate when the printed colors need to remain strong and relatively independent of the background behind the acrylic. For a first-surface print, the white layer is normally positioned behind the CMYK image from the viewer’s perspective. It acts as an opaque backing that reduces transmitted light and makes the printed colors appear stronger.
A full white layer is commonly considered for branded acrylic signs, equipment labels, information panels, recognition plaques, awards, retail display components, product-identification graphics, and artwork that must remain readable against an unknown background.
The required white density should be established through sample testing. More white is not automatically better. Excessive ink deposition may affect fine detail, surface texture, curing requirements, production time, or registration between layers.
The RIP workflow must also be validated. White ink is normally prepared as a dedicated spot channel rather than treated as part of the CMYK image. The operator should confirm white generation, choke or spread settings, layer order, resolution, and registration before approving production.
| White-ink strategy | Visual result | Typical production use |
|---|---|---|
| No white | Transparent and strongly influenced by the background | Decorative and light-transmitting effects |
| Selective white | Combination of transparent and opaque areas | Layered graphics and highlighted information |
| Full white | Higher opacity and stronger color appearance | Signs, plaques, displays, and branded components |
| Color-white-color | Artwork intended to be viewed from both sides | Specialized double-view transparent products |
This table is a planning guide, not a universal print recipe. White density and layer order must be tested with the selected ink, acrylic, artwork, and viewing conditions.
Selective white gives the artwork both transparent and opaque zones. Instead of placing white behind the entire CMYK image, the prepress operator creates a separate white channel only under selected elements.
For example, a manufacturer can place white beneath text to improve readability, beneath a logo to protect brand colors, or beneath only the most important product information. Decorative background graphics can remain transparent. Partial white density may also be tested when a translucent rather than fully opaque appearance is required.
The main production risk is registration. Small text, thin lines, and detailed boundaries can reveal misalignment between the white and color layers. A controlled choke or spread may be needed so that white ink does not extend beyond the edge of the CMYK artwork.
Before the full run, inspect fine text, narrow lines, white edges around colored objects, registration at corners and curves, appearance against light and dark backgrounds, and color consistency across repeated pieces.
First-surface printing places the ink on the side facing the viewer. Second-surface printing places the image on the rear of clear acrylic so that it is viewed through the material.
For a first-surface image, the visual sequence is generally viewer → CMYK → white → acrylic. For a second-surface image, the file is normally mirrored and the sequence becomes viewer → acrylic → CMYK → white.
Second-surface printing can reduce direct contact with the ink because the viewer-facing acrylic sits in front of the printed layers. It can also create a glossy, depth-like appearance when viewed through clear material. However, reverse printing introduces additional controls:
A job should not enter production until the customer and manufacturer agree on which side is the presentation face. “Print on clear acrylic” is not a complete production specification.
No. White ink controls opacity; it does not automatically solve adhesion. Cast, extruded, coated, mirrored, recycled, and specialty acrylic sheets can respond differently to the same UV ink.
Adhesion may be influenced by surface contamination, protective-film residue, cleaning chemistry, static, acrylic coatings, ink formulation, curing settings, primer or pretreatment, and post-print cutting or routing.
A print can initially look acceptable but fail during fabrication, installation, or cleaning. Production testing should therefore include the operations that occur after printing. ASTM D3359 is frequently referenced when discussing tape-based coating adhesion, but its scope and limitations must be understood. The test method, conditioning procedure, and acceptance criteria should be agreed upon by the purchaser and manufacturer.
| Validation step | What to confirm |
|---|---|
| Material identification | Acrylic type, supplier, coating, finish, and batch |
| Surface preparation | Protective-film removal, cleaning method, and residue control |
| Print construction | CMYK, white, varnish, and any approved primer layer |
| Visual approval | Color, opacity, viewing side, background, and lighting |
| Adhesion check | Agreed test method and acceptance criteria |
| Post-processing | Cutting, routing, drilling, and edge handling |
| Final-use evaluation | Cleaning, abrasion, installation, and environment |
A repeatable workflow begins before the print file reaches the machine.

The printer must support the intended ink-layer strategy and the physical requirements of the acrylic job. Important evaluation points include dedicated white-ink capability, stable white-ink maintenance procedures, separate CMYK-white-varnish control, accurate layer registration, suitable vacuum holding, sufficient media clearance, repeatable positioning, UV curing control, and RIP support for spot white and mirrored artwork.
The AndresJet AJ1206 compact UV flatbed printer offers a published CMYK, white, and varnish configuration, a maximum printing area of 1,200 × 600 mm (approximately 47.2 × 23.6 inches), UV LED curing, and an optional CCD positioning system. It is presented within AndresJet’s compact UV flatbed printer for acrylic solution for signs, plaques, displays, awards, and customized products.
These specifications do not by themselves confirm suitability for every acrylic application. The production material, artwork, required opacity, part dimensions, and durability criteria should be reviewed before the final machine configuration is selected.
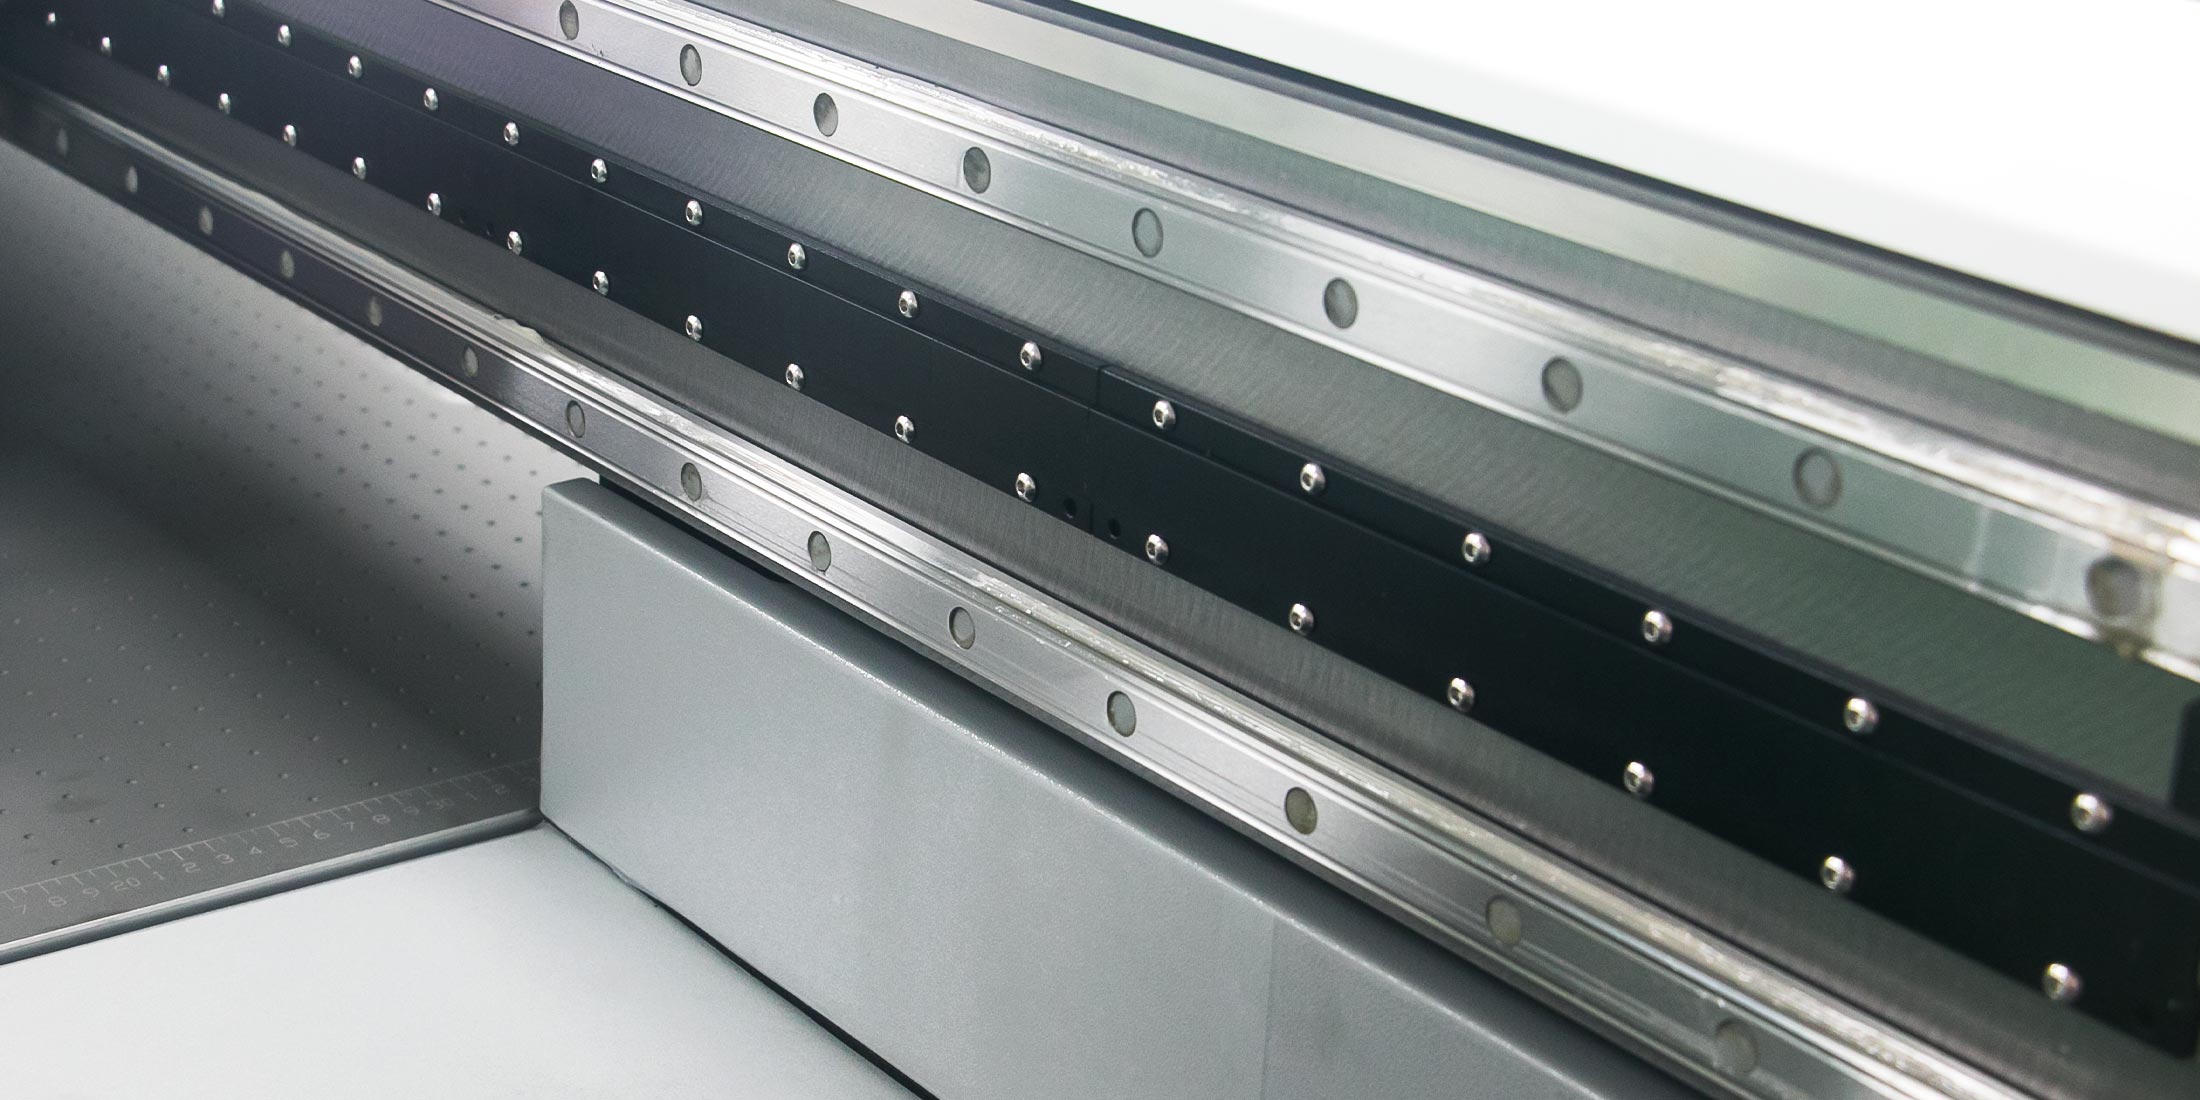
CCD positioning can support jobs containing multiple small parts, mixed outlines, or variable artwork by identifying object positions before printing. This is relevant for acrylic plaques, tags, awards, identifiers, and other components that might otherwise require dedicated positioning fixtures.
The production benefit depends on part geometry, camera recognition, artwork preparation, bed loading, and the required placement tolerance. A camera system does not replace process control. Parts still need to lie flat, remain stable, and present a detectable outline. Reflective or transparent objects should be tested because optical recognition can be affected by the material and background.
The white-ink decision should be made from the finished product backward. Start with the viewing side, background, lighting, and required opacity, then build the CMYK and white layers around that result. A full white layer is not automatically the correct solution, and a visually acceptable sample is not enough if it has not been tested through the customer’s cutting, cleaning, and installation workflow. For an acrylic application, approve the actual material and artwork before defining the final production configuration.
AndresJet Application Engineering Team
White ink is usually needed when clear acrylic graphics must remain opaque, saturated, and readable, but it is not mandatory for every design. B2B manufacturers should define the viewing side, intended transparency, white coverage, surface-preparation method, adhesion criteria, and post-processing workflow before production.
Before selecting a compact UV flatbed printer, ask the manufacturer to demonstrate the job using the actual acrylic, artwork, and viewing conditions. Confirm white-layer preparation, RIP workflow, material holding, curing setup, operator maintenance, and acceptance criteria.
For an application review, send AndresJet the acrylic type, dimensions, thickness, artwork, required quantity, viewing side, and desired finish. The team can use this information to plan a representative sample test and discuss the appropriate compact UV flatbed printer configuration.
For the complete decision path, continue with the white ink circulation & opacity guide.
Is white ink always required on clear acrylic?
No. CMYK can be printed without white when transparency is intentional. A selective or full white layer is generally used when colors need greater opacity or less background influence. The correct decision depends on the viewing side, lighting, installation background, and approved visual result.
Should white ink print before or after CMYK?
It depends on the viewing direction. In a first-surface print, white normally supports the color from behind. In a second-surface print viewed through the acrylic, the mirrored CMYK image normally prints before the backing white layer. The exact sequence must be confirmed in the RIP workflow.
Can white ink improve adhesion to acrylic?
White ink is primarily used to control opacity and color appearance. Adhesion depends on the acrylic formulation, surface condition, cleaning, ink chemistry, curing, and possible primer requirements. Test the actual production material and include cutting, routing, or handling in the approval process.
Can clear acrylic be printed from the reverse side?
Yes, if the acrylic and ink system are compatible. The artwork generally needs to be mirrored, and the color and white layers must print in the correct sequence. A physical sample should be evaluated through the actual acrylic thickness before production approval.
What information should be sent for an acrylic sample test?
Provide the acrylic type, supplier, thickness, finish, coating, dimensions, and intended viewing side. Include the production artwork, quantity, desired opacity, installation background, and durability requirements. This allows the printer manufacturer to prepare a more representative white-ink and adhesion test.


