

- by John White
Clear, Colored, Frosted or Mirrored Acrylic: What Changes in UV Printing?
- by John White
Print bigger, print faster — wide-format UV flatbed printers for signs, decor and industrial work.

Acrylic is widely used for signs, displays, awards, decorative panels and customized products. However, “acrylic” is not a single printing condition.
Clear, colored, frosted and mirrored acrylic interact with UV ink in different ways. The same artwork and ink sequence can produce very different results depending on the transparency, surface texture and backing of the sheet.
Before beginning production, printers should identify the exact acrylic type and decide which side will be viewed. These decisions affect white ink, image orientation, color density, adhesion testing and the finished appearance.
This guide explains what changes when UV printing on common acrylic types. Businesses preparing acrylic applications can also review AndresJet’s compact UV flatbed printers for acrylic.
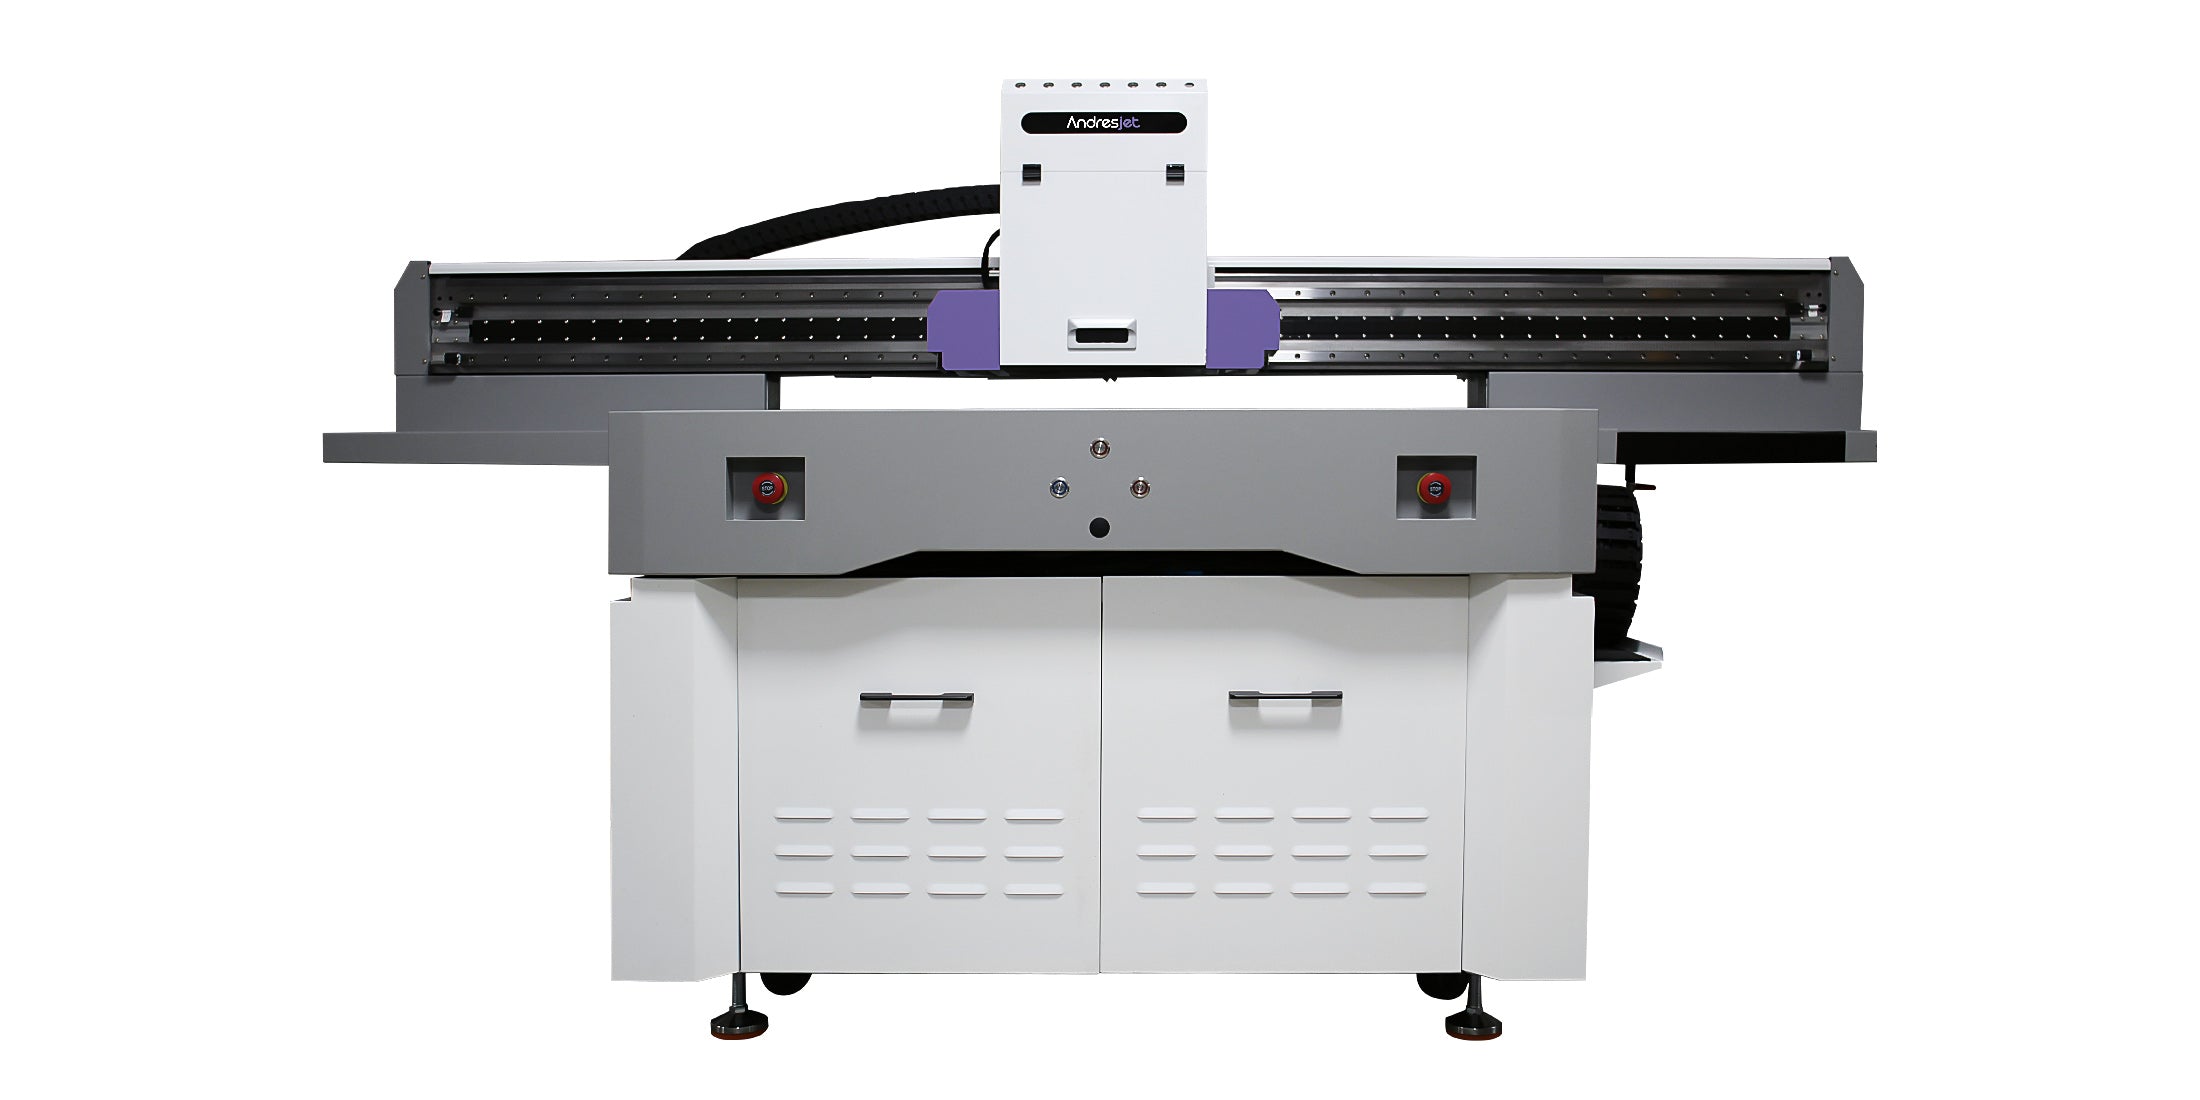
UV ink is deposited onto the surface of the sheet and cured immediately by UV LED light. The final visual result therefore depends on both the printed ink and the optical properties of the acrylic.
The most important variables are:
These variables should be confirmed before the RIP file is prepared. Changing the acrylic type after the artwork has been configured may require a different white layer, mirrored artwork or another color profile.
Clear acrylic offers the greatest number of design options because the image may be viewed directly from the printed surface or through the front of the sheet.
With direct printing, the image is printed on the front-facing surface. The normal artwork orientation is used.
CMYK can be printed alone to create a transparent or stained-glass effect. White ink can be added behind the CMYK layer when stronger opacity and more saturated color are required.
A common ink sequence is:
Second-surface printing places the image on the back of the acrylic so that it is viewed through the clear front surface.
The artwork must be mirrored before printing. The acrylic then protects the printed image from direct handling and can create a glossy, dimensional appearance.
A common reverse-printing sequence is:
The correct sequence depends on the direction from which the finished piece will be viewed.
Colored acrylic changes the appearance of CMYK ink because the substrate color remains visible beneath transparent process colors.
For example, blue acrylic can shift yellow, red and skin-tone areas. Dark acrylic may make CMYK graphics difficult to see unless an opaque white underbase is printed first.
For most full-color graphics on colored acrylic, the printing sequence is:
The white underbase does not always need to cover the entire design. Selective white ink can preserve portions of the acrylic color as part of the artwork.
This technique is useful for:
White ink density should be tested before production. Too little white allows the acrylic color to influence the image, while unnecessary white layers increase printing time and ink usage.
Frosted acrylic diffuses light and reduces transparency. Depending on the material, the frosted effect may be created within the sheet or applied as a surface finish.
This distinction matters because a textured printing surface can affect droplet placement, fine detail and adhesion.
Before printing, determine:
Printing on the smooth side generally provides sharper small text and fine lines. Printing directly on the frosted side can produce a softer visual effect but should be tested for detail and adhesion.
White ink may still be required when strong opacity is needed. However, the frosted material itself already diffuses light, so the visual effect will differ from printing on fully transparent acrylic.
Mirrored acrylic requires particular care because the reflective appearance usually comes from a backing layer applied to one side of a clear acrylic sheet.
Not every mirrored surface is intended to receive ink. Printing or cleaning the backing incorrectly may damage the reflective coating.
Before production, confirm:
When printing on the front face, selective white ink can control where the mirror remains visible through the design. Areas without white may retain a metallic or reflective appearance, while white-backed CMYK areas appear more opaque.
This makes mirrored acrylic suitable for premium applications such as:
Always test a sample before printing a full batch. Mirrored acrylic products from different suppliers may use different coatings and protective films.
| Acrylic type | Typical white ink purpose | Main consideration |
|---|---|---|
| Clear acrylic | Controls transparency and supports reverse printing | Confirm the viewing side and artwork orientation |
| Colored acrylic | Prevents the substrate color from changing CMYK | Test white density and selective-white areas |
| Frosted acrylic | Adds opacity behind graphics | Identify whether printing occurs on a smooth or textured face |
| Mirrored acrylic | Controls reflective and opaque areas | Avoid damaging the mirror backing |
Many acrylic sheets arrive with a protective film. Remove the film only from the side that will be printed and check that no adhesive residue remains.
Use a cleaning method approved for the particular acrylic product. Aggressive solvents may cause clouding, fine surface cracks or damage to specialty coatings.
A practical preparation procedure includes:
Operators should wear clean gloves when handling prepared sheets. Fingerprints can interfere with appearance and may affect adhesion in contaminated areas.
Acrylic can build up static electricity, especially after the protective film has been removed. Static attracts dust and can influence the path of ink droplets.
Possible symptoms include:
Static control may include suitable humidity, anti-static equipment and careful cleaning immediately before printing. Avoid leaving prepared acrylic exposed in a dusty production area.
Clear, colored, frosted and mirrored acrylic may use different surface treatments even when they come from the same supplier.
An adhesion result from one sheet should not automatically be applied to every acrylic variation.
For each new material, record:
This creates a repeatable material profile that can be reused when the same acrylic is ordered again.
Small acrylic products, awards and customized components may suit a compact machine, while large signs and industrial panels require a larger printing area.
The AJ1206 Small UV Flatbed Printer offers a 1200 × 600 mm printing area and supports CMYK, white and varnish configurations. Its optional CCD visual positioning system can assist with batches of smaller acrylic objects.
When evaluating a UV printer for acrylic, consider:
A sample test using the actual clear, colored, frosted or mirrored acrylic is more reliable than choosing a machine from specifications alone.
Real application examples can help printers compare materials, ink effects and production workflows before arranging their own samples.
Follow Shenzhen Andres Technology Co., Ltd. on LinkedIn for AndresJet printing applications, product demonstrations and company updates.
Some social posts show finished products or several printing systems without identifying every machine model. When a post does not name the printer, confirm the required model and ink configuration with AndresJet before treating it as technical guidance for a specific application.
Clear, colored, frosted and mirrored acrylic should not be treated as interchangeable printing materials.
Clear acrylic requires decisions about transparency and viewing direction. Colored acrylic often needs a white underbase. Frosted acrylic requires attention to texture and light diffusion, while mirrored acrylic must be handled carefully to protect its reflective backing.
Identify the exact material, test the intended ink sequence and record the successful preparation settings before beginning full production.
For acrylic applications ranging from small customized pieces to short-run signs and displays, explore AndresJet’s compact UV flatbed printers for acrylic and request testing with the actual material planned for production.
For the complete decision path, continue with the uv printing acrylic & plastics guide.


