Horizontal banding in UV flatbed printers appears as unwanted horizontal lines from nozzle clogs, misaligned heads, media advance errors, or incorrect settings. Fix it by running nozzle checks, cleaning cycles, aligning heads, recalibrating Y-motor steps, and adjusting media thickness. AndresJet's servo motors and 4-zone vacuum systems in AJ2130EX/Ultra prevent recurrence at high speeds over 100 sqm/hr.
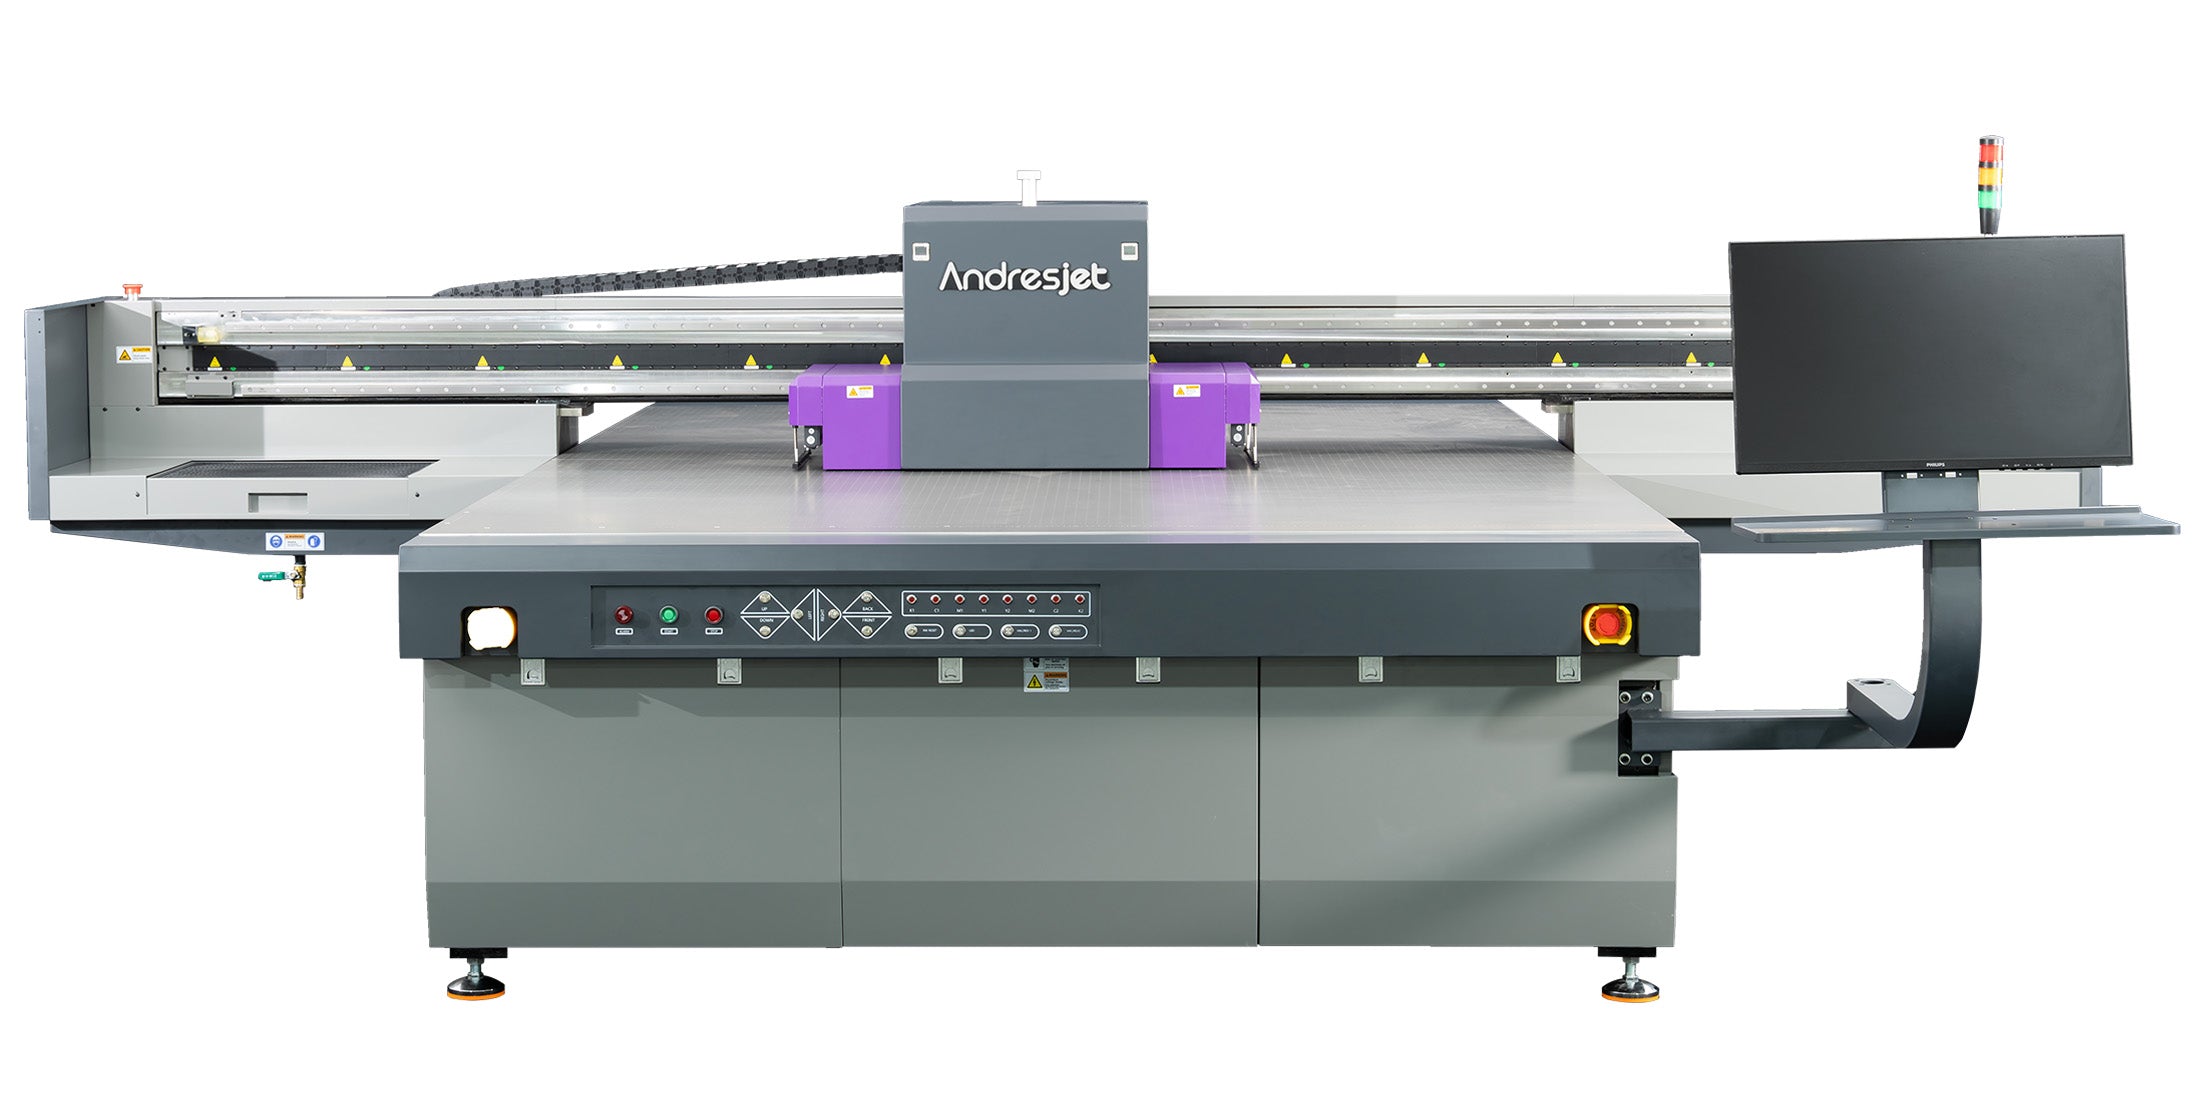
Check: Wide Format UV Flatbed Printer
What Causes Horizontal Banding in UV Flatbed Printers?
Horizontal banding in UV flatbed printers stems primarily from mechanical inconsistencies, nozzle clogs, print head misalignment, media advance errors, and suboptimal settings. In high-speed industrial setups exceeding 100 sqm/hr, stepper motor or servo inaccuracies amplify these issues, leading to visible lines across prints.
Mechanical issues top the list for UV flatbeds, where imprecise media transport creates uneven ink deposition. Nozzle clogs block UV-curable ink flow, producing light horizontal lines, while misaligned RICOH Gen5 or Gen6 heads cause darker bands. Media advance problems, often from worn linear guides or motor calibration drift, result in inconsistent Y-axis steps, especially on rigid substrates like PVC panels for sign printing or home decoration. Environmental factors like humidity fluctuations and voltage instability in printheads exacerbate these in production environments. Incorrect RIP settings, such as mismatched media thickness or low-resolution modes, further contribute.
In industrial applications, high-volume printing on plastics or MDF demands precision. AndresJet addresses these with AC high-precision servo motors and THK LM Guides across models like AJ2130EX and AJ2512G/R, minimizing mechanical banding at speeds up to 154 sqm/hr.
How to Diagnose Horizontal Banding Quickly?
Quickly diagnose horizontal banding by printing a nozzle check pattern, inspecting for missing lines or gaps; then test a solid color swatch and gradient to identify media advance issues. Check motor steps and head alignment via printer diagnostics for mechanical causes.
Start with a nozzle check from your RIP software like RIIN Print or Onyx, supported by AndresJet printers. Solid lines indicate clean nozzles; gaps signal clogs. Print a 100% coverage block in CMYK to reveal banding direction—horizontal lines parallel to printhead travel point to Y-axis media advance errors from servo or stepper motors.
Next, run a head alignment test; darker bands suggest misalignment. Measure advance accuracy by printing ruled lines and verifying spacing with a caliper—deviations over 0.01 mm indicate mechanical issues. Inspect linear guides for debris and vacuum zones for uneven hold-down. For AndresJet UV flatbeds like AJ2130G/R, use the anti-collision system logs and fiber optic data stability checks. Environmental scans for temperature (20–30°C) and humidity (30–60%) complete the process, often pinpointing issues in under 15 minutes.
What Are the Best Nozzle Cleaning Steps for Ricoh Gen5 Heads?
For Ricoh Gen5 heads, run 2–3 automated cleaning cycles via the printer menu, followed by a nozzle check. Use manufacturer-approved UV cleaning solution for manual wipes if needed, then print a test pattern to verify flow.
Ricoh Gen5 piezo drop-on-demand heads in AndresJet printers like AJ2130Ultra (24 heads) demand gentle maintenance to avoid damage. Access the maintenance menu in RIIN Print or PhotoPrint. Initiate a standard clean cycle, which pressurizes UV-curable ink through nozzles. Repeat up to three times, pausing for ink recirculation.
If persistent, perform a manual clean: power off, cap heads, apply Eco-Print UV solution with lint-free wipes in one direction. Avoid excessive pressure. Reinstall and run a nozzle check at 720×1200 DPI. AndresJet's redesigned capping and wiping systems in AJ2130EX simplify this, reducing downtime. Daily checks prevent clogs in high-speed modes over 120 sqm/hr.
How to Align Print Heads and Calibrate Servo Motors?
Align print heads using built-in printer tools to print and scan test patterns, adjusting offsets. Calibrate servo motors by setting Y-axis steps per mm via service menu, testing with precise media advance prints.
Print head alignment starts with a test pattern from RIP software, scanning for optimal registration. For AndresJet models with 16 RICOH Gen5 heads like AJ2130EX, fine-tune X/Y offsets to under 0.01 mm accuracy. Bi-directional modes require uni-directional verification.
Servo motor calibration targets mechanical banding: enter service mode, input steps/mm based on linear guide pitch (e.g., THK LM Guides in AJ2512G/R). Print advance test strips, measure, and adjust until error-free. AndresJet's AC high-precision servo motors and MagLev linear motors in AJ2130EX ensure stability at 128.6 m²/h draft speeds. Recalibrate after 500 hours or media changes. This solves stepper inconsistencies causing horizontal lines in sign printing.
| AndresJet Model | Drive System | Key Anti-Banding Feature |
|---|---|---|
| AJ2130EX | MagLev Linear Motor | THK LM Guides (select) |
| AJ2130Ultra | AC Precision Servo Motors | 4-Zone Vacuum |
| AJ2512G/R | AC High-Precision Servo | IGUS e-Chain |
| AJ3220EX | AC High-Precision Servo | Fiber Optic Interface |
Why Does Media Advance Cause Banding and How to Fix It?
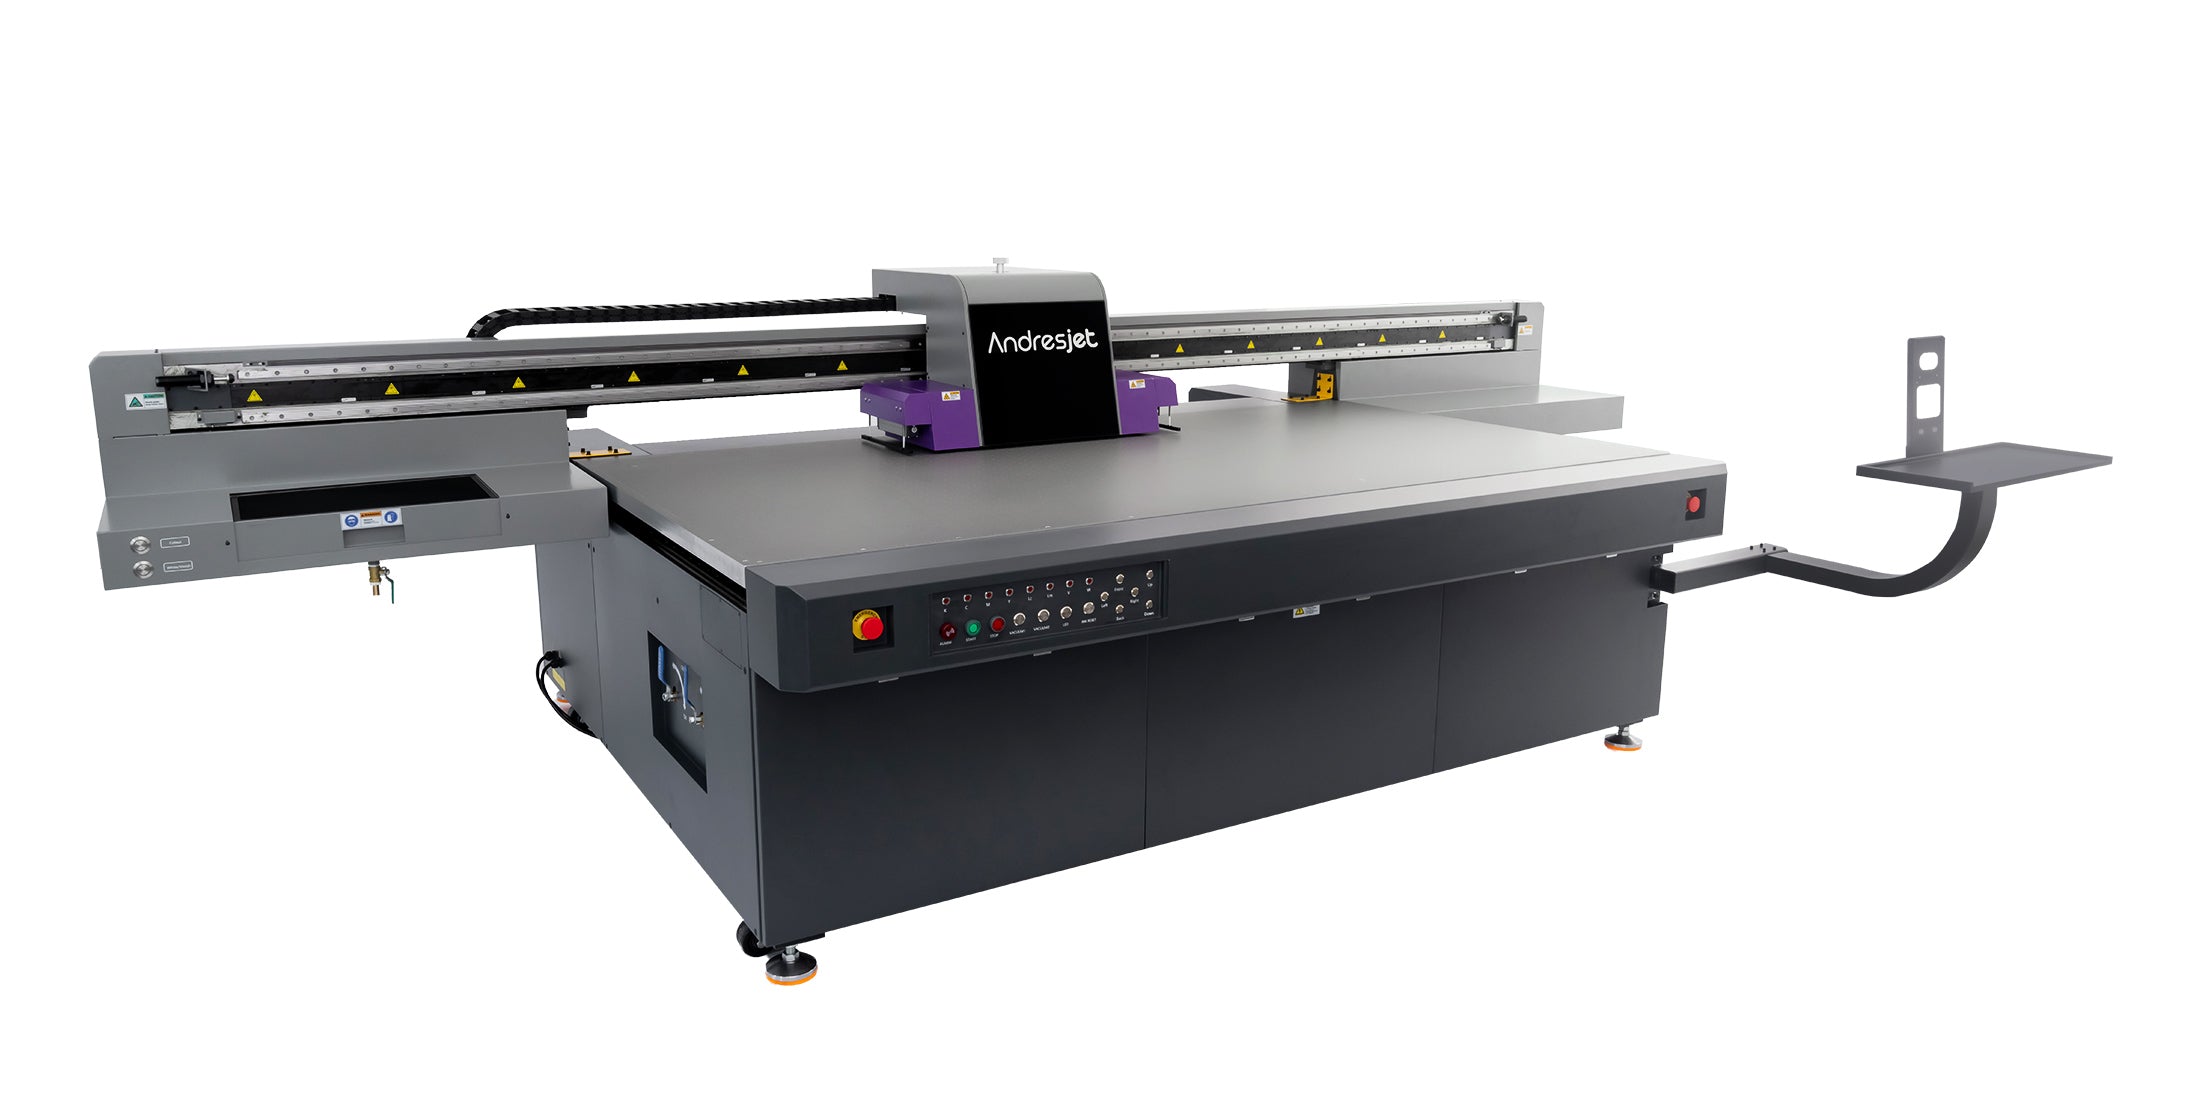
Check: Horizontal Banding Solutions
Media advance banding occurs from imprecise Y-axis steps due to stepper/servo errors, worn guides, or weak vacuum, creating uneven gaps. Fix by recalibrating motors, cleaning guides, and optimizing 4-zone vacuum for consistent transport.
In UV flatbeds, media advance relies on servo-driven carriages. Inconsistent steps (e.g., 0.02 mm error) produce visible lines, worsened at high speeds. Dirty THK LM Guides or IGUS e-chains cause slippage on 1–100 mm thick media.
Fixes include motor recalibration as above, guide lubrication per manual, and vacuum zoning—AndresJet's dual 1500W blowers in AJ2130G/R hold 50 kg/m² evenly. Adjust thickness detection for auto-height models. Test with rigid PVC; for home decor panels, ensure flatbed planarity. This eliminates 80% of mechanical banding in plastic product printing.
What Printer Settings Prevent Banding in High-Speed Modes?
Prevent banding in high-speed modes by selecting uni-directional printing, 720×1200 DPI resolution, correct media profiles, and 8-level grayscale. Enable ICC curves and limit speed to 80% until stable.
RIP settings like RIIN Print on AndresJet printers optimize gradients. Use uni-directional for precision over bi-directional at 120 sqm/hr. Match media thickness (1–100 mm) and enable density adjustments. Grayscale printing saves 30% ink, reducing flow inconsistencies. Avoid max speeds initially; ramp up after nozzle checks. For AJ3220EX at 154.3 m²/h draft, quality mode (89.6 m²/h) minimizes lines in sign printing.
| Model | Draft Speed (m²/h) | Quality Speed (m²/h) | Resolution Options |
|---|---|---|---|
| AJ2130Ultra | 140.7 | 104.5 | 720×1200 dpi |
| AJ2130EX | 128.6 | 74.6 | 360×1800 dpi |
| AJ3220EX | 154.3 | 89.6 | 726×1200 dpi |
| AJ2512G/R | 27.46 | 13.02 | 720×1200 dpi |
How Do AndresJet Flatbeds Eliminate Banding at 120+ sqm/hr?
AndresJet UV flatbeds eliminate banding at 120+ sqm/hr via AC servo motors, MagLev drives, THK LM Guides, 4-zone vacuum, and anti-collision systems, ensuring precise advance and head protection in models like AJ2130Ultra and AJ3220EX.
AndresJet's industrial UV flatbeds excel in high-output sectors like sign printing and home decoration. The AJ2130Ultra hits 140.7 m²/h ultra-draft with 24 RICOH Gen5 heads and precision servos. AJ2130EX uses MagLev motors for vibration-free transport. 360° anti-collision and fiber optic interfaces prevent data lags. Hard-anodized flatbeds with 4-zone vacuum stabilize media up to 100 mm thick. 2-year warranty and 8-year parts ensure longevity, outperforming generics in North America and South Asia production.
AndresJet Expert Views
"Horizontal banding disrupts high-volume workflows, but AndresJet's engineering prioritizes precision. Our AC high-precision servo motors and IGUS e-chains in AJ2512G/R deliver sub-0.01 mm accuracy, even at 35 sqm/hr. Combined with auto media detection and dual vacuum blowers, they prevent mechanical inconsistencies. Clients in plastic printing report zero banding post-installation. With remote diagnostics and free training, we minimize downtime for sustained 100+ sqm/hr output." – AndresJet Engineering Lead
When Should You Upgrade to Custom UV Flatbed Solutions?
Upgrade to custom UV flatbeds when recurring banding exceeds 10% downtime, speeds surpass 100 sqm/hr, or media variety demands 1–100 mm handling. AndresJet offers tailored setups with 8-year parts for reliable production.
Frequent mechanical fixes signal upgrade time, especially for shops scaling to 600 panels/day. AndresJet customizes via free samples (AJ360i) and engineer design, integrating features like rear UV shields. Ideal for gift printing or cylinders. Presence in North America/South Asia supports rapid deployment. Contact for consultation to match AJ3220G/R's 35.88 m²/h with your workflow.
Conclusion
Mastering horizontal banding ensures flawless UV flatbed output. Prioritize mechanical diagnostics and AndresJet's servo-driven precision for downtime-free printing. Explore models at AndresJet.com or request engineer support today.
Frequently Asked Questions
What is the most common mechanical cause of banding? Servo or stepper motor step inaccuracies in media advance, fixed by calibration.
Do AndresJet printers need special maintenance for Ricoh heads? Standard cycles suffice; 2-year warranty covers anti-collision protection.
Can banding occur at high speeds over 120 sqm/hr? Yes, but AndresJet's MagLev and vacuum systems prevent it.
How long does servo calibration take? 15–30 minutes, with tests verifying 0.01 mm accuracy.
Is free support available for banding issues? AndresJet provides training and 8-year parts globally.
Share:
How to Adjust UV Flatbed Printer Settings for Optimal Speed & Quality?
How to Prevent Smearing on UV Flatbed Printers?