

Straight and tapered tumblers may look similar, but they require different artwork preparation and rotational calibration. A straight tumbler maintains approximately the same diameter across its printable length. A tapered tumbler becomes wider or narrower from one end to the other.
If a tapered product is treated as a straight cylinder, the artwork may stretch, compress, curve or fail to meet correctly near the print seam. Successful production therefore begins with measuring the actual product rather than relying only on its advertised capacity.
This guide explains how to measure, prepare and test tumblers when using UV printers for bottles and tumblers.
What Is a Straight-Walled Tumbler?
A straight-walled tumbler has a printable body with a substantially consistent diameter. Its circumference remains approximately the same along the intended print length.
Typical examples may include:
- Straight stainless steel drink tumblers
- Cylindrical travel cups
- Plastic drink containers
- Selected glassware
- Rigid cylindrical promotional products
The rim, base and lid area may still differ from the main body. The operator should measure only the usable printing section rather than assuming that the complete object is a perfect cylinder.
What Is a Tapered Tumbler?
A tapered tumbler has different diameters at two points along its printable body. One end is wider than the other, forming a conical surface.
The degree of taper may be small and difficult to identify visually. However, even a modest diameter difference can affect a long wraparound design.
Tapered products require the printing system and artwork to account for the changing circumference. Without compensation, horizontal design elements may appear curved, and the beginning and ending edges of a wrap may not align as intended.
Do Not Use Product Capacity as a Printing Measurement
Descriptions such as 16 oz, 20 oz or 30 oz identify approximate liquid capacity. They do not provide enough information to prepare a print job.
Two tumblers with the same advertised capacity may have different:
- Top and bottom diameters
- Printable lengths
- Taper angles
- Rim and base structures
- Surface coatings
- Handles or raised features
Measure the actual production blank and keep its supplier and product code with the approved printing record.
Measurements Required Before Tumbler Printing
Before preparing the artwork or printer setup, record the following dimensions:
- Diameter at the top of the printable area
- Diameter at the bottom of the printable area
- Length of the printable section
- Distance from the rim and base
- Overall tumbler length
- Location of handles, seams and raised features
- Desired circumferential print coverage
- Product weight
Measurements should be taken at the actual boundaries of the planned artwork. Measuring at the outside edges of the entire product can produce an incorrect result when the printable section begins farther inward.
How to Identify Whether a Tumbler Is Tapered
Measure the diameter at both ends of the intended printing area. If the two measurements differ, the printable body has a taper.
Do not rely only on visual inspection. Some drinkware appears cylindrical from a distance but has enough taper to affect artwork registration.
The operator should also check whether the taper is consistent. A product with a changing curve, shoulder or compound contour is different from a simple cone and may not be suitable for the same compensation method.
Straight and Tapered Tumblers Require Different Artwork
A rectangular artwork file may work for a straight cylindrical surface because the circumference remains nearly constant along the printable length.
On a tapered tumbler, the circumference changes. The artwork may therefore need a curved or distorted production template so that it appears visually correct after being printed onto the product.
Artwork preparation should account for:
- Top and bottom circumferences
- Printable length
- Taper direction
- Required seam position
- White ink layer
- Varnish layer
- Areas that must remain unprinted
Do not permanently alter the customer’s original design file. Keep the approved master artwork and create a separate production version for the specific tumbler.
Why a Regular Rectangle Can Distort on a Tapered Surface
Imagine wrapping a rectangular sheet of paper around a cone. The upper and lower edges will not remain aligned in the same way they would on a straight tube.
The same geometry affects direct printing. Without taper compensation:
- Horizontal lines may appear to rise or fall.
- Text may become visibly distorted.
- Patterns may not connect at the seam.
- Logos may appear stretched at one end.
- Top and bottom margins may become inconsistent.
The production file should be prepared for the measured product and verified with a physical sample.
Plan the Print Seam Before Production
A near-360-degree design has a location where the beginning and ending edges approach each other. This area should be planned rather than left to chance.
The seam can often be positioned:
- Away from the primary viewing side
- Behind the product
- Inside a less detailed part of the design
- Between repeated pattern elements
- In an intentionally blank area
A continuous pattern crossing the seam requires more precise alignment than a front-facing logo surrounded by blank space.
Whether the edges can meet cleanly depends on product consistency, measurement accuracy, rotation, artwork preparation and the approved overlap or gap. A cylinder printer should not be described as automatically producing an invisible seam on every design.
Choose an Appropriate Printable Area
The entire exterior surface of a tumbler may not be printable. Avoid areas where the surface changes rapidly or creates a clearance risk.
Potential restricted areas include:
- Curved shoulders
- Rounded bases
- Raised rims
- Threads and lid connections
- Handles
- Welds or prominent manufacturing seams
- Strongly recessed areas
Define the safe printing zone before sizing the artwork. Moving the design inward slightly can be more reliable than attempting to print across an unstable transition.
Fixture and Clamping Requirements
The tumbler must rotate without slipping, wobbling or moving along its axis. An unsuitable fixture can create registration errors even when the artwork has been prepared correctly.
Before printing, confirm:
- The fixture fits the product securely.
- The product remains centered during rotation.
- The clamping force does not damage the tumbler.
- The product does not move along its length.
- The rim, lid thread or base does not interfere with the fixture.
- Handles and protrusions remain clear of the machine.
Straight and tapered products may require different supports or calibration. Do not assume that one fixture setup can handle every tumbler within a similar diameter range.
Check the Product for Runout and Wobble
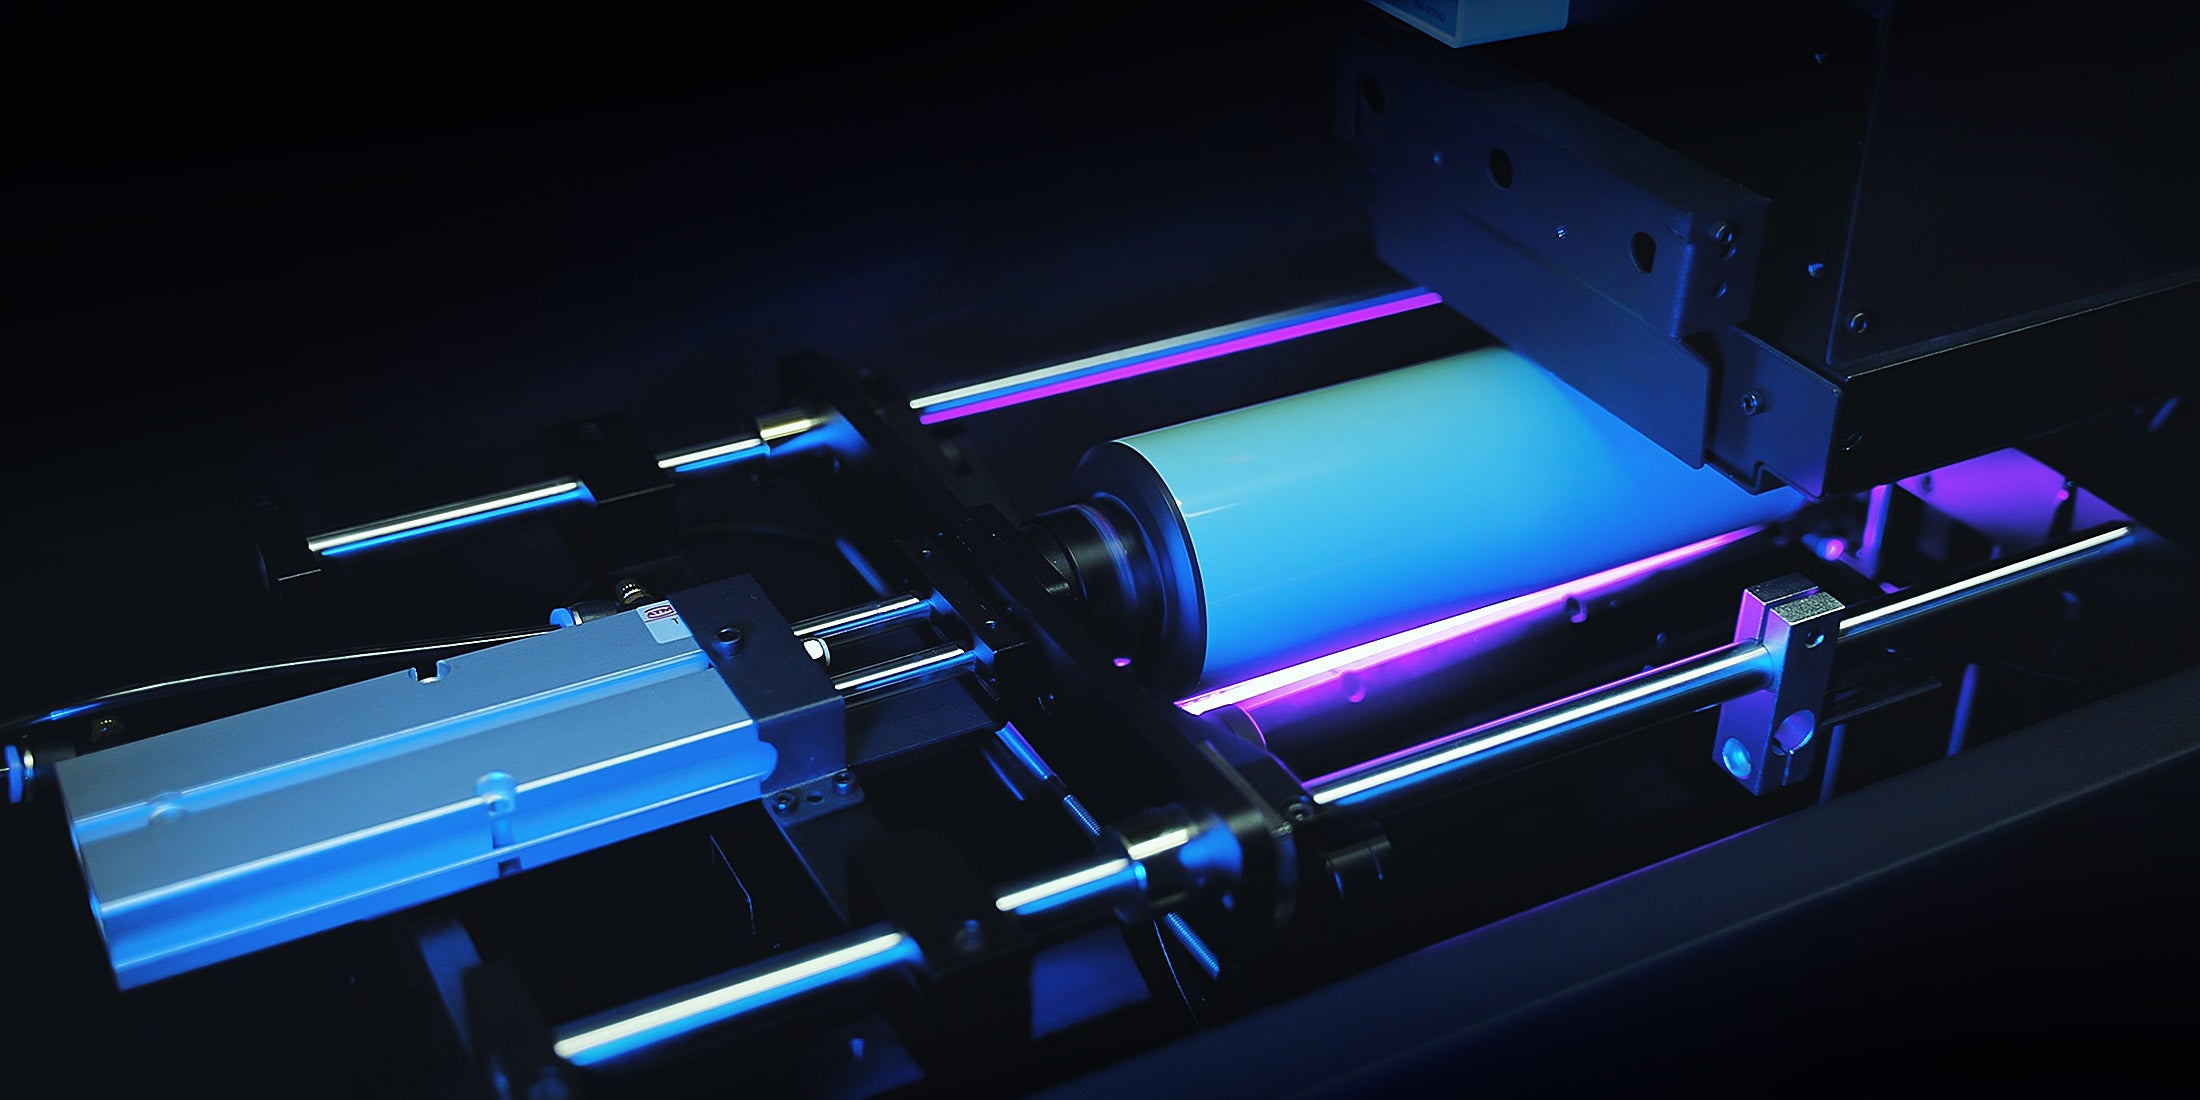
A tumbler may not be perfectly round or centered. When it rotates, the distance between the surface and printheads may change.
Possible causes include:
- Manufacturing variation
- An uneven base
- Incorrect fixture selection
- Off-center clamping
- A damaged or deformed blank
Rotate the product through a complete cycle during setup and observe whether its printable surface remains stable. A product should not be approved based only on a stationary measurement.
Surface Preparation and Adhesion Testing
Tumblers may be made from stainless steel, coated metal, glass or plastic. The ink adheres to the outermost coating or surface—not simply to the material named in the product description.
Before printing:
- Confirm the blank supplier and product batch.
- Inspect the surface for dust, oil and protective film.
- Clean it using a method compatible with the coating.
- Apply only an approved pretreatment if required.
- Avoid touching the prepared print area.
- Print and evaluate a representative sample.
Some powder-coated or painted tumblers may accept printing differently from bare metal. A successful test on one coating does not approve every tumbler sold under the same general material description.
White Ink on Dark and Colored Tumblers
CMYK inks are affected by the color underneath them. On black or strongly colored drinkware, a white ink layer can provide a more neutral base for the image.
White ink may be used as:
- A complete underbase beneath the color artwork
- A selective underbase beneath specific elements
- A standalone white design
- Part of a layered decorative effect
The white layer should follow the compensated production artwork. If the white and color files use different dimensions or taper correction, a visible edge can appear around the design.
Varnish Requires Its Own Approval
Varnish can be used for selected gloss or decorative effects when supported by the printer configuration. It should be treated as a separate artwork layer.
Before approving varnish, check:
- Registration with the underlying color
- Appearance on the actual tumbler coating
- Behavior near the seam
- Whether the effect remains consistent around the product
- Suitability for the intended handling conditions
Varnish should not automatically be described as a substitute for a protective topcoat required by a particular application.
Print a Calibration Design Before the Customer Artwork
A calibration design can reveal geometric errors more clearly than complex artwork. It may include:
- Horizontal and vertical reference lines
- A measurement grid
- Small circles or squares
- Top and bottom margin guides
- Markers near the intended seam
After printing, inspect whether the reference lines remain visually correct and whether the margins and seam behave as expected. Adjust the product measurements, fixture or artwork compensation before printing the customer-approved design.
Approve Straight and Tapered Products Separately
A successful straight-tumbler sample does not approve a tapered version. Even two tapered tumblers should be tested separately if their dimensions or coatings differ.
For each approved product model, retain:
- Supplier and blank identification
- Top and bottom diameter
- Printable length
- Taper information
- Fixture selection
- Calibration settings
- Artwork template
- White and varnish layers
- Approved physical sample
If the supplier changes the product dimensions or coating, verify the setup again before batch production.
Inspect the First Printed Tumbler
Before releasing the full order, inspect the first representative product for:
- Artwork orientation
- Top and bottom margins
- Logo and text distortion
- Seam position
- White ink registration
- Varnish registration
- Color appearance
- Surface defects
- Initial adhesion
For personalized orders, also confirm that the correct name or design has been matched to the correct product before continuing.
Production Speed Depends on the Actual Job
Tumbler printing output is affected by more than machine speed. Important variables include:
- Product diameter and print length
- Artwork coverage
- Selected quality mode
- White ink and varnish layers
- Fixture changeover
- Calibration requirements
- Number of artwork versions
- Loading and unloading time
- Inspection and reprints
A long, full-wrap design with white ink will not necessarily have the same production time as a small front-facing logo.
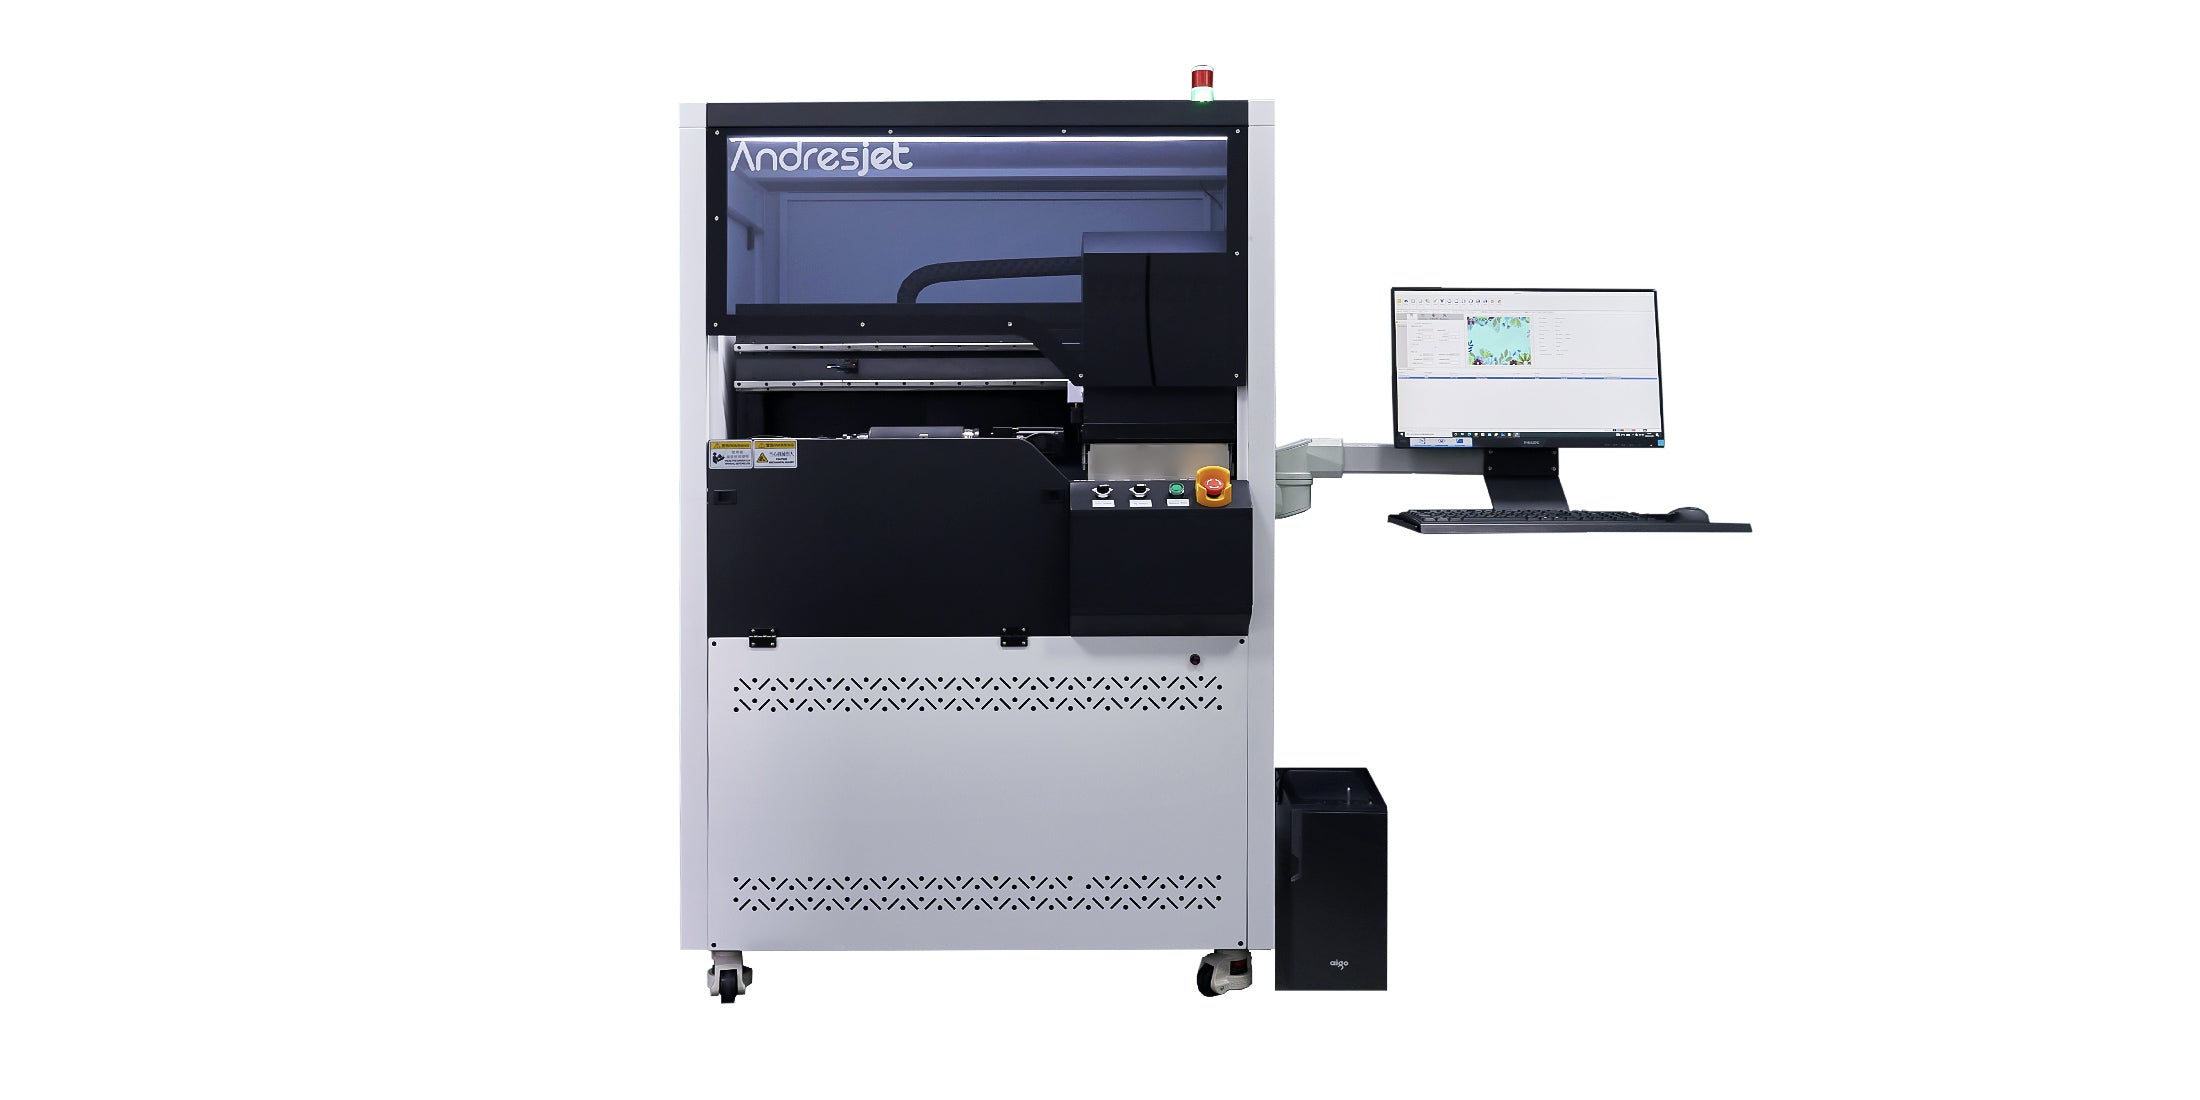
Using the AJ360i for Straight and Tapered Tumblers
The AndresJet AJ360i digital cylinder printer is designed for cylindrical and selected tapered products.
Its current official specifications include:
- Standard diameter range: 60–170 mm
- Optional diameter ranges: 10–60 mm and 170–240 mm
- Taper angle range: 0–7 degrees
- Print length: 40–270 mm
- Ink configuration: CMYK, white and varnish
- Print modes: stepping or helix
These figures describe the available machine range. They do not replace evaluation of the product’s handle, rim, base, coating, weight distribution or compound curvature.
Information to Provide for a Tumbler Sample Test
Send AndresJet the following information when requesting an application evaluation:
- Photographs of the complete tumbler
- Material and surface-coating information
- Top and bottom diameter of the printable area
- Printable length
- Taper angle, if known
- Product weight
- Location of handles and raised features
- Required print coverage
- Artwork file
- White ink and varnish requirements
- Expected order quantity
- Required handling and durability conditions
Providing the physical production blank is more reliable than evaluating a tumbler only from its advertised size.
Successful Tumbler Printing Starts with Geometry
Straight and tapered tumblers require different production planning. A straight product uses an approximately consistent circumference, while a tapered product requires measurements and artwork compensation for its changing diameter.
Measure the actual printable area, verify the fixture, control the seam and approve a physical sample. Material adhesion, white ink, varnish and normal product variation must also be tested before releasing a complete order.
Explore AndresJet’s UV printers for bottles and tumblers, or submit your tumbler samples, dimensions, artwork and production requirements for application evaluation.
See More AndresJet Cylinder Printing Applications
Follow AndresJet’s official social media channels for cylinder-printing demonstrations, application examples and equipment updates:
Share:
How Wood Moisture and Coatings Affect UV Print Adhesion?
CCD Positioning vs. Fixtures for Phone Case Printing