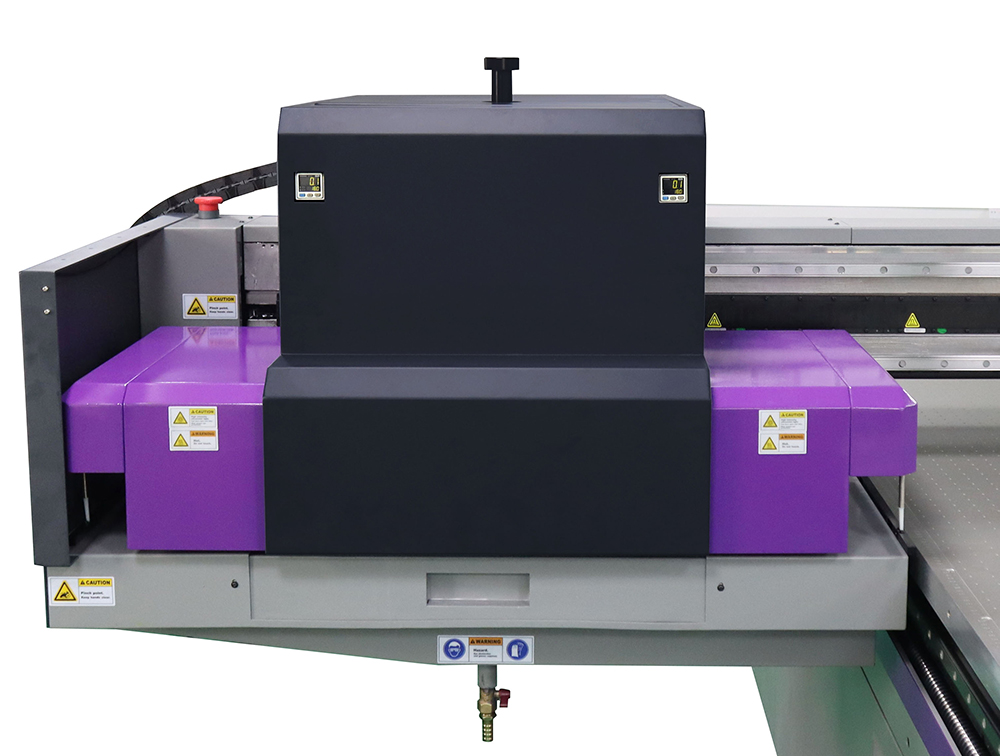
UV Flatbed Printer: Tips for Printing on Reflective Surfaces
Reflective surfaces, such as metals, glass, acrylics, and mirrored plastics, add a touch of modern elegance to prints, making them popular choices for signage, displays, and decorative items. However, printing on these materials poses unique challenges due to their smooth, non-porous textures and light-reflective properties. A UV flatbed printer, known for its versatility and high-quality output, can overcome these hurdles when paired with the right techniques. This article explores actionable tips for achieving flawless prints on reflective surfaces, ensuring vibrant colors, sharp details, and long-lasting durability.

Understanding the Challenge: Why Reflective Surfaces Are Tricky
Reflective materials complicate the printing process in several ways:
Ink Adhesion Issues: Traditional inks often fail to bond with slick surfaces, leading to peeling, smudging, or fading.
Light Interference: Glossy finishes distort color perception by reflecting ambient light, making accurate color matching difficult.
Uneven Ink Absorption: Non-porous surfaces don’t absorb ink, requiring precise curing to avoid pooling or streaking.
Static Buildup: Materials like acrylic and glass can accumulate static electricity, attracting dust and debris that mar print quality.
To tackle these challenges, printers must adjust their workflow, materials, and settings. Below are expert-backed strategies to optimize results.
Surface Preparation: The Foundation of Success
Proper surface preparation is non-negotiable for reflective substrates. Skipping this step risks adhesion failures and uneven prints.
1. Clean Thoroughly
Use a lint-free microfiber cloth dampened with isopropyl alcohol (70% or higher) to remove oils, fingerprints, and dust. Avoid paper towels, which can leave residue.
For glass, consider a glass cleaner with ammonia for stubborn grime, but ensure it evaporates completely before printing.
2. Apply a Primer or Pre-Treatment Coat
Primers create a tacky layer that enhances ink adhesion. Opt for a UV-curable primer compatible with your printer’s ink chemistry.
Use a foam roller or spray gun to apply an even, thin coat. Allow it to dry per the manufacturer’s instructions (typically 5–10 minutes).
3. Reduce Static Electricity
Use an anti-static spray or ionized air blower to neutralize static charges on acrylic or plastic sheets.
Store materials in humidity-controlled environments (40–60% RH) to minimize static buildup.
Optimizing Ink and Curing Settings
UV-curable inks are ideal for reflective surfaces due to their instant-dry capabilities and durability. However, adjusting their application is key.
1. Adjust Ink Layer Thickness
Increase ink density by 10–15% compared to porous substrates to compensate for light reflection.
Use a higher-viscosity ink or reduce print speed to ensure proper layering without bleeding.
2. Fine-Tune Curing Parameters
Reflective surfaces may require a longer UV exposure time to fully cure inks. Test with incremental adjustments (e.g., 5–10 seconds longer per pass).
Position the substrate closer to the UV lamp (if adjustable) to ensure even curing across glossy finishes.
3. Consider a Dual-Cure Process
For ultra-reflective materials like chrome or polished metal, apply a base layer of white ink first. This acts as an opaque foundation, preventing the substrate’s color from altering the final print.
Follow with a clear protective coat to seal the design and add depth.
Color Management: Battling Light Reflection
Achieving color accuracy on reflective surfaces demands meticulous calibration and design adjustments.
1. Use a Spectrophotometer for Calibration
Invest in a spectrophotometer to measure color output against industry standards (e.g., Pantone or FOGRA).
Create custom ICC profiles for each reflective substrate to ensure consistent color reproduction.
2. Design for Reflective Surfaces
Avoid light-colored or pastel hues, which can appear washed out due to reflection. Opt for bold, saturated colors instead.
Incorporate textures or gradients into the design to break up light reflection and add visual interest.
3. Test Under Multiple Lighting Conditions
Evaluate prints under daylight, fluorescent, and LED lighting to identify color shifts. Adjust the design or ink formulation accordingly.
Post-Print Finishing: Protecting Your Work
Sealing and mounting techniques safeguard prints from scratches, UV damage, and environmental factors.
1. Apply a Clear Protective Coating
Use a scratch-resistant, UV-blocking laminate or varnish to shield the print. Apply it with a laminator or spray gun for even coverage.
For 3D effects, consider a textured or matte finish to reduce glare.
2. Choose the Right Mounting Method
Use double-sided adhesive tapes or optical-grade silicone for glass and acrylic to avoid visible mounting hardware.
For metal prints, consider a float mount or standoff spacers to create a dimensional effect.
3. Test for Durability
Simulate wear and tear by rubbing the print with a cotton cloth dampened with water or alcohol. Check for smudging or adhesion loss.
Expose the print to accelerated aging tests (e.g., UV light chambers) to assess longevity.
Troubleshooting Common Issues
Even with careful preparation, problems may arise. Here’s how to fix them:
1. Ink Not Adhering
Cause: Insufficient surface tension or improper priming.
Solution: Reapply primer and ensure the substrate is at room temperature (65–75°F). Use a heat gun to gently warm the surface before printing.
2. Color Inconsistencies
Cause: Uneven curing or light interference.
Solution: Recalibrate the printer’s color profile and increase UV exposure time. Reposition the substrate to minimize glare during inspection.
3. Streaking or Pooling
Cause: Excessive ink flow or incorrect curing distance.
Solution: Reduce ink density in the RIP software and adjust the print head height. Clean the printer’s dampers and capping station to prevent clogs.
Conclusion: Elevate Your Printing Game
Printing on reflective surfaces with a UV flatbed printer opens doors to high-margin applications, from luxury signage to bespoke home decor. By mastering surface preparation, ink optimization, color management, and finishing techniques, printers can deliver results that dazzle clients and withstand the test of time. Experimentation is key—start with test prints on small substrates, document your settings, and refine your approach iteratively. With patience and precision, reflective surfaces will become a signature strength of your printing business.
