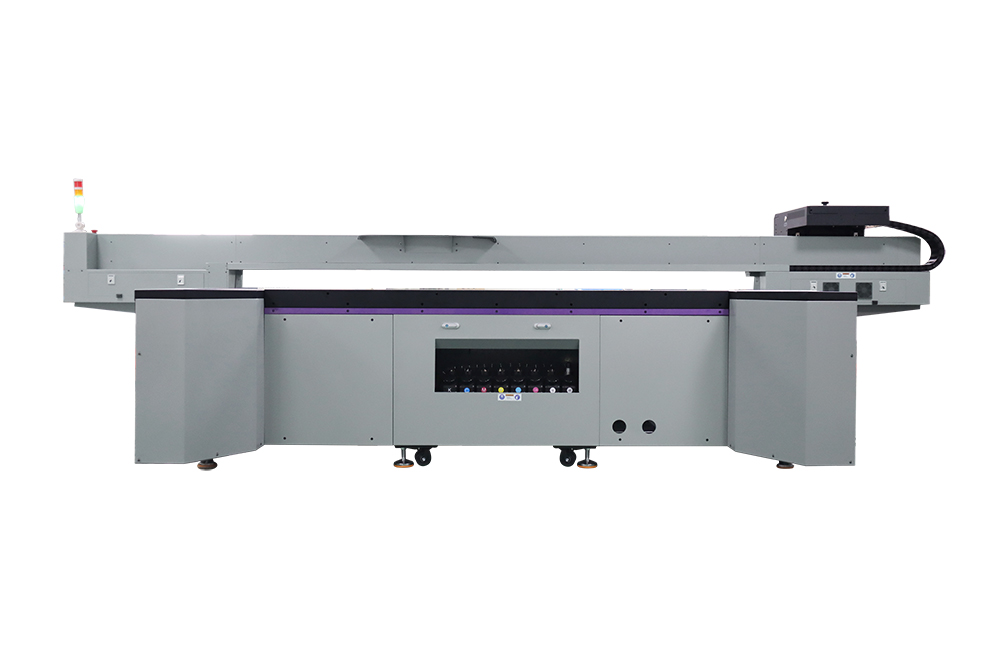
Troubleshooting Guide for UV Flatbed Printer Alignment Issues
Troubleshooting Guide for UV Flatbed Printer Alignment Issues.UV flatbed printers have revolutionized the printing industry by offering high-quality, durable prints on a wide range of materials. These versatile machines can produce stunning graphics on rigid substrates such as metal, glass, wood, and plastic, making them indispensable for applications in signage, advertising, and product customization. However, like any sophisticated equipment, UV flatbed printers can encounter alignment issues that compromise print quality. This troubleshooting guide aims to help printer operators and technicians diagnose, understand, and resolve alignment problems effectively.

Understanding UV Flatbed Printer Alignment
Alignment in UV flatbed printing refers to the precise positioning of the print head(s) relative to the substrate to ensure accurate image placement and consistent print quality. Proper alignment is crucial for achieving sharp edges, vivid colors, and overall image clarity. Misalignment can result in issues such as banding, blurred edges, overlapping prints, and color inaccuracies.
Key Components Affecting Alignment
Print Heads: The print heads, containing nozzles that dispense ink, must be aligned correctly both horizontally (X-axis) and vertically (Y-axis).
Media Handling System: Ensures the substrate is positioned accurately and securely during printing.
Encoders and Sensors: Monitor the movement of the print heads and the substrate, providing feedback to the printer’s control system.
Software and Firmware: The printer’s operating system and control software manage alignment processes based on input from sensors and user settings.
Common Alignment Issues and Their Causes
1. Horizontal Misalignment (X-axis)
Symptoms:
Images appear shifted left or right.
Text or lines are not straight.
Possible Causes:
Incorrect print head spacing.
Miscalibrated encoders or sensors.
Software or firmware errors.
Mechanical issues such as loose belts or pulleys.
2. Vertical Misalignment (Y-axis)
Symptoms:
Prints show banding or inconsistent ink coverage.
Images are stretched or compressed vertically.
Possible Causes:
Print head height adjustment issues.
Uneven substrate surface.
Faulty Z-axis (vertical movement) control.
Incorrect media settings in the software.
3. Rotational Misalignment
Symptoms:
Skewed or rotated images.
Distorted shapes and patterns.
Possible Causes:
Misaligned media guides or clamps.
Incorrect substrate placement.
Faulty stepper motors or drives.
4. Overlapping or Double Printing
Symptoms:
Blurred or doubled images.
Ghosting effects.
Possible Causes:
Incorrect print head pass settings.
Miscommunication between print heads.
Faulty print head alignment sensors.
Troubleshooting Steps
Step 1: Initial Inspection
Check Substrate: Ensure the substrate is clean, flat, and properly secured. Uneven or slippery surfaces can cause alignment issues.
Inspect Media Handling: Confirm that media guides, clamps, and rollers are correctly positioned and functioning.
Review Print Settings: Verify that the print settings in the software match the substrate type and size.
Step 2: Calibrate Print Heads
Horizontal Calibration:
Use the printer’s built-in calibration tools to adjust the X-axis alignment.
Print a test pattern and measure the offset.
Adjust the print head spacing and re-calibrate as necessary.
Vertical Calibration:
Adjust the print head height to ensure proper contact with the substrate.
Use a feeler gauge or similar tool to measure the gap between the print head and the substrate.
Print a vertical alignment test pattern and adjust accordingly.
Step 3: Check and Calibrate Encoders and Sensors
Encoder Calibration:
Follow the printer’s manual for encoder calibration procedures.
Ensure encoders are clean and free from debris.
Replace faulty encoders if necessary.
Sensor Check:
Inspect sensors for dirt, damage, or misalignment.
Clean sensors with a soft, lint-free cloth.
Recalibrate sensors according to the manufacturer’s instructions.
Step 4: Software and Firmware Updates
Software Update:
Ensure the printer’s control software is up to date.
Check for available patches or updates that address alignment issues.
Firmware Update:
Update the printer’s firmware to the latest version.
Restart the printer after updating to ensure proper functionality.
Step 5: Mechanical Inspection and Maintenance
Belts and Pulleys:
Inspect belts for wear, slack, or damage.
Adjust tension as needed.
Replace worn or damaged belts.
Stepper Motors and Drives:
Check for unusual noises or vibrations during operation.
Confirm proper connection and functioning of stepper motors.
Replace faulty motors or drives if necessary.
Step 6: Advanced Diagnostics
Print Head Alignment Test:
Run a comprehensive print head alignment test.
Analyze the test print for specific alignment errors.
Make fine adjustments based on test results.
Media Settings Adjustment:
Experiment with different media settings, such as feed speed and acceleration.
Adjust settings incrementally and re-test.
Consult Technical Support:
If issues persist, contact the printer’s technical support team.
Provide detailed information about the problem, including test prints and error logs.
Preventive Measures
Regular Maintenance
Daily Cleaning:
Clean the print heads and substrate platform daily to prevent ink buildup and debris accumulation.
Inspect and clean sensors regularly.
Scheduled Calibration:
Perform regular calibration checks, especially after replacing consumables or major components.
Keep a maintenance log to track calibration dates and results.
Software and Firmware Checks:
Set reminders for software and firmware updates.
Regularly review the printer’s operational logs for potential issues.
Operator Training
Proper Handling:
Train operators on correct substrate loading, positioning, and removal techniques.
Emphasize the importance of following print job setup procedures.
Error Recognition:
Educate operators on recognizing the signs of alignment issues.
Encourage immediate reporting of suspected alignment problems.
Environmental Control
Temperature and Humidity:
Maintain a stable operating environment with recommended temperature and humidity levels.
Use dehumidifiers or heaters as needed to regulate conditions.
Vibration and Dust Control:
Position the printer on a stable, vibration-free surface.
Use dust covers and air filters to minimize dust accumulation.
Alignment issues in UV flatbed printers can significantly impact print quality and productivity. By following a systematic troubleshooting approach, operators and technicians can identify the root causes of alignment problems and implement effective solutions. Regular maintenance, operator training, and environmental control are essential for preventing alignment issues and ensuring optimal printer performance. With proper care and attention, UV flatbed printers can continue to deliver high-quality prints that meet the demands of today’s diverse printing applications.
