How to Troubleshoot UV Ink Curing Issues on Flatbed Printers
Flatbed printers are indispensable tools for businesses seeking high-quality, versatile printing on rigid substrates like glass, wood, metal, and acrylic. However, UV ink curing issues can disrupt workflows, compromise print quality, and lead to costly delays. Understanding how to troubleshoot these problems ensures smooth operations and consistent results. This guide explores common UV ink curing challenges, their root causes, and actionable solutions to help users restore optimal printer performance.
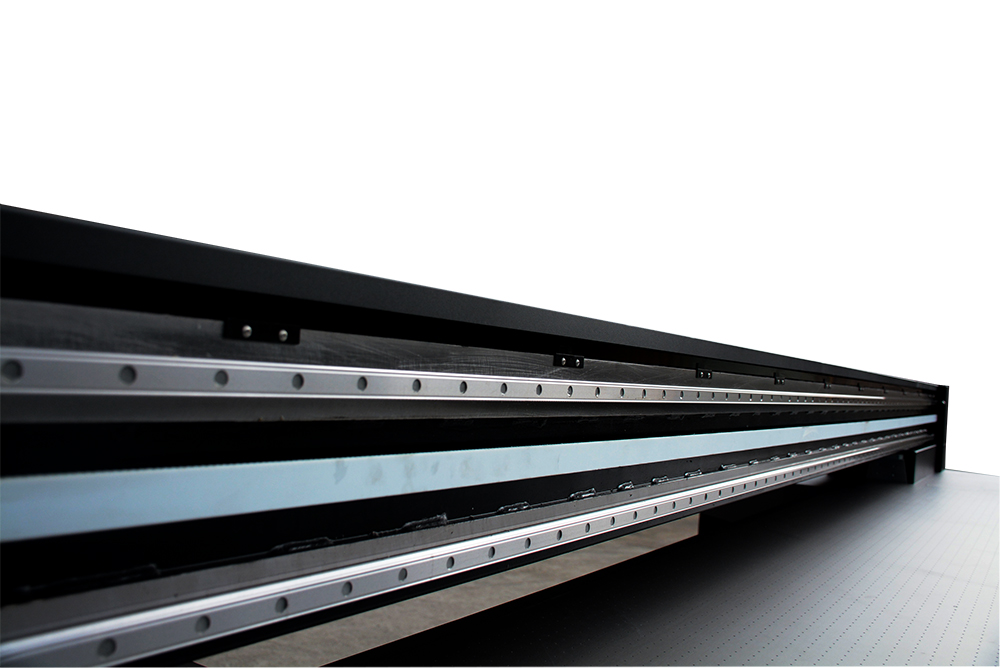
Understanding UV Ink Curing Fundamentals
UV ink curing relies on ultraviolet light to initiate a photochemical reaction, transforming liquid ink into a solid, durable finish. The process demands precise synchronization between the printer’s UV lamps, ink formulation, and substrate properties. When any element falters, issues like under-curing, over-curing, or adhesion failures arise.
Key factors influencing curing efficiency include:
UV Lamp Intensity: Over time, lamps degrade, reducing UV output.
Print Speed: Moving substrates too quickly under the lamps prevents full curing.
Ink Thickness: Thicker ink layers require longer exposure to UV light.
Ambient Conditions: Temperature and humidity can affect ink viscosity and curing.
Regular maintenance and calibration are critical to maintaining curing consistency.
Identifying Common UV Ink Curing Problems
Recognizing symptoms of curing issues is the first step toward resolution. Common signs include:
Sticky or Tacky Prints: Ink remains wet to the touch, indicating incomplete curing.
Smudging or Scratching: Prints rub off easily, suggesting weak adhesion.
Color Fading or Discoloration: Over-cured ink may lose vibrancy or yellow.
Bubbles or Pinholes: Air trapped during curing creates imperfections.
Operators should conduct a “finger-drag test” after printing: gently run a gloved finger over the print. If ink smudges, curing is incomplete. Additionally, adhesion tests (e.g., tape peel tests) help assess bond strength.
Diagnosing UV Lamp and Power Supply Issues
UV lamps are the heart of the curing process, but they require careful monitoring. Common lamp-related problems include:
Reduced Intensity: Aging lamps emit less UV light, leading to under-curing. Use a radiometer to measure output; replace lamps if readings fall below 70% of the original specification.
Uneven Curing: Dirty reflectors or misaligned lamps create hotspots or cold spots. Clean reflectors monthly and ensure lamps are centered over the print area.
Power Fluctuations: Inconsistent voltage can destabilize lamp performance. Install a voltage stabilizer to protect the system.
Proactive lamp maintenance—such as tracking usage hours and scheduling replacements proactively—prevents unexpected downtime.
Addressing Ink and Substrate Compatibility Challenges
Not all inks and substrates pair seamlessly. Mismatches often result in adhesion failures or curing inconsistencies:
Ink Formulation: Some inks require specific UV wavelengths (e.g., LED vs. mercury vapor). Confirm compatibility with your printer’s lamp type.
Substrate Surface Energy: Low-energy materials (e.g., polypropylene) may need a primer or corona treatment to improve adhesion.
Ink Layer Thickness: Thick applications (e.g., white ink underlayers) need adjusted print speeds or dual curing passes.
Test new substrate-ink combinations on small samples before full-scale production. Document successful pairings to streamline future jobs.
Optimizing Print Speed and Curing Distance
Balancing speed and UV exposure is a delicate act. Here’s how to fine-tune these variables:
Print Speed Adjustments: Slower speeds allow more UV exposure but reduce throughput. Gradually decrease speed in 5% increments until curing improves.
Lamp-to-Substrate Distance: Too close, and the substrate may warp; too far, and UV intensity drops. Follow the manufacturer’s recommended gap (typically 3–10 mm).
Pass Count: For opaque or textured substrates, adding a second curing pass ensures full polymerization.
Use a test chart to evaluate the impact of speed and distance adjustments on curing quality.
Mitigating Environmental and Operational Factors
Ambient conditions and operator habits also influence curing:
Temperature and Humidity: Ideal ranges are 68–77°F (20–25°C) and 40–60% humidity. Use dehumidifiers or heaters to stabilize the print environment.
Ink Storage: Expired or improperly stored ink may cure poorly. Keep ink at 59–77°F (15–25°C) and use it before the expiration date.
Operator Error: Incorrect settings (e.g., overlooking a “double-strike” option for white ink) are common. Double-check job parameters before printing.
Train staff to recognize environmental risks and adhere to standardized procedures.
Preventive Maintenance and Long-Term Solutions
A proactive approach minimizes curing issues:
Daily Checks: Inspect lamps for cracks, clean reflectors, and verify lamp hours.
Weekly Tasks: Calibrate the printer’s UV sensors and test adhesion on a spare substrate.
Monthly Audits: Review curing consistency across jobs and update maintenance logs.
Invest in a service contract with a certified technician for annual deep cleans and lamp replacements.
Conclusion
Troubleshooting UV ink curing issues on flatbed printers requires a blend of technical knowledge, observational skills, and preventive planning. By systematically addressing lamp performance, ink-substrate compatibility, operational settings, and environmental factors, users can resolve curing problems efficiently and maintain print quality. Regular maintenance, thorough testing, and operator training are the cornerstones of a reliable UV printing workflow. With these strategies in place, businesses can maximize uptime, reduce waste, and deliver flawless results to clients.