How to Print on Textured and Uneven Surfaces with UV Flatbed Printers
In today’s competitive printing landscape, businesses and creatives are constantly seeking ways to stand out. One innovative solution gaining traction is the ability to print directly onto textured or uneven surfaces using UV flatbed printers. These versatile machines revolutionize traditional printing by enabling high-quality graphics on materials ranging from wood and glass to ceramics and textured fabrics. This article explores the techniques, challenges, and best practices for achieving flawless prints on non-flat surfaces, empowering readers to expand their creative horizons.
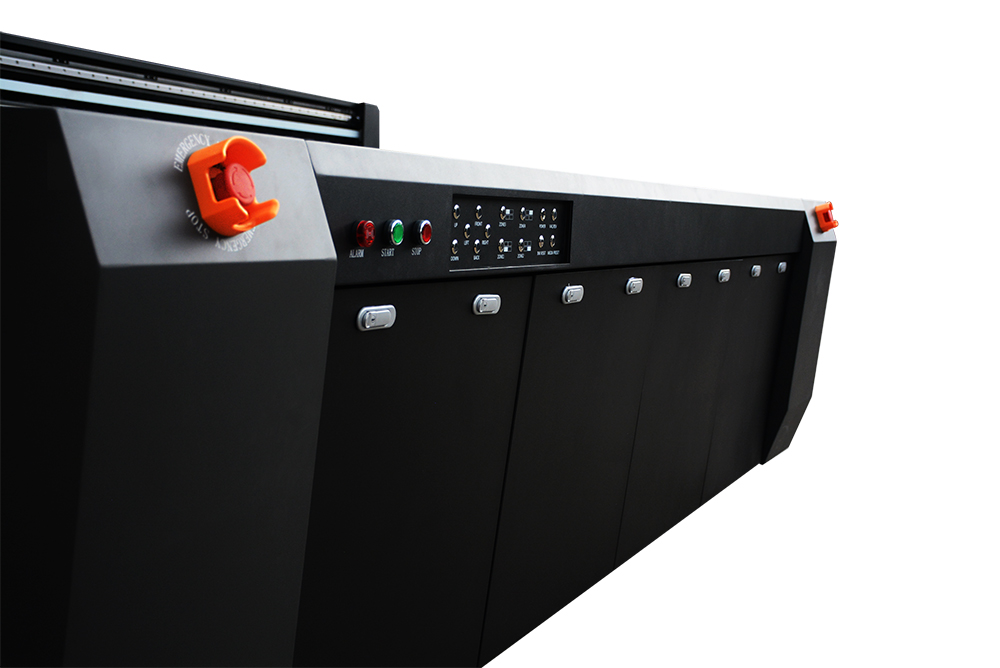
Understanding UV Flatbed Printing Technology
UV flatbed printers utilize ultraviolet light to cure ink instantly upon contact with the substrate. Unlike solvent-based printers, which require drying time, UV printing dries ink within seconds, allowing for faster production and reduced risk of smudging. This technology excels on flat surfaces but demands adaptability for textured or uneven materials.
The key advantage of UV printers lies in their ability to accommodate various substrates without pre-treatment. However, printing on irregular surfaces introduces challenges, such as inconsistent ink adhesion, uneven layering, and potential damage to delicate materials. To mitigate these issues, operators must master printer calibration, ink viscosity, and surface preparation techniques.
Preparing Textured and Uneven Surfaces for Printing
Proper surface preparation is the foundation of successful UV printing on challenging materials. The first step is to assess the substrate’s texture, porosity, and composition. Rough surfaces like wood or stone may require sanding to create a smoother base, while porous materials like unfinished ceramics might need a primer to prevent ink absorption.
Cleanliness is critical. Dust, debris, or oils can disrupt ink adhesion, leading to patchy prints. Use a lint-free cloth and isopropyl alcohol to wipe down surfaces. For highly textured materials, consider applying a tacky adhesive spray to temporarily flatten peaks and valleys, improving the printer’s ability to maintain consistent contact.
Additionally, test prints are invaluable. Print a small sample on a scrap piece of the same material to evaluate ink coverage, color vibrancy, and texture interference. Adjust settings like print resolution, ink density, and curing time based on the results.
Adjusting Printer Settings for Optimal Results
UV flatbed printers offer adjustable parameters to accommodate textured surfaces. Key settings to tweak include:
Print Height and Z-Axis Calibration: Ensure the printer’s print head is positioned at the correct distance from the substrate. Most UV printers feature adjustable beds or sensors to detect surface variations.
Ink Drop Size and Frequency: Larger ink droplets can fill gaps in textured surfaces, while higher frequencies improve detail. Experiment with combinations to balance speed and quality.
Curing Intensity: UV light intensity affects ink adhesion and durability. Over-curing can cause brittleness on flexible materials, while under-curing leads to smudging. Start with the manufacturer’s recommendations and adjust incrementally.
Bidirectional Printing: Disabling bidirectional printing (where the head moves left-to-right and right-to-left) can reduce misalignment on uneven surfaces, though it may slow production.
Some printers also offer “texture mapping” software, which analyzes the substrate’s topography and adjusts ink deposition in real time. While advanced, this feature may require additional training or investment.
Selecting the Right Inks and Coatings
UV inks come in various formulations, each suited to different applications. For textured surfaces, flexible or stretchable inks are ideal, as they conform to irregularities without cracking. Rigid inks work better on hard, non-flexible materials like acrylic or metal.
Post-printing coatings enhance durability and appearance. Matte finishes reduce glare on reflective surfaces, while gloss coats deepen color vibrancy. For outdoor use, apply a UV-resistant sealant to prevent fading. Always test coatings on a sample first, as some may react with the ink or substrate.
Handling Common Challenges
Printing on uneven surfaces isn’t without hurdles. Here’s how to troubleshoot common issues:
Ink Pooling in Depressions: Reduce ink flow or increase print head height to prevent excess ink from accumulating in textured valleys.
Adhesion Problems: Use a bonding agent or primer designed for the substrate. For glass or ceramics, lightly etch the surface with sandpaper or a chemical promoter.
Color Inconsistency: Textured surfaces scatter light, making colors appear duller. Compensate by increasing ink saturation or using a white underbase to boost vibrancy.
Warping or Curling: Flexible materials like canvas or thin plastics may warp under heat. Lower curing temperatures or use a heat gun to gently flatten the material post-printing.
Innovative Applications and Case Studies
Businesses across industries are leveraging UV flatbed printers for textured surfaces. For example:
Home Decor: A furniture company prints custom patterns on textured wood panels, creating wall art that doubles as acoustic insulation.
Retail Signage: A boutique uses UV printing to add logos and graphics to corrugated metal signs, enhancing durability and visual appeal.
Automotive Customization: A car wrap shop prints 3D textures onto vinyl, mimicking carbon fiber or brushed metal for vehicle interiors.
Artistic Installations: An artist uses a UV printer to create tactile murals on rough concrete walls, blending art with accessibility features for visually impaired viewers.
These applications highlight the versatility of UV printing on unconventional surfaces, opening doors to niche markets and premium pricing.
Maintaining Your UV Flatbed Printer for Longevity
Regular maintenance ensures consistent performance, especially when printing on demanding substrates. Key tasks include:
Cleaning the Print Head: Ink residue can clog nozzles, affecting print quality. Use a lint-free swab and cleaning solution recommended by the manufacturer.
Checking the Vacuum Table: Many UV printers use a vacuum bed to hold substrates flat. Inspect for clogs or leaks in the table’s holes, which could cause uneven pressure.
Replacing Worn Parts: Belts, rollers, and dampers degrade over time. Replace them promptly to avoid misalignment or skipping.
Updating Software: Manufacturers often release firmware updates to improve texture-handling algorithms. Stay current to access the latest features.
Storing Inks Properly: UV inks are sensitive to light and temperature. Keep them in a cool, dark place and shake them before use to prevent separation.
Conclusion: Embracing the Future of Textured Printing
UV flatbed printers represent a paradigm shift in digital printing, enabling businesses to transform ordinary objects into extraordinary canvases. By mastering surface preparation, printer calibration, and ink selection, operators can achieve stunning results on textured and uneven materials. The key is to experiment, stay informed about advancements in UV technology, and embrace creativity.