

How to Fix Lines on Large-Format Printer Prints
- by John White
Print bigger, print faster — wide-format UV flatbed printers for signs, decor and industrial work.

To fix lines on a large-format print, first identify their direction, spacing, color and whether they remain in the same printer position. Run a nozzle check before cleaning, preserve the failed print and compare the model’s alignment and media-feed procedures. Horizontal and vertical lines can come from different causes, so repeated cleaning is not a universal fix.
(Last modified date: September 13, 2026)
| Pattern | First checks |
|---|---|
| Repeated horizontal light/dark bands | Nozzles, feed/step, passes and overlap |
| Double vertical edges | Bidirectional alignment and head gap |
| Scratches or wet streaks | Media curl, head contact, debris or carriage path |
| One-color lines | Channel-specific nozzle or ink-supply condition |
| Line moves with artwork | File, transparency, RIP or profile |
Epson’s official guidance similarly begins with nozzle checks, then separates alignment, media profile and high-speed/bidirectional settings. Power cleaning consumes substantial ink and should only be used as the model instructions direct.
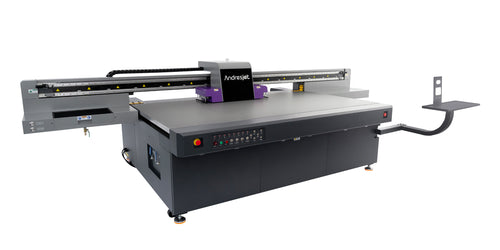
More passes may improve overlap, but the result does not prove the printer is healthy. Document the productivity trade-off and check nozzles, calibration and media movement before making that mode the permanent workaround.
For a UV-specific deep dive, use the existing print banding Owner rather than duplicating the same diagnosis here.
Send AndresJet the model, serial number, head/ink configuration, nozzle chart, full defect and close-up, line spacing, media, head gap, mode, RIP version and recent maintenance or collisions.
Horizontal bands, vertical lines and marks that repeat at a fixed interval do not point to the same cause. Note the carriage direction, media-feed direction and spacing between repeats. If a line moves with the image file, inspect artwork or RIP data; if it stays at the same physical position, inspect the printer, media path or calibration.
| Observed pattern | First evidence to collect | Likely area to isolate |
|---|---|---|
| Missing-color horizontal bands | Nozzle check | Nozzle condition or ink delivery |
| Light/dark bands that change with mode | Bidirectional and feed comparison | Alignment, pass mode or advance |
| Vertical line at the same bed position | Blank/media inspection | Media, encoder, data or physical path |
| Regular repeating marks | Measure repeat distance | Roller, wheel or recurring mechanical contact |
Save the original settings, print a labeled control sample and change only one variable. Reprint the same test region after a nozzle procedure, alignment, feed adjustment or mode change. Multiple simultaneous changes may hide the cause and make a temporary improvement impossible to reproduce.
Stop printing if the media can strike the head, ink is leaking, abnormal noise occurs or a required safety procedure cannot be followed. Escalate when nozzle loss persists after the manufacturer’s allowed routine, the defect returns immediately, or calibration cannot complete. Send support the nozzle chart, full image, close-up, media details, settings, environmental conditions and a timeline of changes.
Record the successful correction in a job preset and maintenance log. Control media storage, room conditions, head gap and scheduled checks; confirm the first production piece after a material or mode change. The objective is not merely to rescue one print but to remove the recurring process condition.
No. Alignment, feed, media contact, profiles and mechanics can produce similar lines.
Bidirectional timing or head-gap calibration may be involved.
No. Follow the staged procedure and stop when the nozzle chart or manual calls for escalation.


