

Banding is a repeated light, dark or color-shifted stripe in a print. The stripe direction and repetition reveal more than the word “banding” alone: missing nozzles, bidirectional alignment, media advance, pass overlap, ink delivery or mechanical motion can produce different patterns. Print a nozzle check and preserve a defect sample before changing settings.
(Last modified date: September 12, 2026)
- Diagnose the pattern before cleaning or recalibrating.
- Change one variable at a time and keep the same test file.
- Use the exact printer’s maintenance procedure.
- Escalate recurring fixed-position or mechanically timed defects.
What does the band direction tell you?
| Pattern | First checks |
|---|---|
| Lines aligned with carriage travel | Nozzle loss, head alignment, head gap, pass overlap |
| Lines across media-advance direction | Feed/step calibration, media movement, encoder or drive consistency |
| Double edges mainly in bidirectional mode | Bidirectional timing at the actual head height |
| Same position on every print | Nozzle channel, bed/rail position, encoder contamination or artwork/RIP |
| Random density change during long runs | Ink supply, temperature, negative pressure, agitation or air ingress |
Epson’s official troubleshooting guidance begins with a nozzle check and separates head alignment, media adjustment, print settings and ink condition. This order helps avoid unnecessary cleaning cycles.
A controlled banding diagnostic sequence
- Save the job, mode, substrate, environment and defect location.
- Print a nozzle check and compare every channel.
- Perform only the approved cleaning level if nozzles are missing, then recheck.
- Verify media flatness, fixture hold-down and documented head gap.
- Compare unidirectional and bidirectional output.
- Run the model-specific alignment or feed/step chart indicated by the pattern.
- Check whether a higher-pass production mode hides or truly resolves the cause.
- Escalate if the defect persists at a repeatable mechanical interval.
Settings that can reduce visible bands
More passes, interlacing or feathering may improve overlap, but they should not conceal unstable nozzles or motion. Confirm the media profile, carriage direction, resolution and ink limits. If a quality mode fixes the pattern, document the productivity trade-off and continue investigating whether maintenance or calibration is still required.
When banding points to service
Request technical support when a head strike preceded the issue, alignment values reach their limits, the defect repeats at the same bed position, ink pressure is unstable, or approved maintenance cannot recover the nozzle pattern. Do not change head voltage, waveform, mechanical head position or negative pressure from generic online instructions.
Send evidence that shortens downtime
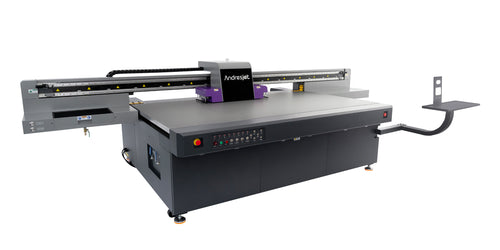
Provide AndresJet support with the model, serial number, head and ink configuration, RIP version, nozzle-check image, calibration chart, full print and close-up, defect spacing, substrate, head gap, mode and recent maintenance. State whether the band moves with the artwork or remains in the same machine position.
Frequently Asked Questions
Does banding always mean clogged nozzles?
No. Alignment, media movement, pass overlap, ink delivery and mechanical motion can create similar stripes.
Will increasing pass count fix banding?
It may reduce visibility, but it does not prove the underlying condition is resolved.
Should I run repeated deep cleanings?
No. Follow the model’s staged maintenance procedure and escalate if the nozzle pattern does not recover.
Sources
Share:
What is Banding in Printing?
What Causes Inkjet Banding and How Can It Be Prevented?