

- by John White
How Should UV Print Durability Be Tested on Ceramic Tiles?
- by John White
Print bigger, print faster — wide-format UV flatbed printers for signs, decor and industrial work.

UV print durability on ceramic tiles should be tested against the tile’s real end use. Begin with adhesion, then add scratch or abrasion, cleaning-chemical, moisture and light exposure only when relevant. Define the method, conditioning, pass/fail criteria and failure mode before testing; a decorative indoor tile and a frequently cleaned commercial panel do not need the same evidence.
Record whether the tile is decorative, handled, cleaned, installed indoors or exposed to sunlight and moisture. Identify contact with cleaners, abrasion or heat. The test plan should reproduce credible risks rather than collect unrelated standards.
Clarify whether the print is a surface decoration or will receive a verified protective layer. Installation method and edge handling can change the failure mode.
Use conditioned samples and a documented tape or cross-hatch method suitable for the coating system. Record whether failure occurs within the ink, at the ink/tile interface, or in an underlying coating.
ASTM D3359 supplies method context, but its limitations must be respected. Do not report that AndresJet equipment has passed a standard unless the exact configuration was tested and documented.
Select abrasion or scrub testing that represents the customer’s cleaning and handling. Define load, cycles, tool, cleaner, dwell and inspection. A dry fingernail check is useful for screening but is not a production specification.
For chemical exposure, test the actual cleaner at realistic concentration and contact time. Inspect gloss, color, softening, edge lift and transfer.
| Risk | Possible evaluation | Acceptance evidence |
|---|---|---|
| Adhesion | Documented tape/cross-hatch test | Rating and failure mode |
| Handling | Scratch screening | No unacceptable visible damage |
| Cleaning | Actual cleaner exposure | Appearance and adhesion retained |
| Abrasion | Defined cycle method | Customer threshold |
| Light/moisture | Relevant exposure method | Application-specific result |
Include an approved control, multiple specimens and consistent conditioning. Test changes one variable at a time. Photograph the same area and record the material lot, preparation, file and print recipe.
If the test result is close to the limit, repeat it or use an independent laboratory rather than converting one borderline sample into a broad durability claim.
Create a matrix linking each end-use risk to method, owner, sample count, pass/fail rule and result. The customer should approve criteria before production.
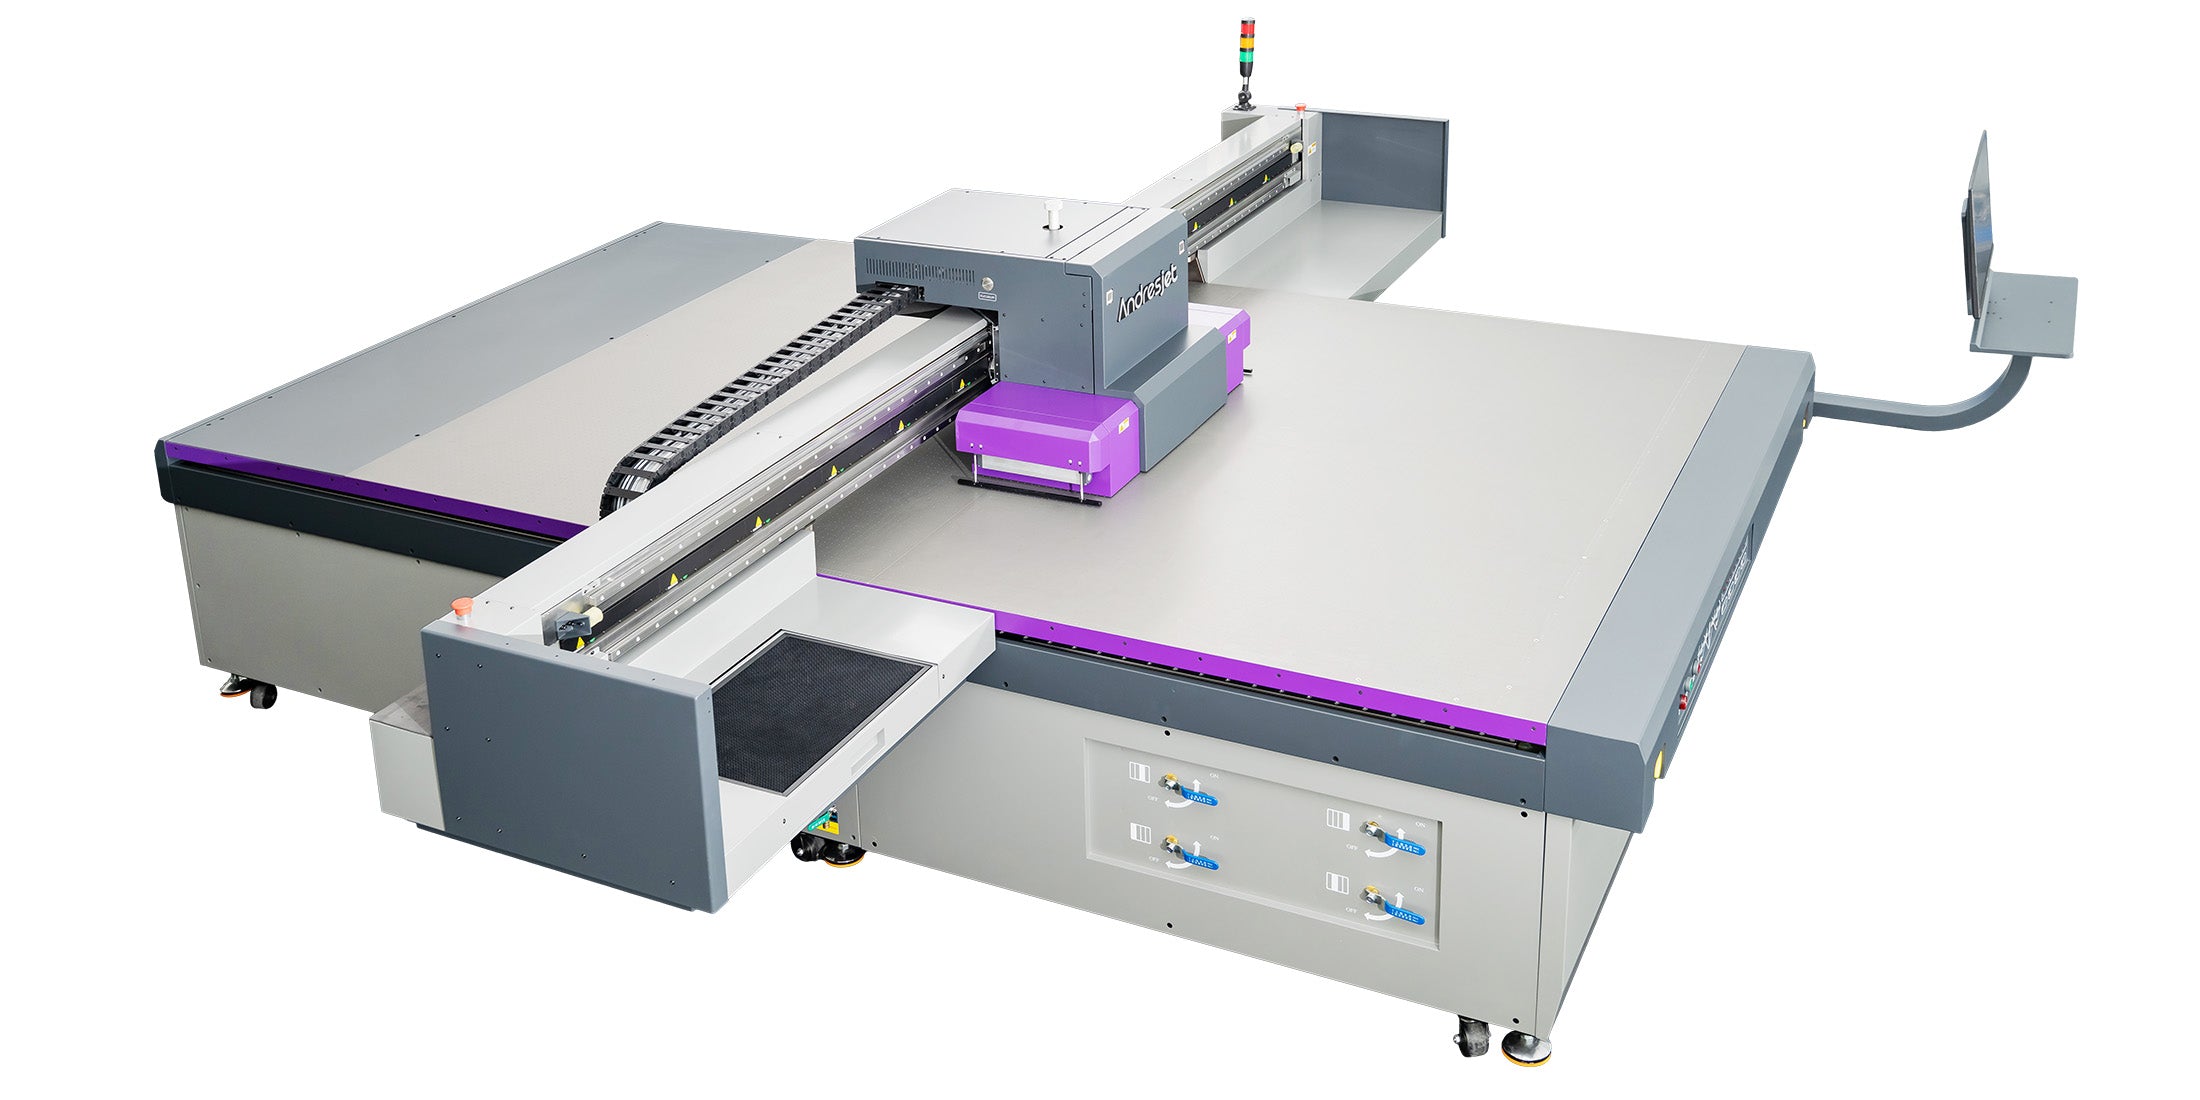
The ceramic tile UV printer collection supports application research, and the AJ2130 product page identifies the relevant flatbed path. Use production tiles for final validation.
Durability is not one property. Adhesion, abrasion, cleaner resistance and light exposure answer different questions. Test only what the application needs, but define each method well enough to repeat it.
Build ceramic-tile durability evidence from end use, controlled samples and predefined acceptance criteria. Record the failure mode and limitations, and requalify when tile glaze, coating, ink or preparation changes.
For the complete decision path, continue with the uv printing glass & ceramic guide.
No. Adhesion, abrasion, cleaner resistance, moisture and light exposure answer different questions. Select tests from the real end use.
One sample is weak evidence. Use controls, repeats and documented conditioning, especially when a result is close to the acceptance limit.
Use one when contractual claims, regulated applications or borderline results require controlled methods and independent documentation.


