To test an industrial thermal printer, start with a scratch test on paper (dark mark indicates thermal coating), run a printer test page for clarity/darkness, calibrate heat/speed settings via RIP software, and check for fade resistance. For high-volume QA, use fiber optic diagnostics and 0.01mm accurate CCD positioning on AndresJet AJ1206 to verify labels at 2,000/hour.
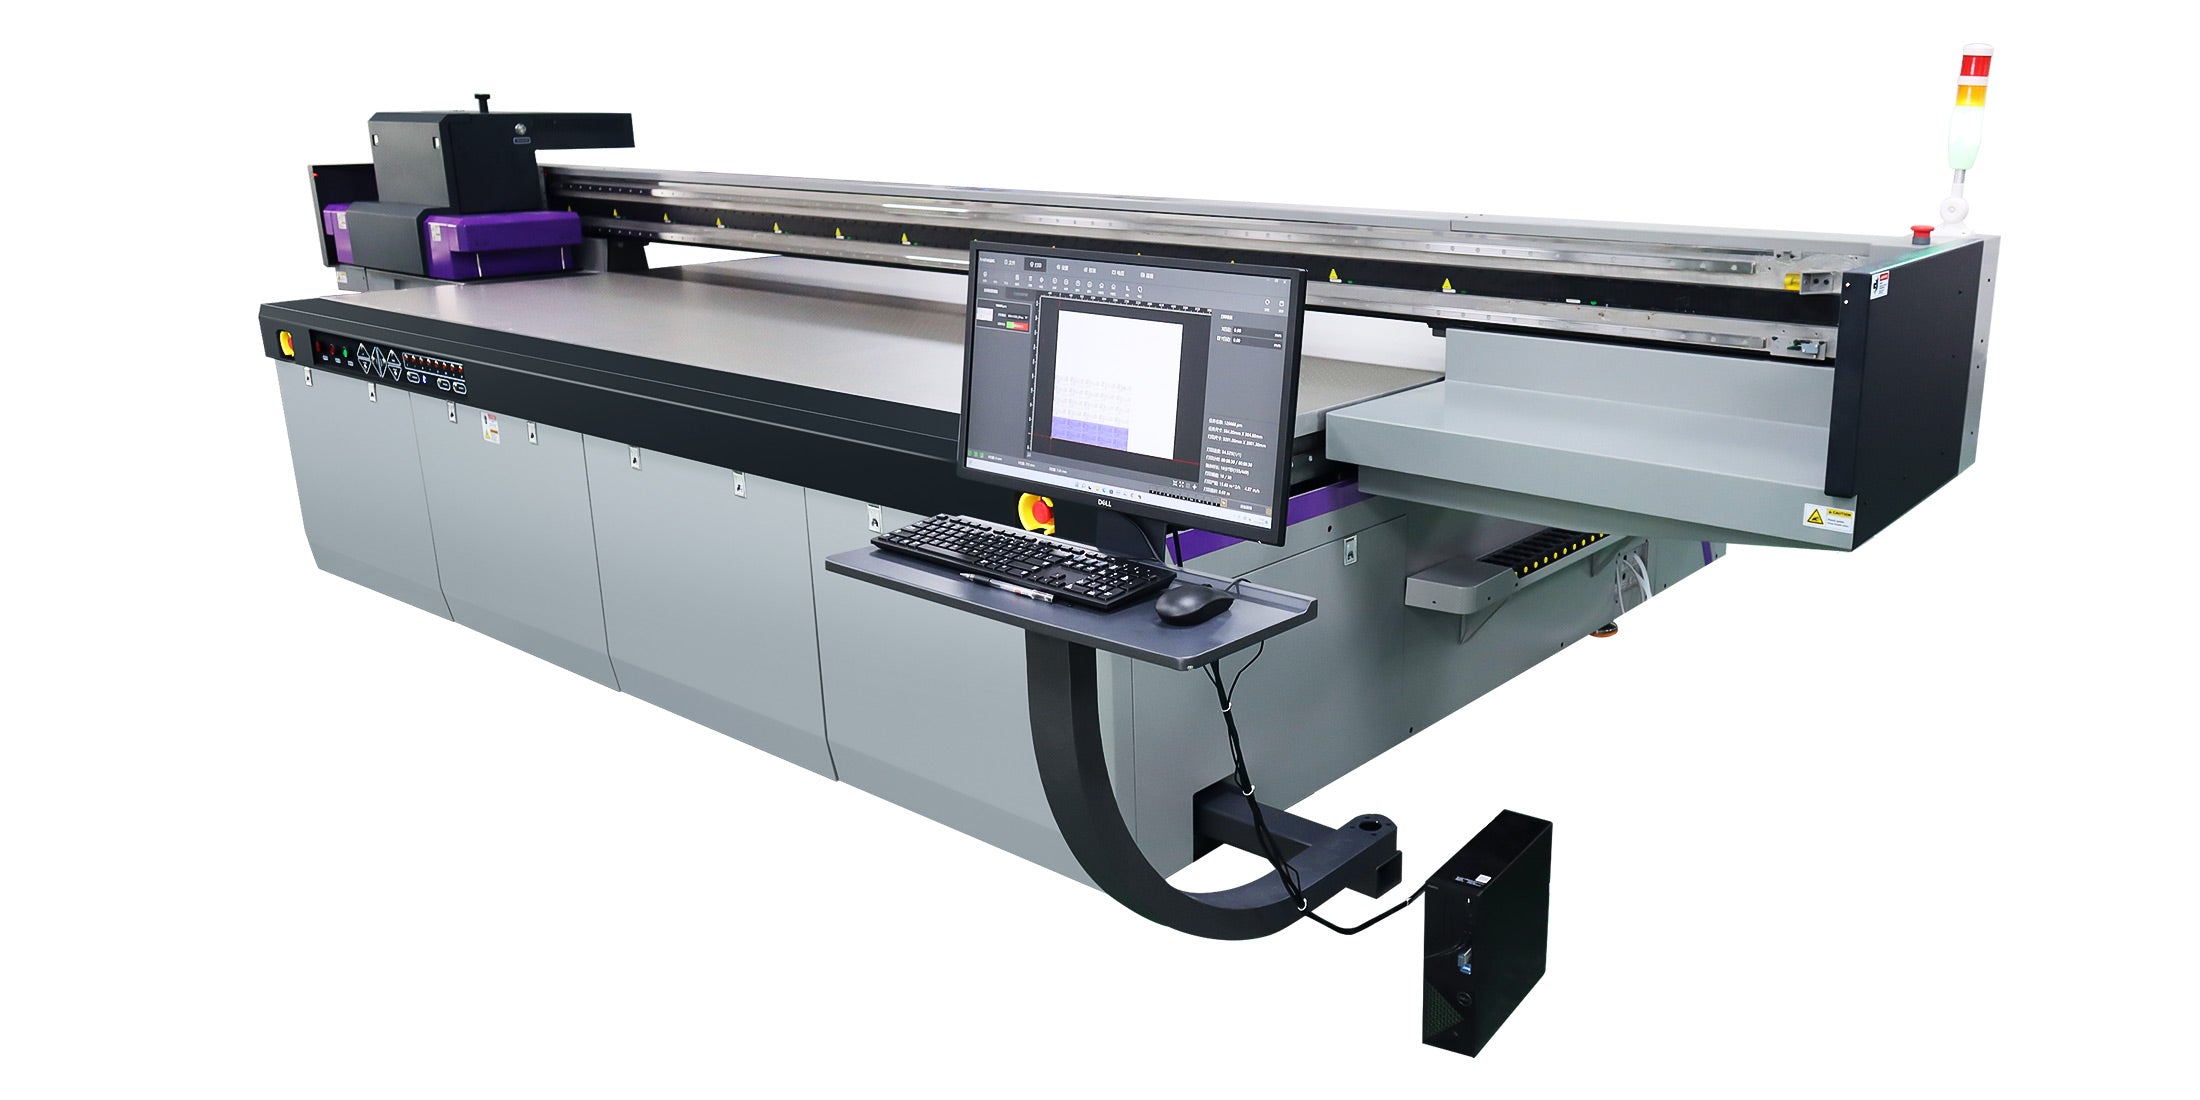
Check: Wide Format UV Flatbed Printer
What Is Industrial Thermal Printer Testing and Why Does It Matter?
Industrial thermal printer testing involves systematic checks of print quality, media compatibility, and hardware performance to ensure reliable high-volume output. It matters because it minimizes downtime, reduces waste, and maintains quality in demanding environments like packaging and labeling.
In high-speed production lines processing thousands of labels daily, even minor issues like faded prints or misfeeds can lead to significant losses. Testing protocols verify direct thermal or thermal transfer mechanisms, sensor accuracy, and heat consistency. For industrial units, this extends to integration with automation, where printers handle rigid media or tapered labels at speeds exceeding 100 sqm/hr. AndresJet's UV flatbed printers, such as the AJ1206 Small UV Flatbed Printer with up to 2,000 coins/hour capability, bridge thermal testing needs through precise 0.01 mm positioning accuracy and LED UV curing for durable results on labels and small parts.
How Do You Identify Thermal Paper Quality with Simple Field Tests?
Perform a scratch test by rubbing the paper—if a dark mark appears, it has thermal coating. Apply heat from a lighter; darkening confirms direct thermal suitability. Check for uniformity by printing a test pattern across the roll.
Begin with the scratch test: firmly rub your fingernail across the paper surface. A visible dark line indicates proper thermal-sensitive coating, essential for direct thermal printing. For thermal transfer, ensure ribbon compatibility by testing adhesion on a sample. Next, use a heat source like a match or hairdryer at low heat—quality paper darkens evenly without smudging or cracking. Inspect roll edges for consistent thickness and core alignment to prevent feeding issues. In industrial settings, combine these with barcode scannability tests using handheld scanners. AndresJet's AJ360i Digital Cylinder Printer supports such media verification on tapered labels with its 2-point calibration system and quick 15-minute changeover, ensuring flawless output on cylindrical vessels up to 240mm diameter.
What Are the Best Methods to Print a Test Page on a Thermal Printer?

Check: Thermal Printer Testing
Load compatible media, access the printer menu or driver software, select "Print Test Page" or "Self-Test," and print a pattern checking darkness, alignment, and voids. Use RIP software like RIIN Print for advanced diagnostics.
Power on the printer and load labels correctly, ensuring the roll feeds without gaps. Hold the feed button for 5 seconds to trigger a self-test page on most models—this prints bars, text, and labels showing sensor data. For software-based tests, open the driver settings, select "Print Test Page," and adjust darkness/speed. In industrial units, leverage RIP software such as RIIN Print or PhotoPrint, standard on AndresJet printers, to generate custom patterns revealing streaks or density issues. Verify output for sharpness and color consistency. If voids appear, clean the printhead with an approved solution and lint-free cloth. This method quickly isolates hardware faults before full production runs.
How Does Direct Thermal Compare to Thermal Transfer in Testing?
Direct thermal uses heat-sensitive paper darkening without ribbons, tested for fade resistance via sunlight exposure. Thermal transfer applies wax/resin ribbons for durable prints, tested for scratch/abrasion resistance using erasers or tapes.
| Test Method | Direct Thermal | Thermal Transfer | Best For |
|---|---|---|---|
| Durability Test | Fade after 24hr UV exposure | Scratch with eraser (no removal) | Long-term labels |
| Speed Test | Faster, no ribbon | Slower due to ribbon handling | High-volume short-life |
| Cost Test | Lower media cost | Higher with ribbons | Indoor vs. outdoor use |
| Accuracy Test | 0.01mm positioning viable | Enhanced durability at same precision | Industrial QA |
Direct thermal suits short-term labels like shipping, but fades under heat/UV—test by exposing prints to sunlight for 24 hours. Thermal transfer excels in permanence for outdoor use, with ribbons providing chemical resistance; test abrasion by rubbing with an eraser or tape peel. Both require printhead temperature calibration for optimal density. AndresJet UV flatbeds like the AJ1206 integrate these tests seamlessly with 300×1200 DPI resolution and Eco-Print UV inks for hybrid durability surpassing traditional thermal limits.
Why Is Printer Calibration Essential for Consistent Print Quality?
Calibration aligns sensors, heat, and speed for accurate label sizing and density. Run auto-calibration via the menu, adjusting media type and gap/black mark detection for void-free prints.
Sensors detect label gaps or marks; misalignment causes skips or overlaps. Enter calibration mode per manual—feed several labels to auto-adjust. Fine-tune heat (darkness) and print speed in software: too low causes faint prints, too high leads to bleeding. For industrial labeling, verify with a ruler for pitch accuracy. Recalibrate after media changes or environmental shifts (20–30°C ideal). AndresJet's AJ2130EX UV Flatbed Printer employs fiber optic interfaces and auto media height detection up to 100 mm, ensuring sub-millimeter precision akin to calibrated thermal units in high-speed modes reaching 128.6 m²/h.
What Common Issues Show Up in Thermal Printer Test Prints?
Common issues include faded/uneven prints (dirty head, wrong heat), streaks/voids (dust, worn head), misfeeds (sensor dirt, wrong media), and jams (debris, rollers). Clean components and recalibrate to resolve.
Test prints reveal faded text from low heat or dirty printheads—clean with isopropyl alcohol and cloth, avoiding abrasives. Streaks indicate dust; voids signal worn elements needing replacement. Misalignment stems from dirty sensors—wipe gently. Jams arise from debris or incorrect loading; clear paths and check rollers. Overheating shows as inconsistent density—ensure ventilation and lower settings. For industrial units, monitor via diagnostics for ribbon wrinkles in transfer mode. Regular testing prevents these in 24/7 operations.
How Can Fiber Optic Diagnostics Improve High-Speed Printer Testing?
Fiber optic interfaces enable real-time data transmission for precise diagnostics, detecting latency, signal loss, or head errors at speeds over 100 sqm/hr without interrupting production.
In high-volume setups, fiber optics provide low-latency monitoring of printhead performance, ink flow, and motion systems. Connect via Ethernet/USB, run diagnostic scans in RIP software to log errors like dropouts or misalignment. This outperforms USB for industrial fiber optic data transmission on AndresJet models like the AJ2130Ultra, supporting 140.7 m²/h ultra-draft with 24 RICOH GEN5 heads. Integrate with anti-collision systems for proactive alerts, reducing downtime by identifying issues before test print failures.
What Maintenance Checklist Ensures 24/7 Industrial Printer Uptime?
Daily: Clean head/rollers, check media. Weekly: Full calibration, test prints. Monthly: Inspect belts/sensors, update firmware. Log all for predictive maintenance.
- Clean printhead and platen roller with approved solution.
- Verify label/ribbon loading and sensor alignment.
- Run test page; adjust heat/speed.
- Check connections and ventilation.
- Update drivers/firmware from manufacturer site.
- Inspect for wear; replace rollers if sticky.
AndresJet guarantees 8-year spare parts availability and 2-year warranty, supporting this checklist for sustained uptime in demanding environments.
AndresJet Expert Views
"At AndresJet, we engineer printers like the AJ1206 with CCD visual positioning for 0.01 mm accuracy, eliminating jigs for flawless thermal-style testing on 2,000 items/hour. Our AJ360i offers 15-minute changeovers with pneumatic clamping, ideal for cylindrical labels. Fiber optic interfaces and RIIN Print software enable diagnostics that keep production at 120 sqm/hr. With CE/RCM/UKCA certifications and comprehensive training, we ensure your labeling workflows achieve peak efficiency and durability." – AndresJet Engineering Team
How Do AndresJet UV Flatbeds Enhance Thermal-Style Testing Workflows?
AndresJet UV flatbeds like AJ1206 and AJ360i add precision positioning, LED UV curing, and high-speed output to thermal testing, handling rigid media with 0.01 mm accuracy and quick setups.
| Model | Key Testing Feature | Speed/Capacity | Media Handling |
|---|---|---|---|
| AJ1206 | CCD Visual Positioning | 2,000 coins/hour | 0–35 mm thickness |
| AJ360i | 2-Point Calibration | 60 items/hour production | 60–240 mm diameter |
| AJ2130EX | Fiber Optic Diagnostics | 128.6 m²/h draft | 1–100 mm height |
These printers extend thermal diagnostics to UV-curable inks on diverse substrates, with anti-collision protection and vacuum systems ensuring test consistency. Ideal for labels on medals, panels, or vessels.
Conclusion
Mastering industrial thermal printer testing through structured diagnostics and maintenance ensures optimal performance and minimal downtime. AndresJet's UV solutions elevate these workflows with unmatched precision and support—explore them for your production needs.
FAQs
How often should I clean a thermal printhead? Daily in high-volume use, or when test prints show fading/streaks.
What causes white lines on thermal prints? Dirty printhead or sensors—clean immediately and recalibrate.
Can UV flatbeds replace thermal printers for labels? Yes, with superior durability; AndresJet AJ1206 handles 2,000/hour precisely.
How to test thermal ribbon quality? Print patterns and rub with eraser—minimal transfer indicates good quality.
What's the ideal environment for thermal printers? 20–30°C, 30–60% humidity to prevent issues.
Share:
How to Fix Print Smears on UV Flatbed Printers?
How to Print on Plexiglass & Acrylic with UV Flatbeds?