





Packaging prototypes
Print flat sample panels or qualified blanks for artwork approval, structural review and buyer presentations before committing to a longer production method.
Review the AJ2130G/R

Corrugated board varies by flute, liner, coating, thickness, moisture and flatness. Dust, loose fibers, damaged edges and warping can affect vacuum hold-down, printhead clearance and the finished appearance, so qualify the exact production board rather than relying on a generic cardboard description.
Confirm the print face, sheet dimensions, artwork coverage, white-ink requirement and downstream cutting, scoring, folding or assembly. Approve a converted sample before setting production targets or choosing a printer configuration.
Corrugated packaging production overview
Direct UV printing can support packaging prototypes, retail displays and short runs on compatible corrugated board and rigid cardboard. The result depends on board construction, liner and coating, moisture, flatness, dust, hold-down, head clearance, ink layers and downstream converting requirements.
Print flat sample panels or qualified blanks for artwork approval, structural review and buyer presentations before committing to a longer production method.
Review the AJ2130G/RProduce compatible corrugated display panels with changing campaigns, regional artwork or short-run versions after flatness and handling have been approved.
Review cardboard printingNest multiple rigid paperboard signs or inserts on the bed while controlling board edges, printable area, color consistency and inspection.
Review the AJ3220G/RBuild repeatable work around a controlled board source, approved print face, artwork file, loading plan, ink recipe and finished-sample test.
Review the AJ3220EXRecord board grade, flute, liner, coating, dimensions, thickness, weight, moisture condition and intended print face.
Reject damaged or curled sheets and control loose fibers, surface dust, crushed edges and contamination before loading.
Confirm usable vacuum zones, safe head clearance, sheet edges, printable area and whether masking or a positioning aid is required.
Evaluate color, white opacity when used, adhesion, rub resistance and any cutting, scoring, folding or assembly required after printing.
Three wide-format production routes
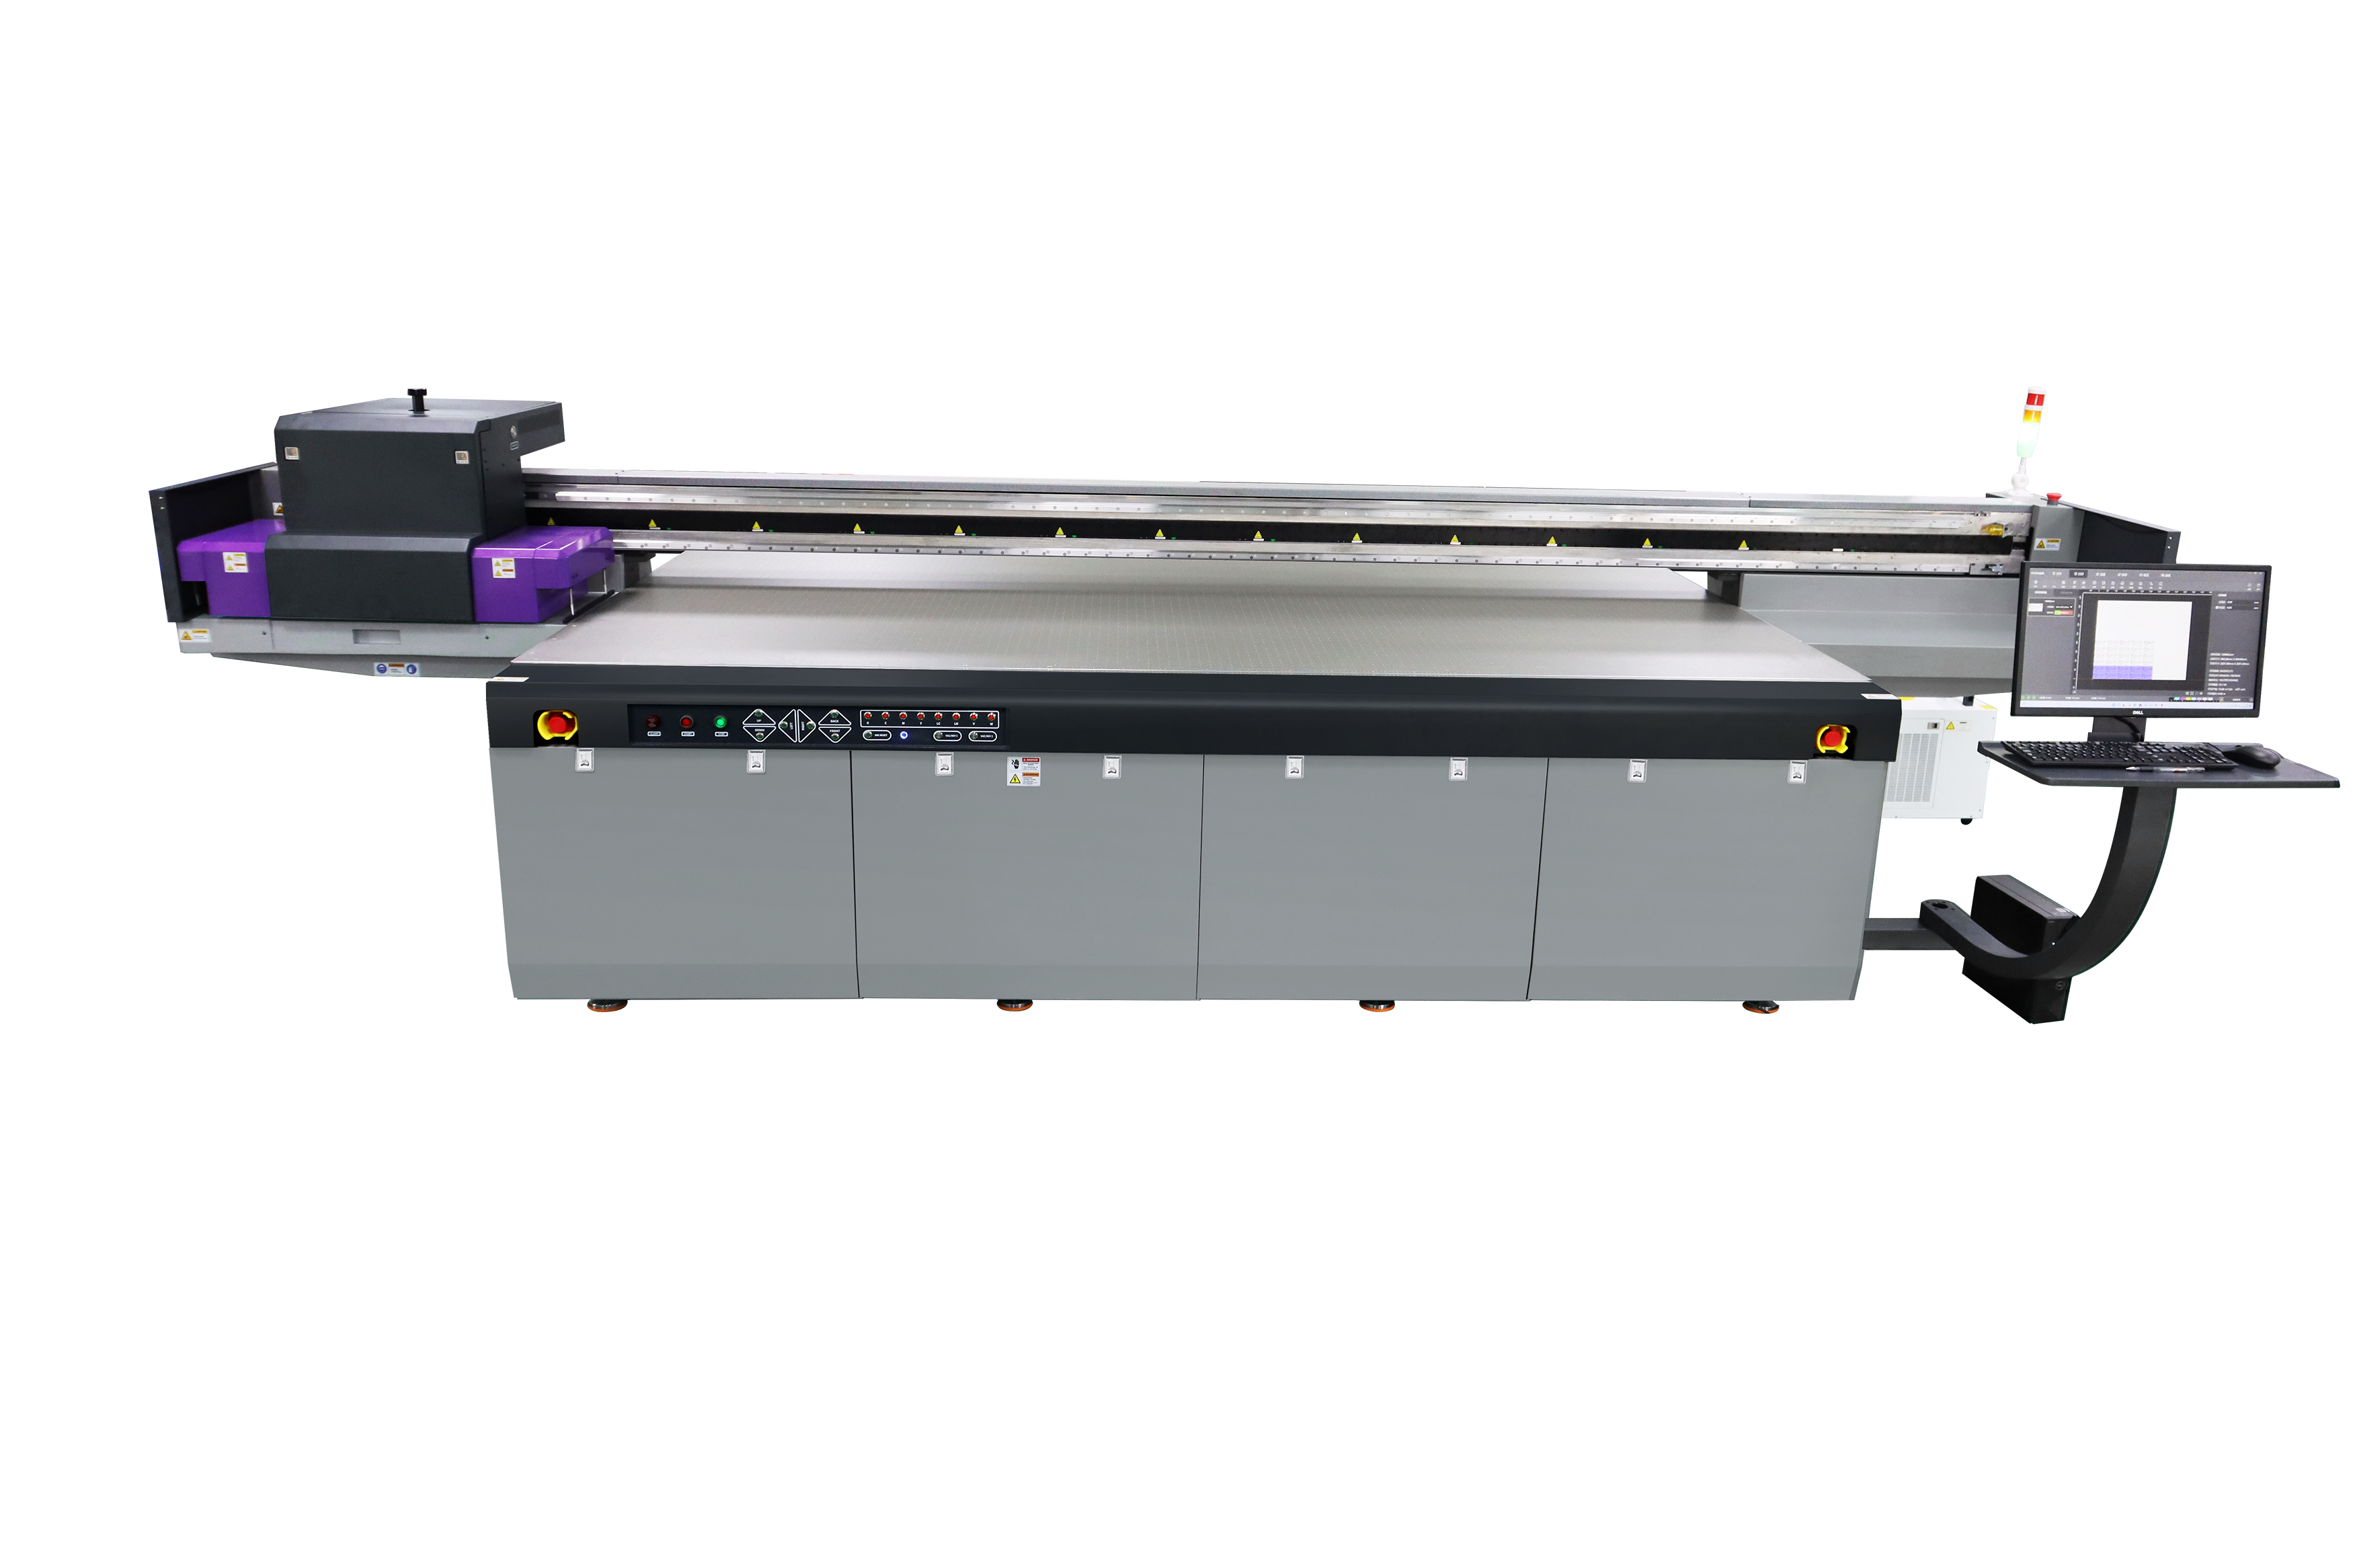
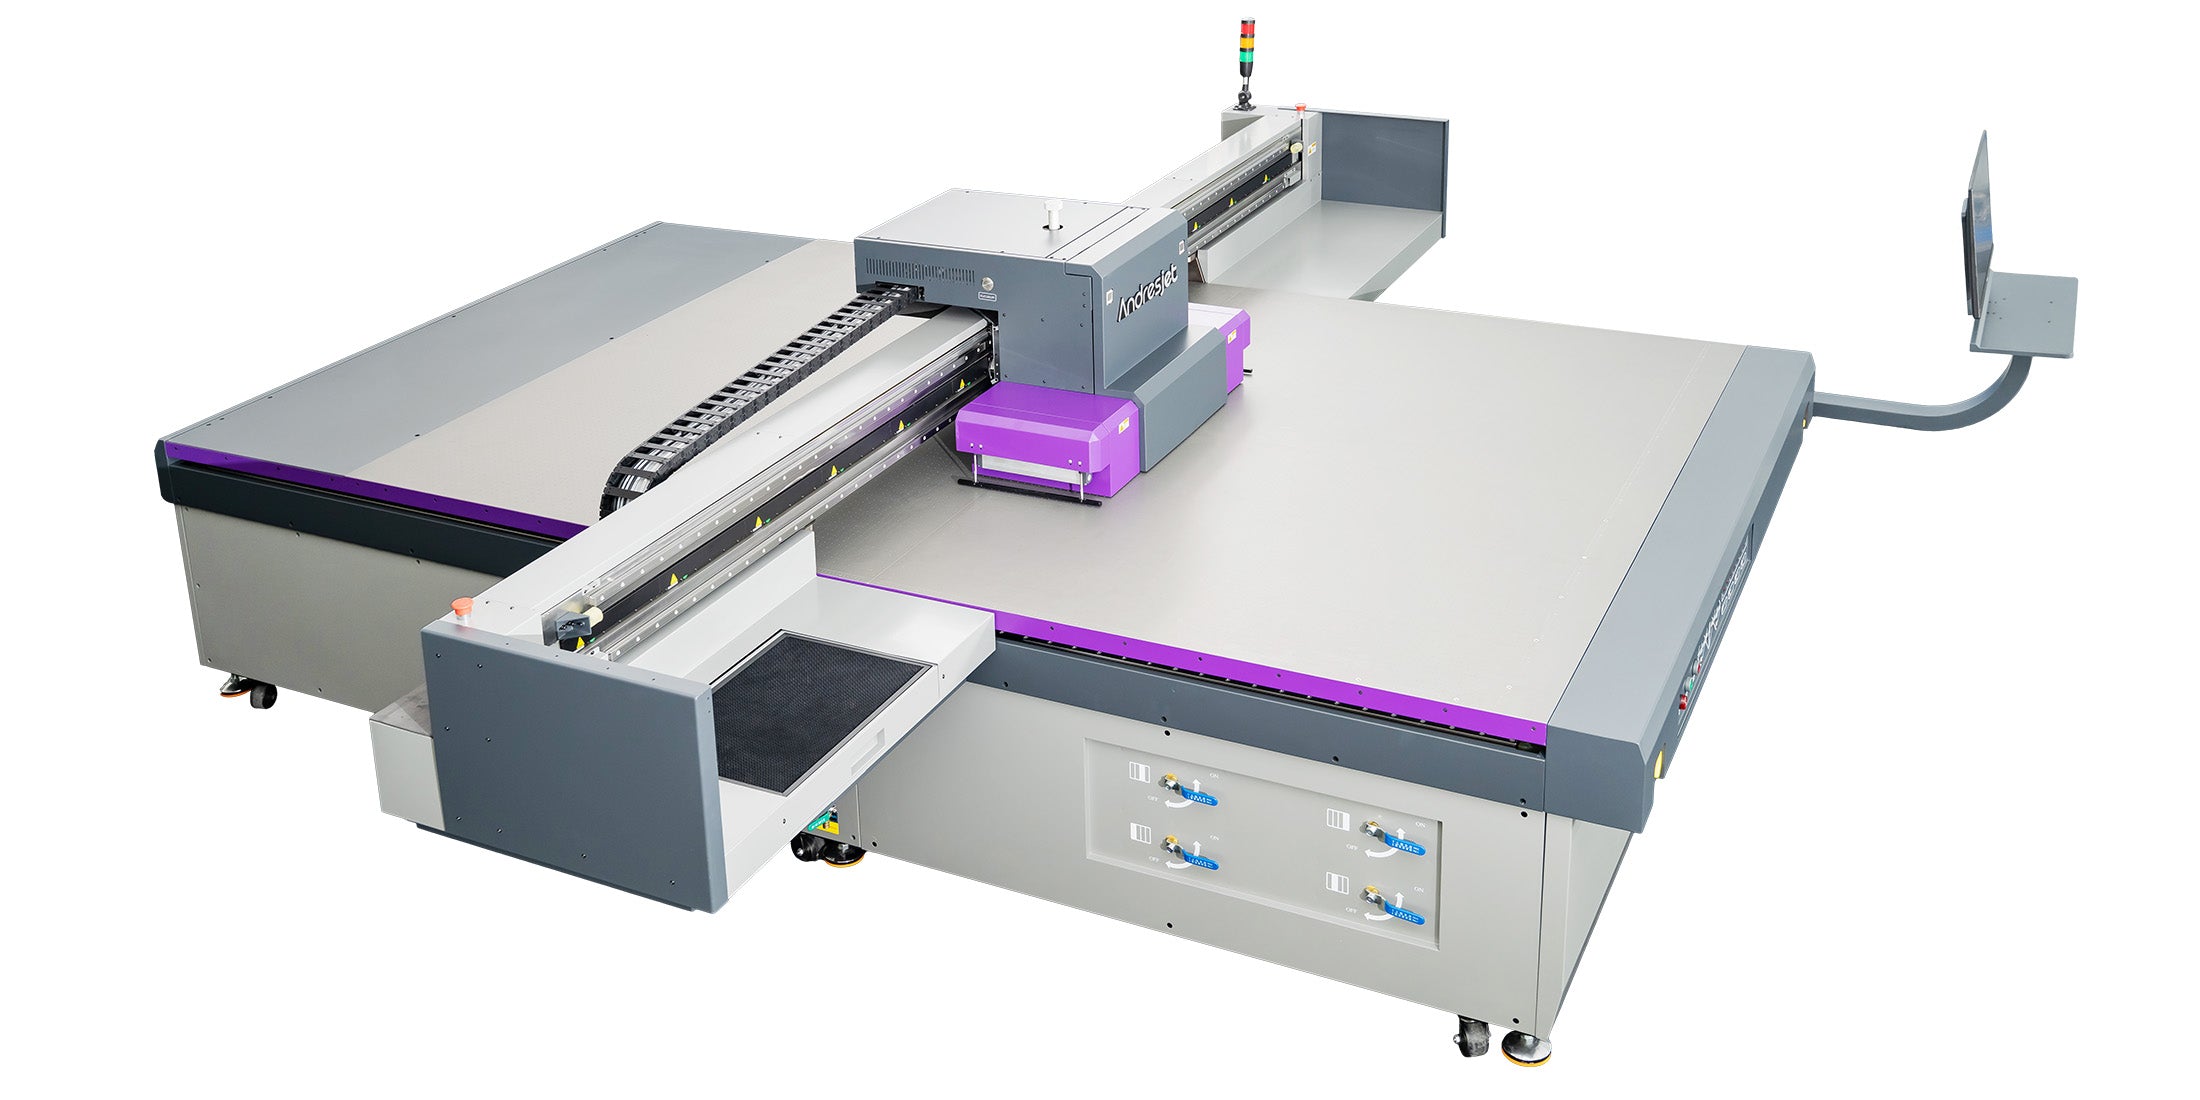
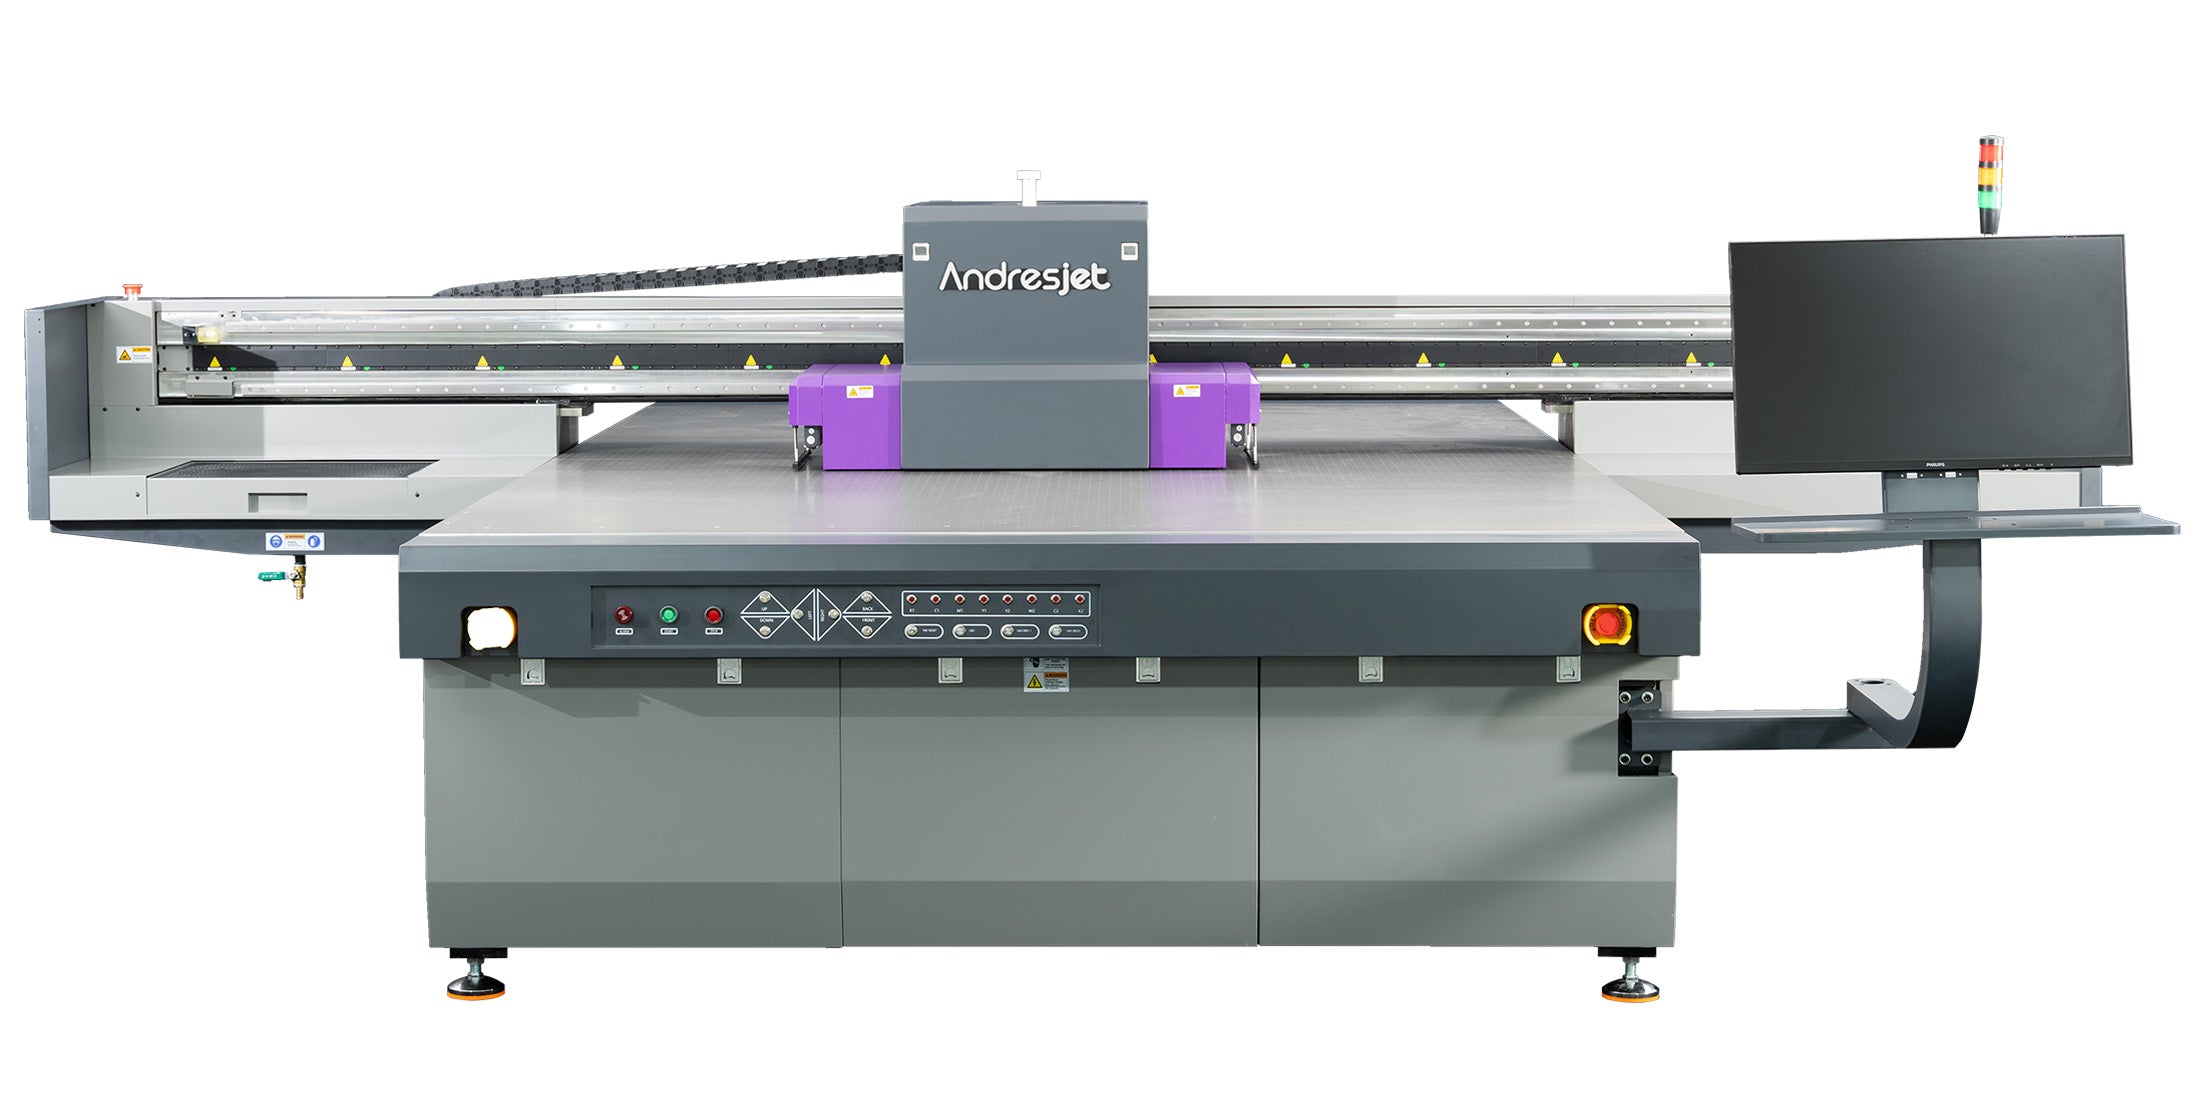
Start with the largest flat sheet, pieces per bed, board stability and approved ink-layer sequence. Then compare the 2.1 × 3.0 m and 3.2 × 2.0 m platforms using a timed pilot workflow that includes material conditioning, loading, printing, unloading and inspection.
Configurable 2.1 × 3.0 m platform
Scalable 3.2 × 2.0 m platform
High-output 3.2 × 2.0 m platform
Published specifications describe equipment configurations, not guaranteed packaging output. Finished production changes with board condition, resolution, pass count, artwork coverage, ink layers, nesting, vacuum performance, loading, unloading, inspection, converting and operator workflow.
Information for a useful recommendation
“Cardboard” is not a complete material specification. Send these four groups of details so AndresJet can review board handling, ink strategy, downstream converting and realistic output before recommending a configuration or representative sample test.
Board grade, flute, liner and coating, supplier, dimensions, thickness, weight, moisture condition, flatness and print face.
Production file, coverage, color reference, viewing distance, kraft or white surface, white-underbase need and any varnish requirement.
Flat sheet or qualified blank, pieces per bed, vacuum and masking needs, cutting, scoring, folding, gluing and assembly sequence.
Quantity per design, designs per batch, turnaround, finished pieces per shift and required color, adhesion, rub or fold acceptance tests.
No. Liner paper, coating, flute, porosity, surface dust, moisture, flatness and previous treatment can change color, adhesion and handling. Test the actual production board after it has been conditioned and prepared in the intended way.
Flute construction influences rigidity and vacuum leakage, while curl or warp can reduce hold-down and create unsafe height variation. Confirm sheet condition, vacuum zones, masking, edge clearance and printhead clearance before running production.
Not for every design. White ink may provide an opaque base or selective white areas when the brown liner should not influence color. It adds ink, passes and registration requirements, so compare samples with and without white on the actual board.
It may be possible, but the complete sequence must be tested. Artwork placement, score lines, ink coverage, coating, fold direction and curing can influence cracking or appearance. Approve a converted sample rather than only a flat printed sheet.
No. Direct UV printing can be useful for prototypes, short runs, variable graphics and fast design changes. Established analog processes may remain more economical for very long repeat runs. Compare the complete order, setup, finishing and approval workflow.
From representative sample to converted piece
Reliable packaging work combines a traceable board specification, controlled conditioning and cleaning, safe loading, approved ink layers and testing after cutting, scoring or folding. Define the full process before estimating finished pieces per shift or comparing equipment output.
Useful for prototypes, variable artwork and short-to-medium runs on qualified flat board without producing a separate plate or screen for every design.
Can suit established repeat graphics and longer volumes, but plates, setup, paper or liner steps and changeovers should be included in the comparison.
May suit selected displays or packaging, but introduce separate media, printing, application, edge finish, labor and recycling considerations.
Identify the board. Record grade, flute, liner, coating, supplier, dimensions, thickness, weight, moisture condition and intended print face.
Condition and inspect it. Stabilize the board in the working environment and reject sheets with curl, crush damage, lifted liners, loose fibers or contamination.
Verify safe loading. Confirm vacuum zones, masking, bed clearance, edge condition, printable area and whether pre-cut or scored features can be handled safely.
Build the ink layers. Prepare color, white underbase, selective white and varnish around liner color, coverage, viewing distance and converting needs.
Print and convert a sample. Check color and adhesion, then perform the intended cutting, scoring, folding, gluing or assembly before approval.
Time a pilot batch. Include preparation, loading, printing, unloading, inspection, converting, rework, changeovers and packing.
Corrugated board is lighter and more air-permeable than many rigid panels. Flute direction, exposed edges, die cuts and local crush damage can affect vacuum leakage. Mask unused bed areas when appropriate and verify that the complete sheet remains safely below the required clearance.
Temperature and humidity can change moisture and flatness during storage. Keep test and production stock traceable, condition it in the intended environment and use an approved loading method rather than forcing a warped sheet flat without confirming stability.
A successful flat print is not the final packaging approval. Convert the representative sample and inspect folds, scores, edges, glue areas, rub resistance and finished appearance.
Start with the number and orientation of flat sheets or parts that fit safely on the bed. Add artwork coverage, resolution, pass count, print direction and every color, white or varnish layer. Pre-cut blanks, registration marks and multiple versions can add alignment and inspection time.
Then include board conditioning, dust removal, masking, loading, unloading, cutting, scoring, folding, gluing, inspection, rework and packing. A timed pilot batch using production board and artwork is the best basis for estimating approved finished pieces per shift.
Provide the intended grade, flute, liners, coating, dimensions, thickness and print face from the actual supplier when possible.
Send a real file with coverage, color reference, versioning, registration, white-underbase, selective-white and varnish requirements.
Share the dieline and planned cutting, scoring, folding, gluing, assembly and printed-side orientation.
Define pieces per shift, designs per batch, turnaround, color tolerance, adhesion, rub, fold and finished-piece approval criteria.