

Flat medal blanks
Record the outline, thickness, print-face diameter, rim, hanging hole and any recessed or raised details that change head clearance or artwork placement.

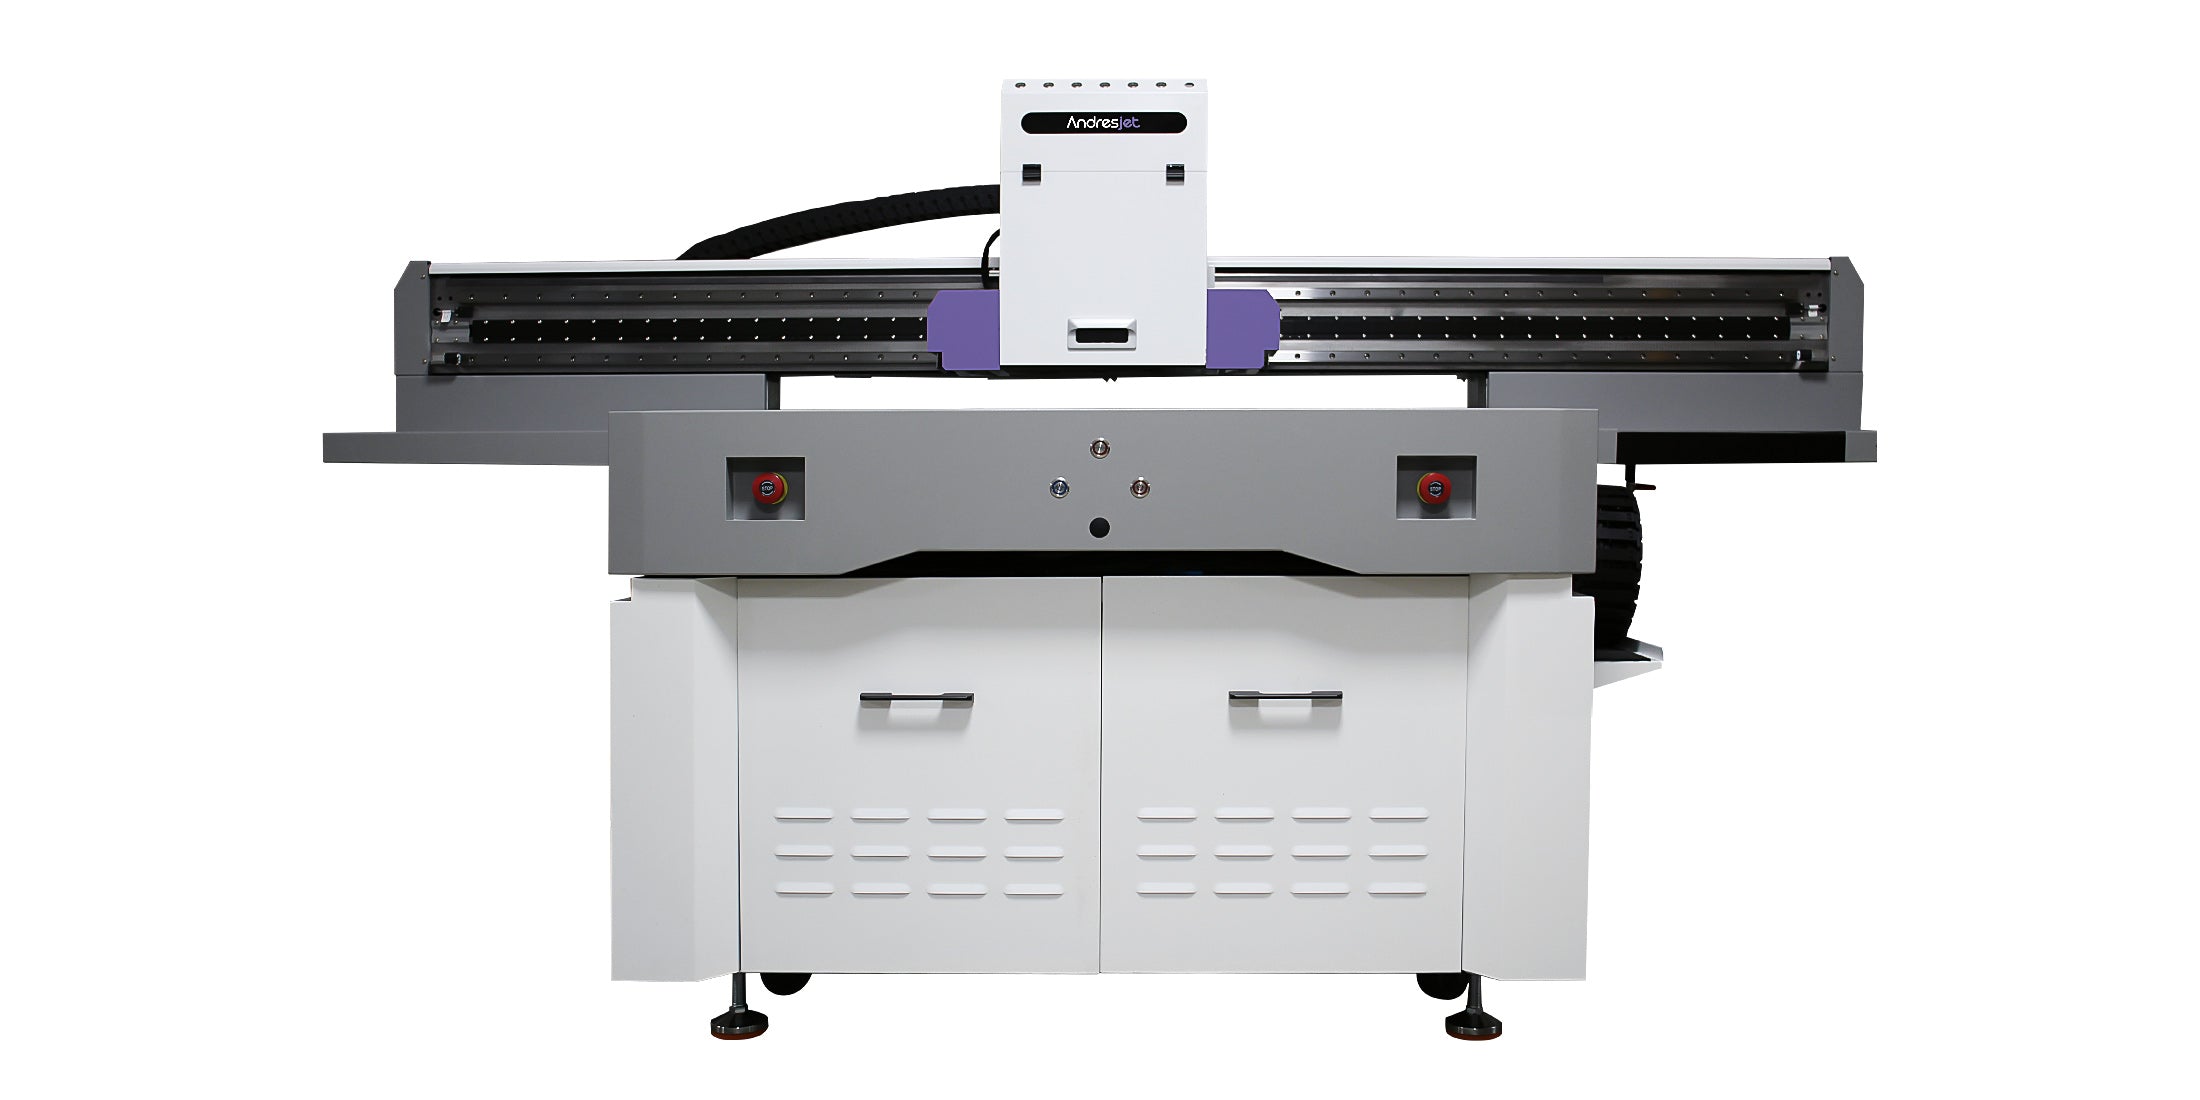
The AndresJet AJ1206 brings industrial-grade printing to small and medium-sized businesses. Get professional performance and exceptional speed in a compact, budget-friendly design perfect for scaling your production.

Measure representative production blanks rather than relying on a nominal diameter. Record the printable face, rim or recess, holes, edge clearance, coating and loaded height, then confirm the fixture or reviewed vision-assisted positioning route with the intended artwork versions.`
Keep the approved sample tied to the named blank SKU, supplier lot, tray layout, artwork matrix, surface preparation, white or varnish construction and inspection criteria. Changes to the blank or process should trigger a documented review.
Medal, coin and button production planning
Medals, commemorative tokens and buttons can look similar while differing in material, coating, rim height, recess, hole position, thickness and usable print face. Start with the exact production blank, then approve the positioning route, artwork version, ink layers and inspection standard with representative samples.
Record the outline, thickness, print-face diameter, rim, hanging hole and any recessed or raised details that change head clearance or artwork placement.
Use non-currency production samples to define the printable face, edge clearance, orientation, surface finish and whether a locating tray is required.
Keep fronts, backs and assembled hardware identified separately. Confirm which flat component is printed and how its orientation is controlled.
Map each blank position to the correct artwork, color reference and order record so personalization and multiple designs remain traceable.
Record supplier, product code, material description, coating, dimensions, face profile and production lot before sample work begins.
Define fixture pockets, loading orientation, datum edges, part clearance and whether the optional vision route is part of the reviewed setup.
Connect each position to the correct file, color reference, white or varnish layer and customer order identifier.
Approve placement, color, opacity, varnish location, surface condition and handling checks, then retain the sample with its process record.
Current AndresJet compact flatbed route
The current AJ1206 product page identifies medals, coins, buttons and other small custom items as intended applications. Its published platform limits help screen the job; they do not approve a blank, fixture, surface or production method.
Small flat-part qualification candidate
Do not infer compatibility from platform size alone. Raised rims, recessed faces, domed parts, holes, assembled hardware, surface condition, fixture height and inspection requirements can change the result. Test the exact blank and record the approved setup.
For a useful recommendation
A useful review connects the real production blank, printable face, loaded tray, artwork versions, batch pattern and acceptance criteria.
Medal, token or button components with supplier, SKU, material description, coating, dimensions, face profile and lot information.
Usable print zone, raised rim, recess, hole, edge clearance, thickness, assembled hardware and required head clearance.
Fixture drawing or sample tray, pocket pitch, part orientation, datum, loading pattern and planned standard or vision-assisted route.
File matrix, color reference, white or varnish layers, versions, quantity by design, handling tests and acceptance limits.
These answers are a qualification starting point. Final equipment and settings should be confirmed with the exact blank, positioning method, artwork and production route.
No. The published platform limits are only the first screen. The blank also needs a usable flat print zone, suitable clearance and positioning, a reviewed exterior surface and an approved production test.
Yes. They can reduce the usable print face, change focal or head-clearance conditions and limit where white, color or varnish can be placed. Measure the profile and test the real blank before artwork approval.
The appropriate route depends on the part geometry, orientation, artwork versions, tray repeatability and required inspection standard. Review both the actual fixture layout and the current optional CCD route rather than assuming one method fits every job.
Use a position-to-file matrix that connects each loaded pocket or detected part to the correct artwork, order identifier and inspection reference. Keep the matrix with the approved sample and production record.
Output depends on blank inspection, tray loading, positioning, artwork preparation, resolution, passes, ink coverage, white or varnish layers, curing, unloading, inspection and changeovers. Time the complete representative batch instead of relying on a headline machine speed.
Test the real production blanks
Share the named blanks, dimensions, surface information, print-face profile, tray or positioning plan, artwork layers, quantity by version and inspection requirements. AndresJet can review the current AJ1206 route and arrange sample testing without treating one sample as approval for unrelated blanks.
Practical blank and artwork control guide
Reliable small-part decoration begins with the physical blank, not only its nominal diameter or marketing description. Blank construction, printable face, positioning, artwork mapping and inspection must remain connected from sample approval through repeat production.
Identify the named material, coating, diameter or outline, thickness, rim, recess, hole, hardware and supplier lot.
Measure the actual flat zone, height profile, edge clearance and orientation; do not size artwork from the overall blank dimension.
Define quantity by blank and artwork, personalization fields, loading sequence, changeovers and the inspection reference for every version.
Freeze the blank set. Identify representative SKUs, suppliers, lots, dimensions, coatings, face profiles and assembled components.
Profile the usable print face. Measure the flat zone, rim, recess, holes, edge clearance and total loaded height.
Approve the positioning route. Confirm fixture pockets, tray datum, loading orientation and whether the reviewed standard or optional vision-assisted route is appropriate.
Build and print the layer test. Compare color, white and varnish constructions using the intended preparation, resolution, passes and curing conditions.
Inspect the representative batch. Evaluate file-to-position matching, placement, color, opacity, varnish location, surface condition and defined handling checks.
Record the approved process. Keep the blank SKU, fixture, file matrix, layer construction, settings, inspection criteria and approved sample together for repeat work.
Parts sold under the same general material name can differ in coating, surface energy, polish, contamination, rim profile and assembly. The purchaser or product owner should define the relevant safety, handling, durability and regulatory requirements for the finished item.
Approve the named blank, its supplier lot, the loaded positioning method and the complete print record together.
Use the verified print face and hanging-hole orientation to establish artwork position, tray datum and edge clearance.
Measure the height profile and keep the design inside the approved zone rather than assuming the full nominal diameter is printable.
Identify the printed component, keep fronts and backs separated, and control assembly orientation and file-to-part matching.
Finished output depends on incoming blank inspection, cleaning or preparation, tray loading, positioning, artwork changes, resolution, passes, ink coverage, white or varnish layers, curing, unloading, inspection and changeovers. Time the complete representative batch before making capacity or delivery commitments.