

Rigid case backs
Confirm the named case SKU, flatness, overall thickness, raised perimeter, camera opening and the actual back area that remains safely printable.

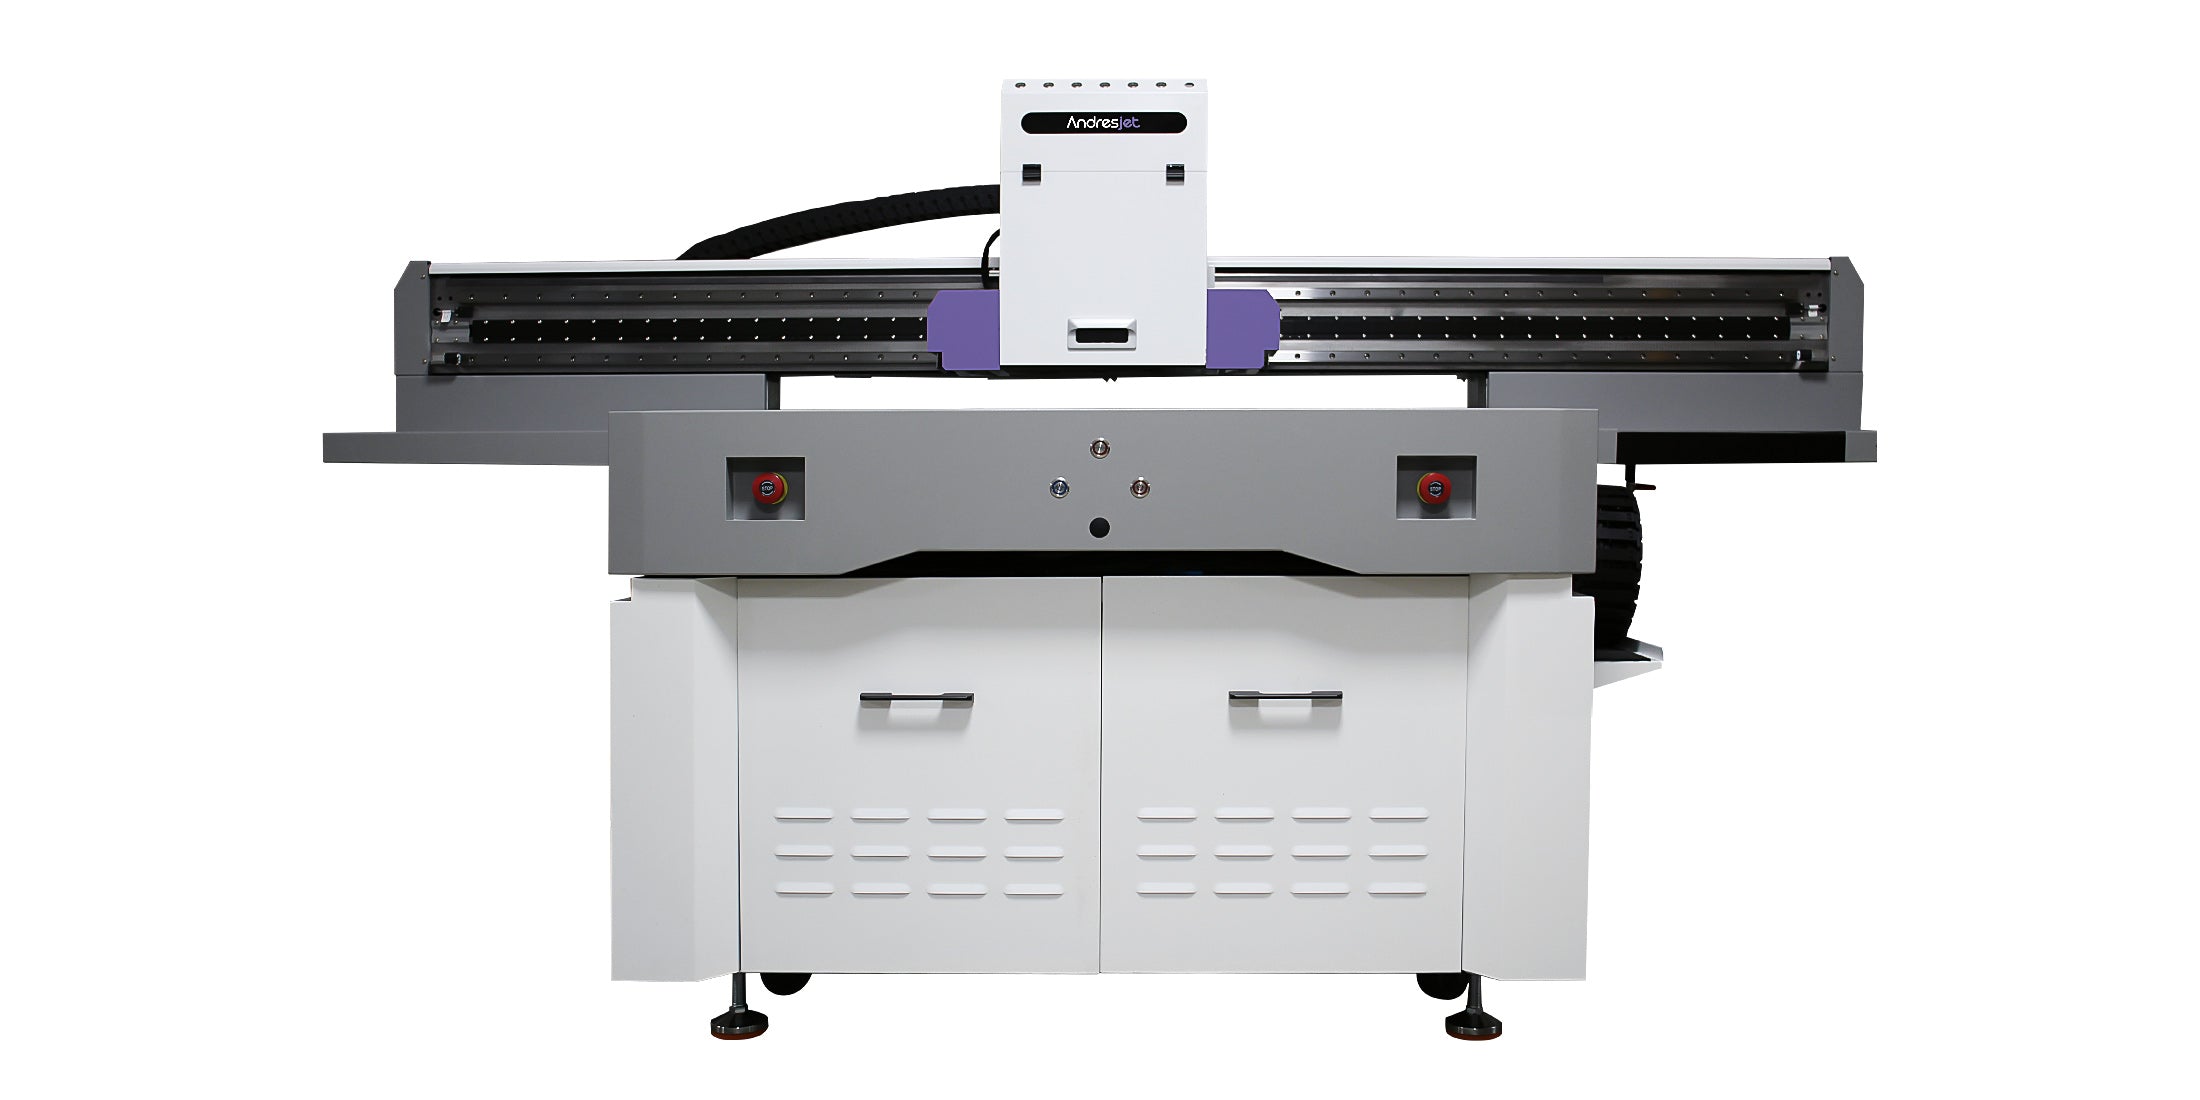
The AndresJet AJ1206 brings industrial-grade printing to small and medium-sized businesses. Get professional performance and exceptional speed in a compact, budget-friendly design perfect for scaling your production.
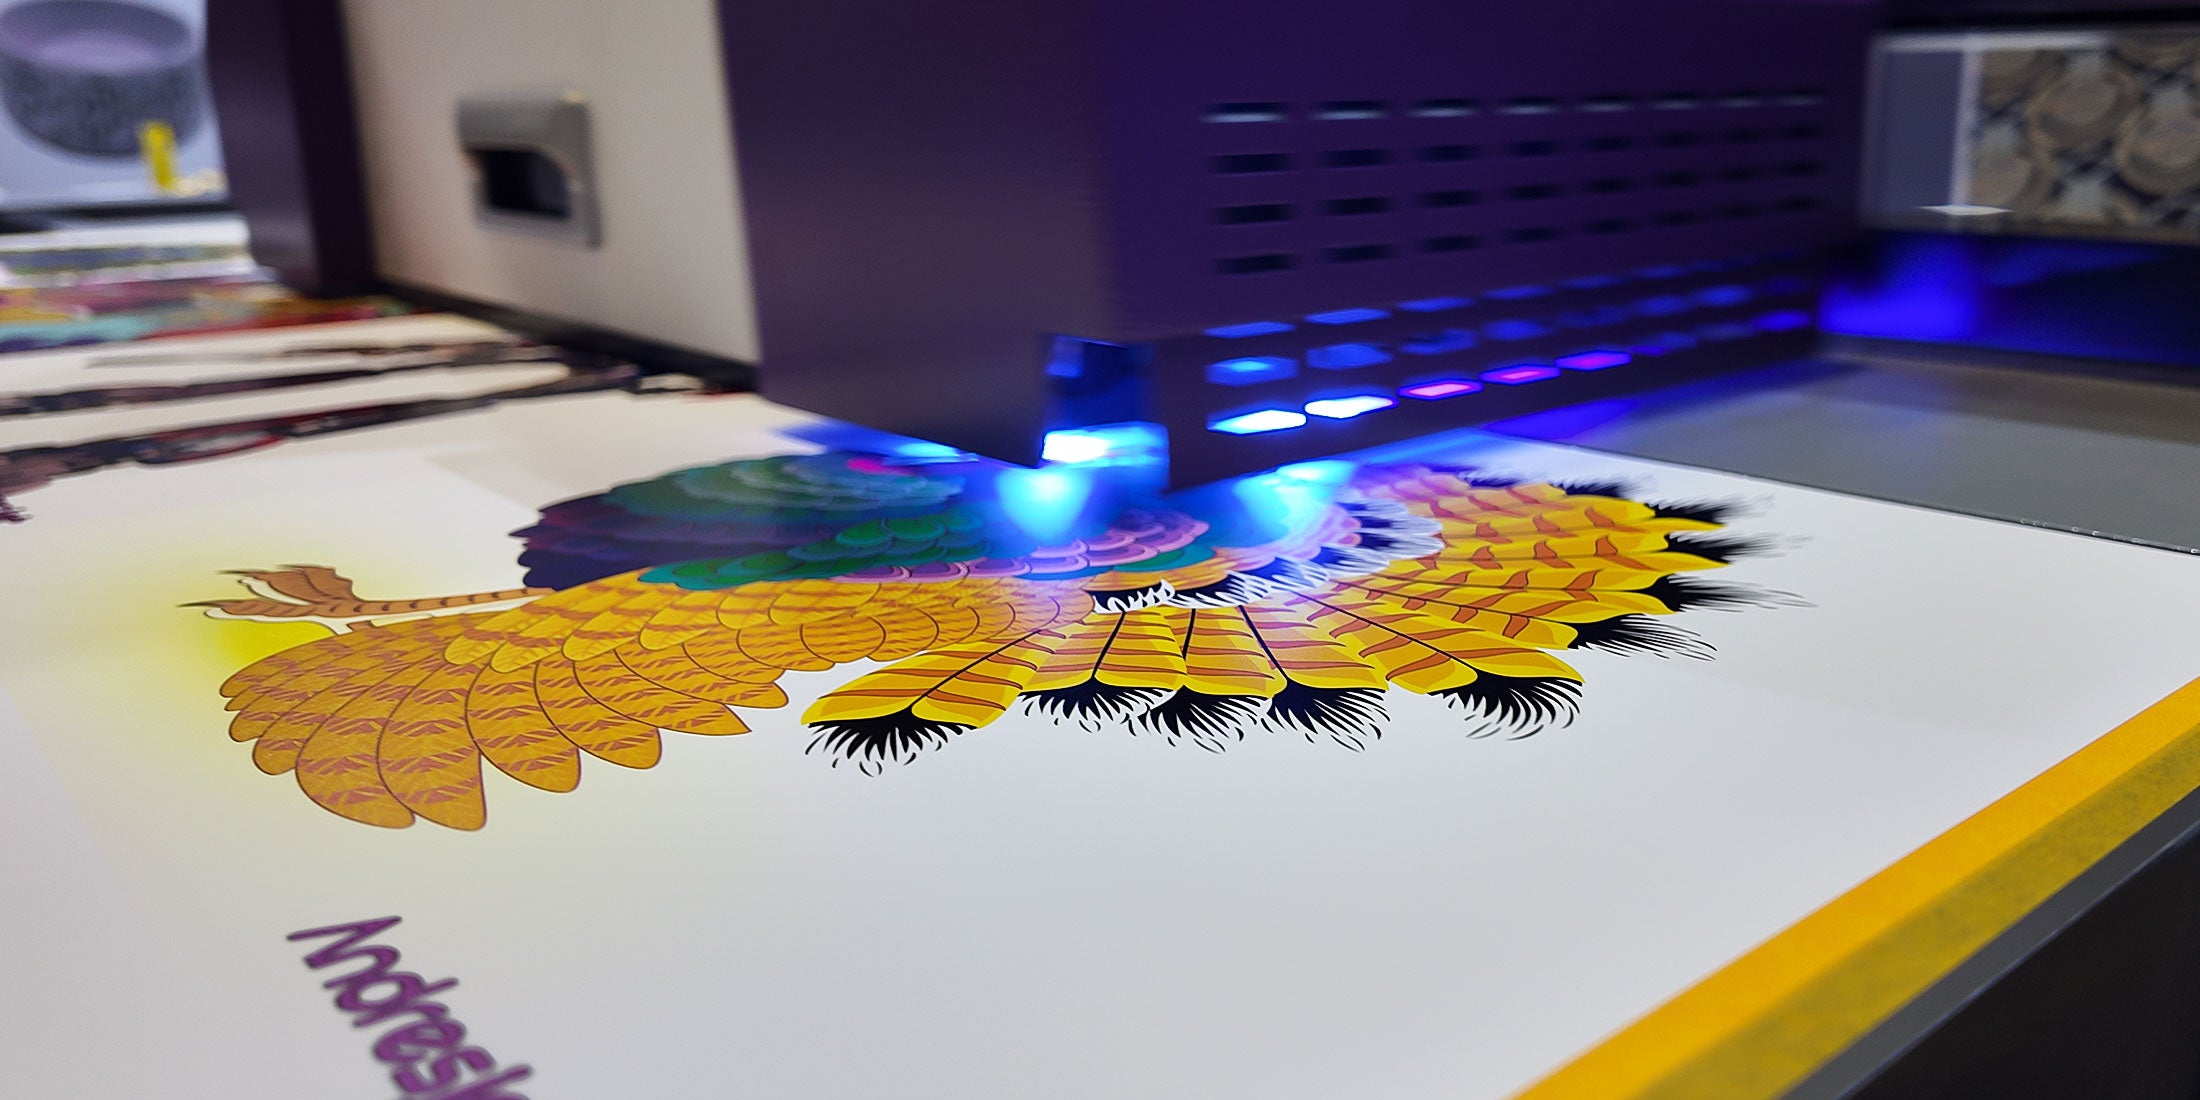
Not every business needs a multi-purpose flatbed, but every business deserves flawless, durable prints. We designed this series specifically for phone case specialists and accessory brands that demand vibrant, scratch-resistant results without the oversized equipment or excessive costs.
Andresjet designed this series specifically to meet these needs. These focused yet high-performance UV printers deliver exceptional output for custom phone cases, pop sockets, airpod covers, and countless other small-surface applications. Experience professional-grade quality without the professional-grade complexity or overhead, and let Andresjet turn your everyday accessories into standout products with precision engineered for your niche.
Phone-case decoration planning
Phone cases that look similar can differ in material description, coating, surface texture, flexibility, camera opening, raised edge and printable area. Start with the exact production case, define the decorated side and no-print zones, then approve the positioning method, white or varnish construction, artwork-to-model map and finished-use tests with representative samples.
Confirm the named case SKU, flatness, overall thickness, raised perimeter, camera opening and the actual back area that remains safely printable.
Define whether artwork is viewed from the printed side or through the case, then test selective or full white layers and color under the intended viewing condition.
Test the real surface and case color to determine preparation, white-underbase coverage, color appearance, varnish use and handling resistance.
Keep every case outline, camera cutout, orientation and artwork version connected to the correct fixture position or reviewed positioning workflow.
Record supplier, model, lot, material description, coating, color, dimensions and flexibility before sample work begins.
Define camera, button, edge, raised-rim and other no-print zones on the real case rather than a generic phone outline.
Confirm fixture pockets, datum, orientation and whether a reviewed current vision-assisted route belongs in the workflow.
Connect each phone model and loaded position to the correct artwork, order identifier, white layer, varnish layer and inspection reference.
Current AndresJet phone-case candidate
The current AJ1206 product page provides the following published equipment limits and options. They help screen a phone-case job; they do not confirm the case surface, fixture, printable area, ink construction or durability.
Mixed phone-case and small-part candidate
Do not infer compatibility from the overall case dimensions alone. Flexible walls, raised edges, camera rims, coatings, contamination, fixture height, print-side choice and inspection requirements can change the result. Test the named production case and retain the approved setup.
For a useful case-production review
A useful recommendation connects the real cases and files to a repeatable loading and inspection process.
Production samples with supplier, phone model, SKU, material description, coating, color, flexibility and lot information.
Case drawing or scan with camera, button, edge, raised-rim and other clearance zones marked for every model.
File matrix, color reference, printed side, viewing side, white or varnish layers, personalization fields and approval sample.
Fixture layout, positioning route, quantity by model and design, changeovers, inspection, handling and packing requirements.
Final compatibility and settings should be confirmed with the exact case, artwork, positioning method and handling requirements.
No. The case must provide a usable print face and suitable clearance, positioning and exterior surface. Coatings, texture, flexibility, contamination, raised features and finished-use requirements can change the result. Test each named case family.
Define whether the design is viewed from the printed side or through the case. Compare color-only, selective-white and white-backed constructions on the actual case under the intended viewing condition before approval.
Measure and map them as no-print or controlled-clearance zones for every phone model. Do not scale one generic case file across models with different camera modules, buttons, corners or rims.
The appropriate route depends on case rigidity, outline, orientation, artwork variation, tray repeatability and inspection standard. Review the real fixture and the current optional vision-assisted route instead of assuming one method fits every order.
Confirm placement, color, opacity, varnish location, surface appearance and the adhesion, scratch, flexing, cleaning, handling and packing checks defined by the case supplier or product owner. One sample does not approve unrelated case materials or lots.
Test the real case family
Share representative case models, supplier and surface information, printable areas, fixture or positioning plan, artwork layers, quantities and handling tests. AndresJet can review the current AJ1206 route without treating one approved case as proof for unrelated products.
Practical case and file-control guide
Phone-case production is not one universal file printed on one universal plastic. Case construction, print side, camera geometry, surface, positioning, artwork version and inspection must remain connected from sample approval through repeat orders.
Identify the exact model, material description, coating, color, flexibility, texture, raised features and supplier lot.
Map the printable back, camera and button openings, edge clearance, raised rim, orientation and total loaded height.
Connect each phone model, design, personalization field, fixture position and inspection reference to the correct order.
Freeze the case set. Identify representative phone models, suppliers, SKUs, lots, material descriptions, coatings and colors.
Map every printable face. Create a model-specific outline with orientation, camera opening, buttons, raised rim, edge clearance and no-print zones.
Approve positioning. Confirm fixture pockets, tray datum, case direction and whether the reviewed standard or optional vision-assisted route is appropriate.
Build and print the layer test. Compare color, white and varnish constructions with the intended preparation, viewing side, resolution, passes and curing conditions.
Inspect a representative batch. Check file-to-model matching, placement, color, opacity, varnish location, surface appearance and defined handling tests.
Record the approved process. Keep the case SKU, fixture, file matrix, layer construction, settings, inspection criteria and approved sample together.
Cases sold under the same broad material description can differ in coating, additives, texture, flexibility and contamination. These differences can affect preparation, adhesion, appearance and durability. The case owner should define the required safety, compliance and finished-use tests.
Approve the named case, supplier lot, printed side and complete production process together. Do not transfer one result to unrelated cases without verification.
Define the viewing side first, then approve color, selective or full white, artwork orientation and edge clearance on the actual case.
Test preparation, white-underbase coverage, color appearance, varnish use and handling resistance on each approved surface.
Use model-specific printable zones, fixture positions, artwork files and inspection references instead of scaling one generic template.
Measure the complete batch process: case preparation, loading, positioning, file changes, resolution, pass count, ink coverage, white and varnish layers, curing, unloading, inspection, handling and model changeover. Published equipment limits do not predict the output of a particular case mix.