

- by John White
What Causes UV Printing Defects on Ceramic Tiles?
- by John White
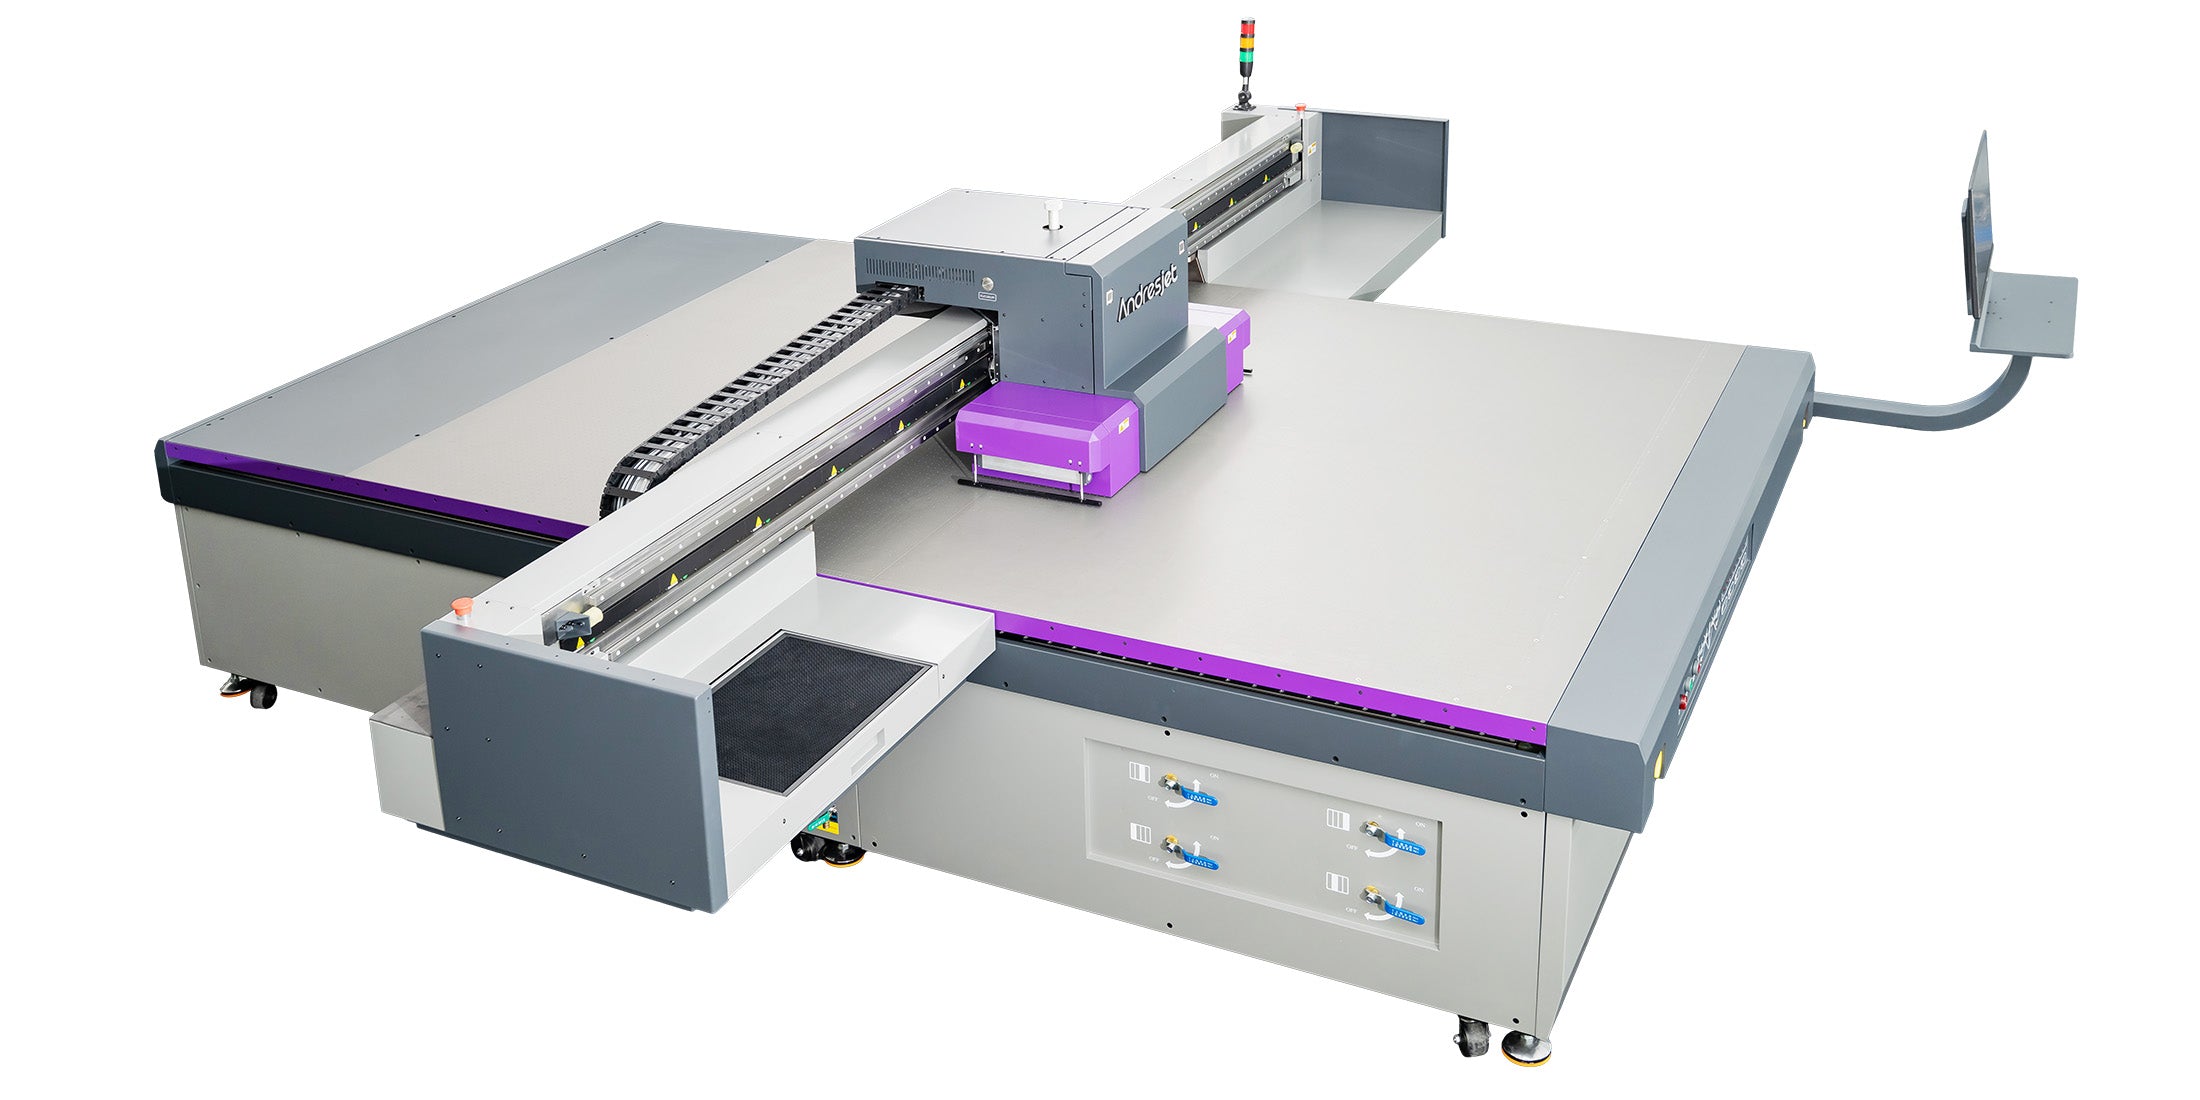
Print bigger, print faster — wide-format UV flatbed printers for signs, decor and industrial work.

UV printing defects on ceramic tiles usually come from surface contamination, glaze variation, incorrect artwork or ink layers, unstable loading, unsuitable curing or rough handling. The fastest correction is not to change every setting: classify the defect, preserve a control sample, check upstream conditions and test one variable at a time.
Separate adhesion loss, banding, color shift, pinholes, pooling, white-edge halos, scratches and positional errors. Record where the defect appears and whether it repeats in the same machine or tile location.
A defect map can distinguish a file-wide issue from a local surface contaminant or loading problem.
Check tile glaze or coating, protective-film residue, oils, cleaning method, primer decision, ink deposit and cure. Compare with an approved control from the same lot.
Do not increase cure or primer automatically. Excess energy or an incompatible chemical can create a different failure. Follow supplier safety information and validate the change.
Confirm nozzle condition using the approved maintenance procedure, then check print mode, file, profile, substrate consistency and environmental conditions. Color change across tile lots may be a substrate-background issue rather than printer drift.
Use the approved reference sample and stable viewing condition. Change one cause at a time and retain the test output.
Pinholes can follow contamination, surface energy variation or trapped debris. Pooling may indicate an unsuitable deposit or surface interaction. Scratches may occur after printing during unloading, stacking or packing.
Trace the defect through the workflow instead of limiting investigation to the print pass.
| Defect | First checks | Controlled action |
|---|---|---|
| Adhesion loss | Surface, cleaning, cure | Compare control and one preparation change |
| Banding | Nozzle check, mode, file | Restore approved condition |
| Color shift | Profile, lot, viewing | Compare reference |
| Pinholes/pooling | Contamination, deposit | Clean control and recipe review |
| Scratches | Handling and packing | Protect and retest |
Stop and label affected output; preserve the last accepted sample; verify file and material; inspect loading and preparation; run the approved nozzle/maintenance check; compare the print recipe; change one variable; document the result; release only after acceptance.
Review the ceramic tile UV printer collection and AJ2130 product page when the investigation shows a configuration or application-fit question rather than an isolated process deviation.
Troubleshooting becomes faster when the team protects evidence. The last good sample, material lot, file and recipe often reveal more than several undocumented adjustments.
Classify ceramic-tile defects, test upstream causes first and change one variable at a time. Keep the approval sample and production record so recurring problems can be compared rather than rediscovered.
For the complete decision path, continue with the UV printhead and nozzle care guide.
Not automatically. First compare material, cleaning, coating, ink deposit and the approved cure condition. Changing several variables can hide the cause.
Compare the same file with the last approved sample, check whether the defect repeats in a fixed location, and follow the approved nozzle and maintenance procedure.
Stop when a repeated defect can affect acceptance, identification or downstream finishing. Label affected output and preserve evidence before adjustments.


