

- by John White
What Causes Medal, Coin and Button Print Defects?
- by John White
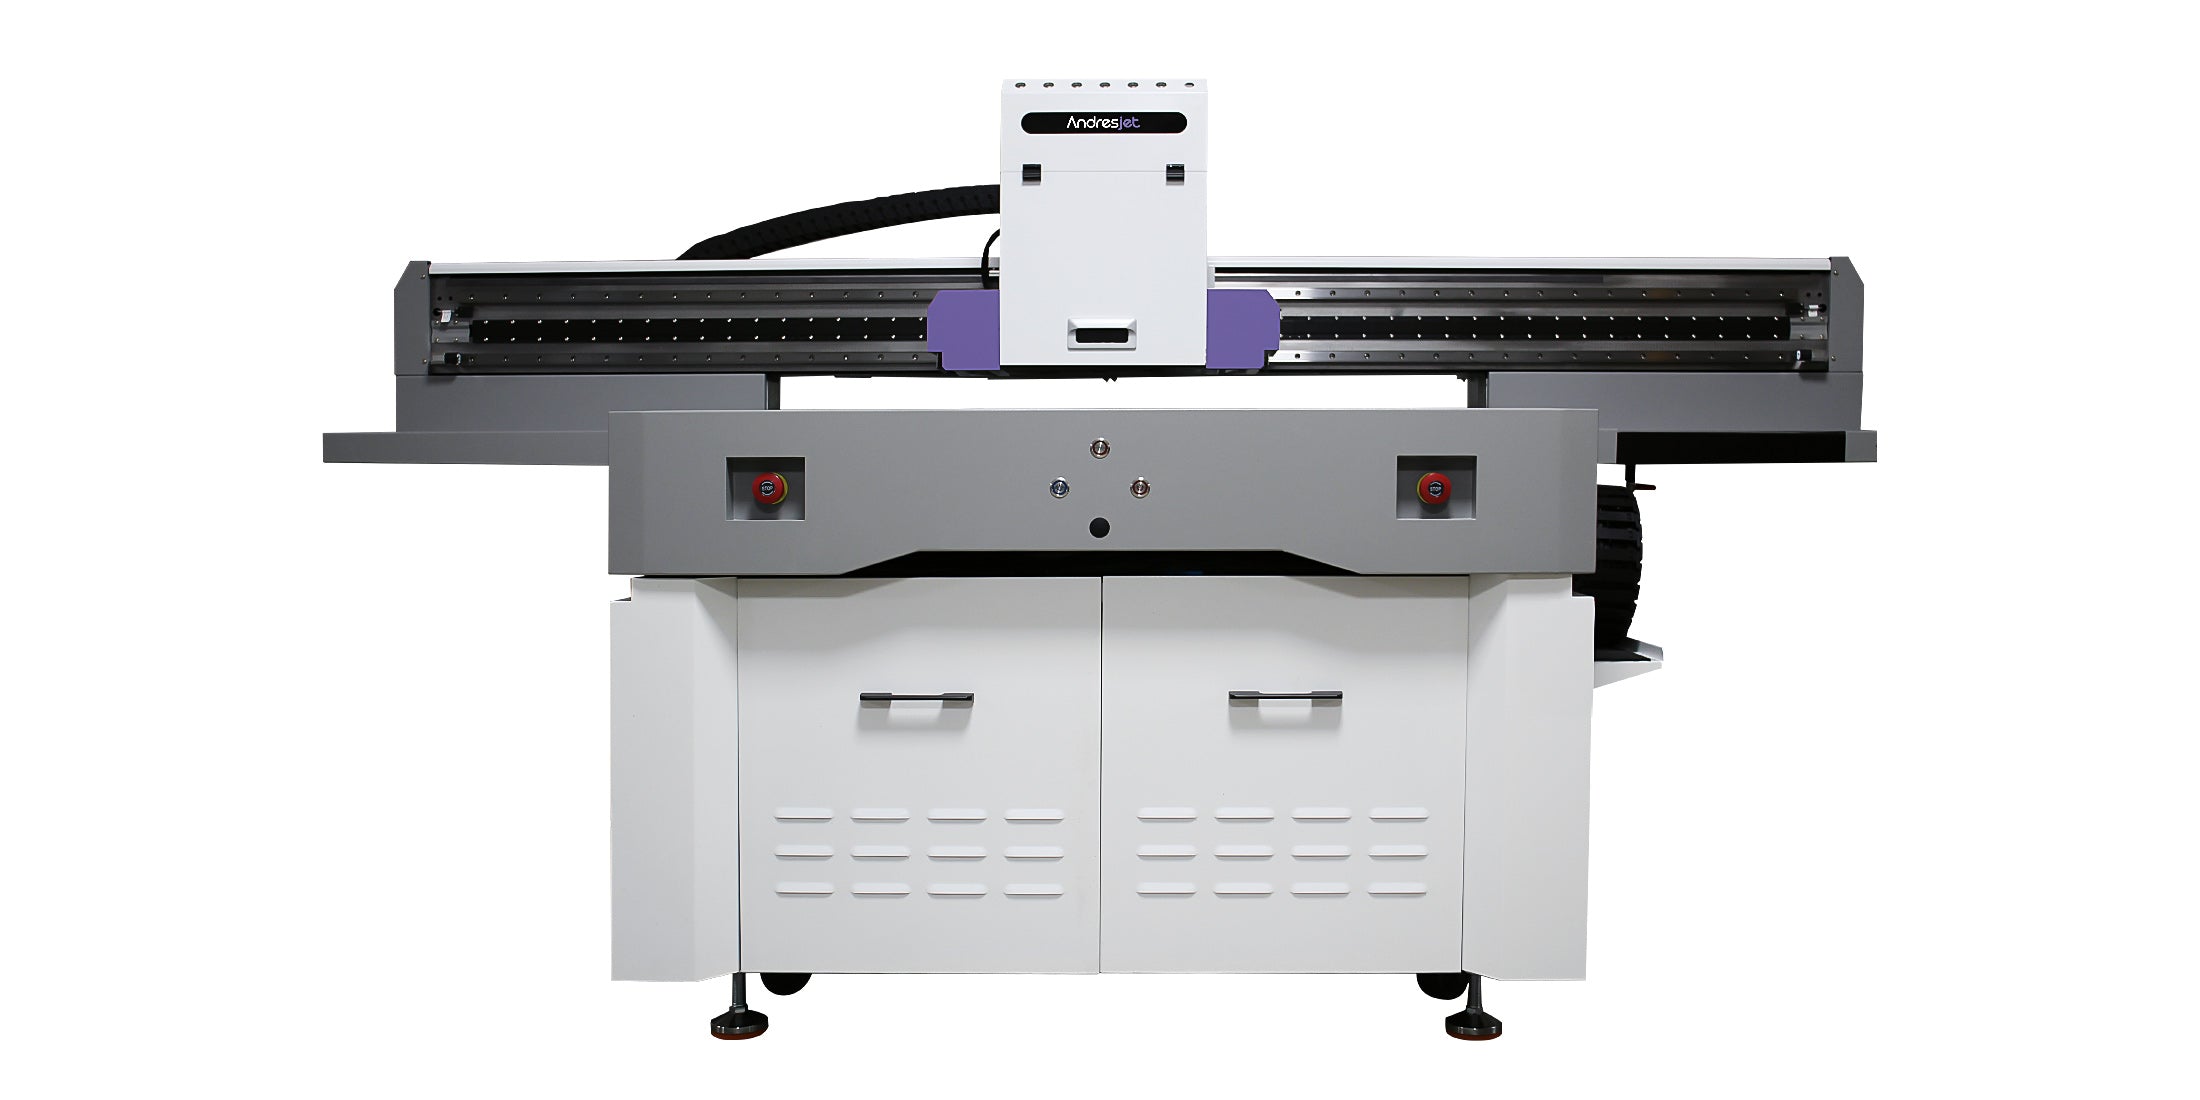
Print bigger, print faster — wide-format UV flatbed printers for signs, decor and industrial work.

Defects in medal, coin and button customization should be classified before settings are changed. Stop and label affected output, compare it with the last accepted sample, verify material and file identity, map where the defect repeats, then test one controlled variable. Adhesion loss, banding, color shift, pinholes, pooling, warping and handling damage have different causes and require different evidence.
Map each defect to the cavity or detected part position, face orientation, edge and production cycle. A halo that follows one fixture pocket points toward seating or artwork origin; random scratches after unloading point toward contact or stacking. This location evidence should be recorded before maintenance or file changes.
The medal, coin and button printer collection frames the relevant small-object application category.
For medal, coin and button customization, raised rims, recesses, plating, enamel, protective lacquer and part-thickness variation can create focus, alignment or adhesion differences. Preserve the failed sheet, last good sheet, material label and production file before cleaning the evidence away.
Coated medals and buttons can fail at the ink-to-coating interface or because the decorative coating itself releases from the metal. Compare an unprinted coated blank, a cleaned control and the failed piece. Keep primer, ink build and cure as separate trials so the weak layer can be identified.
A coin that looks acceptable at unloading may still fail during edge rubbing, bagging, fastening or repeated handling. The production test should reproduce those contacts and check raised rims separately from the flat center instead of relying only on a fresh visual inspection.
For small circular parts, first distinguish carriage-direction banding from color variation caused by metallic background, inconsistent white underbase or part height. Compare identical artwork across fixture positions, confirm the approved maintenance check and inspect whether the same error follows the part or the bed location.
Inspect medals under consistent lighting and orientation because metallic reflection can exaggerate density differences. If color shift follows a coating lot or embossed zone, correct the material or ink-build control before changing the profile.
Pinholes and pooling can follow dust, surface-energy variation, rough texture or an unsuitable ink deposit. Fixture pockets must seat every part consistently without scratching the finish; post-print doming, pressing or packing can expose weak adhesion or edge damage. Heat-related distortion or clearance change should be treated as a material-and-process risk, not merely a cosmetic defect.
Run the diagnosis with a labeled fixture map: reseat the suspect parts, repeat the approved file, then test cleaning, white geometry or cure separately. Photograph each cavity result so a correction is not accepted on one favorable sample.
| Defect | First evidence to check | Controlled action |
|---|---|---|
| Peeling or edge lift | Surface, coating, preparation | Compare approved control |
| Banding | File, mode, nozzle check | Restore documented condition |
| Color shift | Material lot, profile, viewing | Compare retained reference |
| Pinholes or pooling | Dust, texture, deposit | One preparation or mode test |
| Warping or scratches | Heat, clearance, handling | Simulate production handling |
Use this order for small metal objects: quarantine the affected tray; retain the golden sample; verify blank lot and coating; map defects to fixture positions; check part seating and height; confirm file origin and white layer; perform approved maintenance; change one factor; then repeat a full loaded tray before release.
Published print-area and positioning information is available on the AJ1206 product page; defect correction still requires the actual coating, fixture and approved file.
Stop the batch when a repeated issue crosses the approved artwork edge, affects readable details, indicates uncertain printhead clearance or appears across multiple fixture pockets. Continuing with mixed good and suspect pieces makes sorting and traceability disproportionately expensive.
Remote troubleshooting cannot separate fixture, coating and file causes without a cavity map, failed parts, blank lot, artwork revision and machine record. AndresJet can help structure the checks, but production should not close the corrective action until a repeated loaded-tray test confirms the result.
For medals, coins and buttons, repeatability depends on part seating, surface finish, edge geometry, file registration and controlled handling as much as on the print mode. Stop the batch, compare the defect against fixture position and part lot, and change one variable at a time. AndresJet can help test an AJ1206 setup, but the approved fixture, reference sample and release criteria remain production controls.
Check fixture pocket wear, datum, part diameter, artwork origin, load orientation and whether parts seat fully.
No. Plating, lacquer, relief and handling differ. Test the actual finished blank and downstream process.
Revalidate position, clearance, first/last pockets, white-color alignment, cycle handling and the golden sample.
 UV Printer Installation, Commissioning and Operator Training: What Buyers Must Plan For
Knowledge
UV Printer Installation, Commissioning and Operator Training: What Buyers Must Plan For
Knowledge
 How a Pre-Order UV Printer Sample Test Works: What to Send and What You Get Back
Knowledge
Order to Delivery: How UV Printer Lead Time Is Actually Built
Knowledge
How a Pre-Order UV Printer Sample Test Works: What to Send and What You Get Back
Knowledge
Order to Delivery: How UV Printer Lead Time Is Actually Built
Knowledge
 What MOQ Applies to a UV Printer Order, and When Customisation Changes It
Knowledge
What MOQ Applies to a UV Printer Order, and When Customisation Changes It
Knowledge