

A small UV printing business may produce phone cases in the morning, acrylic signs in the afternoon and personalized metal tags before the end of the day. This product variety is one of the advantages of digital UV printing, but it can also create frequent setup changes, material mistakes and production delays.
An efficient workflow does not simply place every incoming order into the printer in the order it was received. Products should be grouped according to their material, dimensions, positioning method, ink configuration and delivery priority.
This guide explains how to organize a practical multi-product workflow and what to consider when selecting a compact UV printer for a small business.
Why Multi-Product UV Printing Requires Planning
A compact UV printer may be capable of printing on many different objects, but every product change can introduce additional work.
Changing from clear acrylic to dark phone cases may require a different white ink layer. Changing from regularly shaped tags to irregular blanks may require another positioning method. A new material may also need cleaning, pretreatment and adhesion testing before it can enter production.
Without a planned workflow, the business may lose time through:
- Repeated printer setup and artwork changes
- Loading the wrong product or material
- Using an incorrect white ink or varnish layer
- Rebuilding fixtures for small repeat orders
- Mixing approved and untested materials
- Printing the correct artwork on the wrong blank
- Discovering missing products during packaging
The goal is to keep product variety while controlling unnecessary variation inside the production process.
Define the Product Range Before Building the Workflow
A small business does not need to accept every product that could theoretically fit on the printer. Begin with a controlled product list.
For each product, record:
- Product name and internal product code
- Supplier and blank specification
- Material and surface coating
- Length, width, height and weight
- Maximum printable area
- Available colors and finishes
- Required cleaning or pretreatment
- Positioning method
- Approved ink-layer configuration
- Normal order quantity
- Packaging requirements
This creates a distinction between standard products, which already have an approved process, and new products that still require testing.
Separate Standard Jobs from New Applications
Repeat orders should not be interrupted unnecessarily by experimental work. Divide incoming jobs into two main categories.
Standard Production Jobs
These use an approved blank, artwork process and printing setup. The business already knows how to clean, position, print and inspect the product.
New Application Jobs
These contain a new material, supplier, coating, product shape or finishing requirement. They should pass through a testing and sample-approval process before being scheduled as normal production.
A product that looks similar to an existing item should not automatically be treated as approved. A change in coating or supplier can affect adhesion even when the dimensions remain the same.
Create a Simple Job Ticket for Every Order
Each order should travel through production with a job ticket or digital production record. It should contain enough information for an operator to identify the product and process without relying on memory.
A useful job ticket includes:
- Order reference
- Product code and quantity
- Customer-approved artwork version
- Material and blank color
- Print dimensions and orientation
- White ink and varnish requirements
- Fixture or positioning instructions
- Cleaning and pretreatment instructions
- Required completion date
- Quality-control checkpoints
- Packaging and labeling instructions
Use neutral internal codes and avoid putting unnecessary customer information into production file names. The naming method should make each file traceable without appearing to represent an AndresJet-required format.
Group Jobs by Compatible Setup
Printing orders strictly according to arrival time can lead to repeated setup changes. When delivery dates allow, group compatible products into production batches.
| Grouping factor | Why it matters |
|---|---|
| Material and coating | Products may share cleaning, pretreatment and adhesion requirements. |
| Product height | Similar heights can reduce repeated print-height adjustments. |
| Fixture | Orders using the same fixture can be completed before changing the bed setup. |
| Ink configuration | Jobs using similar color, white and varnish layers may follow a more consistent process. |
| Artwork type | Identical designs and variable designs require different verification procedures. |
| Delivery priority | Urgent jobs may need to move ahead of an otherwise efficient production group. |
Jobs should only be combined when doing so does not compromise their approved printing conditions.
Do Not Mix Products with Different Heights in One Run
Products placed on the flatbed during the same run should provide a safe and consistent relationship with the printheads. Significant height differences can make one print setting unsuitable for the whole group.
Before combining items, confirm:
- The printable surfaces are at a compatible height.
- No raised edge exceeds the safe clearance.
- Every product can be held securely.
- The selected print height is appropriate for the entire group.
- Loading one product will not move another product.
Printing different products together merely to fill empty bed space is not always efficient. The time saved during printing may be lost through complicated artwork positioning and additional inspection.
Choose Between Fixtures and Camera-Assisted Positioning
Fixtures and visual positioning can support different types of work.
Use Fixtures When:
- The same product is produced repeatedly.
- The product shape and dimensions are consistent.
- Multiple blanks must be loaded in fixed positions.
- The artwork must align with holes or edges.
- Fast, repeatable loading is more important than layout flexibility.
Consider Camera-Assisted Positioning When:
- Orders contain irregularly arranged small objects.
- The product mix changes frequently.
- Producing a dedicated fixture for every short order is inefficient.
- The system can reliably recognize the required product outlines.
Camera-assisted positioning does not remove the need to secure the products or verify artwork alignment. The business should test the actual object and workflow before deciding that a fixture is unnecessary.
Build a Reusable Fixture Library
Fixtures should be treated as production assets rather than temporary pieces that disappear after an order.
Give each reusable fixture an identification code and record:
- The product models it supports
- The number of products it holds
- Its orientation on the printing bed
- The corresponding artwork template
- The approved print origin
- Any loading precautions
- The storage location
Store fixtures where they will not warp or collect contamination. When a repeat order returns, inspect the fixture before relying on the previous setup.

Control Artwork Before It Reaches the Printer
The printer should not become the place where incomplete artwork decisions are resolved. Create a preflight process before a job enters production.
Check:
- Final print dimensions
- Artwork orientation
- Resolution and image quality
- Distance from edges, holes and raised features
- Correct white ink layer
- Correct varnish layer
- Variable names, numbers or graphics
- Customer-approved artwork version
- Connection between the print file and fixture layout
Once an artwork version is approved, protect it from accidental replacement. Corrections should create a new controlled version rather than silently overwriting the approved file.
Separate Material Preparation from Printing
Cleaning and preparing products while the printer is waiting can reduce usable production time. When possible, create a preparation station before the printing area.
The preparation workflow may include:
- Confirm the incoming product against the job ticket.
- Inspect for scratches, coating defects and protective films.
- Clean using the approved method.
- Apply approved pretreatment if required.
- Allow the product to become ready for printing.
- Place it in a clean, identified production tray.
Prepared and unprepared products should not be stored together. Operators should also avoid touching cleaned printable surfaces unnecessarily.
Use Clearly Defined Work Zones
Even a small workshop benefits from separating different stages of work. A practical layout may include:
- Incoming blank inspection
- Cleaning and material preparation
- Artwork and job-ticket preparation
- Printer loading and operation
- Printed-product inspection
- Approved-product holding
- Packaging and dispatch
- Rejected or reprint items
The physical size of each zone can be modest, but the status of every product should remain clear. Unprinted blanks should not become mixed with approved finished products.
Plan White Ink and Varnish as Separate Production Variables
White ink and varnish can expand the range of products a small business offers, but they also affect artwork preparation, printing time and inspection.
White ink may be needed for:
- Dark products
- Transparent acrylic
- Clear phone cases
- Colored materials that influence CMYK appearance
Varnish may be used for selected gloss or visual effects when supported by the chosen configuration and approved for the product.
Do not assume that every order requires the same white coverage. Store the approved ink-layer method with each standard product and artwork template.
Approve the First Item Before Releasing the Batch
After setting up a job, print and inspect a representative first item before completing the entire quantity.
The first-item check should confirm:
- Correct product and artwork
- Position and orientation
- Color appearance
- White ink opacity
- Varnish position, if used
- Image quality and small text
- Visible surface defects
- Initial adhesion result
If the first item fails, stop and correct the setup. Continuing production in the hope that later pieces will improve can turn a setup problem into an entire rejected batch.
Track Reprints Without Losing Order Control
A reprint should remain connected to the original job and product. Record why it was required, such as:
- Incorrect blank
- Artwork mismatch
- Positioning error
- Surface contamination
- Material defect
- Print-quality issue
- Damage during handling or packaging
This information helps identify repeated workflow problems. It also prevents the replacement item from being forgotten during final order reconciliation.
Measure Real Capacity Instead of Published Speed Alone
The maximum printing speed does not represent the complete output of a multi-product business. Real capacity also includes:
- Preparing files
- Testing new materials
- Changing fixtures
- Cleaning products
- Loading and unloading
- Approving the first item
- Inspecting variable designs
- Producing replacements
- Packaging completed orders
- Performing routine maintenance
Track the total time required for each product category. This provides better scheduling information than comparing printer specifications without the surrounding workflow.
How the AJ1206 Fits a Multi-Product Workflow
The AndresJet AJ1206 small UV flatbed printer has a maximum printing area of 1200 × 600 mm and supports media from 0 to 35 mm thick, subject to its loading limits.
Its available ink configurations include CMYK, white and varnish, with optional light-color channels. An optional wide-beam CCD scanning camera is available for workflows that benefit from visual positioning.
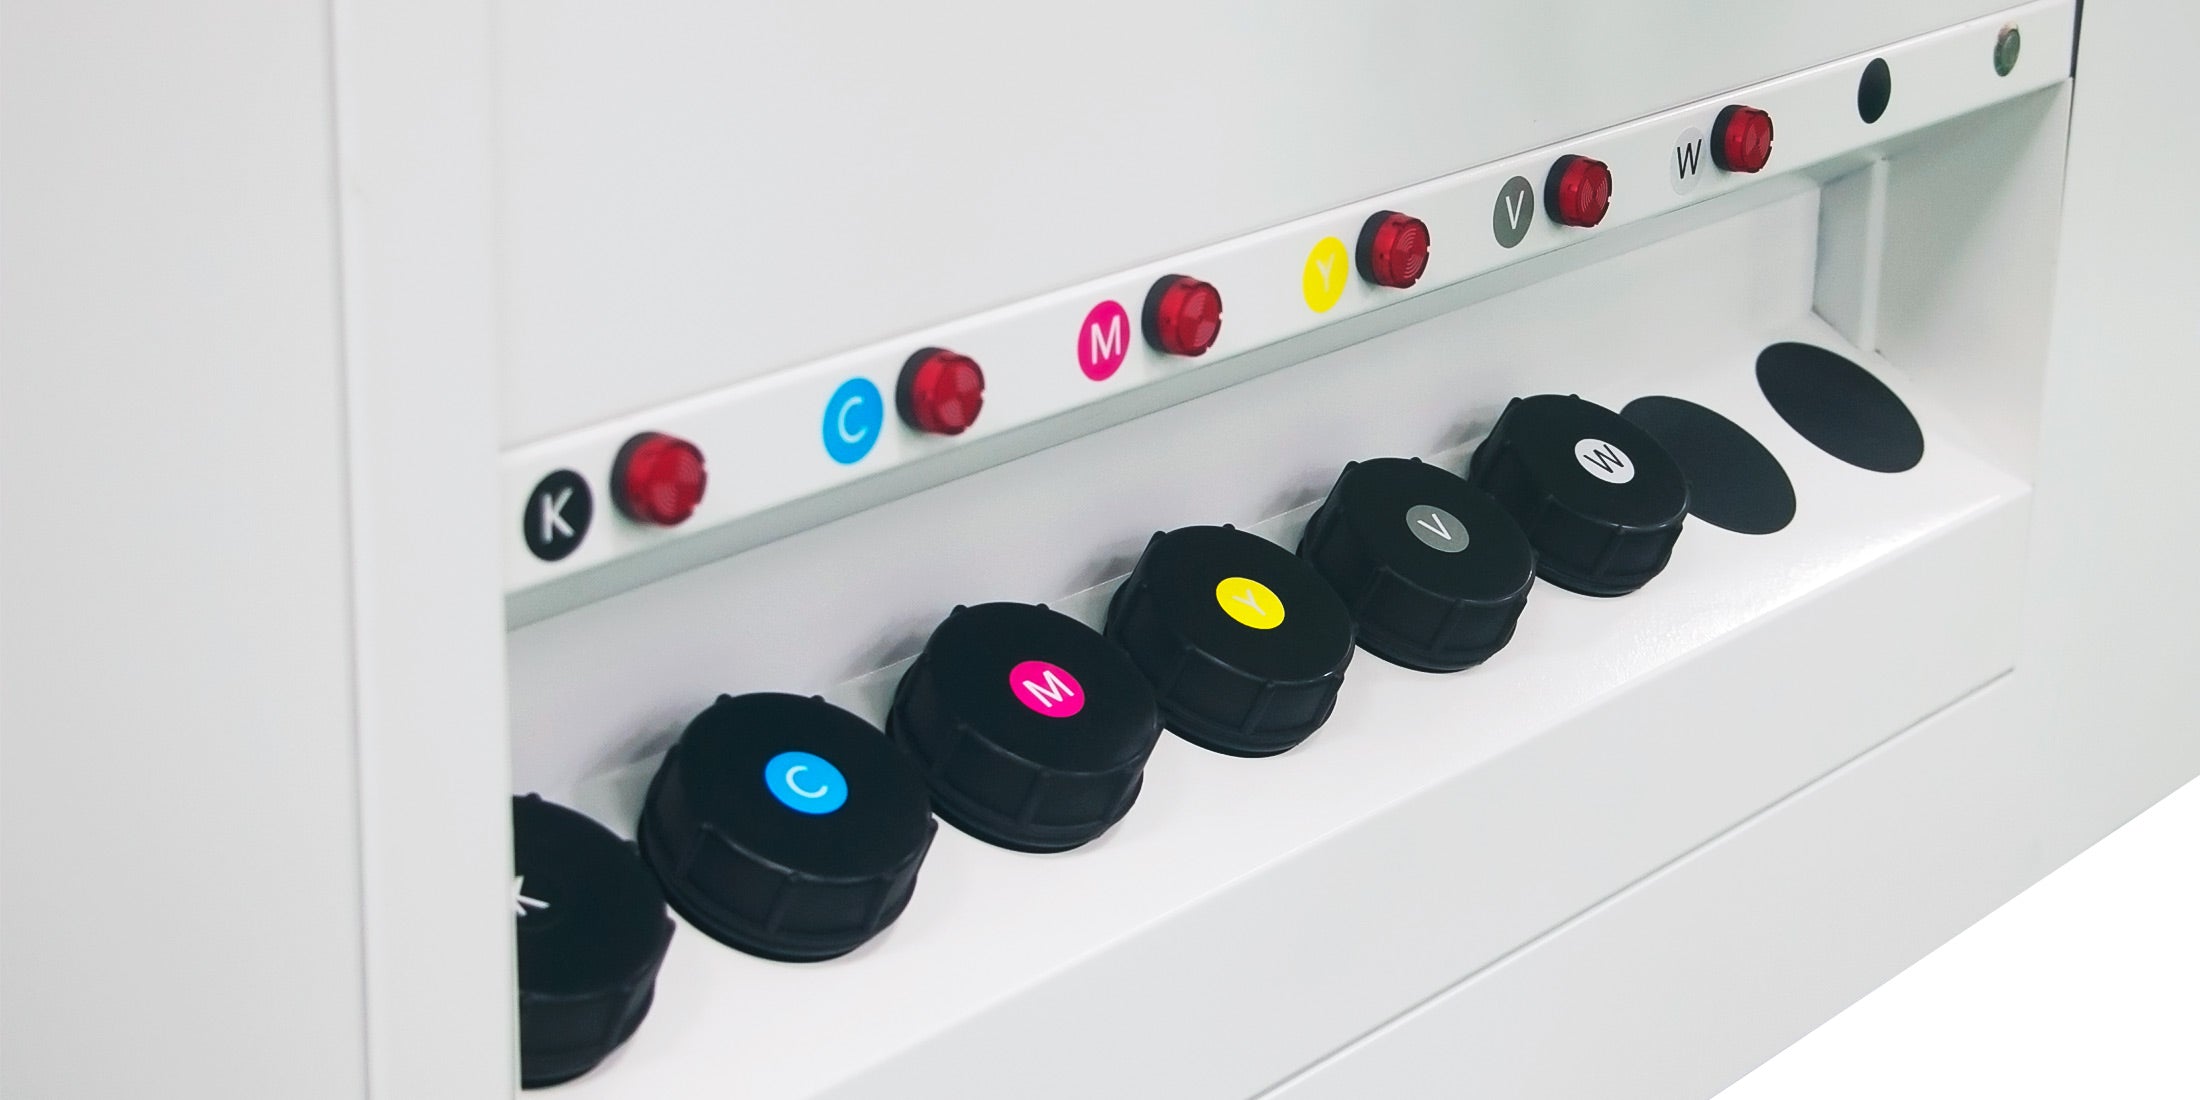
These capabilities can support a varied product catalog, but the business must still confirm that each object fits the printable area, height and weight limits and that its surface has passed application testing.
A Daily Multi-Product Workflow Checklist
Before beginning production, confirm:
- Urgent orders and delivery priorities are identified.
- New materials are separated from approved production jobs.
- Products are grouped by compatible setup where practical.
- Artwork versions and variable information have been checked.
- Fixtures and positioning templates are available.
- Products have been inspected and prepared.
- White ink and varnish requirements are documented.
- The first item will be approved before the full batch.
- Finished, rejected and replacement products have separate locations.
- Maintenance time is included in the production schedule.
Build Variety on a Controlled Production System
A small UV printing business can offer multiple customized products without turning every order into an entirely new process. The key is to standardize the parts of production that should remain consistent while preserving flexibility in artwork and product choice.
Begin with a controlled product catalog, document approved materials, organize reusable fixtures and separate testing from routine production. Group compatible jobs when possible, but never combine products at the expense of safe loading or quality control.
Explore AndresJet’s compact UV printers for small businesses, or submit your product list, dimensions, materials, order quantities and workshop conditions for workflow and equipment evaluation.
See More AndresJet Printing Applications
Follow AndresJet’s official social media channels for UV printing applications, equipment demonstrations and company updates:
Share:
Clear, Colored, Frosted or Mirrored Acrylic: What Changes in UV Printing?
How Wood Moisture and Coatings Affect UV Print Adhesion?