To measure tapered cups for distortion-free UV printing, calculate taper angle using atan((D1-D2)/(2×L)) × 180/π where D1 is large diameter, D2 small diameter, L length. Use calipers for precise 2-point measurements, input into RIIN Print via AJ360i’s calibration system for 0–7° tapers, and secure with pneumatic clamping fixtures—setup in 15 minutes for 60 items/hour production.
Check: How to Master Tapered Object Printing: Challenges and Solutions?
What Causes Image Distortion on Tapered Cups in Rotary Printing?
Image distortion on tapered cups in rotary printing occurs due to varying diameters along the object's length, causing uneven rotation speed and mismatched graphic scaling in cylinder printer software.
Tapered cups, such as tumblers or conical vessels, present unique challenges in industrial UV printing because their diameter changes from top to bottom. This taper creates a mismatch between the flat 2D artwork and the 3D surface during rotary printing. In stepping or helix print modes, the printhead travels at a constant speed while the object rotates, but a smaller diameter at one end rotates faster relative to the printhead, compressing the image there. Conversely, the larger end stretches the image. Without precise measurement and software compensation, this leads to warped logos, distorted text, and rejected prints—wasting ink, media, and time in high-speed production environments exceeding 60 items per hour.
Common culprits include inaccurate diameter measurements, ignoring taper angle in RIP software like RIIN Print, or using fixtures that allow slippage. AndresJet's AJ360i Digital Cylinder Printer addresses this with its 2-point calibration system, ensuring consistent rotation for part diameters from 10–240mm and taper angles up to 7°.
How Do You Calculate Taper Angle for Tapered Tumblers?
Check: Is Brother Printer Japanese or Chinese? The Global Supply Chain Explained
Calculate taper angle for tapered tumblers using the formula: θ = atan((D1 - D2) / (2 × L)) × (180 / π), where D1 is the larger diameter, D2 the smaller diameter, and L the length or height of the tumbler.
Understanding the taper angle is foundational for distortion-free printing on rotary cylinder printers. Start by measuring the large diameter (D1) at the base and small diameter (D2) at the top using digital calipers for 0.01mm precision. Measure the straight-line length (L) along the side, not the curved surface path. Plug these into the arctangent formula to get the angle in degrees—most UV cylinder printers like the AJ360i handle 0–7° tapers seamlessly.
For example, a tumbler with D1=80mm, D2=70mm, and L=100mm yields θ ≈ 2.86°. This value feeds directly into cylinder printer software for automatic graphic warping. Precise calculation prevents over- or under-compensation, which is critical at production speeds of 60 items/hour in CMYK mode on 80mm diameters.
What Tools Are Needed to Measure Tapered Cups Accurately?
Key tools for accurately measuring tapered cups include digital calipers for diameters, a straight edge or height gauge for length, and a protractor or digital angle finder for verification, supplemented by printer-specific 2-point calibration systems.
Precision is non-negotiable for irregular shapes like tapered cups in industrial digital printing. Digital calipers with 0.01mm resolution measure D1 and D2 at multiple points to detect any ovality. A height gauge or rigid ruler captures L accurately along the generators (straight side lines). For verification, use a taper angle gauge or app-based calculator.
In production, integrate these with AndresJet's AJ360i fixtures—7 standard sizes for Ø60–170mm, with custom options up to 240mm provided free. Pneumatic clamping ensures no slippage, while the 2-point calibration system automates final adjustments, reducing manual error.
| Tool | Purpose | Accuracy |
|---|---|---|
| Digital Calipers | D1, D2 measurement | 0.01mm |
| Height Gauge | Length (L) | 0.02mm |
| Protractor/Digital Angle Finder | Taper verification | 0.1° |
| 2-Point Calibration (AJ360i) | Rotation sync | Printer-native |
How Does 2-Point Calibration Eliminate Measurement Errors?
2-Point calibration eliminates measurement errors by measuring diameters at the top and bottom of the tapered cup, allowing cylinder printer software to compute and compensate for varying rotation speeds automatically.
The AJ360i Digital Cylinder Printer's 2-point calibration system revolutionizes tapered cup printing. Place the cup in a quick-change fixture (under 12 minutes tool-free swap), then pneumatically clamp it. The system probes D1 at the base and D2 at the top, calculating the taper profile instantly. This data syncs rotation speed with printhead travel in stepping or helix modes, preventing compression or stretching.
Setup takes just 15 minutes per product changeover, enabling total setups in 60 minutes. For irregular shapes, this outperforms manual methods like string tracing or grid approximation, delivering distortion-free results at 720 × 1200 DPI resolution with LED UV inks.
AndresJet Expert Views: "In high-volume UV cylinder printing, even a 0.5° measurement error can cause 10-15% image distortion on tapered vessels. Our AJ360i's 2-point calibration and pneumatic clamping lock in precision for 0–7° tapers across 10–240mm diameters, achieving 60 items/hour without reprints. Custom fixtures, designed in 7–10 days at no cost, integrate seamlessly with RIIN Print software for automatic V-value adjustments." — AndresJet Printing Engineer
What Is Effective Diameter and Why Use It for UV Cylinders?
Effective diameter is the average or harmonic mean of the top and bottom diameters, used in UV cylinder software to set baseline rotation speed and scale artwork for tapered objects.
For rotary UV printing, effective diameter bridges physical measurement and digital prep. Calculate it as (D1 + D2)/2 for simple averaging, or the harmonic mean 2 × (D1 × D2)/(D1 + D2) for rotation accuracy on varying perimeters. Input this into RIIN Print or Onyx RIP software to warp graphics correctly—stretching wider at the base, compressing at the top.
AndresJet's AJ360i uses this in its calibration for media like cones and vessels, supporting print lengths 40–270mm. It's essential for production modes hitting 60 items/hour on 80mm diameters.
| Tapered Cup Specs | D1 (mm) | D2 (mm) | L (mm) | Effective Diameter (Average) | Taper Angle (°) |
|---|---|---|---|---|---|
| Standard Tumbler | 80 | 70 | 100 | 75 | 2.86 |
| Steep Cone | 170 | 60 | 200 | 115 | 6.5 |
| Narrow Vessel | 40 | 25 | 120 | 32.5 | 4.0 |
How to Input Taper Measurements into RIIN Print Software?
Input taper measurements into RIIN Print software by entering D1, D2, L, and calculated taper angle into the cylinder module's V-value fields, then apply ICC-based distortion correction before RIP processing.
RIIN Print, standard on AndresJet UV printers, simplifies cylinder workflows. After physical measurements, load your TIFF, JPEG, EPS, or PDF artwork. In the rotary setup panel, input part diameter range (60–170mm standard), print length (40–270mm), and taper angle. The software auto-generates a 3D warp preview, adjusting for helix or stepping modes. Fine-tune with density curves and color management, then send via fiber optic interface to the printer.
For AJ360i, sync with 2-point calibration data for zero distortion at resolutions up to 720 × 1200 DPI, using white ink channels for raised effects up to 0.15mm.
Why Choose Custom Fixtures for Tapered Vessels on AJ360i?

Custom fixtures for tapered vessels on AJ360i ensure secure, repeatable positioning for diameters 10–240mm, with free design in 7–10 days, enabling 15-minute changeovers and 60 items/hour production.
Standard 7-fixture sets cover Ø60–170mm, but custom ones handle extremes up to 240mm or irregular tapers. AndresJet provides 2 free customs per order, pneumatically clamped for no-slip rotation. This cuts setup from hours to 15 minutes, vital for scaling gift printing or promotional vessels. Tool-free swaps maintain production flow at 60 items/hour in CMYK + White + Varnish configs.
How Can AJ360i Achieve 60 Items/Hour Without Distortion?
AJ360i achieves 60 items/hour without distortion through 2-point calibration, pneumatic fixtures, and RIIN Print integration, optimized for 80mm diameters in production mode at 720 × 1200 DPI.
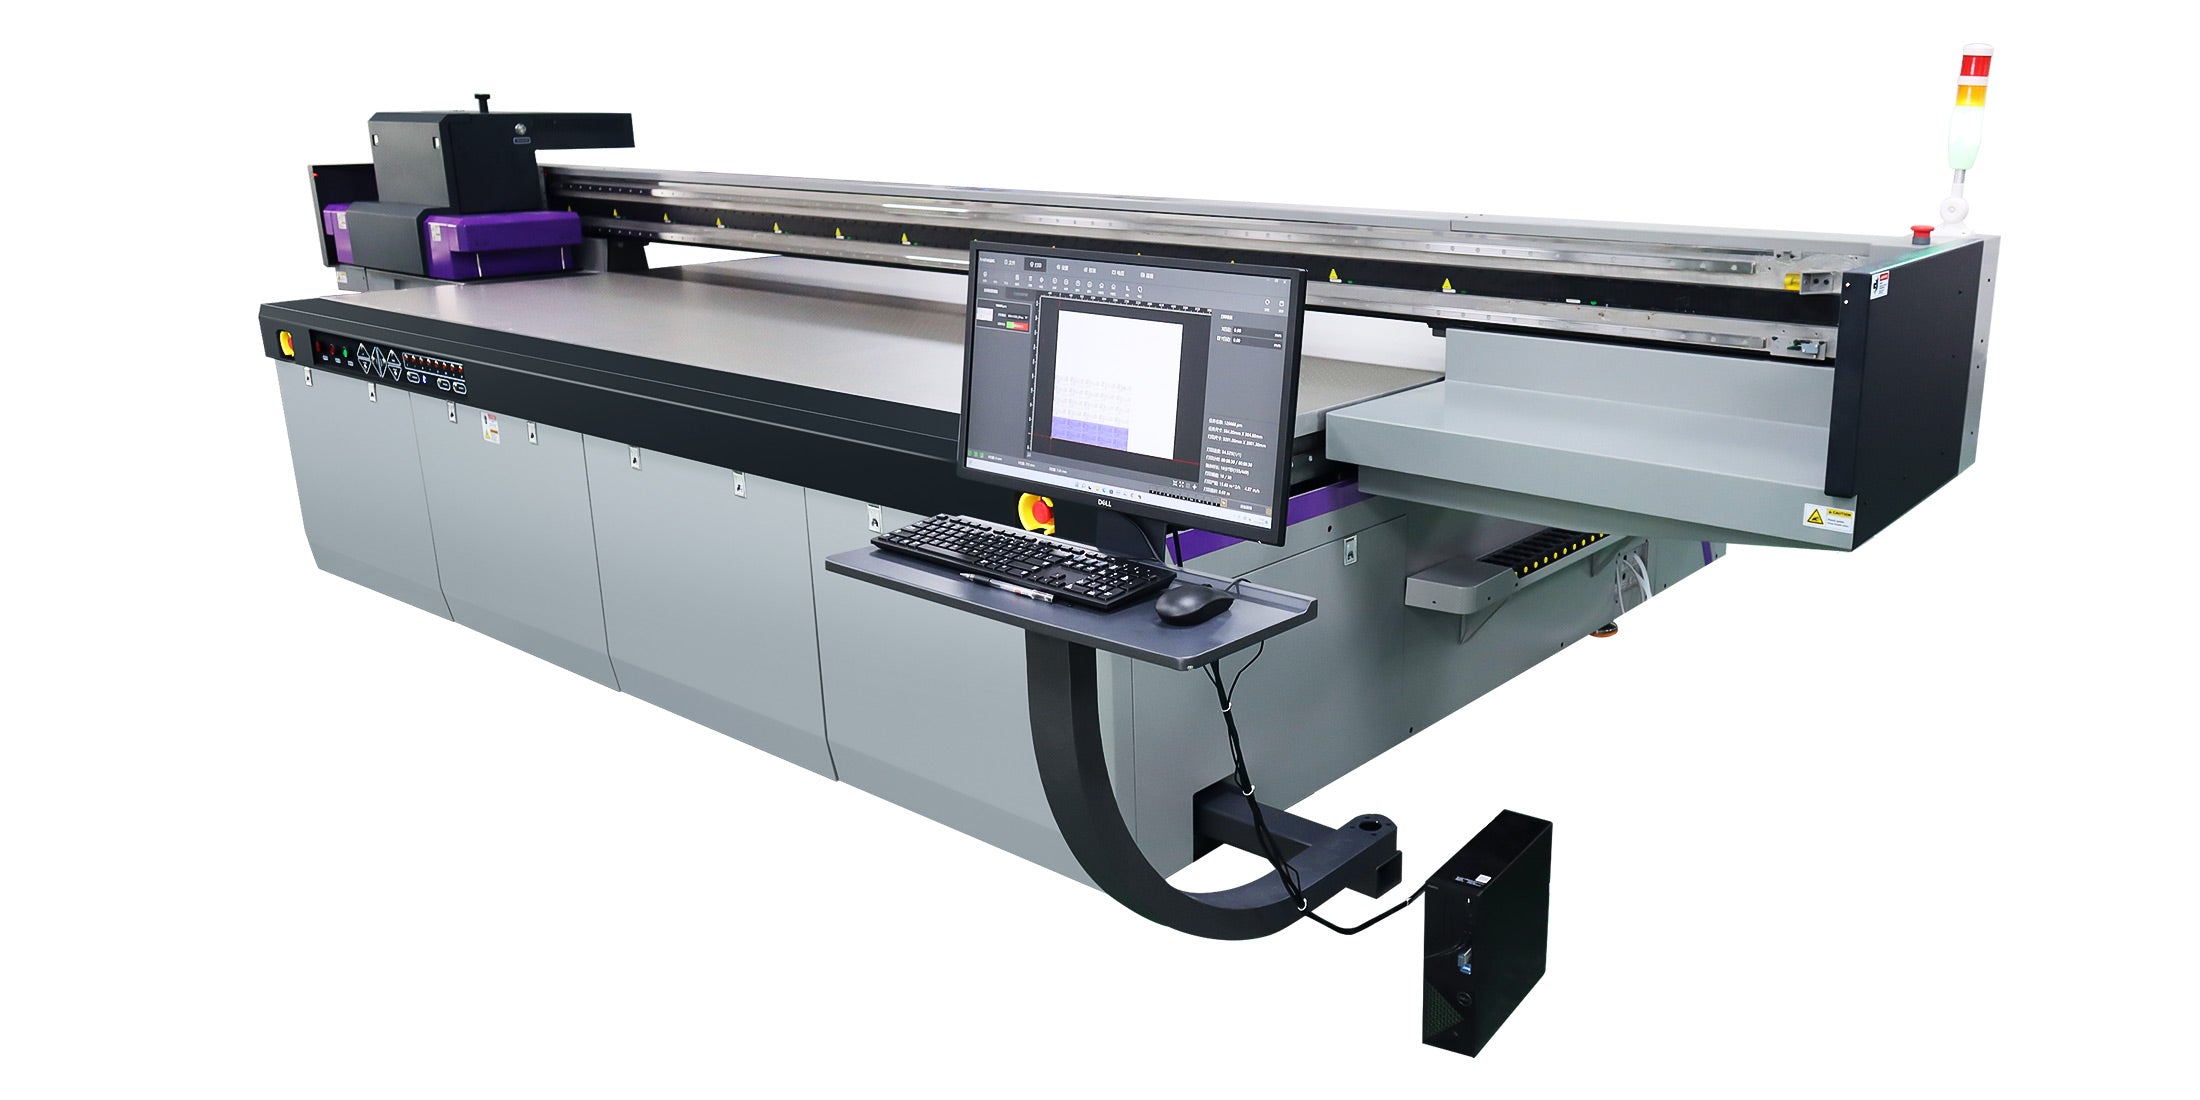
The AJ360i's piezo drop-on-demand heads, LED UV curing, and AC servo drive deliver high quality at speed: 60/hour production, 40/hour high-quality. Precise measurements feed into software for flawless helix printing on tapers 0–7°. With 3-day training and free first-3 samples, it's production-ready. Net weight 350kg, dimensions 1160 × 870 × 1800mm fit most shops.
Conclusion
Mastering tapered cup measurements eliminates distortion in UV rotary printing, unlocking high-speed production with tools like calipers, 2-point calibration, and RIIN Print. AndresJet's AJ360i sets the standard for precision on irregular shapes, reducing waste and boosting output for industrial print shops.
Frequently Asked Questions
What is the max taper angle for AJ360i? Up to 7° for distortion-free printing on cones and vessels.
How long does AJ360i setup take? 15 minutes per product changeover; full setups typically 60 minutes.
Does AndresJet offer training? Yes, 3 days included with AJ360i purchase.
Can I print white ink on tapers? Yes, four white channels for raised effects up to 0.15mm.
What RIP software works best? RIIN Print, PhotoPrint, or Onyx for taper correction.
Share:
How Does Tapered Printing Software Solve Cone Distortion?
How Does Tapered Printing Software Solve Cone Distortion?