

How to Prepare Design Files for UV Flatbed Printing
- by John White
Print bigger, print faster — wide-format UV flatbed printers for signs, decor and industrial work.

Prepare a UV flatbed file at final size, preserve vectors where useful, supply adequate raster resolution for the viewing distance, define white and varnish intent, and include a clear origin and printable boundary. The RIP and printer determine the final spot-color names, layer order, choke and trapping rules, so confirm them before production.
(Last modified date: September 11, 2026)
| Content | Preferred approach | Check before export |
|---|---|---|
| Logos and line art | PDF or native vector format accepted by the provider | Fonts, overprints, strokes, transparency and spot colors |
| Photographs | High-quality TIFF, PSD or embedded raster in PDF | Final-size resolution, profile and compression |
| Cutout objects | True transparency or clipping path | No hidden white rectangle or fringe |
| Variable data | Template plus tested data source | Field length, missing values, unique IDs and proof set |
The receiving RIP—not a generic rule—determines which PDF standard and live effects are safe.
Place raster images at the finished dimensions before judging effective resolution. More pixels do not recover blur, compression damage, or an out-of-focus source. Small text, barcodes, fine lines and white underbases also need a production proof because mechanical dot placement and substrate texture can limit usable detail.
White may be an underbase, overprint, selective highlight, flood layer, or part of a day/night stack. Use the spot-color name and object attributes required by the RIP. Confirm whether the RIP generates white automatically from transparency or expects a separate vector layer.
Include a small choke or spread only when the tested workflow requires it. An arbitrary trap can create halos or expose the substrate.
Separate gloss, matte, spot varnish, and raised texture from CMYK. Avoid tiny isolated varnish details that the printer cannot register consistently. Define the number of build layers, maximum relief, tactile areas and no-print zones. Varnish appearance depends on the substrate, color beneath it, layer thickness and curing.
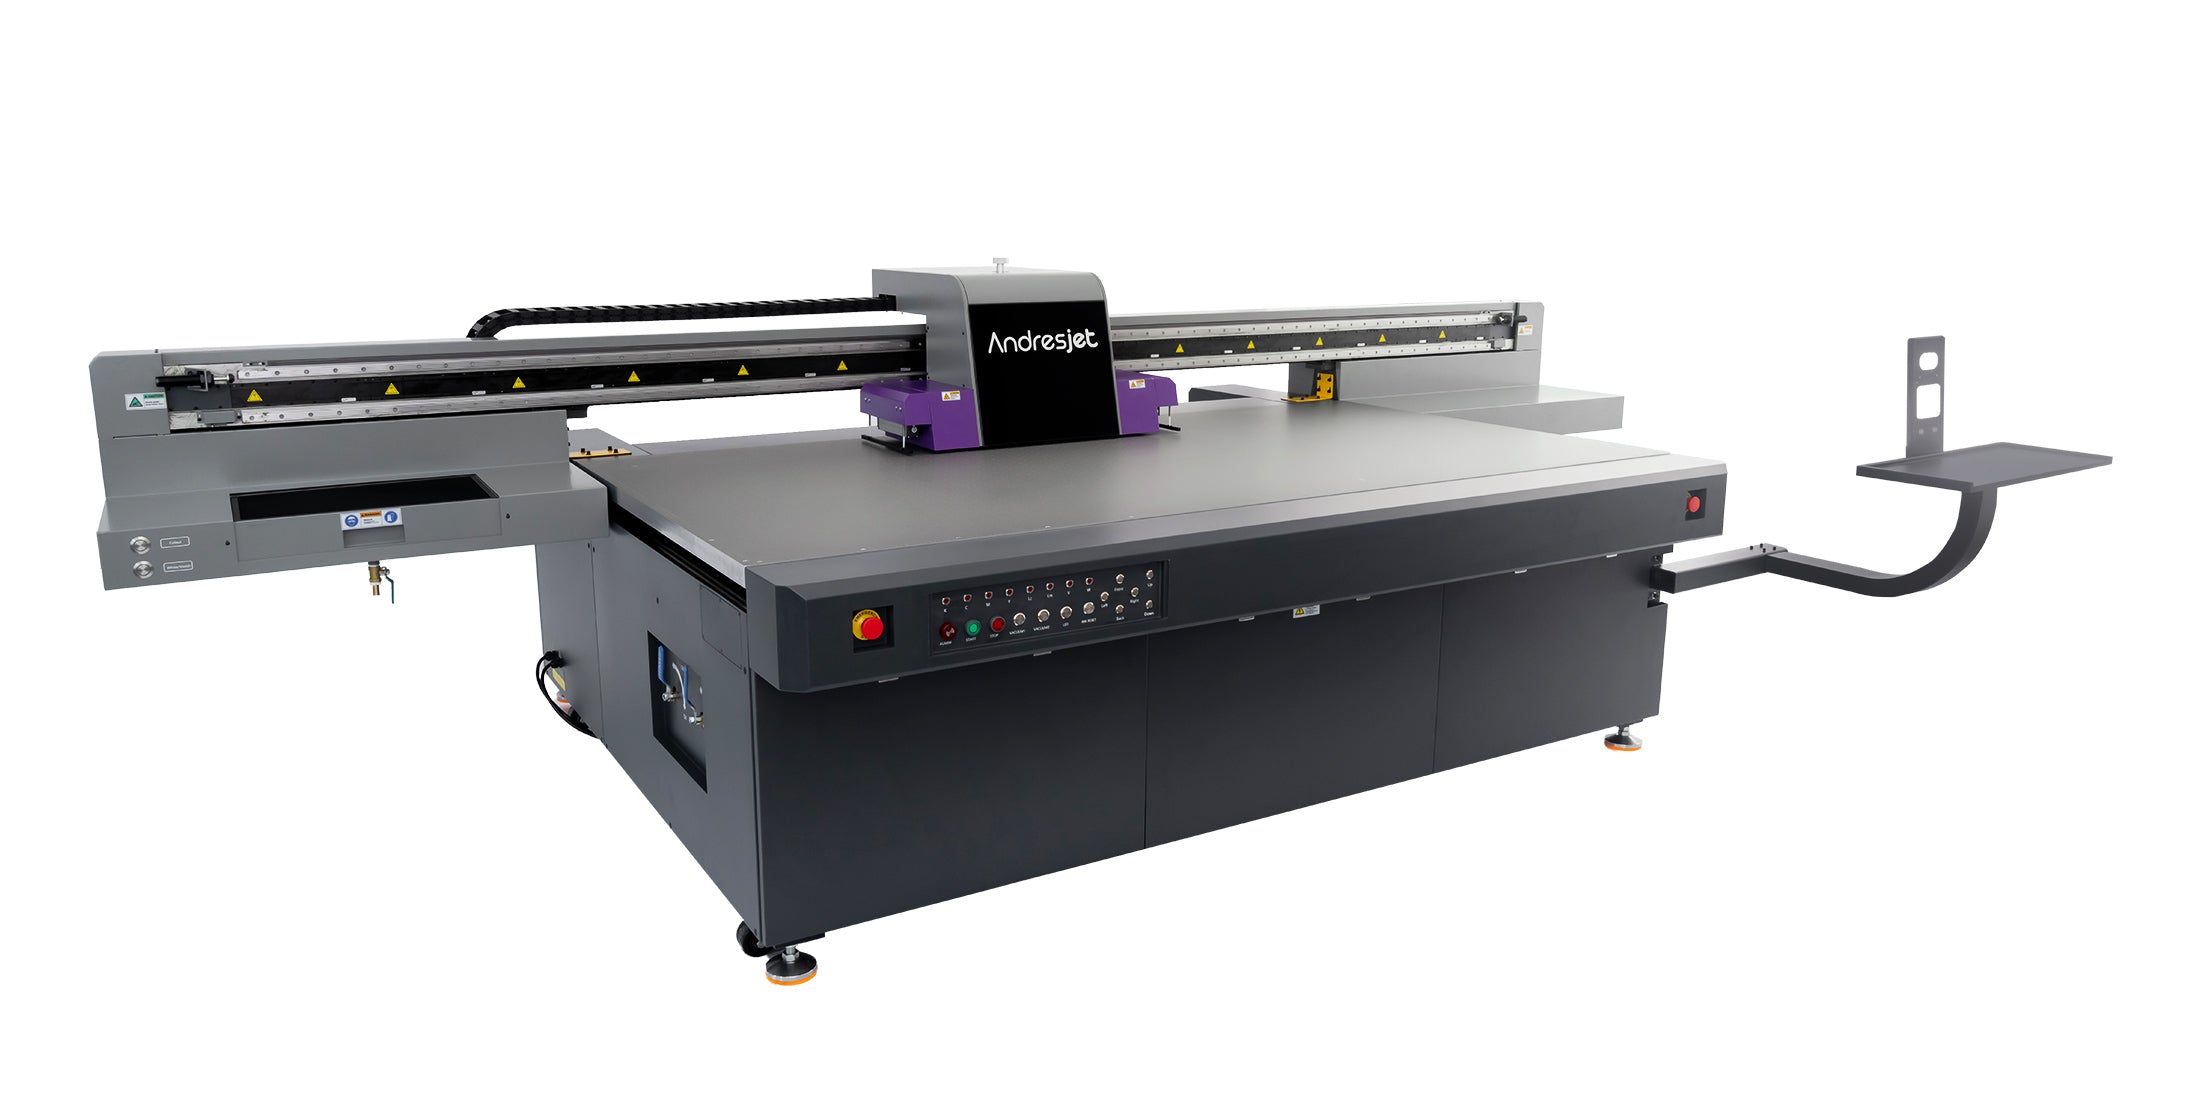
Provide the artwork, substrate, object dimensions, printable area, layer stack, quantity, required output, tolerance and durability test. Send AndresJet a representative file and object specification so the team can assess fixture, ink, RIP and printer configuration rather than quote from artwork alone.
For the complete decision path, continue with the uv signage production guide.
Follow the provider’s color-managed workflow. The correct input space depends on the RIP policy, profile and production condition.
Sometimes. Some RIPs generate white from transparency, while others use a named spot-color object. Confirm the exact workflow.
Not without checking orientation, layer order, white placement and viewing side. Reverse printing often needs a different stack and mirroring decision.


