







Slate plaques and small décor
Produce qualified slate signs, table plaques, coasters and personalized décor when the part dimensions, weight, surface condition and printable area fit a controlled compact workflow.
Review the AJ1206

Slate and stone vary in mineral composition, porosity, cleft, polish, sealers and dust retention. Clean and condition representative production samples using an approved method, then compare direct color, white-underbase options and adhesion on the actual printable face.
Record thickness and weight before loading. Approve the finished sample against its real handling, cleaning, moisture and indoor or outdoor exposure requirements instead of assuming one setting or coating will suit every material sold as stone.
Stone printing production overview
Direct UV printing can support qualified slate plaques, stone signs and decorative panels, but natural variation matters. Surface porosity, cleft, polish, dust, sealers, thickness, weight, ink layers and end-use exposure should be recorded and tested before a printer or production target is approved.
Produce qualified slate signs, table plaques, coasters and personalized décor when the part dimensions, weight, surface condition and printable area fit a controlled compact workflow.
Review the AJ1206Change artwork without making a separate screen for every version, while keeping the substrate batch, cleaning method, white layer and inspection standard traceable.
Compare ceramic tile workflowsPlan individual or nested panel layouts on a 2500 × 1300 mm platform after confirming safe loading, supported weight, flatness, clearance and surface preparation.
Review the AJ2513G/REvaluate a larger platform only when panel dimensions, handling equipment, bed support, operator access and the approved production test justify the workflow.
Review the AJ2130G/RRecord stone type, supplier, finish, porosity, cleft or polish, sealer, color and batch. Test the exact face that will be printed.
Stone dust, cutting residue and cleaning products can change adhesion. Use an approved preparation method and allow the surface to reach a stable condition.
Print area alone does not confirm that a slab can be loaded. Submit dimensions, thickness, individual weight, surface relief and support requirements.
Compare direct color, white-underbase options and any varnish requirement, then test adhesion, cleaning and the intended indoor or outdoor conditions.
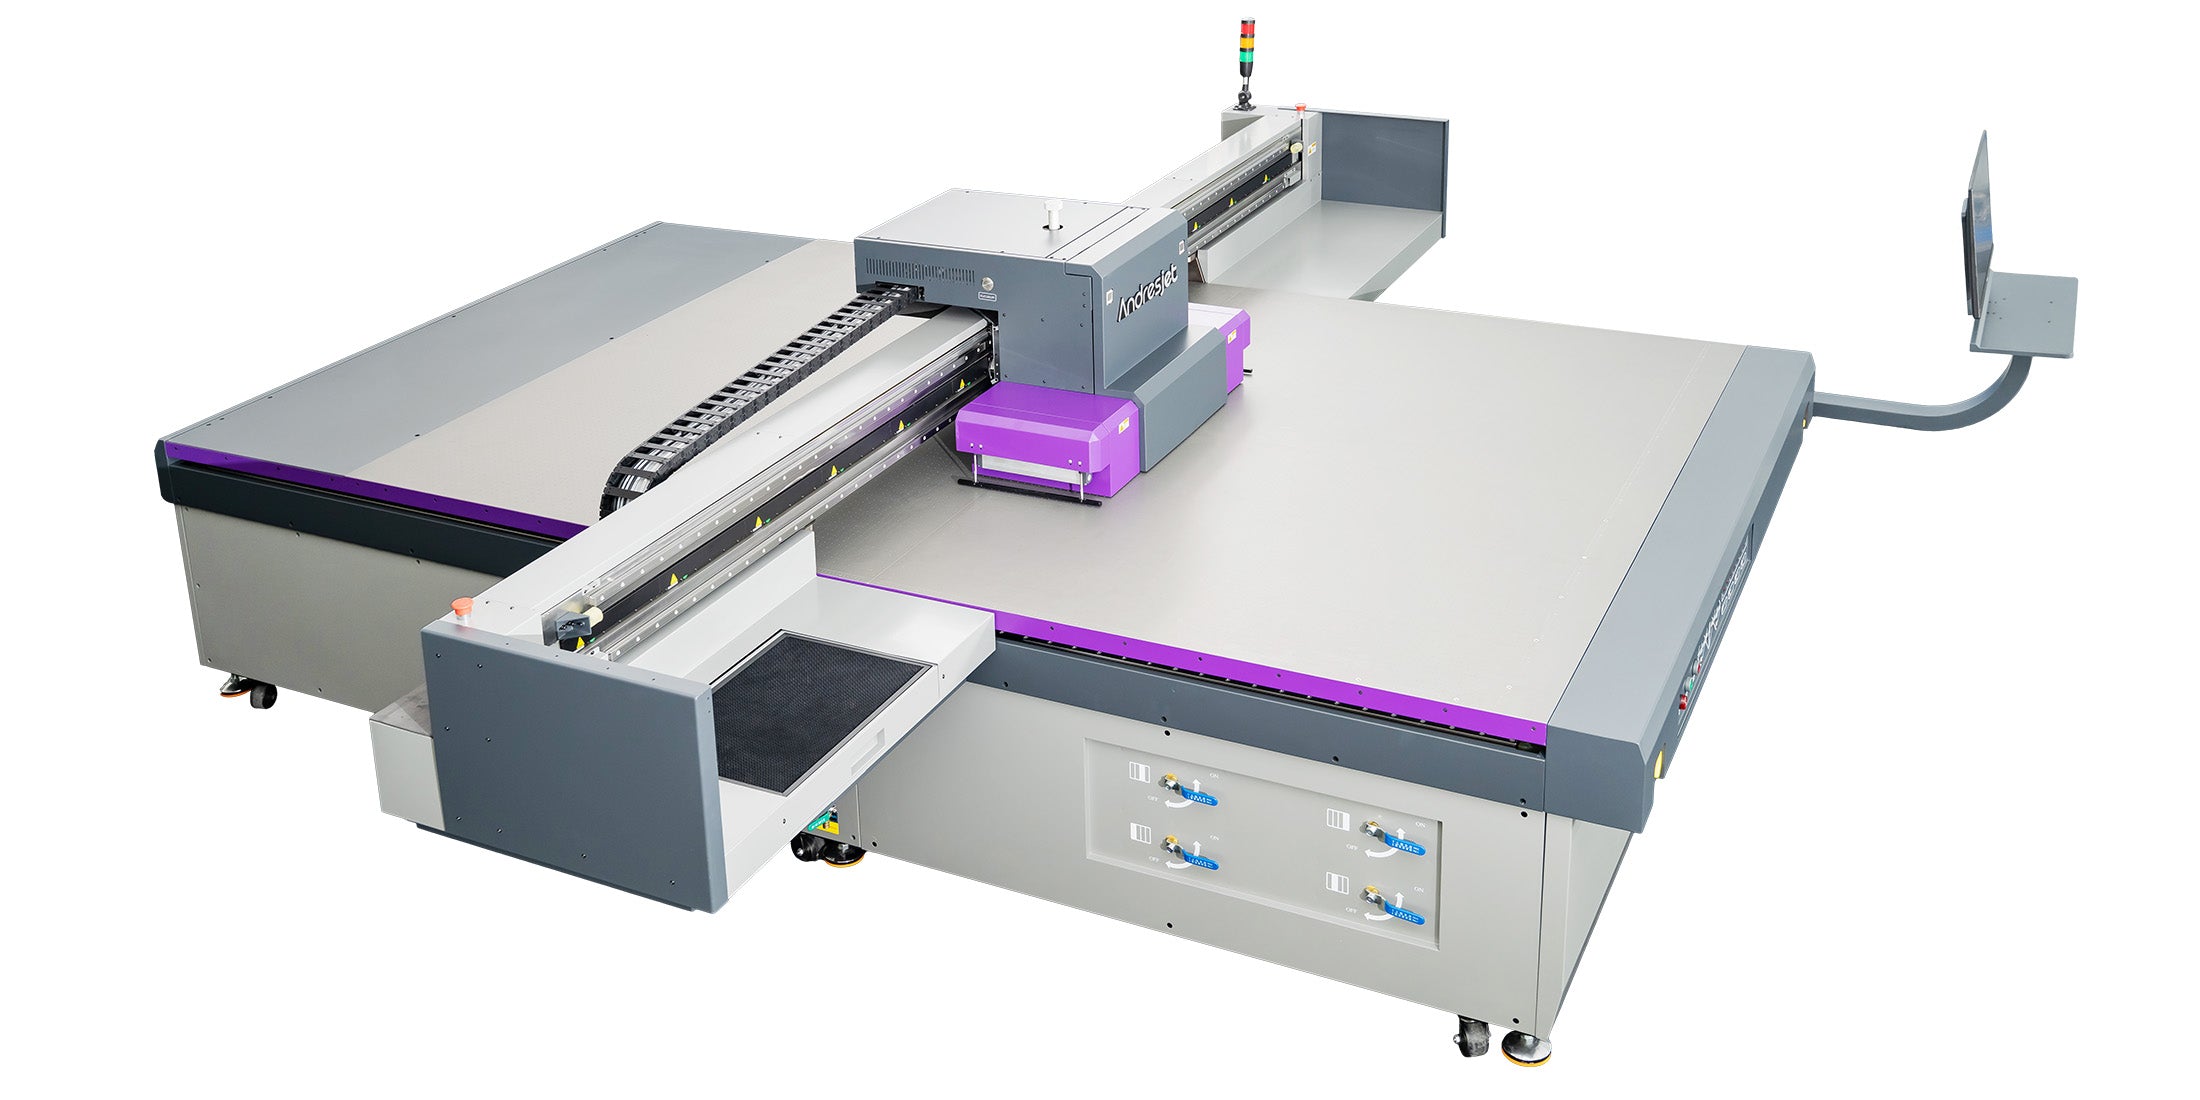
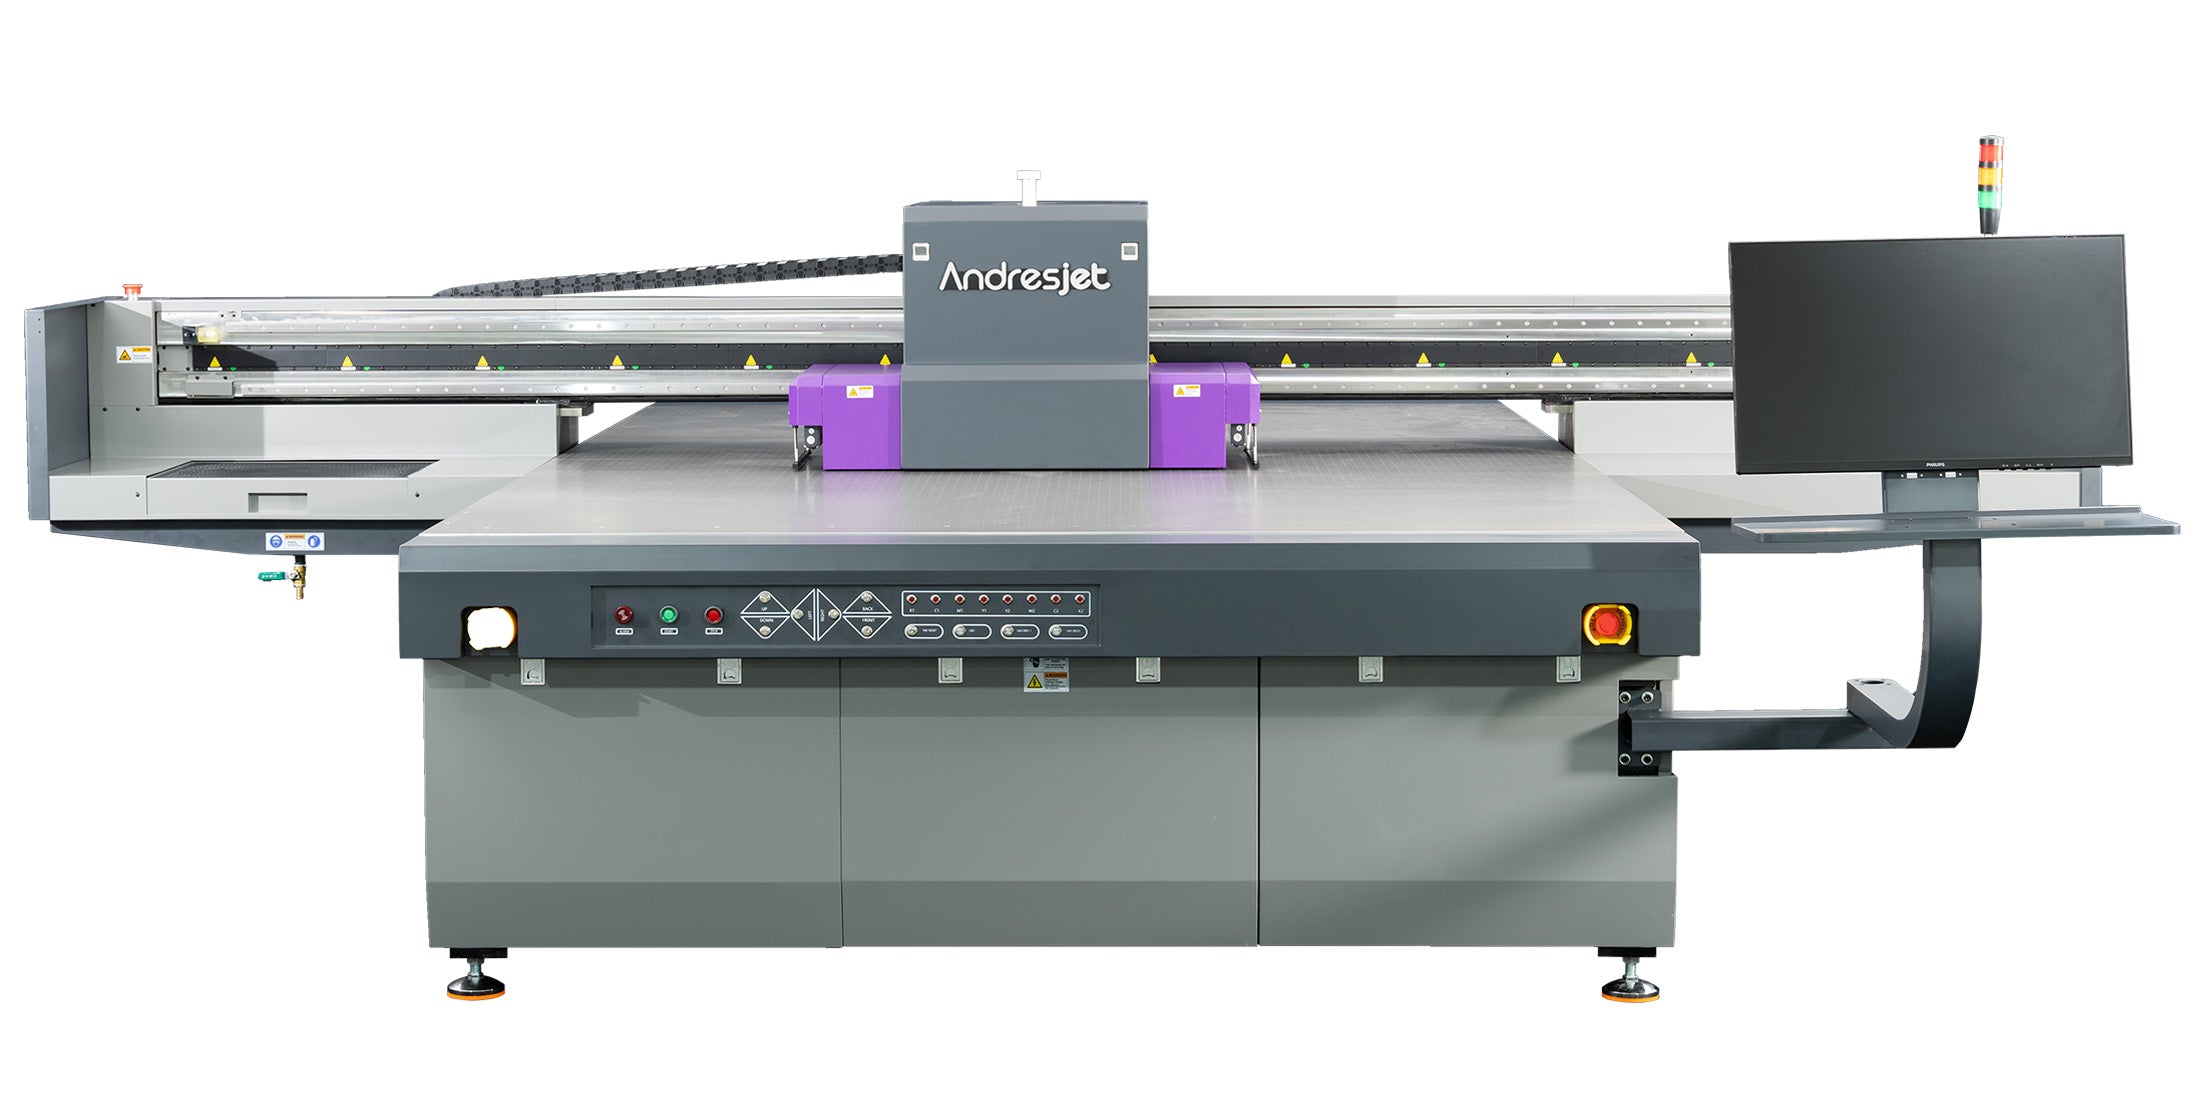
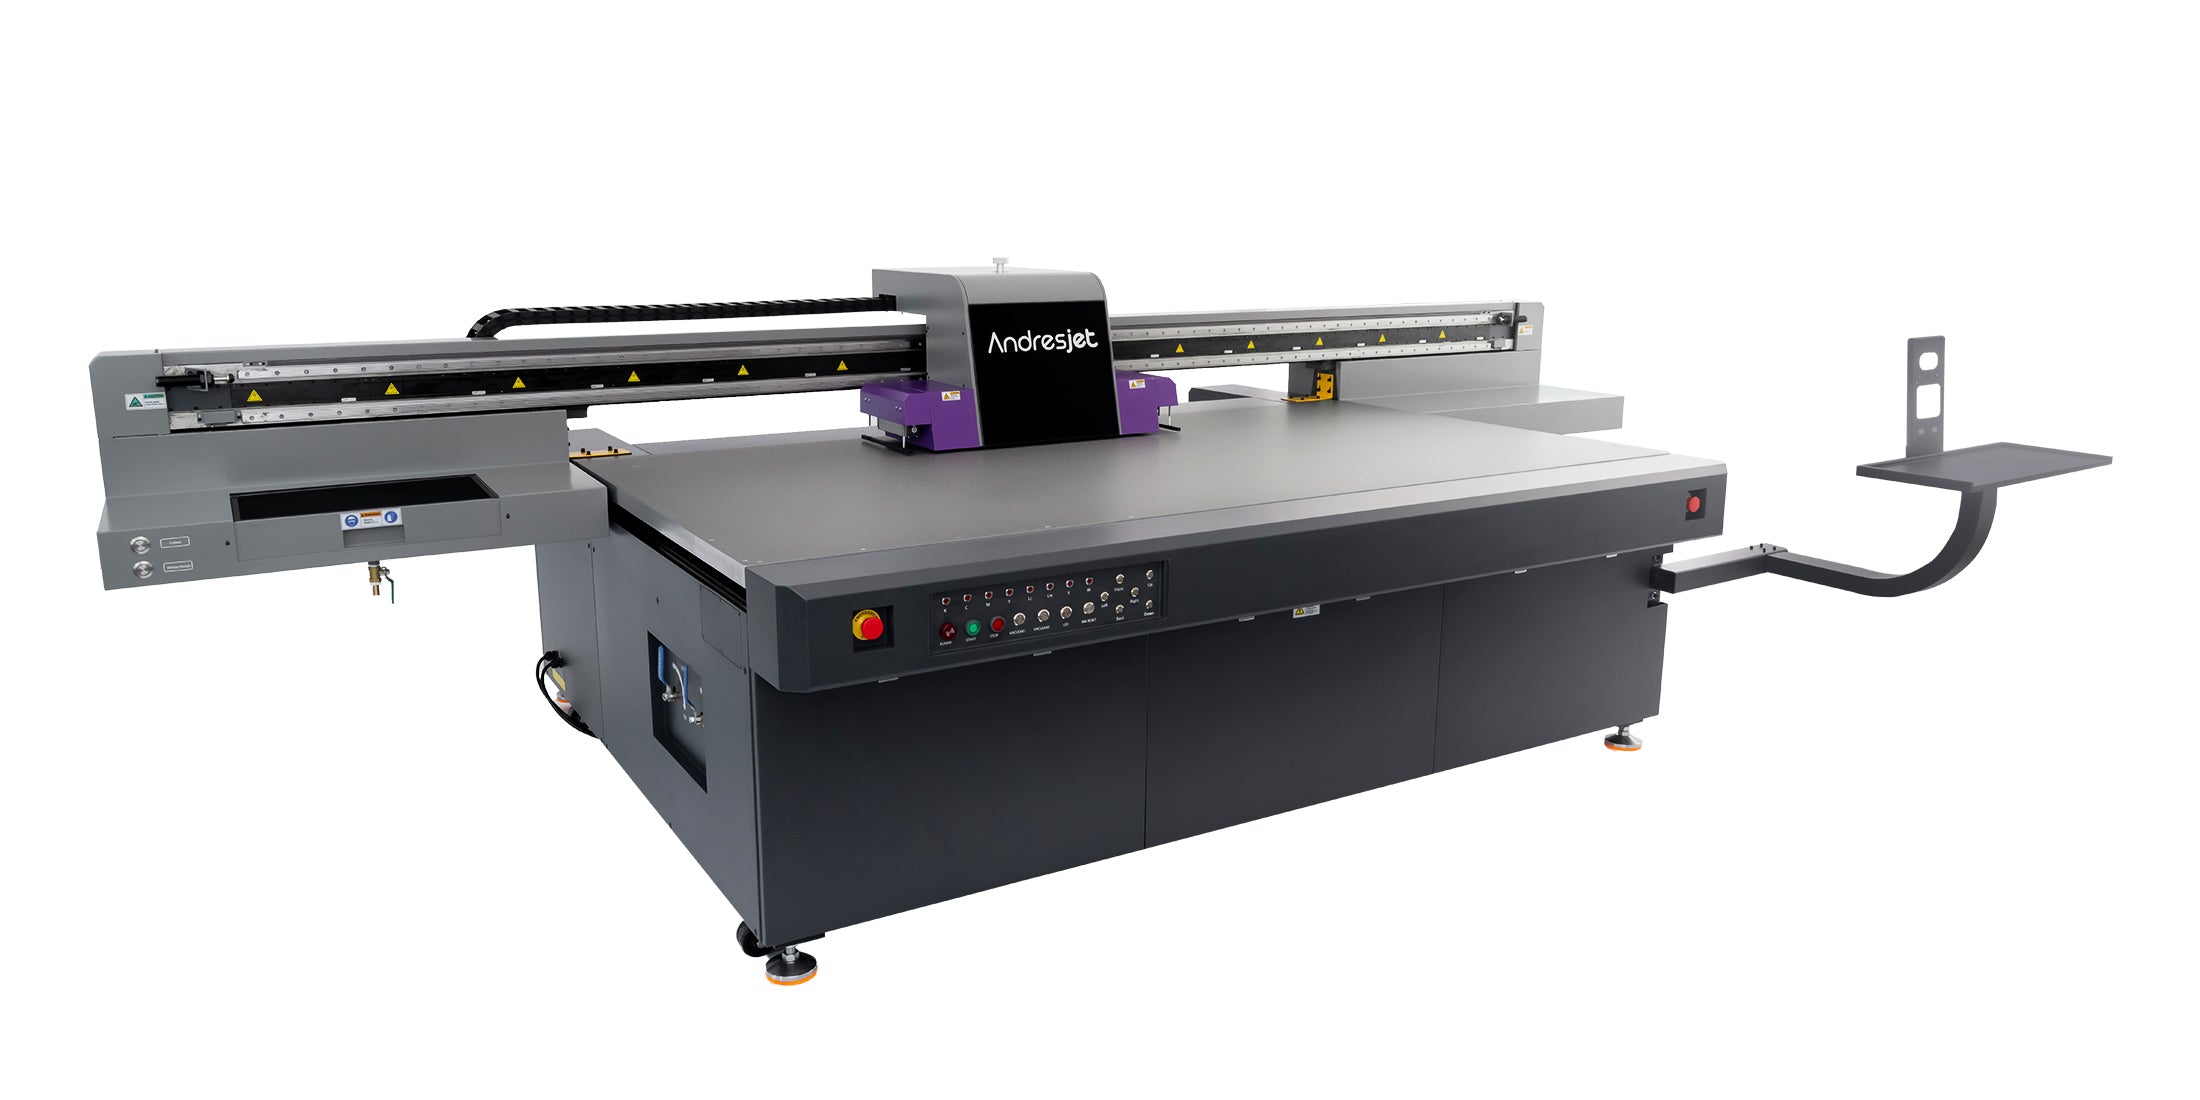
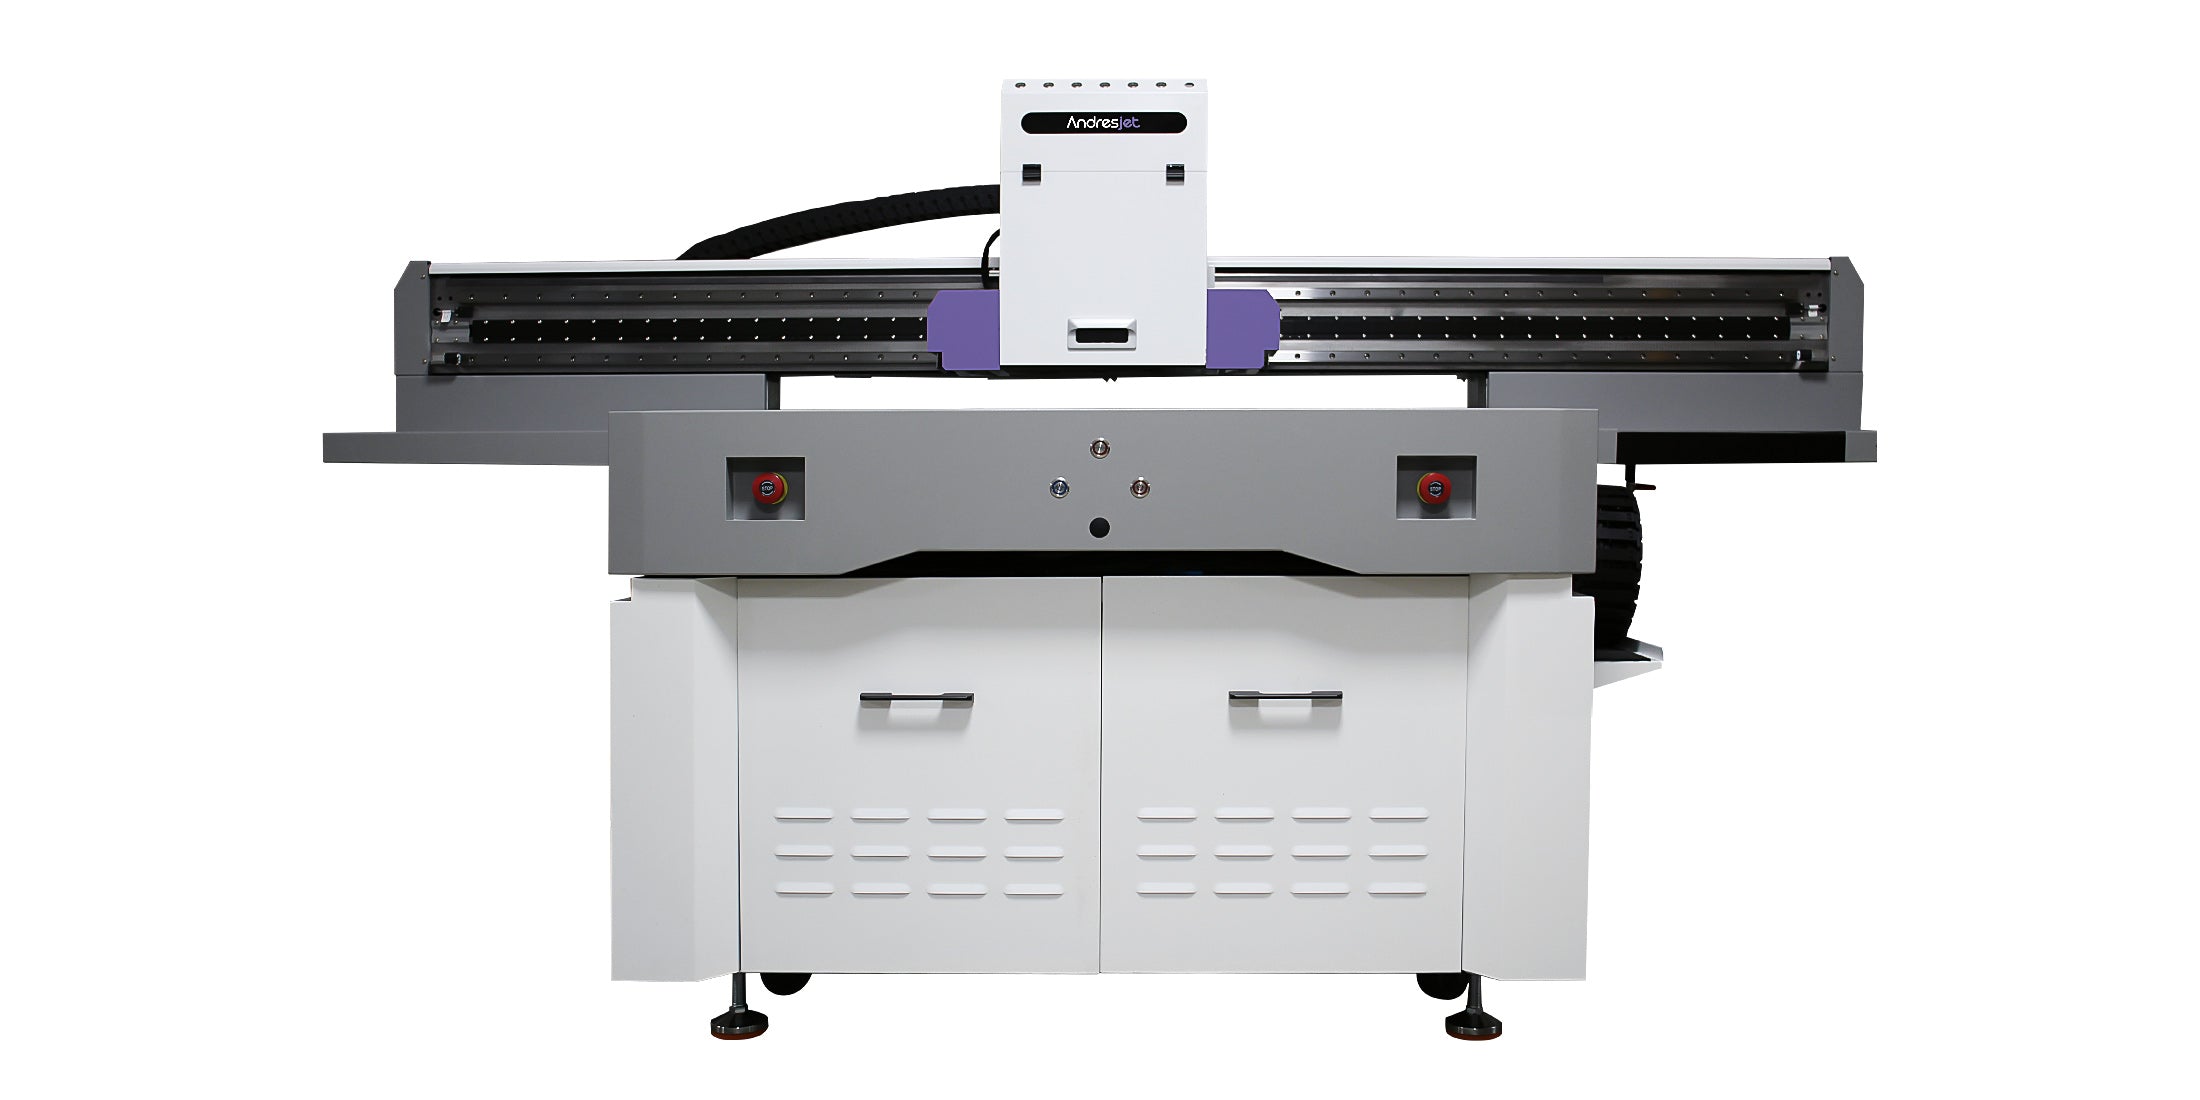
Three current flatbed platforms
Published print areas help define the first shortlist. Final selection also depends on individual part weight, thickness, surface relief, safe loading, bed support, ink sequence, inspection and actual tested output.
Compact samples and plaques
Standard 2500 × 1300 mm platform
Large 2100 × 3000 mm platform
A published bed size or media limit is not a blanket approval for stone. Confirm concentrated load, support, surface relief, clearance, loading method and the exact production material with AndresJet before purchase.
For a useful recommendation
Natural material names are too broad for reliable selection. These four groups let the application team assess printer fit, preparation and a representative sample plan.
Stone or slate type, supplier, batch, porosity, cleft or polish, coating or sealer, printable face and current preparation method.
Length, width, thickness, individual weight, quantity per bed, flatness, fragile edges, loading equipment and available support.
Print file, color reference, image coverage, dark-substrate opacity, white or varnish requirement, viewing distance and acceptable texture.
Indoor or outdoor location, handling, cleaning, moisture, abrasion, expected service conditions, order mix and written pass/fail criteria.
These answers define what must be verified before production; they do not replace testing on the actual material.
No. Stone varies in mineral composition, porosity, dust retention, surface energy, sealers and texture. Some materials may accept a tested process, while others need preparation or may not meet the required adhesion and durability. Submit the exact production sample.
It depends on the stone, existing finish, ink system and acceptance test. A porous surface, polished face or unknown sealer can behave differently. Do not prescribe a universal primer from the material name alone; compare controlled samples using preparation approved for that substrate and end use.
Dark slate may need a tested white underbase where opacity is required. Compare direct color and one or more white-layer options using the real artwork, then evaluate edge quality, color, surface feel and adhesion before approving the file and ink sequence.
No. Print area is only one constraint. Individual weight, concentrated loading, thickness, relief, flatness, bed support, loading equipment and safe printhead clearance all matter. AndresJet should review these values before the material is placed on a printer.
No fixed outdoor life should be promised from the printer or stone name alone. Ink, white and varnish layers, preparation, water, UV exposure, temperature changes, abrasion, installation and cleaning can affect performance. Define the environment and complete an appropriate sample or weathering test.
Test before production
Share representative material, dimensions, thickness, individual weight, printable face, artwork and end-use conditions. AndresJet can review the application, identify a suitable current platform and arrange a sample test.
Material qualification guide
A useful pilot documents the substrate, preparation, loading, ink layers, post-process and acceptance result so repeat orders do not depend on an unrecorded first sample.
Supports digital artwork changes and color plus white-layer options on qualified flat surfaces. It still requires material, loading, adhesion and finished-use testing.
Removes or alters the surface and can create a different tactile result. It is a separate process with its own equipment, dust control, depth and finishing considerations.
Labels, films or transfers can suit some uses but add a separate material and application step. Edge appearance and adhesion should be evaluated for the final environment.
Identify and inspect. Record material type, supplier, batch, finish, printable face, pores, cleft, chips, coating, sealer and visible dust.
Measure before loading. Confirm length, width, thickness, individual weight, flatness, surface relief and the support needed to keep the part stable.
Prepare consistently. Use only a substrate-appropriate cleaning or conditioning method and allow the surface to reach a stable state before printing.
Print a controlled matrix. Compare direct color, white-underbase options and any varnish layer while keeping files, settings and sample locations traceable.
Test the finished use. Inspect color, adhesion, cleaning, moisture, abrasion and environmental exposure that match the actual application.
Approve and document. Save the material batch, preparation, file, ink sequence, loading map, settings and acceptance result for repeat work.
Two products sold under a similar commercial name can differ in porosity, mineral structure, resin content, factory sealer, polishing compound or surface contamination. Even different faces or batches of one stone may not behave identically.
Approve the production material and preparation together. A successful print on one slate sample does not automatically qualify another supplier, finish or batch.
Choose artwork that tolerates or intentionally uses color, grain and texture variation. Keep critical detail away from chips, deep cleft and irregular edges.
Use a controlled white layer when the design requires opacity on dark stone. Test coverage, registration, edge appearance, adhesion and surface feel.
Varnish can alter gloss and texture but should not be treated as a universal outdoor guarantee. Evaluate the complete layer stack under the expected conditions.
Finished output depends on more than carriage speed. Time a representative pilot that includes:
Use the approved pilot to set pieces-per-shift expectations instead of relying on a headline speed.
Representative production pieces, supplier code, type, batch, finish, sealer, printable face and preparation instructions.
Dimensions, thickness, individual weight, surface relief, flatness, fragile edges, pieces per bed and available loading equipment.
Production file, color reference, coverage, white or varnish requirement, viewing distance and acceptable surface texture.
Quantity, versions, turnaround, installation, handling, cleaners, moisture, abrasion, environment and written pass/fail criteria.