







Small leather-goods blanks
Decorate qualified wallet panels, luggage tags, key fob blanks and notebook covers before stitching or assembly, with the printable area and bend zones defined in the artwork.
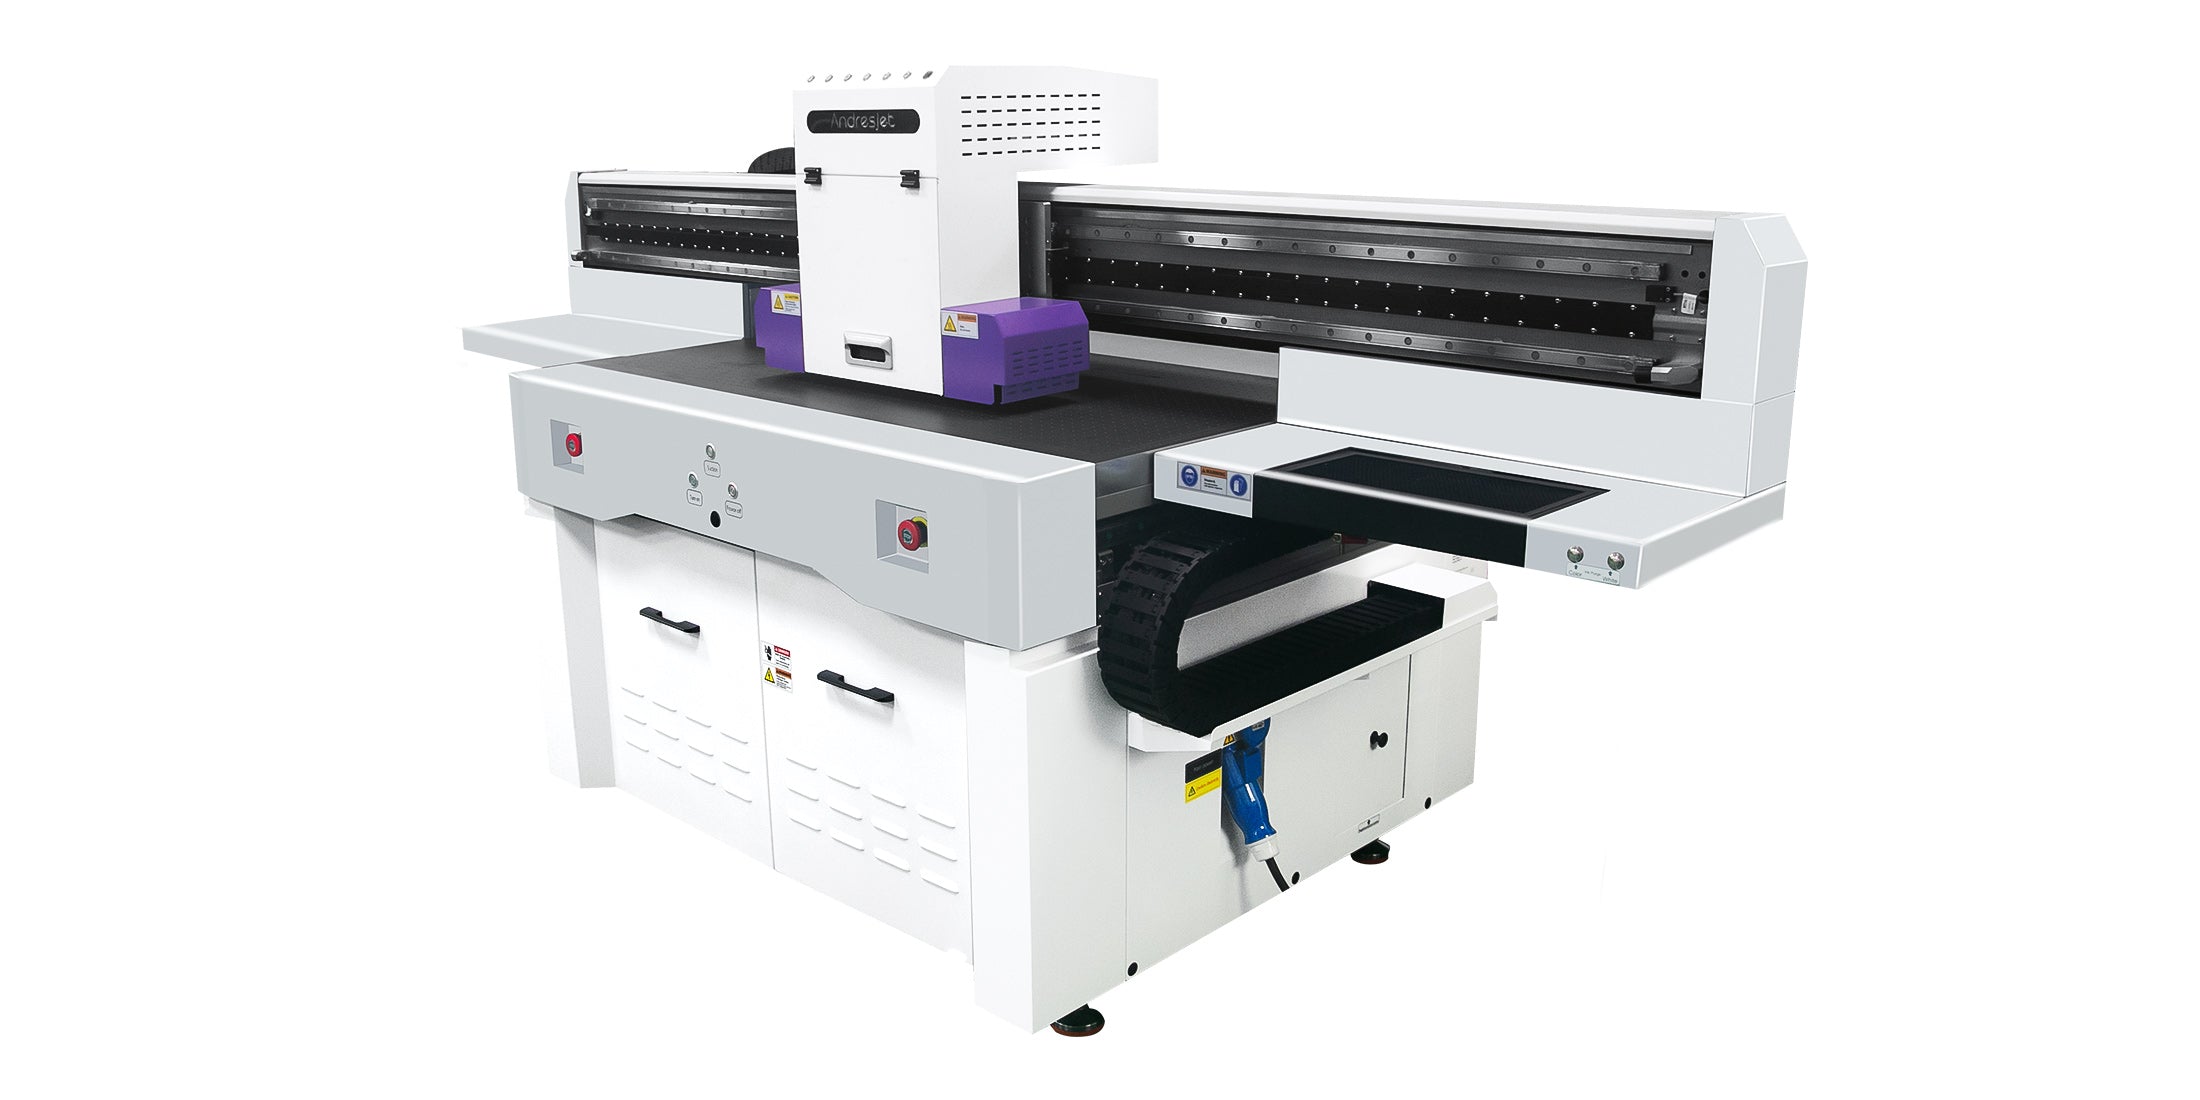
Review the AJ1206

Genuine and synthetic leathers vary by base, coating, grain, surface treatment, color and flexibility. Qualify the exact production stock, then compare color, white-underbase options, adhesion and surface feel instead of assuming one setting will suit every material sold as leather.
Complete the real post-process before approval. Bend the sample at the intended radius and repeat any cutting, sewing, bonding, hardware installation or regular handling the finished product must withstand.
Leather printing production overview
Direct UV printing can support customized leather and faux-leather panels, blanks and finished components, but the result depends on surface finish, coating, oils, texture, flexibility, ink layers, hold-down and end-use wear. Qualify the exact production material and finished-part requirements before choosing a printer or estimating output.
Decorate qualified wallet panels, luggage tags, key fob blanks and notebook covers before stitching or assembly, with the printable area and bend zones defined in the artwork.
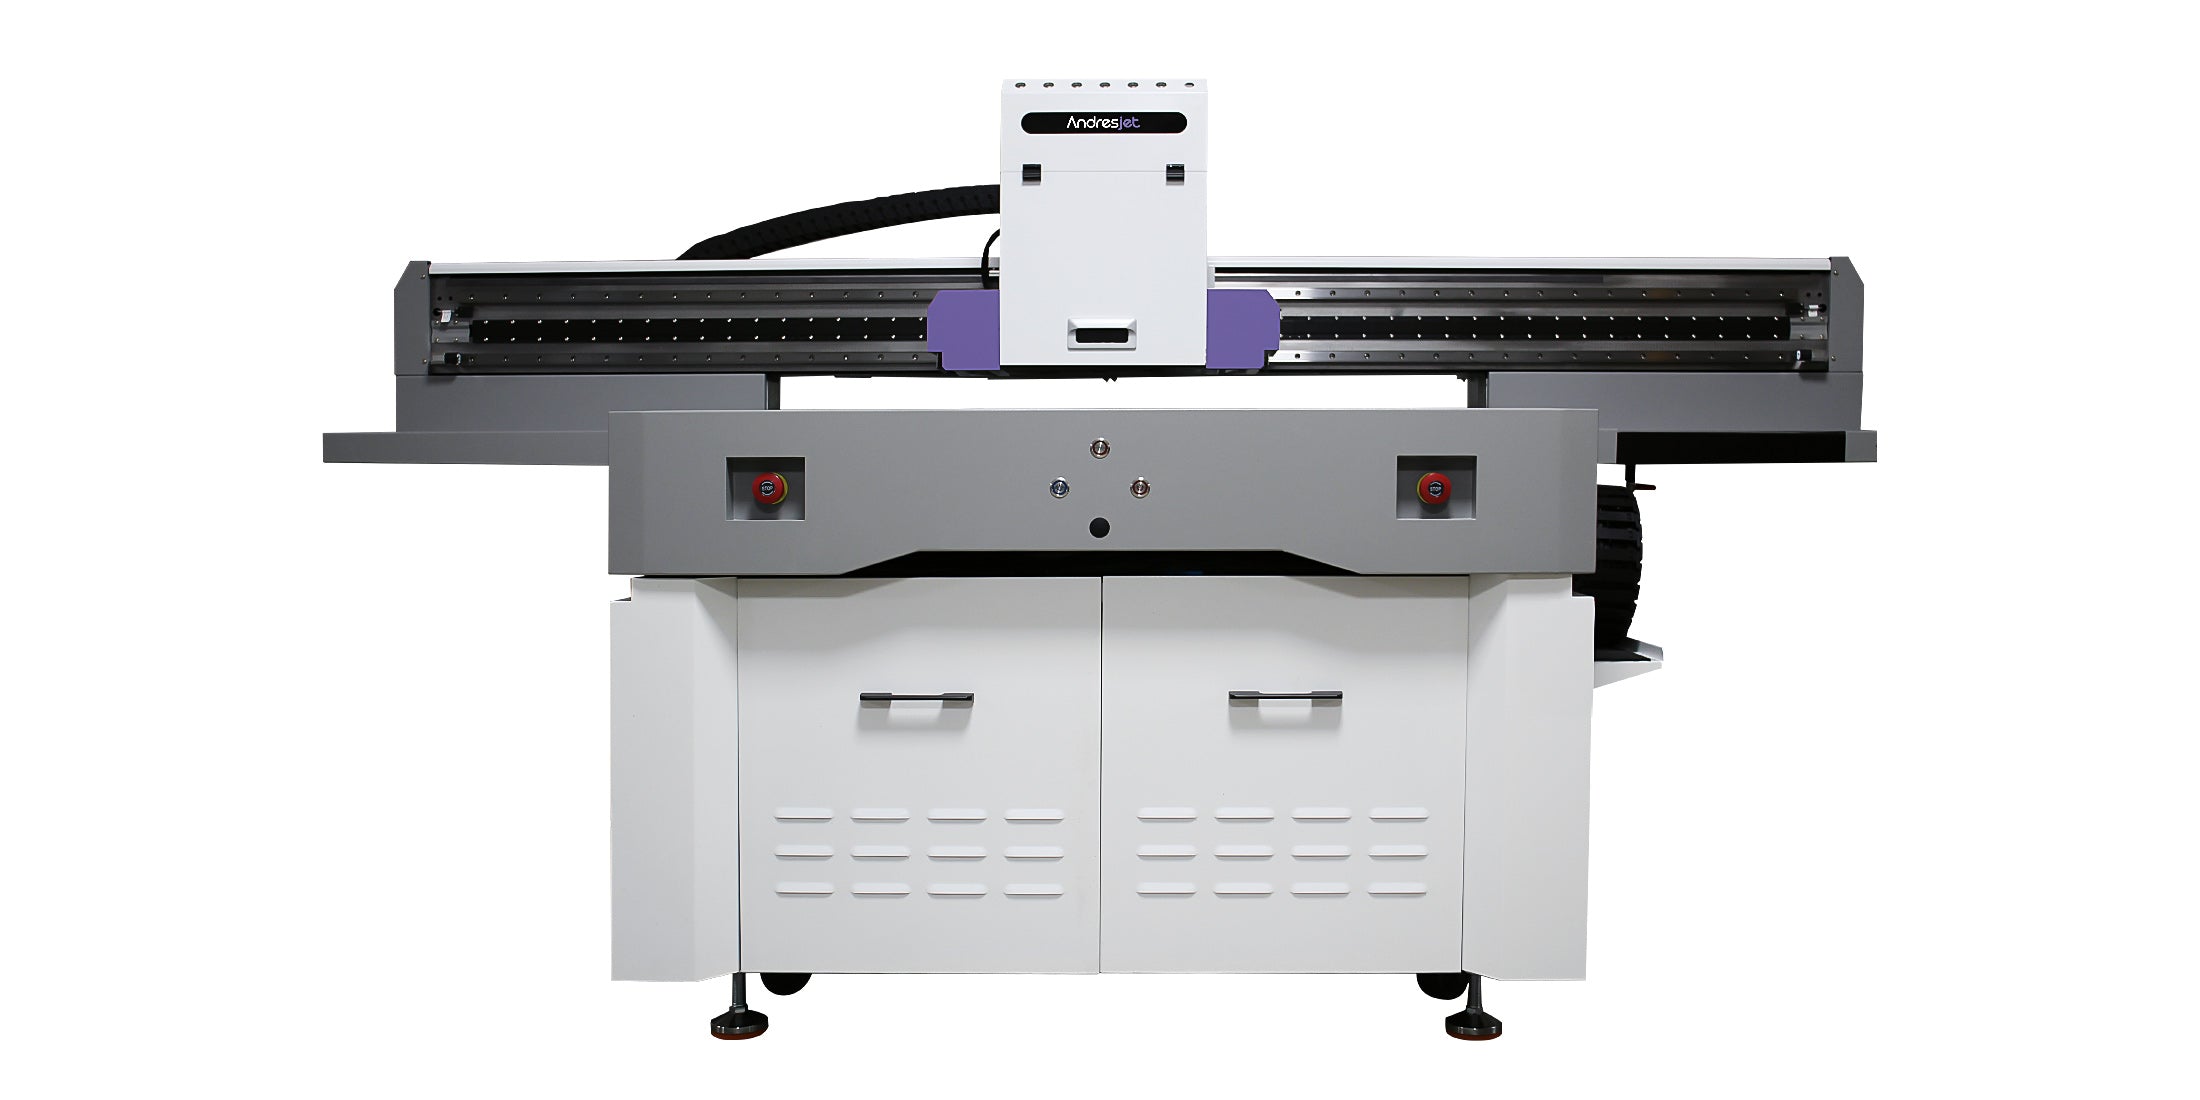
Review the AJ1206Change names, graphics or colorways without producing a separate screen for every version, after the chosen leather, artwork and bend requirement pass a representative sample test.
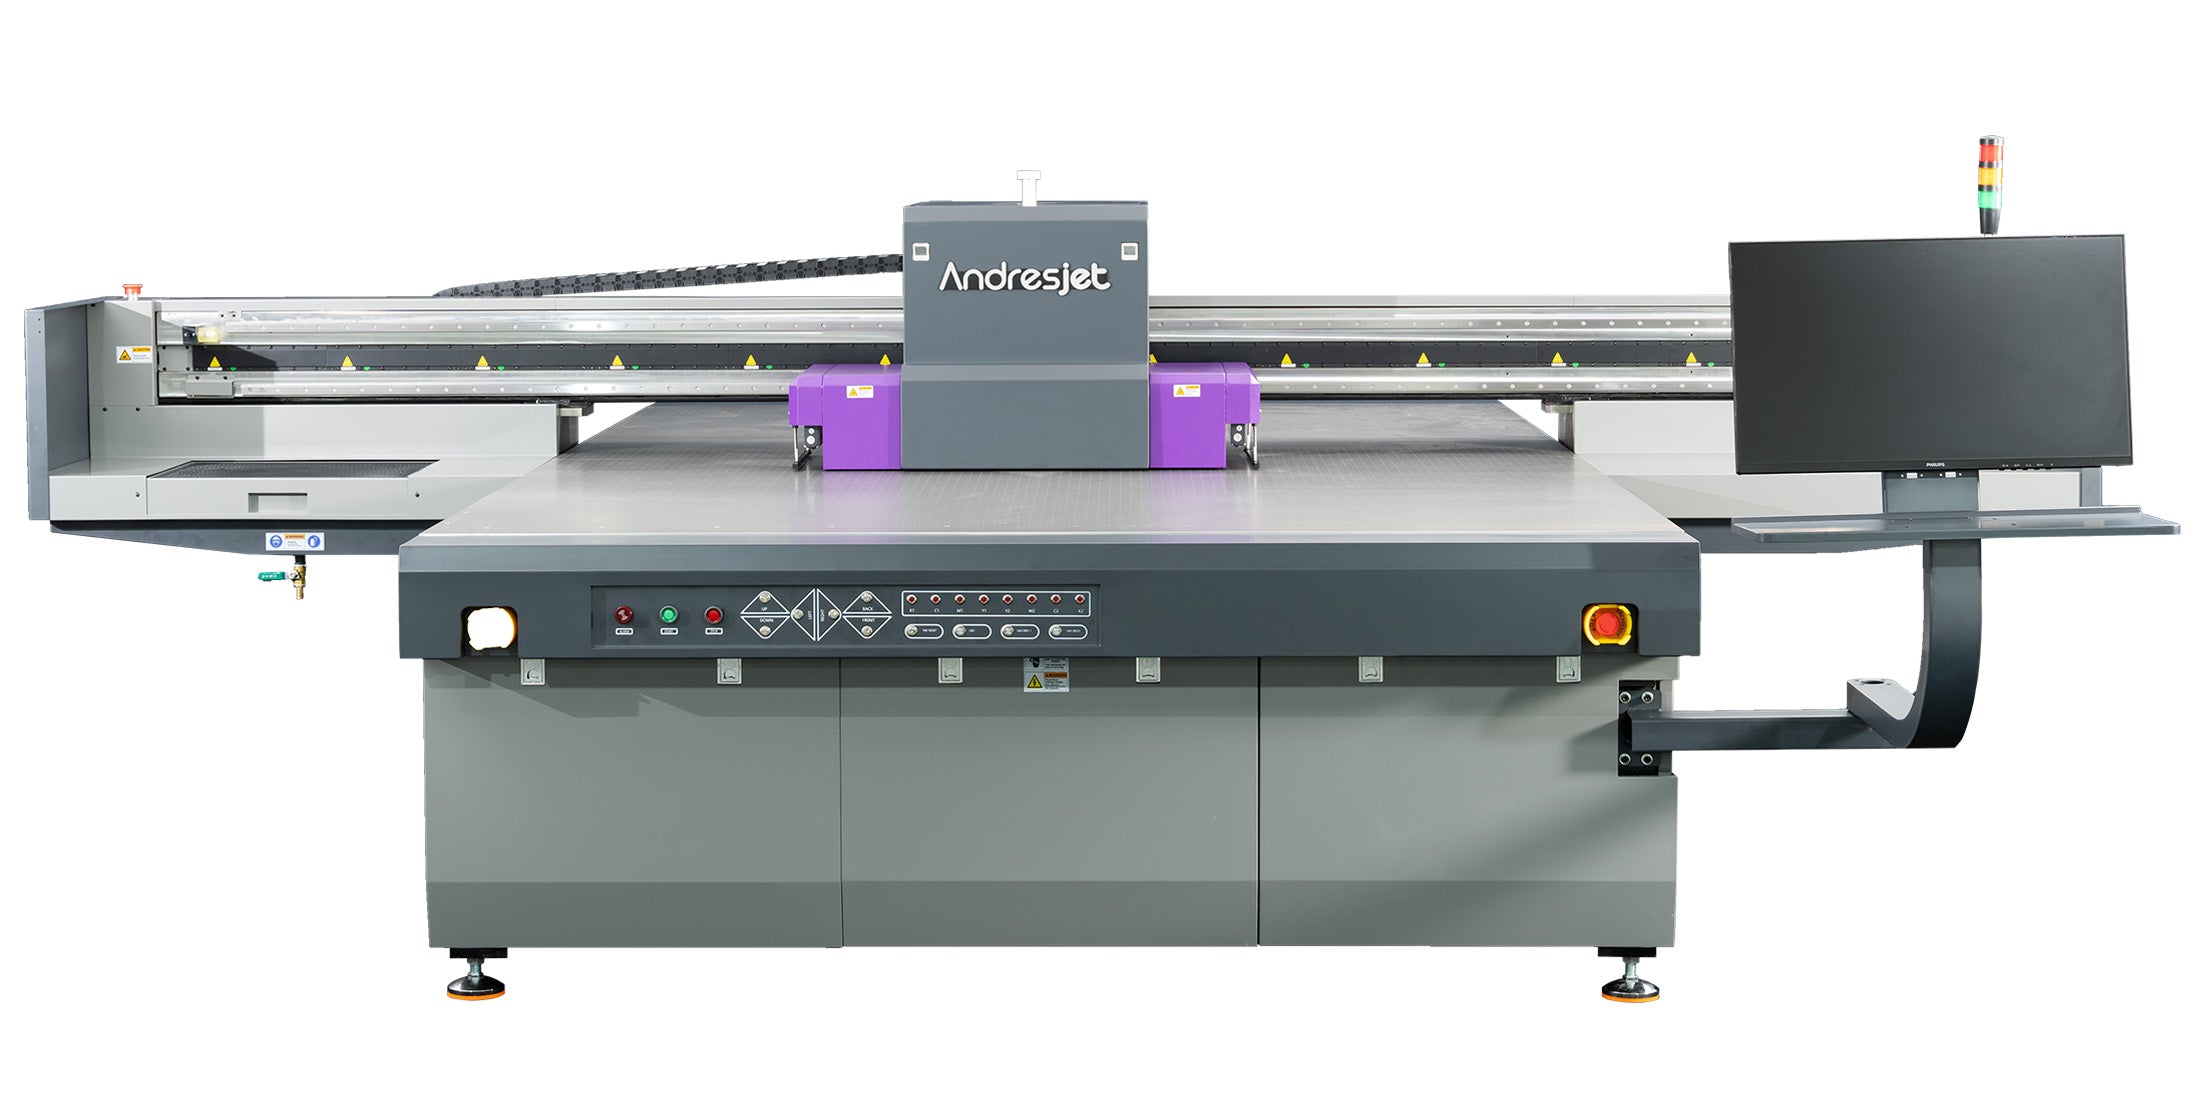
Compare compact flatbed printersPlan full or nested layouts on compatible leather and synthetic-leather stock where an 8 × 4 ft class bed matches the supplied material and production cutting plan.
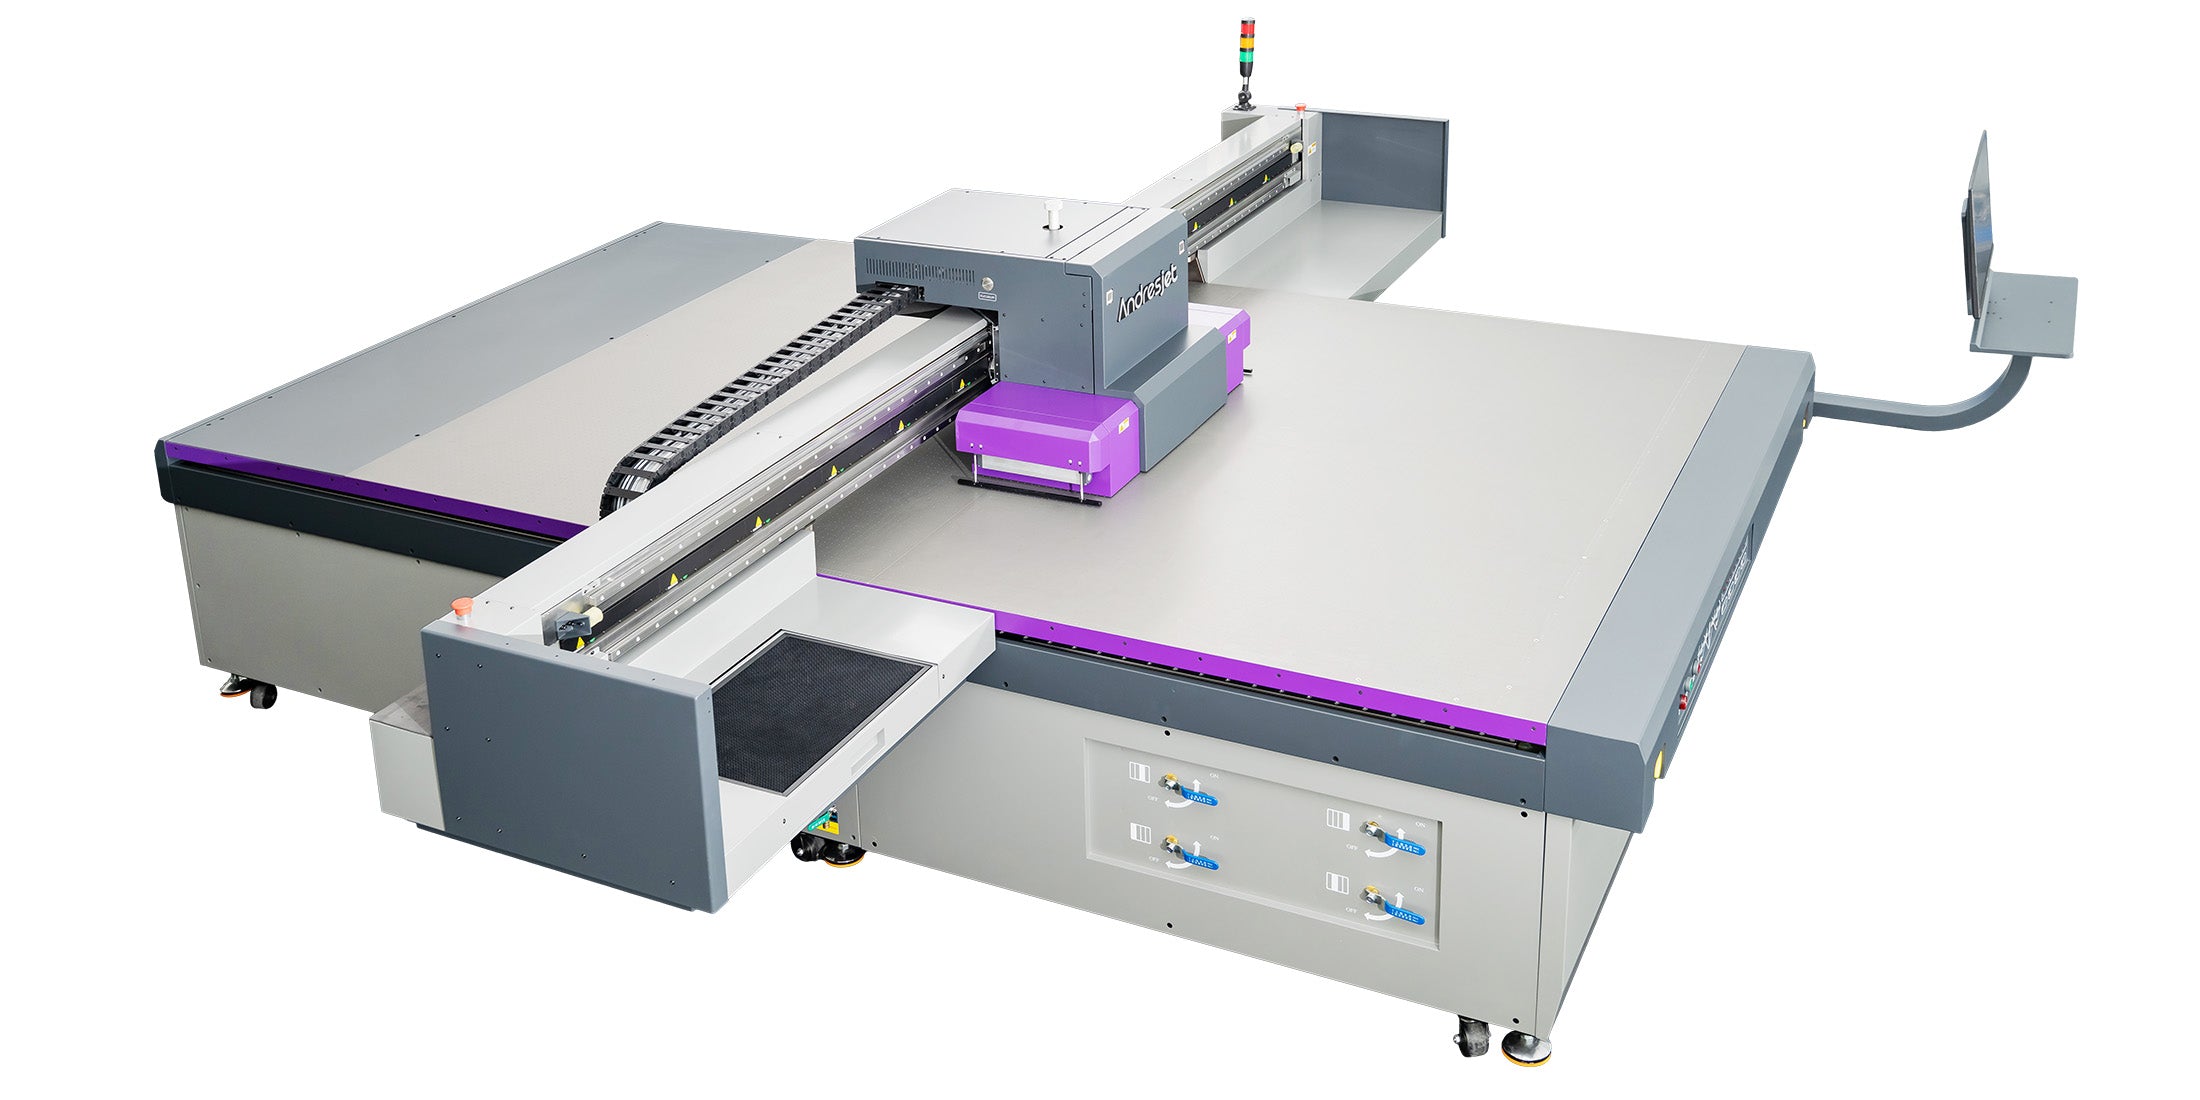
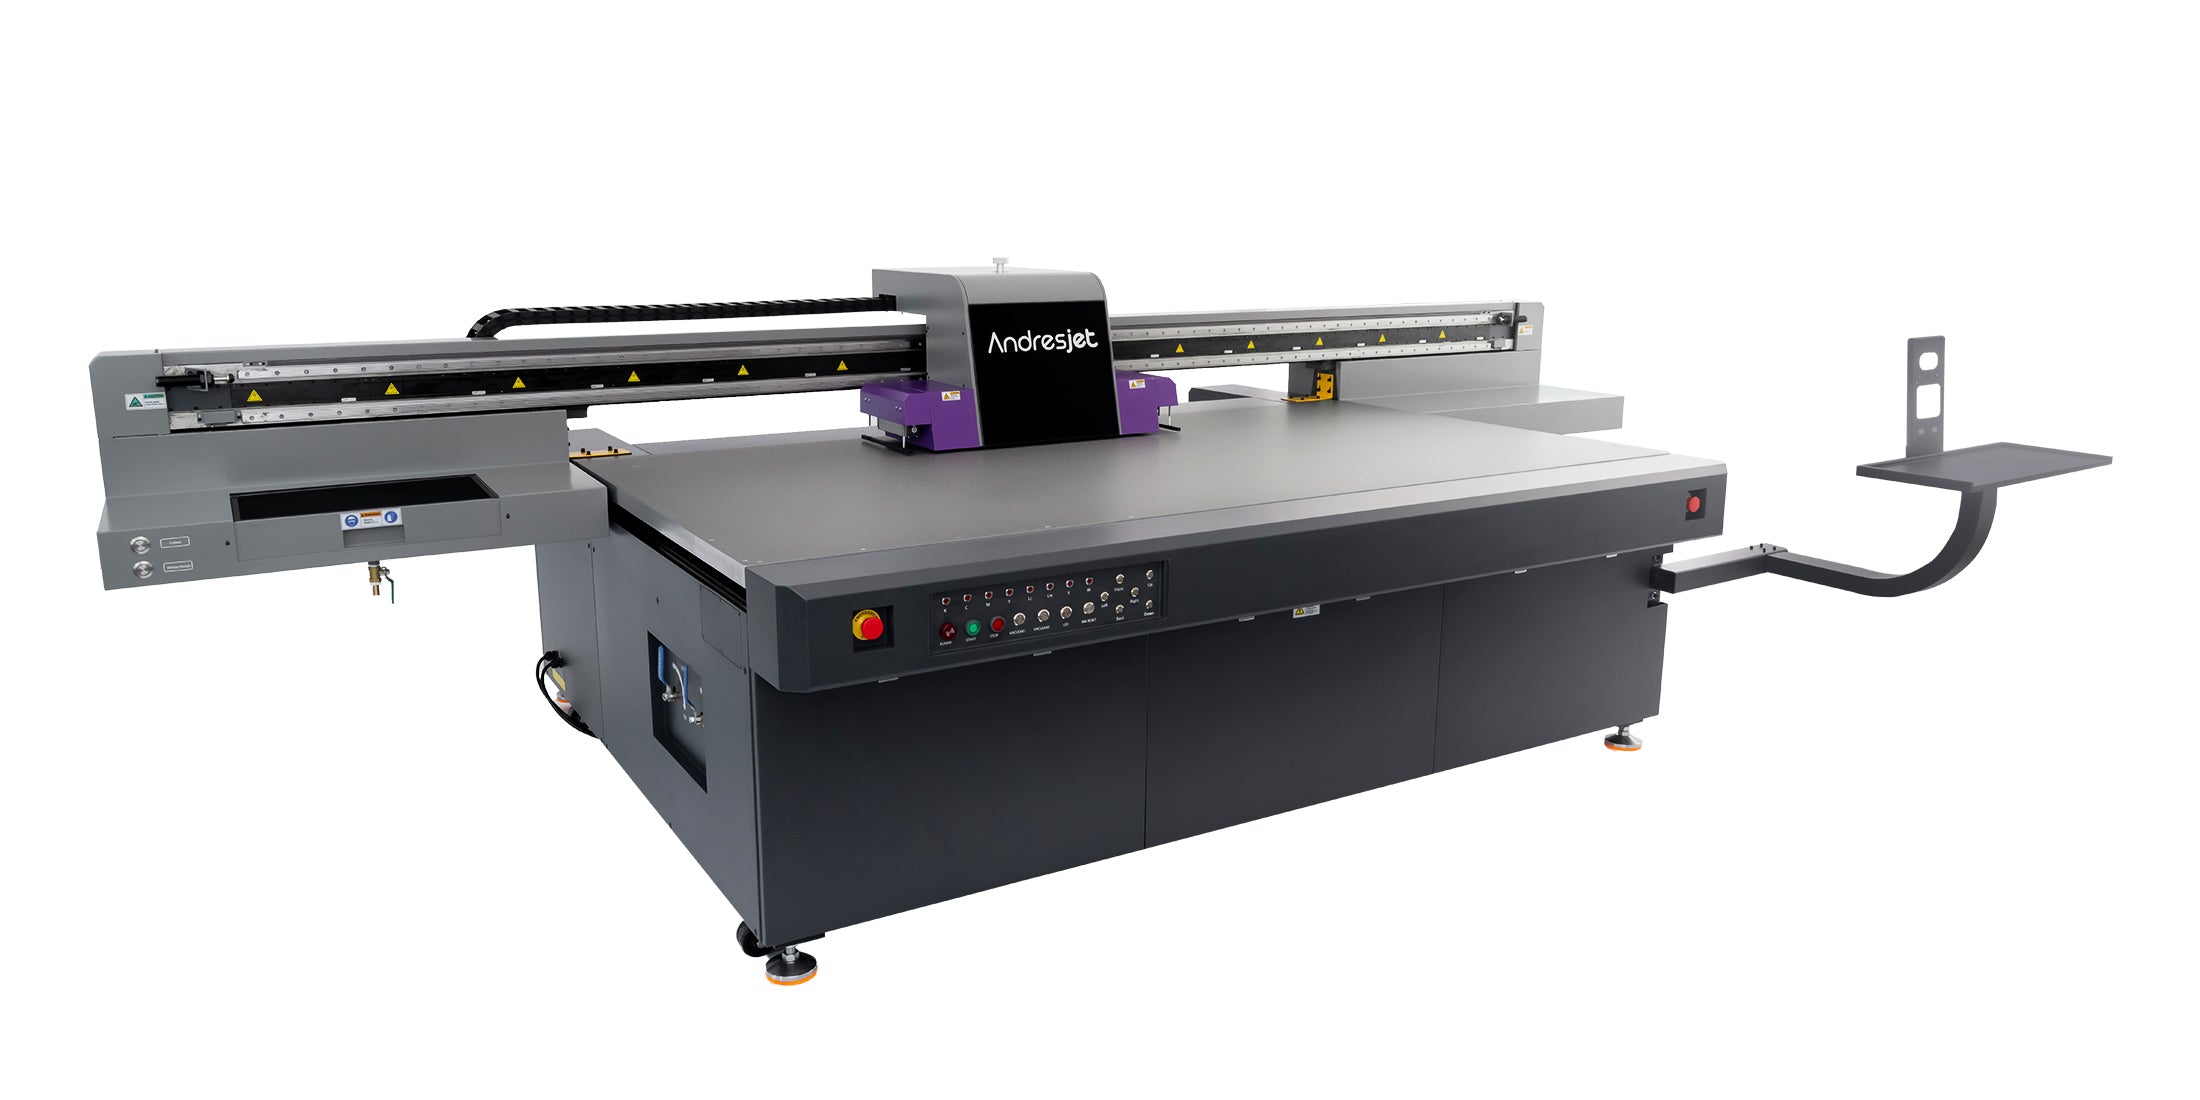
Review the AJ2513G/REvaluate large flat panels or nested parts when print area, vacuum planning, safe loading and a controlled material source justify a larger production platform.
Review the AJ2130G/RRecord genuine or synthetic leather, base material, coating, grain, color, thickness, supplier and whether the surface has oils or protective treatments.
Confirm that the stock can lie safely and consistently on the bed without curled edges, wrinkles, unstable stretch or raised hardware entering the print path.
Compare color directly on the material with a white underbase where needed. Use varnish only after appearance, flexibility and end-use handling have been tested.
Inspect adhesion, color, rub resistance and the actual bend or flex radius, then repeat any cutting, sewing, bonding or assembly required in production.
Three flatbed production routes
Printer selection should follow the largest flat part, pieces per bed, stock thickness, loading method, ink-layer sequence and finished-part test. Published dimensions describe the equipment; they do not guarantee compatibility with every leather or a fixed number of completed pieces per shift.
Compact part and blank production
Standard 8 × 4 ft class platform
Large 2.1 × 3.0 m platform
Actual finished output changes with material condition, part size, artwork coverage, resolution, pass count, white or varnish layers, loading, alignment, inspection, cutting, sewing, assembly and operator workflow. Approve a representative sample before setting production targets.
Information for a useful recommendation
A material name alone is not enough for a reliable recommendation. Send these four groups of details so the material, loading method, ink strategy, post-processing and acceptance test can be reviewed together.
Genuine or synthetic leather, supplier and product code, base and coating, color, grain, thickness, dimensions, stretch direction and surface treatment.
Flat blank or finished component, printable area, bend and stitch zones, production file, color reference, white-underbase need and viewing conditions.
Quantity per design, number of versions, pieces per batch, largest part, expected repeats, turnaround and target finished pieces per shift.
Cutting, sewing, bonding or assembly sequence, required bend radius, handling and rub exposure, plus the test method used to approve the final part.
No. Genuine leather, coated leather, PU, PVC and other synthetic constructions can have different oils, finishes, texture, porosity and flexibility. Test the exact production stock after the intended cleaning or preparation, then approve the completed part.
Genuine leather can vary naturally across a hide, while synthetic leather may have a more uniform but chemically different coating and backing. Both require identification of the actual supplier material, printable face, stretch direction, coating and end-use conditions rather than relying only on the category name.
That cannot be assumed. Ink coverage, layer thickness, bend radius, grain, coating, stitch placement and repeated handling all affect the result. Print a representative blank, then bend, cut, stitch or assemble it in the same way as production before approval.
Not for every design. A white underbase can improve opacity and reduce the influence of a dark surface, while selective white can preserve areas where the leather color should remain visible. Compare approved samples because white adds ink layers and can change flexibility, texture and production time.
Begin with the largest flat part, media thickness and weight, pieces per bed, positioning method and required volume. The AJ1206 addresses compact blanks, the AJ2512G/R offers a 2500 × 1200 mm platform, and the AJ2130G/R provides a 2100 × 3000 mm platform. Final selection should follow a material and workflow test.
From sample swatch to finished component
Reliable work begins with a traceable material, a defined printable face, controlled preparation and a test that includes the actual bend, cutting, sewing, bonding and handling expected after printing.
Useful for qualified flat materials, changing artwork and short-to-medium runs where color, white and optional varnish layers are printed directly onto the surface.
May suit established repeat designs or highly flexible products, but screens, films, transfer media, setup, registration and post-processing should be included in the comparison.
Create different tactile and structural effects. They may be used instead of or alongside printed graphics, depending on the leather construction and product design.
Identify the material. Record genuine or synthetic construction, supplier code, coating, backing, color, grain, thickness, stretch direction and intended print face.
Define the finished part. Mark the printable area, edges, holes, stitch lines, fold lines, hardware, viewing direction and surfaces exposed to regular handling.
Prepare and load safely. Use only an approved cleaning or preparation method and confirm flatness, hold-down, masking, origin, height and printhead clearance.
Build a controlled ink test. Compare color directly on the stock, white-underbase options and any varnish requirement while keeping files and settings traceable.
Complete the post-process. Cut, bend, sew, bond and assemble the printed sample using the same sequence and bend radius planned for production.
Approve and document. Record the material batch, preparation, file, ink layers, print settings, loading plan and acceptance results for repeat work.
A flat swatch can confirm basic color and initial adhesion, but it may not reveal what happens at a fold, stitch line, cut edge or bonded area. The most useful approval sample uses the production material and includes the real part geometry, artwork coverage, ink layers and post-processing sequence.
Treat printed leather as a complete manufactured component. Approve the material, printing and assembly together instead of evaluating only a freshly printed flat sample.
Keep critical graphics away from cut edges, holes, hardware, tight folds and stitch lines unless those locations have been specifically tested.
Use white where opacity is needed on dark stock, but compare layer coverage and flexibility with the finished appearance required.
Varnish can change gloss and texture. Confirm whether that effect suits the leather surface and remains acceptable after bending and handling.
Machine speed alone does not describe finished leather-goods output. A realistic pilot should include:
Time the approved process on representative work before setting a pieces-per-shift commitment.
Representative production stock, supplier code, construction, coating, grain, color, thickness and any approved preparation instructions.
Flat blank or finished component, dimensions, printable area, bend radius, stretch direction, stitch lines, holes, cut edges and hardware locations.
Production file, color reference, coverage, white-underbase need, varnish requirement, viewing direction and acceptable surface feel.
Quantity per design, versions per batch, turnaround, finished-part target, post-process sequence and written approval criteria.