





Interior partitions and decorative glazing
Customized patterns, privacy graphics and branded elements for qualified flat glass used in interior projects.
Review the AJ2130G/R

Clear, tinted, coated and mirrored glass can require different cleaning, primer and ink-layer workflows. Fingerprints, silicone residue, protective-film adhesive and surface coatings can reduce adhesion, while the viewing side determines whether graphics should be printed directly or in reverse.
Before production, confirm the glass type, dimensions, thickness, weight, print face and end use. Test representative samples with the planned color, white and backing layers, then evaluate appearance, adhesion, scratch resistance and any required topcoat under realistic conditions.
Flat glass production overview
Direct UV printing can add color, white ink and selected effects to compatible glass panels without conventional screens. A reliable result still depends on the exact glass, coating, print face, layer order, handling method and acceptance test—not on the word “glass” alone.
Customized patterns, privacy graphics and branded elements for qualified flat glass used in interior projects.
Review the AJ2130G/RColor, white backing and reverse-printed designs planned around the viewing side, assembly and cleaning requirements.
Request glass testingShort and repeat production of clear, tinted or coated display panels with artwork-specific opacity and color targets.
Review the AJ3220G/RVariable graphics and production batches organized around safe loading, layer count, inspection and downstream handling.
Review the AJ3220EXRecord the supplier, type, tint, coating, thickness, weight, edge condition and protective-film history before testing.
Decide whether the graphic is viewed from the printed face, through the glass or from both directions before artwork preparation.
Control film removal, cleaning, drying and any approved primer so fingerprints, silicone and residue do not change adhesion.
Evaluate color, white opacity, registration, appearance, adhesion and required durability on representative glass.
Three production platforms
Compare the physical panel requirement first, then calculate output using the approved print mode and layer sequence. White backing, reverse printing, handling and inspection can affect finished panels per shift more than the headline speed alone.
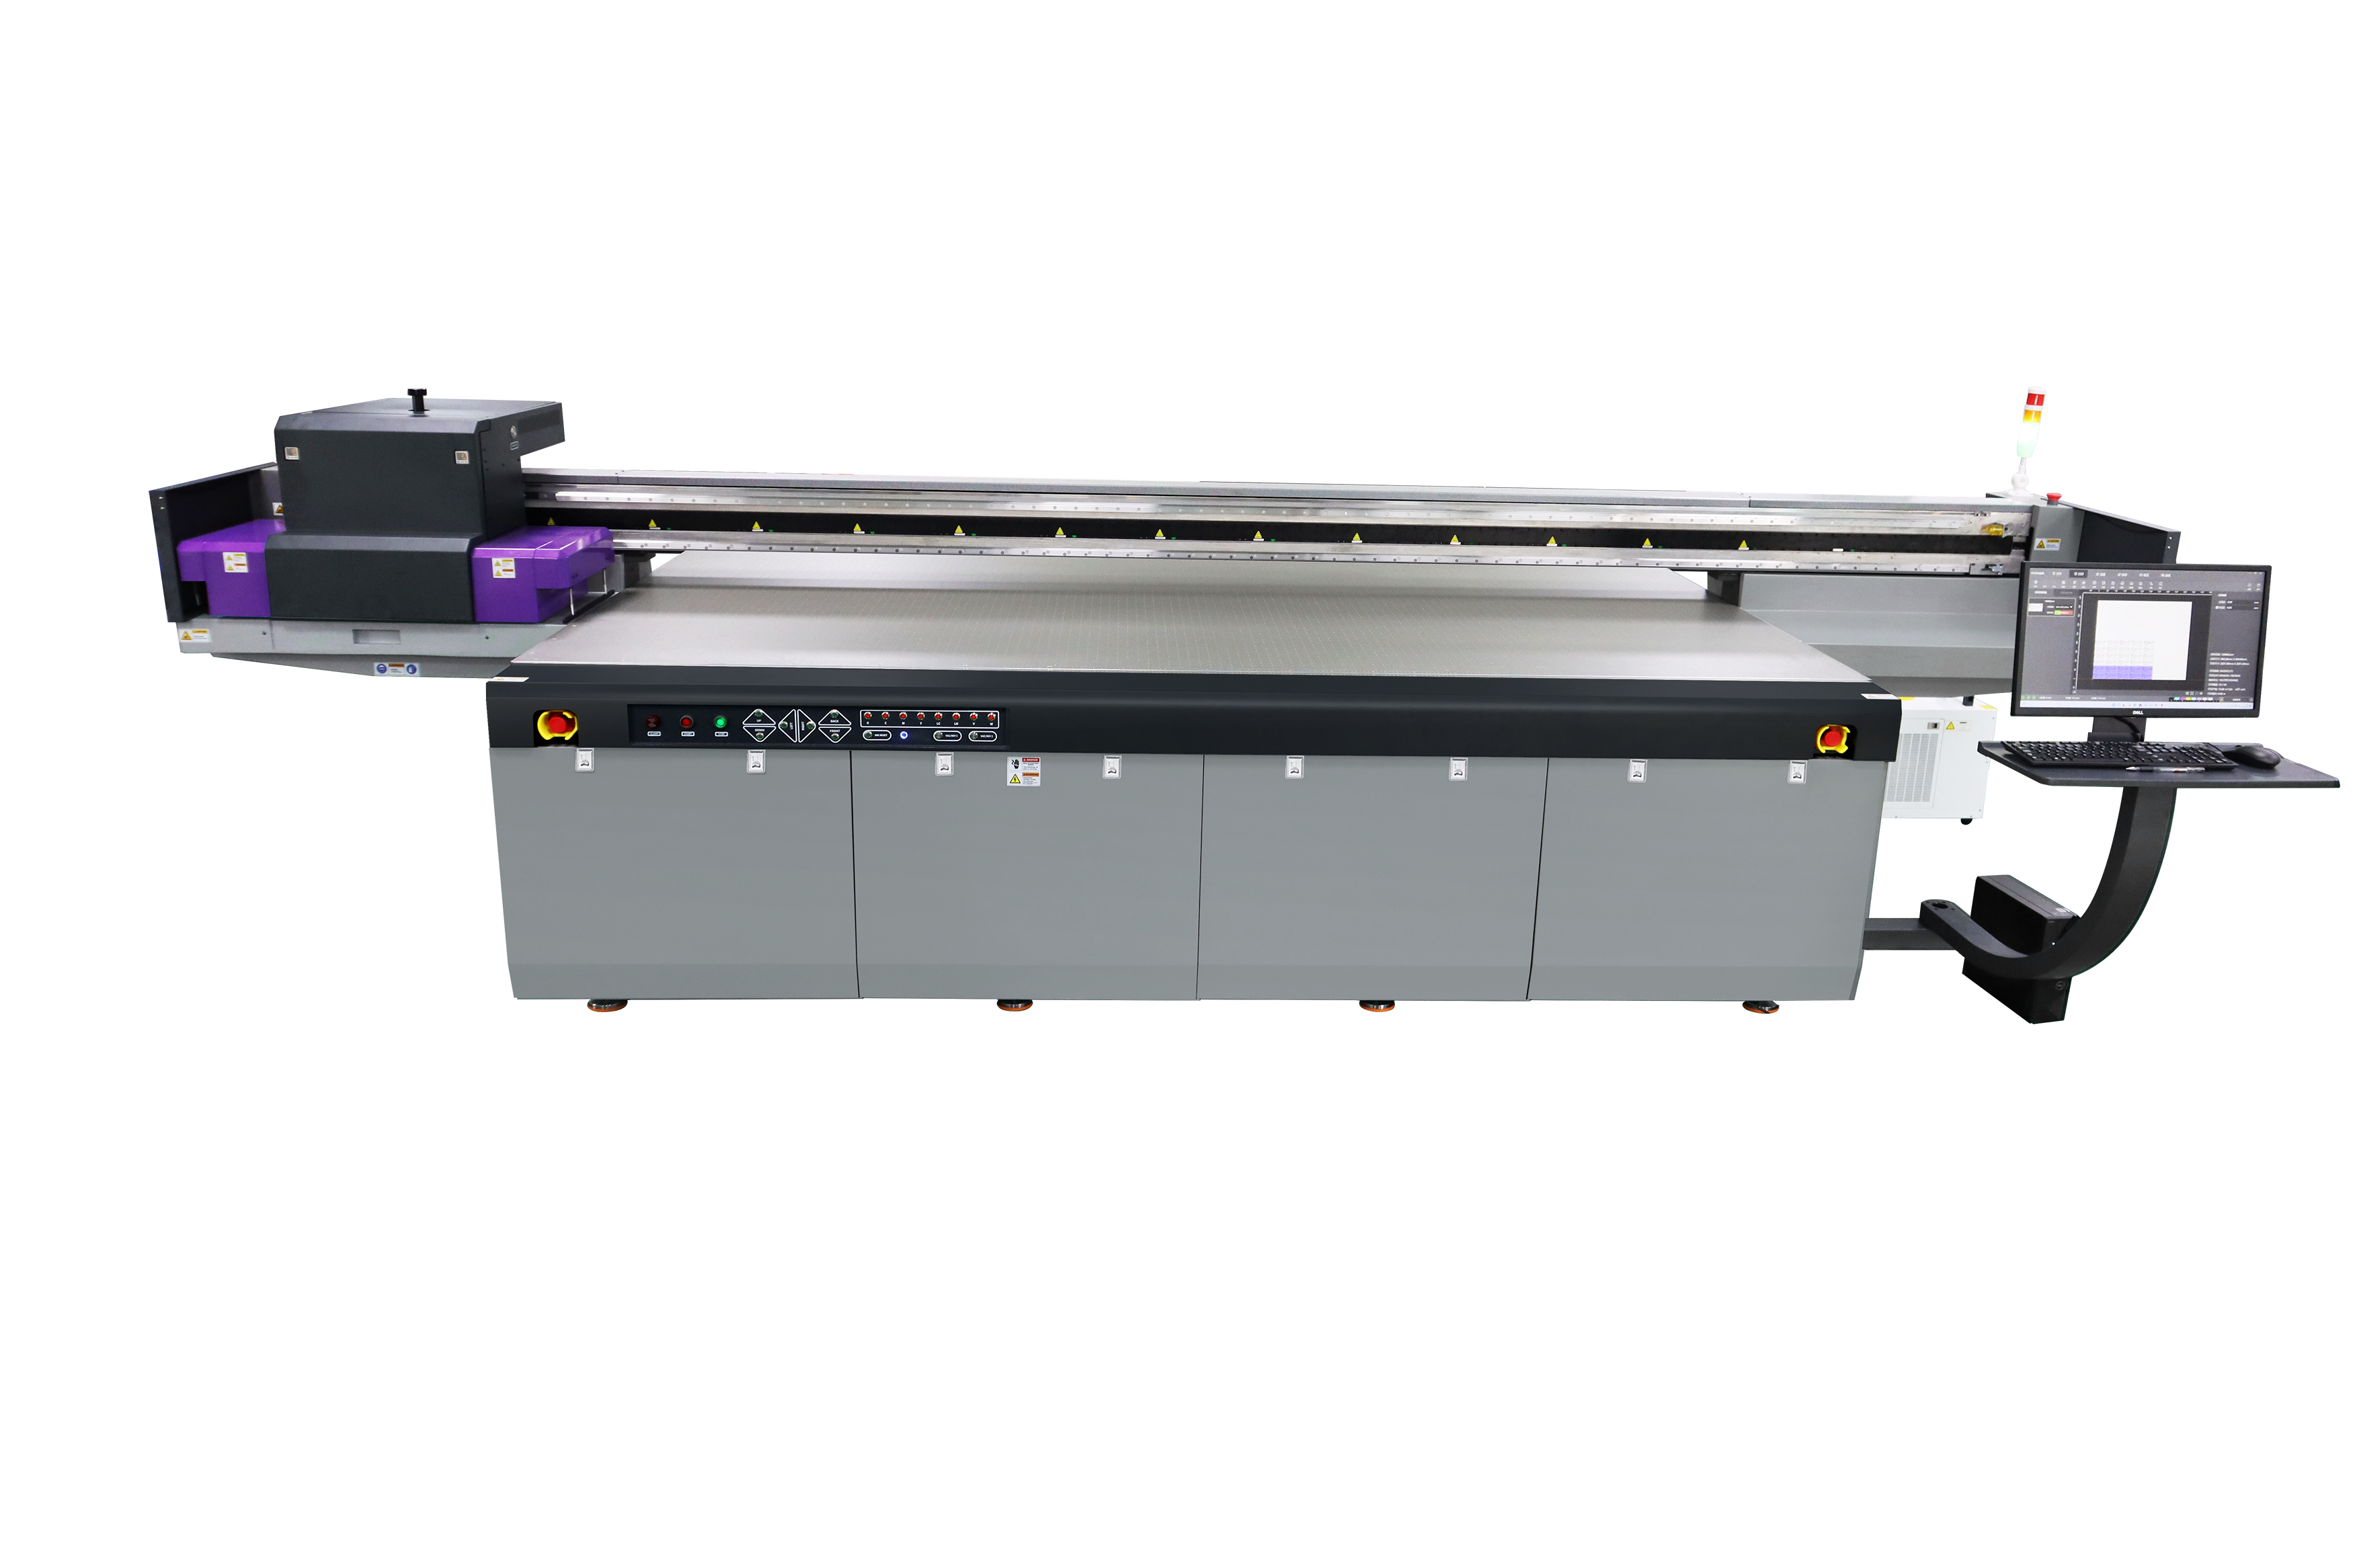
Configurable 2.1 × 3.0 m platform
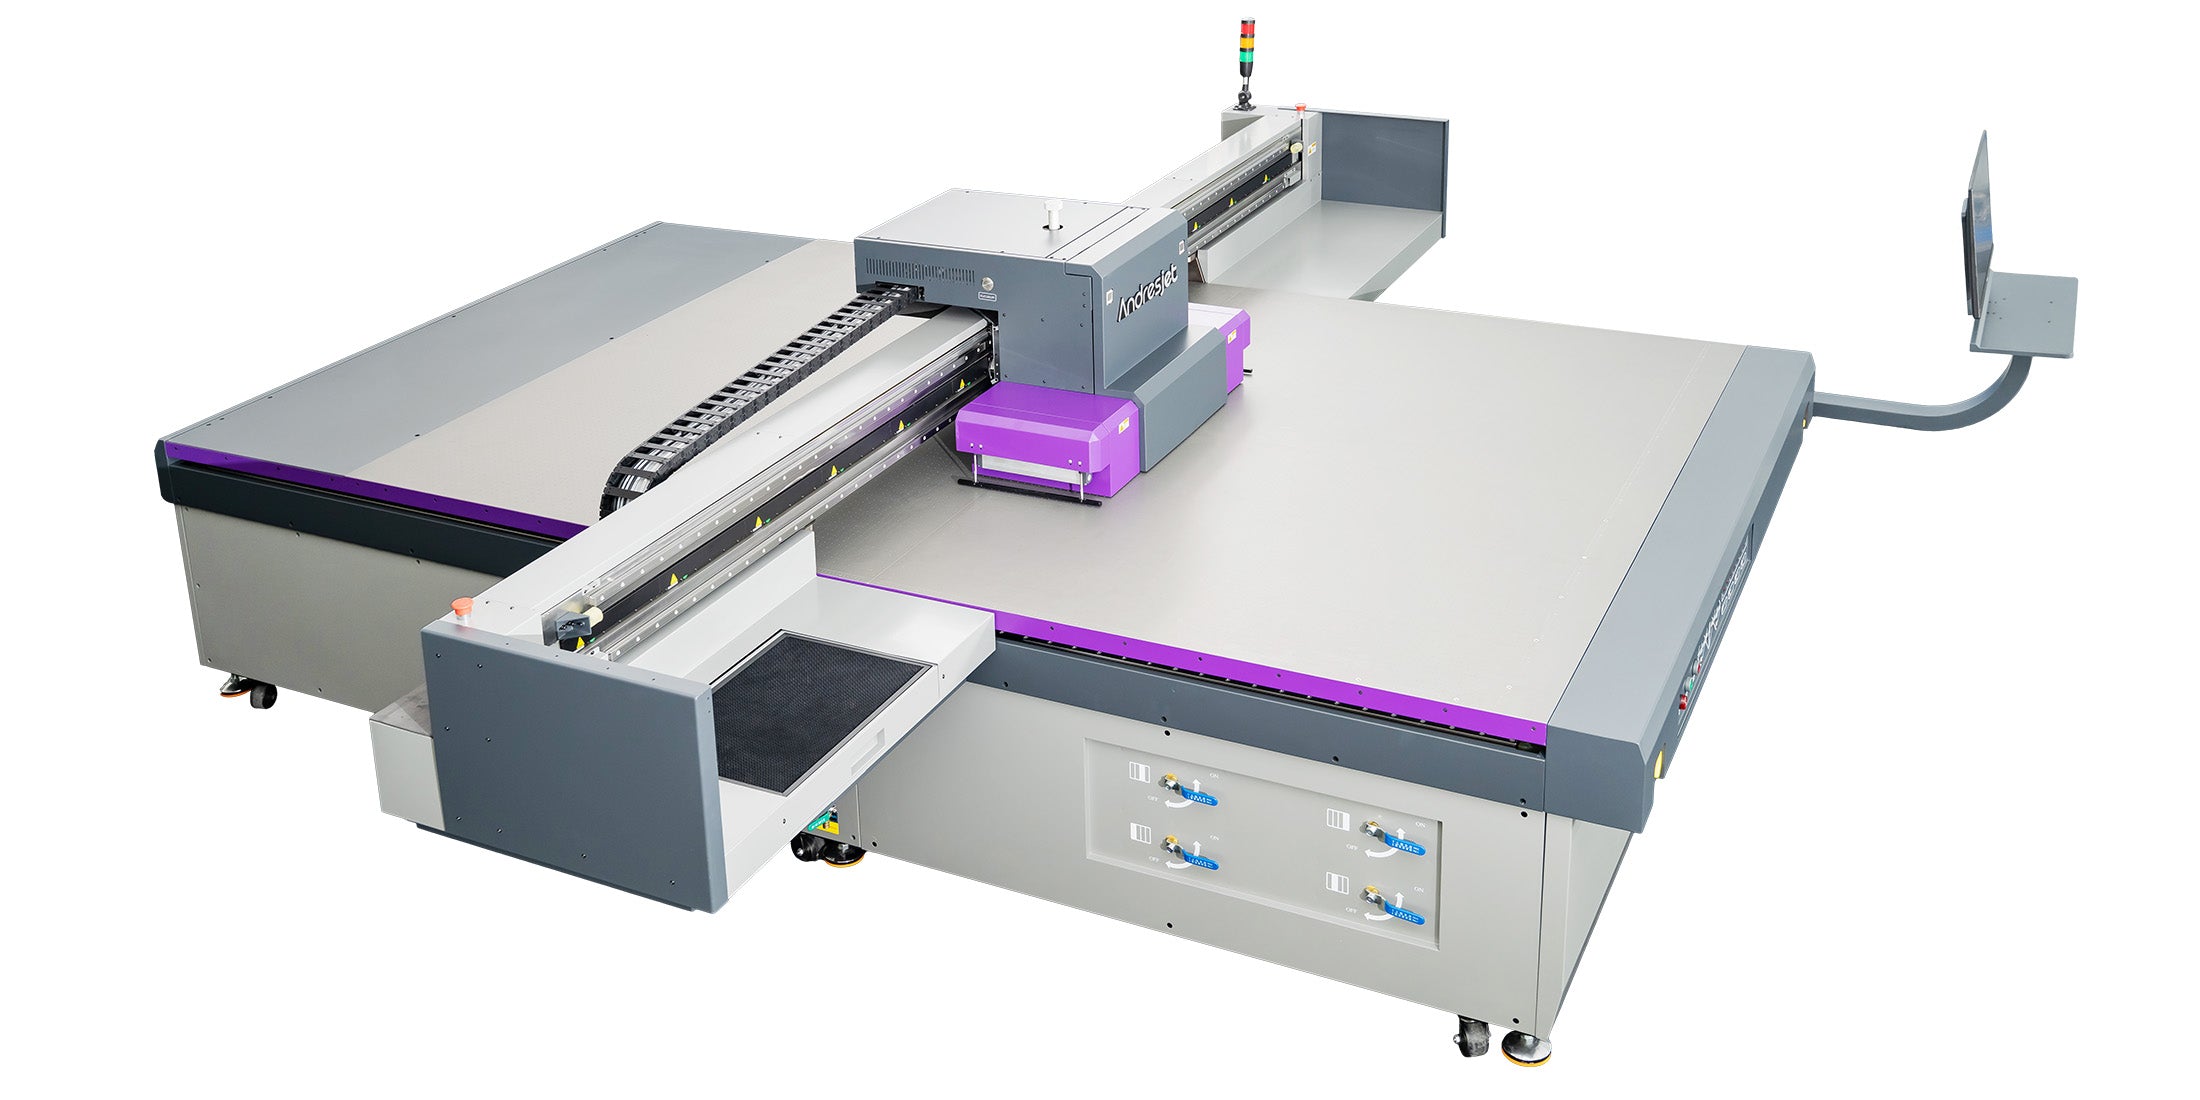
Flexible 3.2 × 2.0 m platform
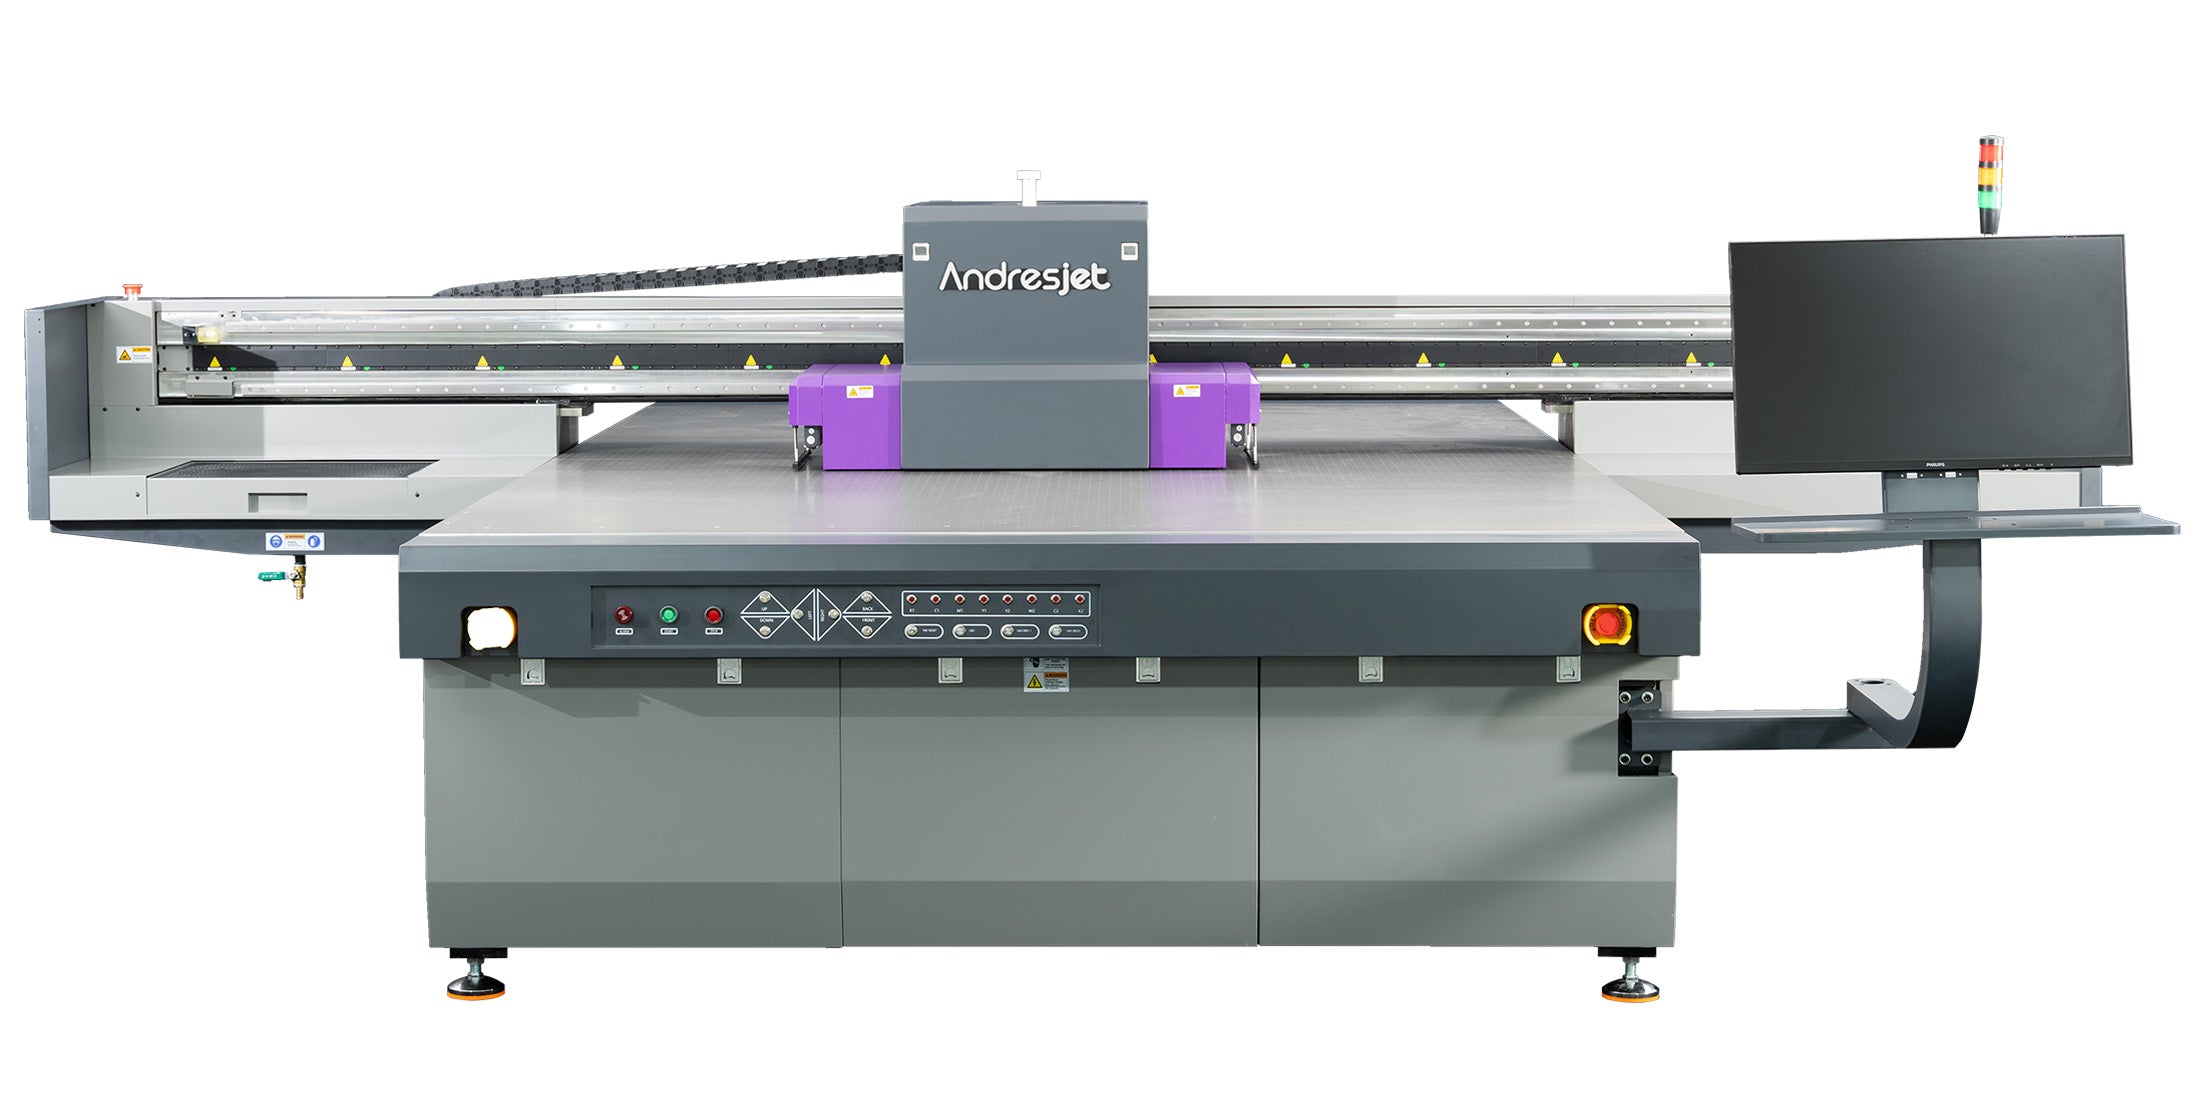
High-output 3.2 × 2.0 m platform
Published maximum figures are not a production guarantee. Actual output changes with artwork coverage, resolution, pass count, color direction, white or varnish layers, panel loading, cleaning, alignment, unloading, inspection and operator workflow.
Information for a useful recommendation
A panel size and target speed are not enough. These four groups of information allow AndresJet to review physical handling, surface compatibility, layer strategy and realistic production output before recommending a configuration.
Length, width, thickness, weight, edge condition, printable area, pieces per bed and the equipment available for safe loading and unloading.
Clear, tinted, low-iron, tempered, laminated, mirrored or coated glass; supplier details; protective film; print face and approved cleaning restrictions.
Front or reverse view, coverage, color reference, transparency, white underbase or backing, varnish, registration and any unprinted clear areas.
Interior or exterior location, handling and cleaning exposure, durability test, quantity per design, designs per shift, turnaround and inspection capacity.
No. Glass composition, factory coatings, mirror layers, protective-film residue, contamination and prior treatments can change adhesion and appearance. Tempered or laminated construction may also impose handling limits. Test representative production glass after the intended preparation and approve it against the actual end-use requirement.
Not every glass and ink combination requires the same treatment, so primer should not be assumed or omitted without testing. Begin with a controlled cleaning process and the ink supplier's guidance. When necessary, compare an approved primer or surface treatment and document application amount, drying time and the test result.
Front printing places the ink on the viewing side and may provide a more direct surface effect. Reverse printing mirrors the artwork and allows it to be viewed through the glass, which can protect the graphic in some assemblies. The choice changes the artwork, layer order, color appearance and white-backing strategy, so confirm the final installation before preparing files.
White ink can provide opacity behind color, create selective white graphics or separate artwork from a dark background behind the glass. It may be printed below or above the color depending on the viewing side. White layers add ink and production time, so opacity and registration should be approved with the actual design.
Suitability depends on the glass, ink, primer, layer orientation, exposure, abrasion, cleaning chemicals and required service life. Define realistic conditions and test adhesion, scratching, moisture, chemicals and weathering as applicable. A reverse print, laminate or compatible protective coating may be considered when the approved system needs additional protection.
From sample panel to repeat production
Commercial glass printing combines material identification, controlled preparation, correct artwork orientation, an approved ink-layer sequence and safe panel handling. Use this guide to define the process before comparing finished output per shift.
Useful for prototypes, customized graphics and short-to-medium runs with gradients, variable artwork and planned color-white-varnish layers.
Can suit long repeat runs and established spot-color processes, but screens, color separation and setup make frequent artwork changes less flexible.
May provide a separate protective or decorative layer, but adds material, application, trimming and edge-finish considerations to the workflow.
Identify the panel. Record supplier, construction, coating, dimensions, thickness, weight, edge condition and print face.
Confirm viewing direction. Decide whether the graphic is viewed from the printed face or through the glass and mirror artwork when required.
Standardize preparation. Remove approved protective film, control cleaning and drying, and apply only a validated primer or treatment.
Build the layer stack. Prepare color, white backing, selective white, clear areas and varnish in the correct order for the viewing side.
Approve a conditioned sample. Evaluate color, opacity, registration, adhesion, scratching and the relevant cleaning or exposure requirements.
Time a pilot batch. Include preparation, loading, alignment, printing, unloading, inspection, cleaning and safe panel movement.
Glass is smooth and non-porous, so small differences in contamination and coatings can produce large differences in adhesion. Fingerprints, silicone, cleaner residue, protective-film adhesive and moisture must be controlled. Use a clean handling area, lint-free materials and a documented preparation method appropriate for the exact glass.
If a primer or another treatment is evaluated, document the product, application method, amount and drying time. Condition the printed sample before testing and use an acceptance method that reflects the installation rather than relying only on immediate appearance.
A successful sample is not proof that every glass panel will behave the same. Lock the material source, preparation method, ink layers and test procedure for repeat production.
Begin with the number and size of panels that fit safely on the bed. Add artwork coverage, resolution, pass count, print direction and every color, white or varnish layer. Reverse printing does not automatically reduce time; the required backing and registration can add passes and inspection points.
Then include unpacking, film removal, cleaning, primer drying when used, lifting, alignment, loading, unloading, inspection, rework and downstream assembly. Heavy or fragile glass may require more handling time and equipment than the printer cycle. A timed pilot batch is the most useful basis for estimating finished panels per shift.
Provide the intended construction, coating, dimensions, thickness and print face, ideally from the production supplier and batch.
Send a real file with viewing direction, color reference, transparency, white backing, selective white, varnish and clear-area requirements.
Define appearance, opacity, adhesion, scratching, moisture, chemical, cleaning or weathering tests and who approves the result.
Share panels per shift, designs per batch, operating hours, lifting method, changeovers, inspection capacity and installation destination.