






Small canvas art panels
Produce qualified tabletop art, personalized décor and compact rigid-backed canvas panels when the material remains flat and its dimensions, thickness and weight fit the printer.
Review the AJ1206

Coated cotton, poly-cotton, polyester and rigid-backed canvas can differ in weave, absorbency, surface color, coating and texture. Print a controlled target on the exact production material, then assess detail, color, white-layer options, surface feel and adhesion under the intended viewing light.
Confirm how the canvas will remain flat during printing and how it will be stretched, mounted, framed, cleaned or handled afterward. Approve the completed artwork—not only a freshly printed flat sample—before committing to repeat production.
Canvas printing production overview
Direct UV printing can support qualified coated canvas, rigid-backed canvas and flat art panels. The result still depends on fiber, coating, weave, surface color, dust, flatness, backing, ink layers, color proofing and the way the finished artwork will be stretched, mounted, framed or displayed.
Produce qualified tabletop art, personalized décor and compact rigid-backed canvas panels when the material remains flat and its dimensions, thickness and weight fit the printer.
Review the AJ1206Compare artwork detail, canvas texture and color on the production material before approving a repeat order, rather than judging only a screen preview or a different media sample.
Review the canvas printing guidePlan individual or nested layouts on a 2500 × 1300 mm platform after confirming canvas construction, backing, flatness, hold-down, clearance and finishing steps.
Review the AJ2513G/REvaluate a 3200 × 2000 mm platform when the finished artwork size, loading plan, flatness control, workspace and approved production test justify a larger bed.
Review the AJ3220G/RRecord cotton, polyester or blend, coating, weave, surface color, supplier, batch, backing and whether the material arrives loose, mounted or panelized.
Confirm a safe flatness and hold-down method. Wrinkles, curled edges, loose fibers, raised frame parts or unstable tension must not enter the carriage path.
Canvas texture, coating and base color affect perceived detail and density. Approve a controlled target and production artwork under the intended viewing light.
Repeat stretching, mounting, trimming, framing, cleaning and handling before approval so post-processing does not expose a weakness missed on a flat sample.
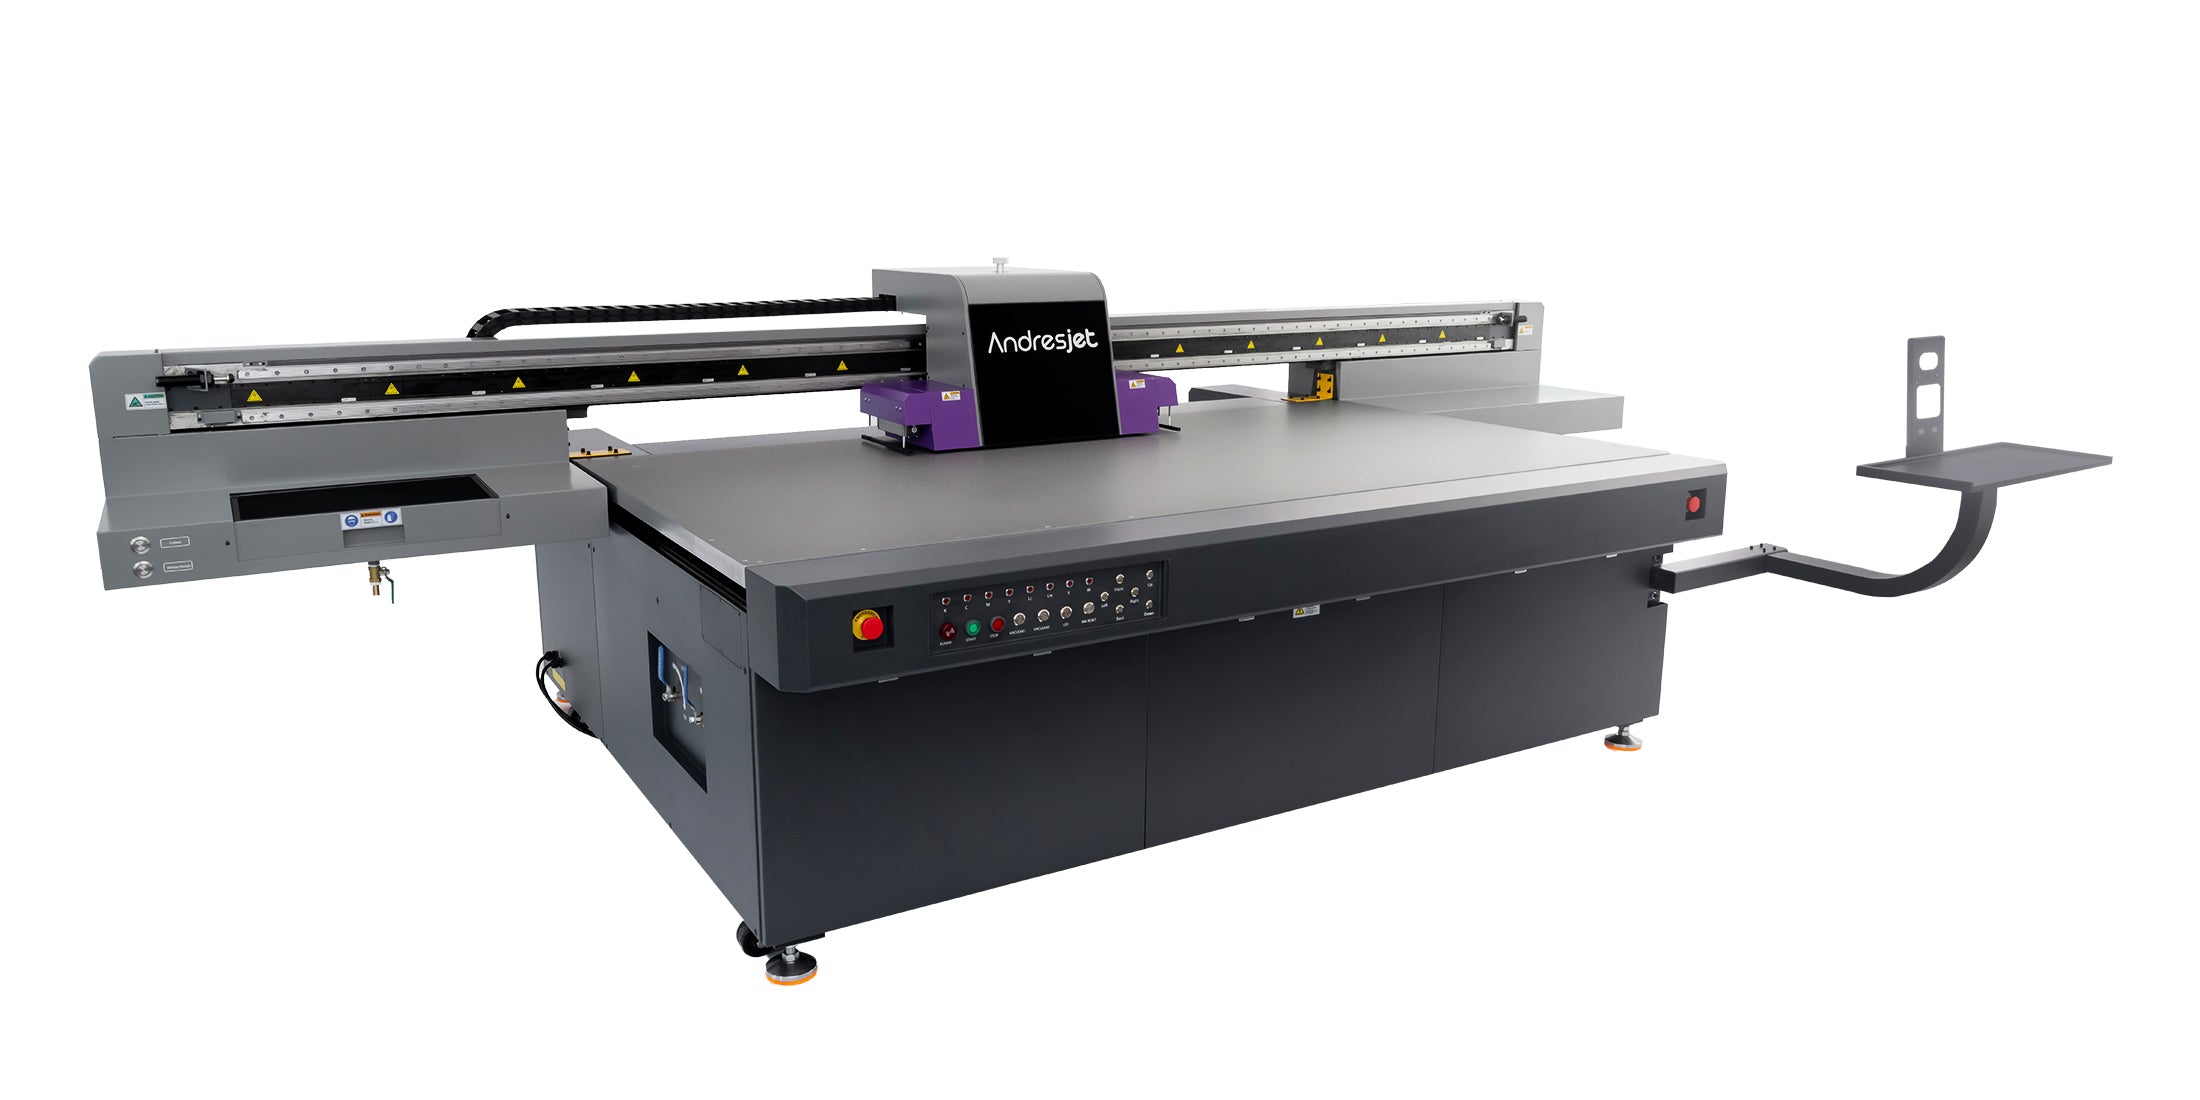
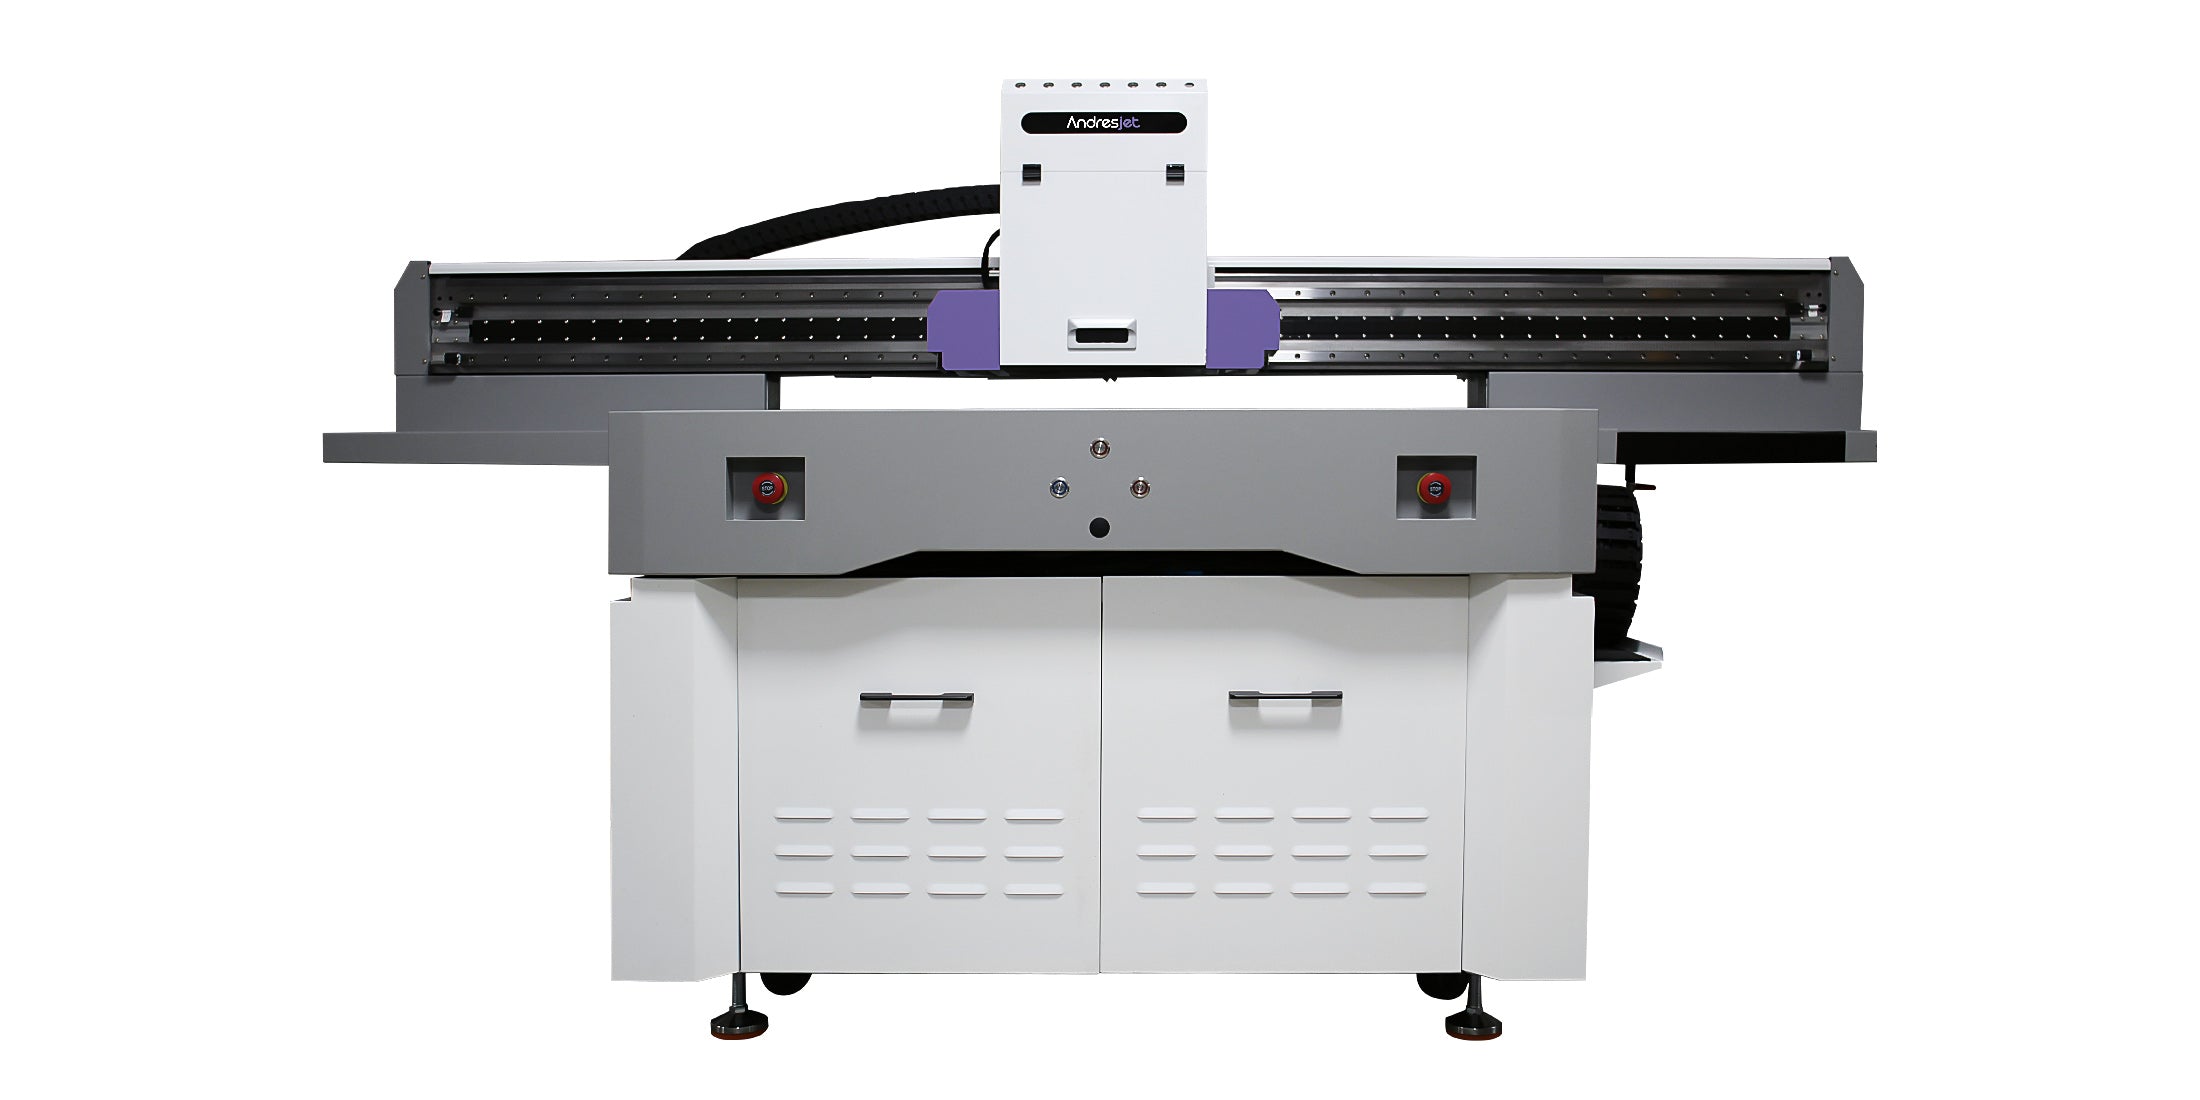
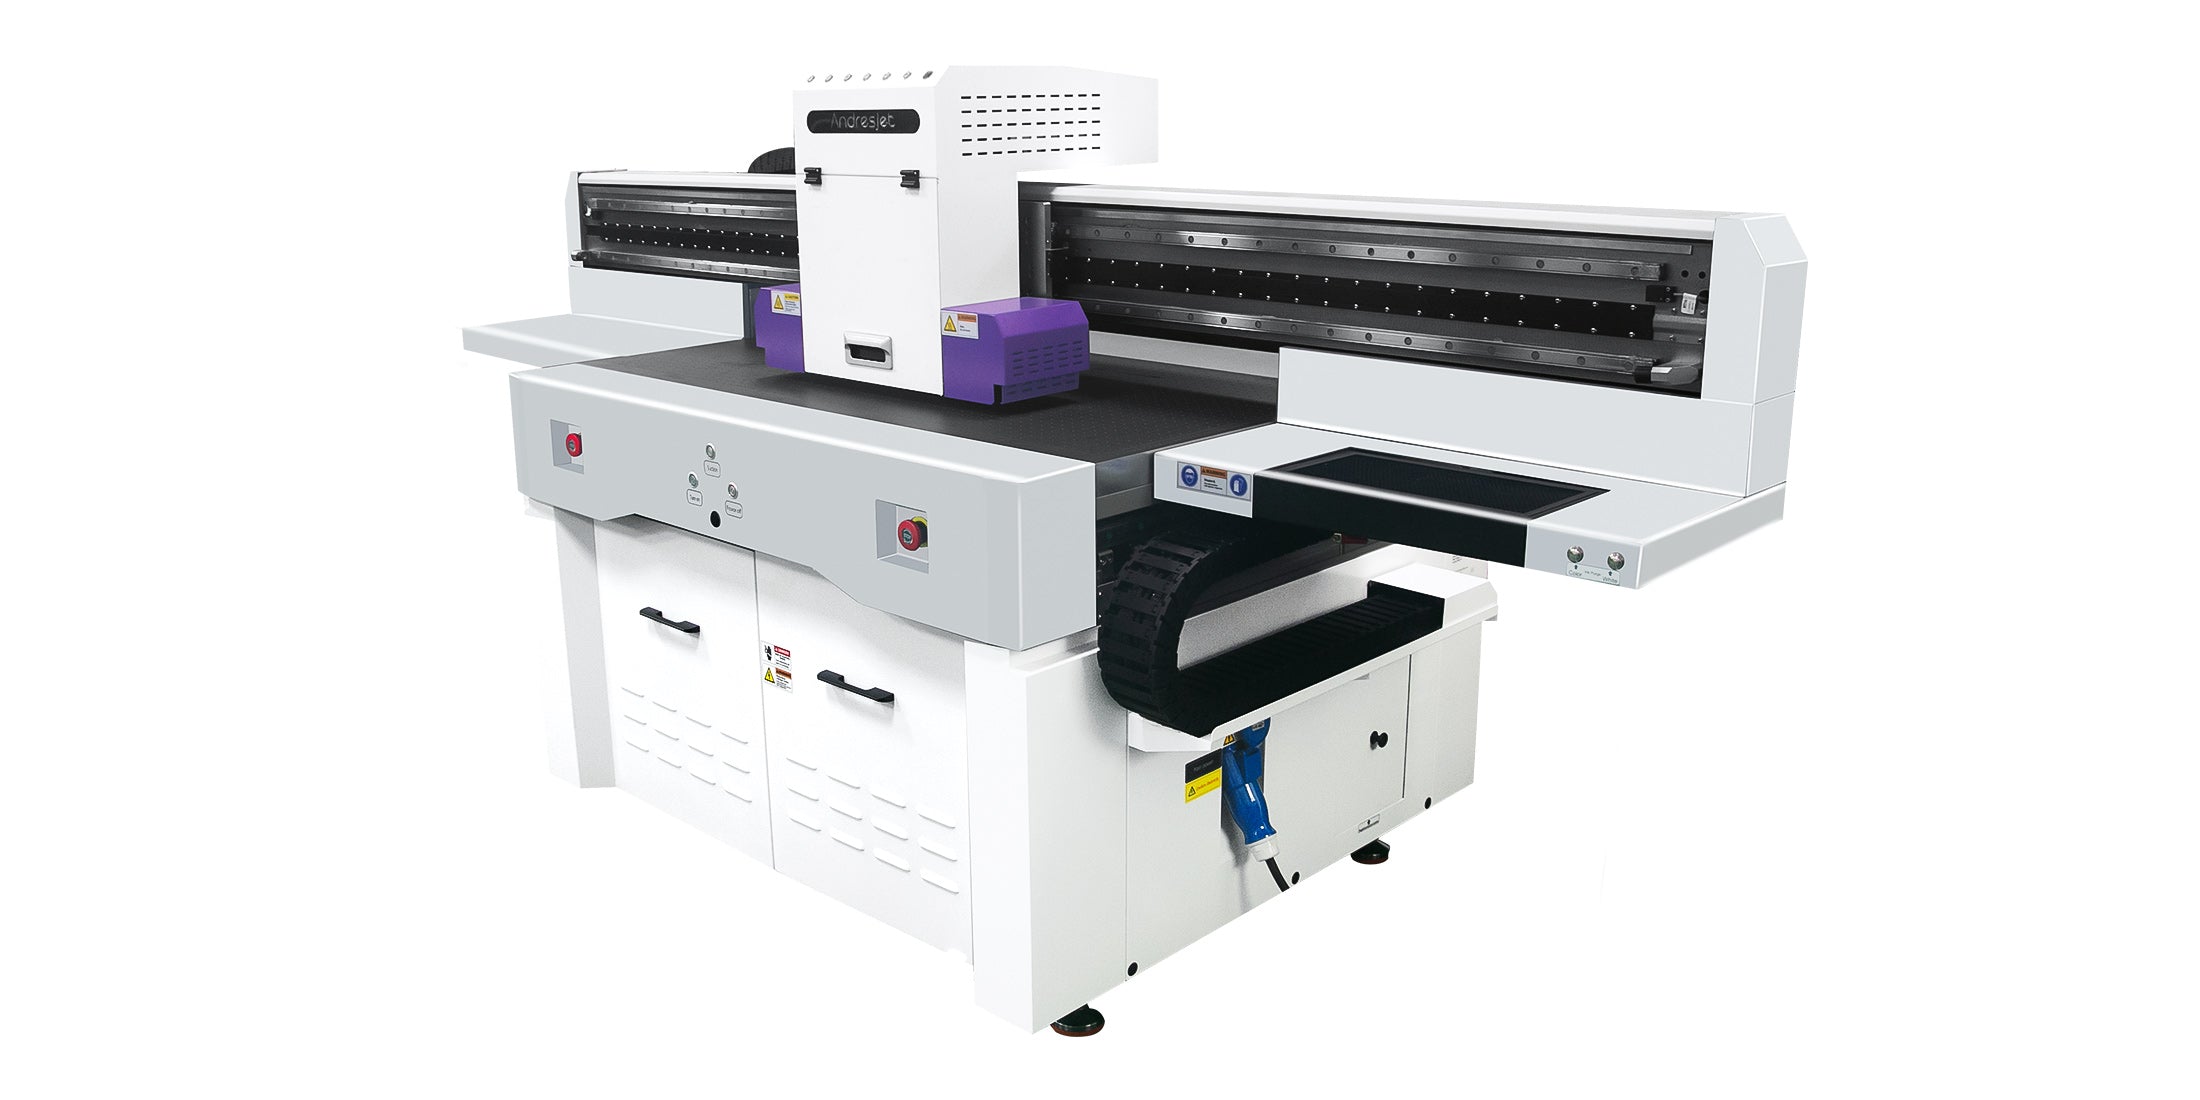
Three current flatbed platforms
Start with the largest flat printable piece, then qualify canvas construction, backing, thickness, flatness, loading, white or varnish layers, color proofing and the finishing sequence. Published dimensions do not guarantee compatibility with every canvas.
Compact art and proof production
Standard 2500 × 1300 mm platform
Large 3200 × 2000 mm platform
Actual finished output changes with canvas preparation, panel size, nesting, artwork coverage, resolution, pass count, white or varnish layers, loading, proofing, inspection and finishing. Time an approved pilot before setting production targets.
For a useful recommendation
A printer recommendation is more reliable when it follows the supplied media and completed-artwork requirement, not only the maximum image dimensions.
Fiber, weave, coating, base color, supplier, batch, thickness, backing, surface dust and whether it is loose, mounted or panelized.
Printable dimensions, individual weight, pieces per bed, margins, edge wrap, frame or mount, flatness, clearance and loading method.
Production file, reference proof, viewing light and distance, required detail, white or varnish layers, gloss and acceptable texture interaction.
Stretching, mounting, trimming, framing, handling, cleaning, indoor or controlled exposure, order mix and written acceptance criteria.
Final compatibility, color and durability should be confirmed on the production canvas and completed artwork.
No. Cotton, polyester, blends, coatings, weaves and backing systems can behave differently. Loose fibers, texture, absorbency, surface treatments and flexibility affect print quality and adhesion. Submit the exact production canvas and test its intended finishing sequence.
The safest workflow depends on the material, backing and equipment clearance. A flat, stable and supported printable face is required. If printing before stretching, test tensioning and edge wrap afterward. If printing a mounted or framed panel, confirm height, flatness and every raised component before loading.
Not always. White or light canvas may use color directly when the approved appearance allows it. Dark, colored or transparent effects may need a controlled white-underbase test. Compare opacity, color, registration, texture, flexibility and surface feel on the real material.
Use the production file, exact canvas, intended print settings and a physical reference viewed under defined lighting. Canvas weave and coating can alter apparent sharpness, density and color. Approve both a control target and representative artwork, then record the media batch and settings.
No universal lifespan should be promised from the printer or canvas name alone. Ink, coating, white or varnish layers, stretching, display light, moisture, temperature, abrasion, cleaning and protective finishing can affect performance. Define the use and complete an appropriate test.
Proof before production
Share representative canvas, backing, dimensions, artwork, reference proof, finishing sequence and display conditions. AndresJet can review the application, identify a suitable current platform and arrange sample testing.
Canvas production guide
A useful pilot controls the canvas batch, flatness, proofing, ink layers and post-print finishing so repeat orders can be matched to an approved physical result.
Prints digital artwork on a qualified flat and stable canvas surface without making a screen. Material compatibility, hold-down, color and finishing still require testing.
Processes flexible canvas as a roll and may suit different production layouts. Tension, transport, ink system, drying or curing and later stretching follow a different workflow.
Adds a separately printed layer or transfer step. Edge appearance, texture, adhesion, flexibility and finishing should be assessed on the completed artwork.
Identify the media. Record fiber, weave, coating, supplier, batch, base color, thickness, backing and the planned printable face.
Inspect and stabilize. Remove loose dust using an approved method and confirm flatness, edge condition, hold-down, origin, height and carriage clearance.
Prepare the artwork. Set the final size, crop, bleed or wrap area, detail requirement and reference proof for the intended viewing distance.
Print a controlled proof. Compare color directly on the canvas plus any white or varnish option while keeping files, settings and sample positions traceable.
Complete the finish. Stretch, mount, trim, frame and handle the sample using the same sequence planned for production.
Approve and document. Save the media batch, preparation, file, ink sequence, loading map, settings, lighting and acceptance result.
The same digital file can look different across canvas coatings, fibers, weave depths and base colors. A profile or screen preview cannot show every texture interaction, and a proof on smooth paper or another canvas is not an equivalent production approval.
Approve the file, material, print settings, viewing condition and finishing method as one controlled result.
Dense weave can preserve more fine detail than a coarse textured surface. Evaluate critical lines, small type and tonal transitions at the real viewing distance.
Define whether artwork stops at the face, wraps around an edge or continues into a trim area. Keep essential content away from stretch, cut and frame zones.
Use only when they serve the approved appearance. Additional layers can affect surface feel, flexibility, registration and production time and must be tested.
Machine speed alone does not describe finished canvas output. A realistic pilot includes:
Time the approved process before committing to pieces per shift or turnaround.
Representative production material, supplier code, fiber, coating, weave, base color, backing, dimensions and batch information.
Production file, final size, crop or wrap area, reference proof, required detail, color, white or varnish expectations and viewing distance.
Loose or panelized printing, stretching, mounting, trimming, framing, edge treatment, handling, cleaning and packing sequence.
Quantity, sizes, versions, turnaround, display environment, approval light and written pass/fail criteria.