

A phone case provides only a small printable area, but it contains several features that make artwork alignment difficult. Camera openings, rounded corners, side buttons, raised lips and curved edges can all affect where a design should begin and end.
A design that appears correctly positioned on a computer screen may look off-center after printing if the template does not match the physical case. Small placement errors are especially visible around camera holes, logos, borders and symmetrical artwork.
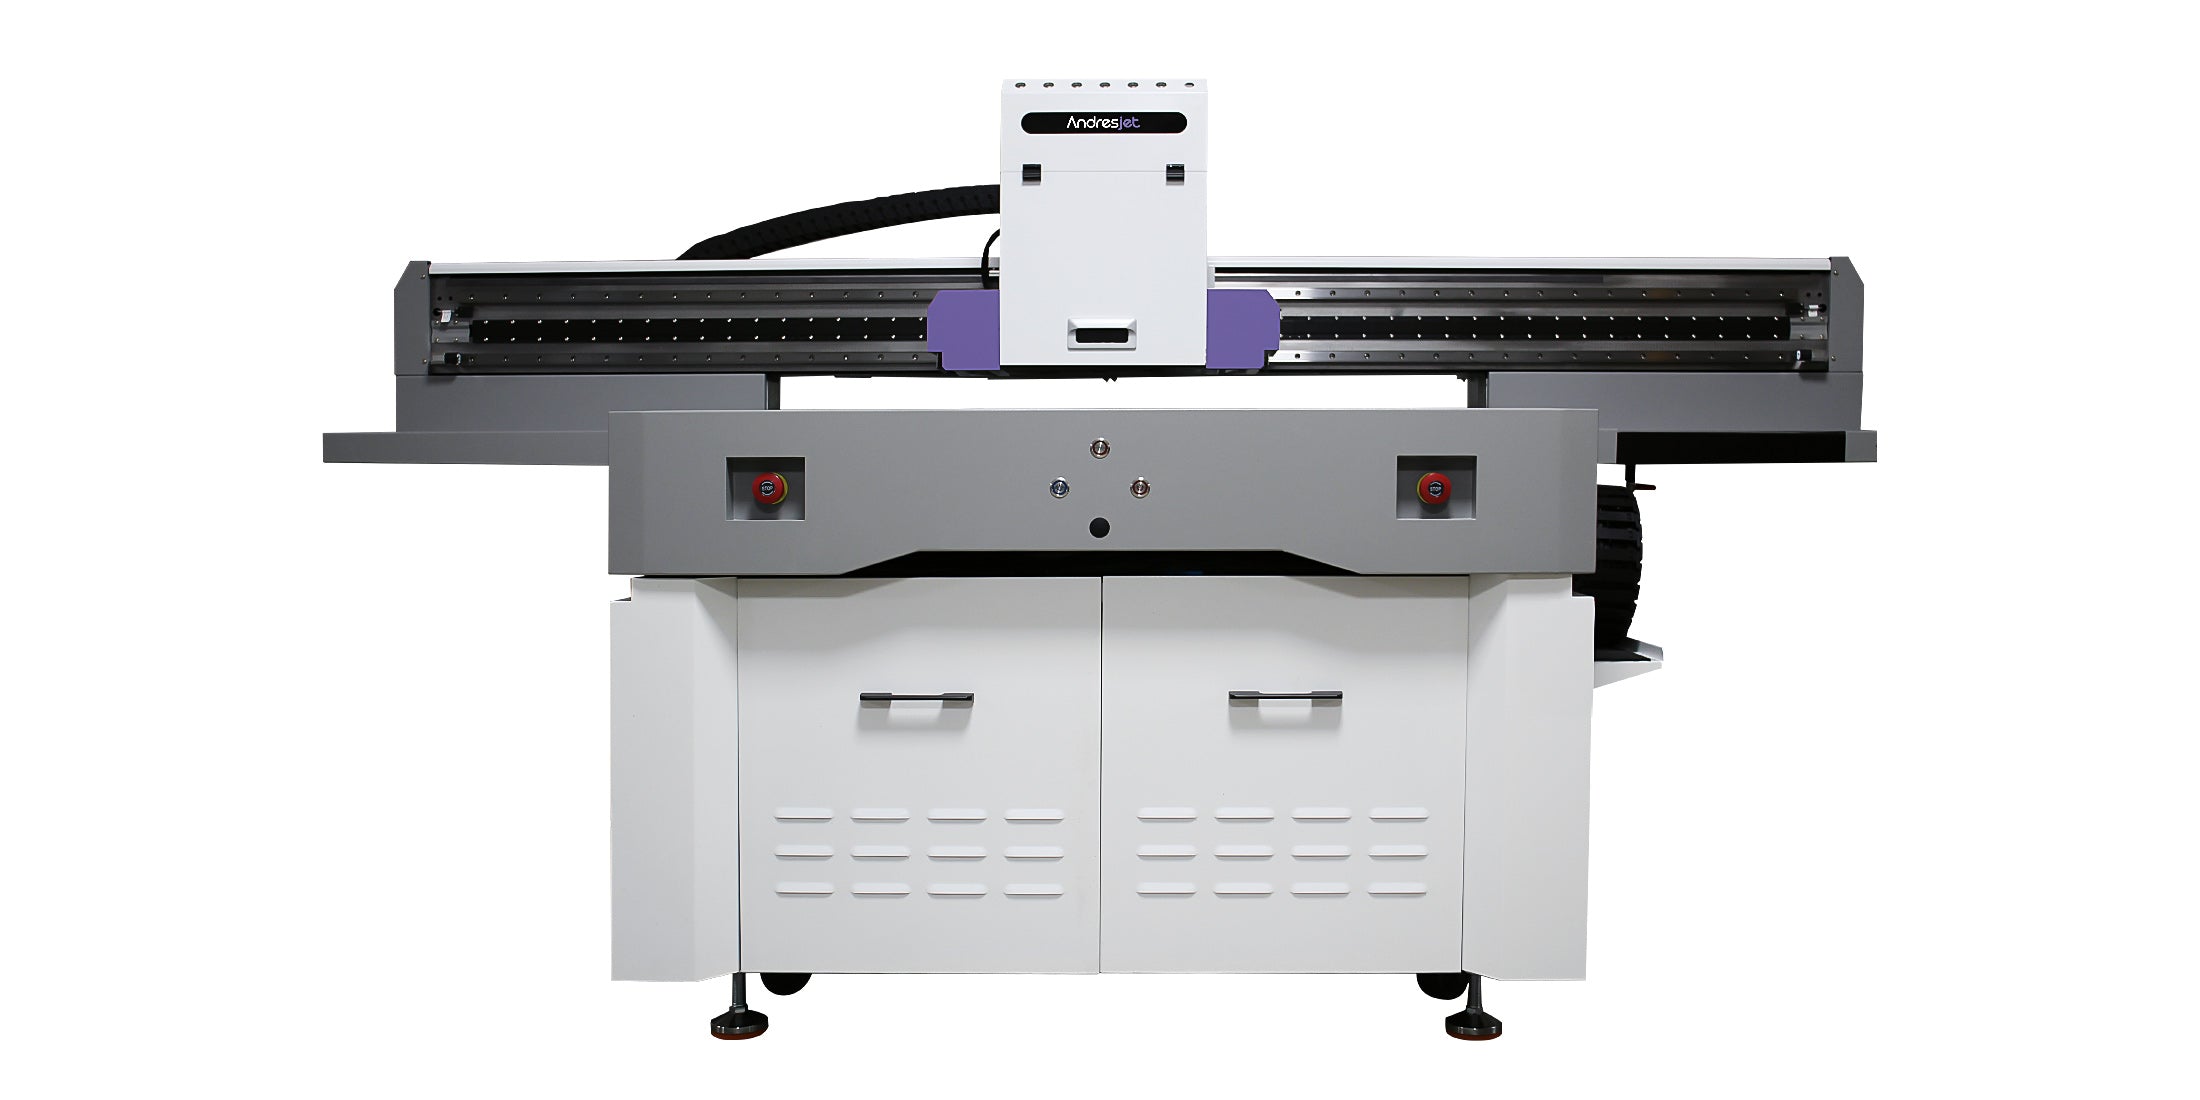
For businesses using compact UV flatbed printers to produce customized phone cases, reliable alignment begins with the physical product—not with the artwork file alone.
Why Is Phone Case Artwork Alignment Difficult?
Phone cases that are sold under the same model name may still have small dimensional differences. Different manufacturers may change:
- The camera-opening dimensions
- The radius of the corners
- The height of the protective camera lip
- The location of side-button covers
- The amount of printable area near the edge
- The curvature or texture of the back surface
A template downloaded from the internet may not match the actual blank being loaded onto the printer. For production work, the template should be created or verified from the exact phone case supplied for the order.
What Areas Should a Phone Case Template Include?
A useful production template should contain more than the outside shape of the case. It should show at least four separate areas:
| Template area | Purpose |
|---|---|
| Case outline | Defines the physical outside dimensions |
| Camera exclusion zone | Prevents important artwork from entering the camera opening or raised lip |
| Safe design zone | Keeps text, faces and logos away from uncertain edges |
| Bleed or background zone | Allows noncritical background artwork to extend beyond the intended boundary |
Keep these areas on separate layers. The physical outline and camera guide should remain visible while positioning the design but should not be included in the final printed artwork.
How Should the Camera Hole Be Measured?
Measure the physical blank rather than relying only on a phone manufacturer’s device drawing. The case opening can be larger than the phone’s actual camera module, and the protective lip creates another boundary that may affect printing.
Record:
- Camera-opening width and height
- Corner radius
- Distance from the case’s left or right edge
- Distance from the top edge
- Height of the raised camera lip
- Any separate flash or sensor opening
Do not place fine text or an important part of a photograph directly against the measured opening. Add a safety margin around the camera zone to allow for normal variations in blanks, loading and positioning.
How Large Should the Safe Margin Be?
There is no universal safe margin for every phone case. It depends on the dimensional consistency of the blanks, the positioning method, surface shape and approved production tolerance.
A suitable margin should be established through testing. Begin conservatively, print several samples and measure the actual placement variation.
Important design elements that should remain inside the safe zone include:
- Brand names
- Customer names
- Faces
- QR codes
- Fine borders
- Serial numbers
- Small legal or product text
Background colors, patterns and photographic scenery can extend farther toward the edge because minor cropping is less noticeable.
Why Do Thin Borders Reveal Alignment Errors?
A narrow border that follows the phone case outline can make even a small placement error obvious. If the case shifts slightly, one side of the border appears wider than the other.
For production designs:
- Avoid extremely thin edge-following borders
- Move the border farther inside the safe area
- Use a wider design element that tolerates small variations
- Replace a rigid border with a fading or irregular background
If a precise border is essential, verify the fixture, template and registration using several consecutive cases rather than approving only one sample.
How Should Artwork Be Prepared for Rounded Corners?
Phone cases usually have rounded corners, while many customer images are rectangular. Simply scaling a photograph to the case width can place important content in areas that will be cropped.
When preparing artwork:
- Place the image beneath the verified case template.
- Scale it until the background covers the intended print area.
- Check the four corners independently.
- Move faces, text and logos into the safe zone.
- Inspect the area around the camera opening.
- Remove the nonprinting guide layers before output.
Do not stretch artwork unevenly to fill the template. Crop or extend the background while preserving the original proportions of important content.
How Do Curved Edges Affect Print Placement?
A design can be positioned correctly in the file but still print differently near a curved or raised surface. As the distance between the printhead and the surface changes, image sharpness and ink placement may become less predictable.
Before planning edge-to-edge printing, inspect:
- Whether the case back is truly flat
- How quickly the surface curves near the sides
- The height of the outer protective lip
- The height of the camera surround
- Whether the case flexes while being held
Keep printheads at the approved operating distance and do not allow raised areas to create a collision risk. A test should confirm the usable printable area of the actual case.
Should You Use a Fixture or CCD Positioning?
Fixtures and camera-based positioning solve different production problems.
Fixtures
A fixture is useful when the same phone case model is printed repeatedly. It establishes consistent locations and orientations for multiple cases.
Fixtures are generally suitable when:
- The blank dimensions are consistent
- The same case model is produced regularly
- Several cases share one prepared bed layout
- Fast repeatable loading is important
CCD visual positioning
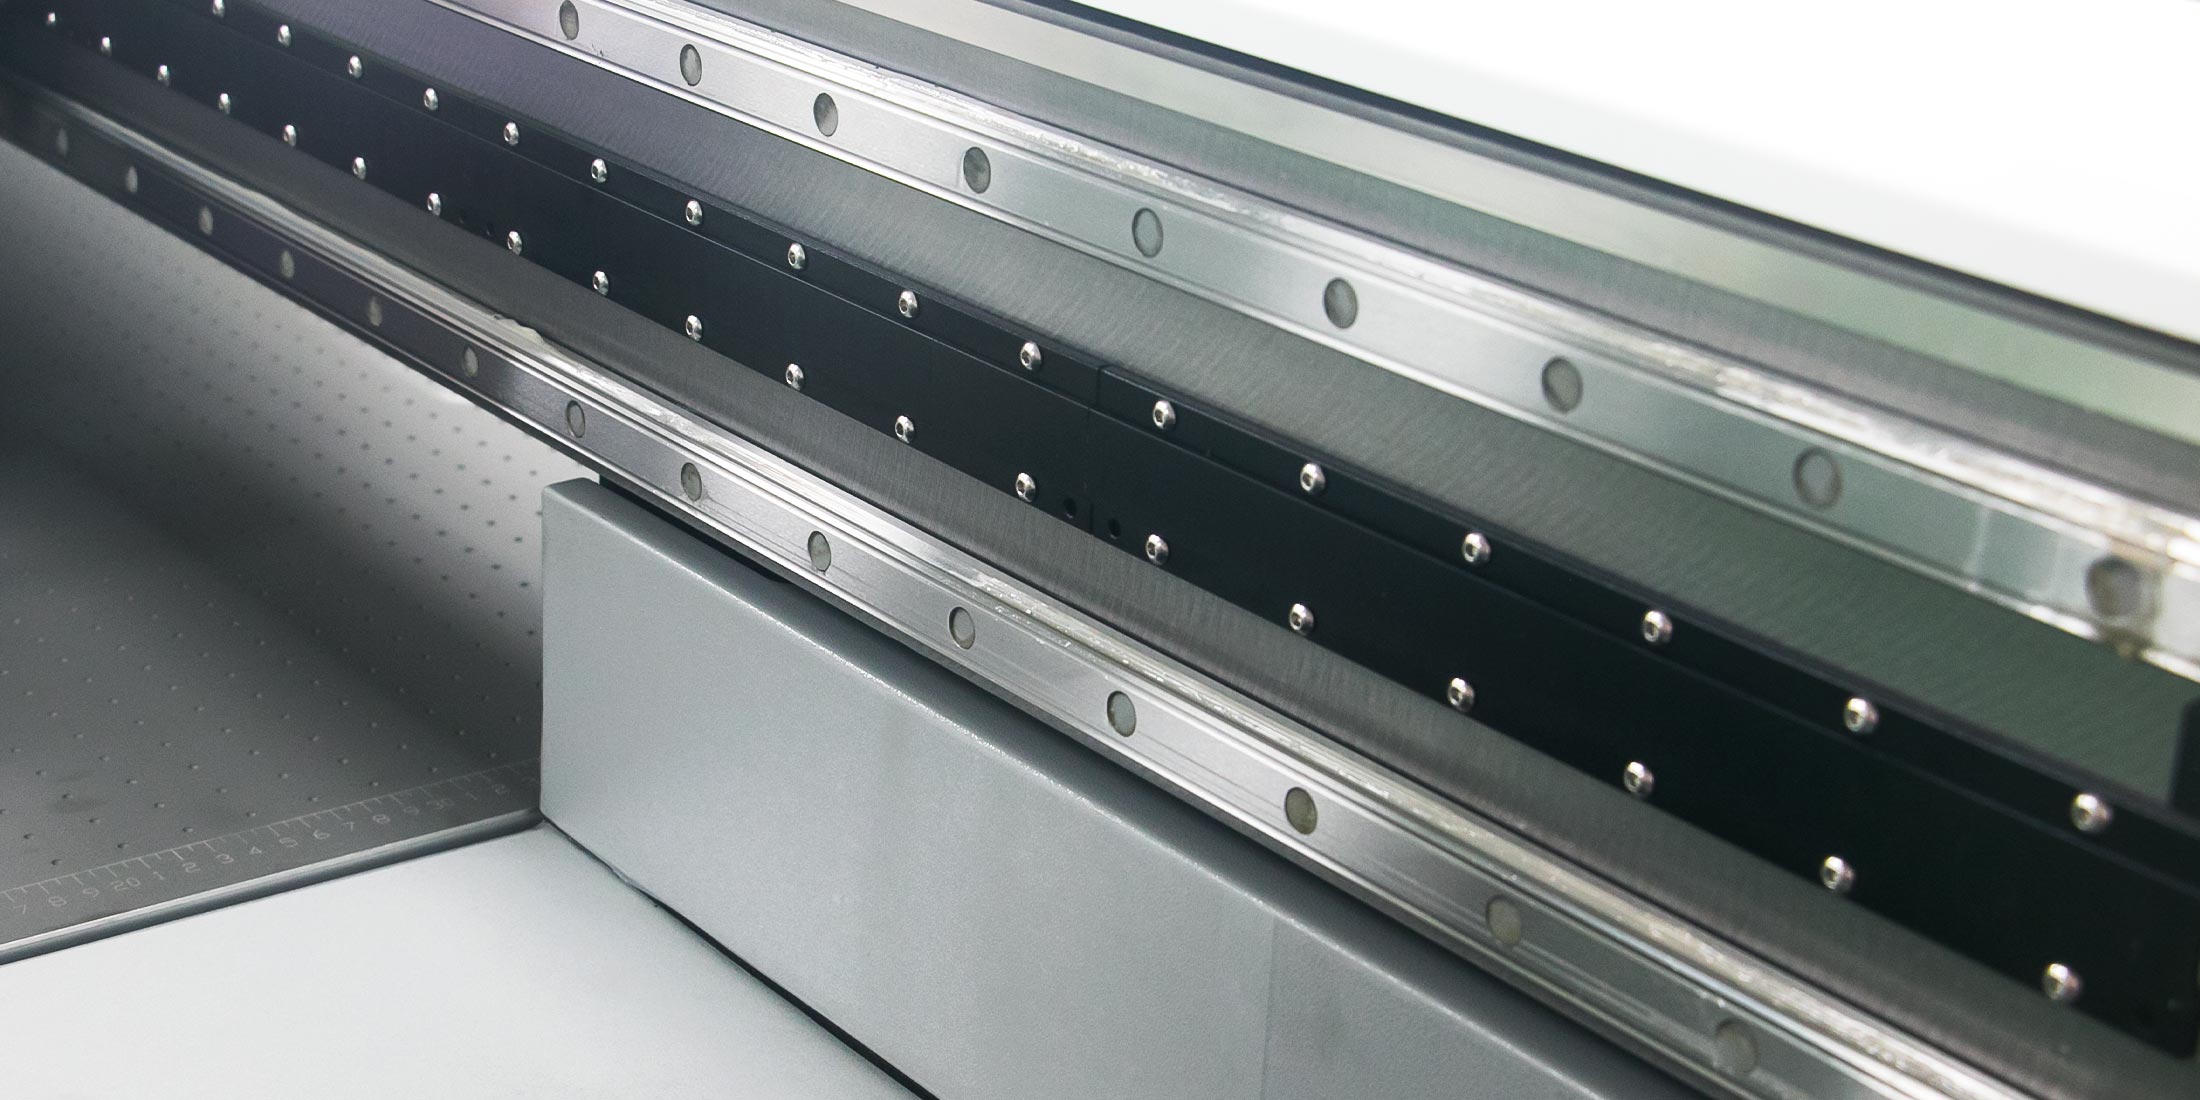
A visual-positioning system can support workflows in which compatible items are placed in varying positions or several case models are handled in short runs. The camera scans the bed and assists with matching artwork to detected products.
This can reduce dependence on a separate fixture for every low-volume layout, but it does not remove the need for correct artwork templates. The system must still know the intended relationship between the design, camera opening and case boundary.
The AndresJet AJ1206 Small UV Flatbed Printer offers an optional wide-beam CCD scanning system and a 1200 × 600 mm flatbed for compatible small-item production.
How Should Multiple Phone Cases Be Arranged?
When several cases are printed in one batch, create a bed map showing the position and orientation of every case. Clearly identify which artwork belongs to each location.
For mixed personalized orders, use a production list containing:
- Order number
- Phone model
- Case material and color
- Artwork filename
- Customer name or variation
- Fixture or bed position
A filename such as Design03.pdf is not enough for a mixed batch. Use clear production identifiers, but do not print internal filenames or customer information unless they are intentionally part of the design.
Why Should White Ink Be Checked Separately?
Transparent, dark and colored cases may require a white underbase. The white layer must align with the color artwork and stay inside the intended printing boundary.
An incorrectly prepared white layer can:
- Create a visible white halo
- Extend into the camera opening
- Reduce transparent effects
- Leave colors dull near the artwork edge
Preview the white and color layers independently in the RIP software. Print an alignment target before approving a large batch, especially after changing the template, fixture or case supplier.
What Should a Phone Case Alignment Test Include?
Create a temporary test file containing:
- A fine outline around the intended safe zone
- Crosshairs near the camera opening
- Horizontal and vertical centerlines
- Small circles near the corners
- Numbered reference points
- A separate white-underbase test area
Print several cases and compare them. Do not judge repeatability from one perfect sample.
Record:
- Horizontal and vertical displacement
- Rotation
- Distance from the camera opening
- Consistency between fixture positions
- White-to-color registration
After correction, save the approved template with a clear version number and identify the exact blank supplier or product code.
What Should Be Checked Before Production?
Use this checklist before beginning a customer order:
- The case model matches the approved template
- The camera-opening dimensions have not changed
- The printable surface is clean
- The case material has passed adhesion testing
- The correct fixture or positioning setup is loaded
- The artwork matches the production list
- Important elements remain inside the safe zone
- White ink and varnish layers are correct
- A first-piece inspection has been completed
Final Recommendation
Accurate phone case printing depends on the relationship between three things: the physical blank, the production template and the positioning method.
Measure the real case, create a camera exclusion zone, protect important content with a tested safe margin and verify repeatability across several samples. Fixtures can support regular batches, while optional visual positioning may provide greater flexibility for mixed short runs.
Explore AndresJet’s compact UV flatbed printers, or send the AndresJet team your phone case samples, artwork and expected order mix for a positioning and sample-print evaluation.
Frequently Asked Questions
Can I use a phone case template downloaded from the internet?
It can be used as a starting reference, but it should be verified against the exact physical blank. Camera openings and edge dimensions can vary between case suppliers.
How close can artwork be placed to a camera hole?
The distance should be determined through testing. Important text and logos need a safety margin beyond the measured camera opening and raised lip.
Why does a centered design sometimes look off-center?
The visual center of the printable area may differ from the geometric center of the entire case because the camera opening removes space from one corner.
Is CCD positioning enough without a correct template?
No. Visual positioning can help locate the product, but the artwork must still be prepared according to the case outline, camera opening and safe zones.
How can alignment errors be reduced in personalized batches?
Use clear production identifiers, map each file to a fixture or bed position and inspect the first item before completing the batch.
Follow AndresJet:
Share:
What Affects 360-Degree Bottle Printing Speed and Quality?
How to Choose Between AJ1206 and AJ360i for Promotional Products?