

- by John White
How to Print Test Page on UV Flatbed Printer for Nozzle Checks?
- by John White
Print bigger, print faster — wide-format UV flatbed printers for signs, decor and industrial work.

Featured Snippet To print a test page on a UV flatbed printer like AndresJet AJ2130EX: Open RIIN Print or PhotoPrint RIP software, load rigid media on the hard-anodized flatbed with 4-zone vacuum engaged, select the nozzle check or alignment pattern under Maintenance, and print at 720×1200 DPI resolution. Examine the output for missing lines in RICOH Gen5/Gen6 nozzle patterns, color accuracy across CMYK and white/varnish channels, and straight bi-directional lines to diagnose clogs, misalignment, or vacuum issues affecting production speed and quality.
Check: print test page
A UV flatbed printer test page is a diagnostic document generated by your RIP software that evaluates nozzle health, color accuracy, alignment, and vacuum performance. Running test pages weekly or after media changeovers prevents costly downtime by catching clogs, misalignment, and ink flow issues before they impact high-volume production runs on rigid media up to 100mm thick.
Unlike consumer inkjet test pages, industrial UV flatbed diagnostics serve a critical role in production environments where downtime directly reduces revenue. On systems like the AndresJet AJ2130Ultra—capable of printing up to 140.7 m²/h in ultra-draft mode—a single nozzle clog across 24 RICOH Gen5 print heads can degrade output quality and slow throughput by 15-30%, affecting sign, panel, and décor production schedules.
A UV flatbed test page reveals mechanical and electrical issues in seconds: missing lines indicate nozzle blockages, color shifts expose weak ink channels, and misaligned crosshairs signal vacuum or servo motor drift. For operators managing home decoration panels, PVC/ABS printing, or high-speed signage workflows, regular testing ensures consistent quality and maximizes the 2-year comprehensive warranty and 8-year spare parts guarantee that AndresJet provides.
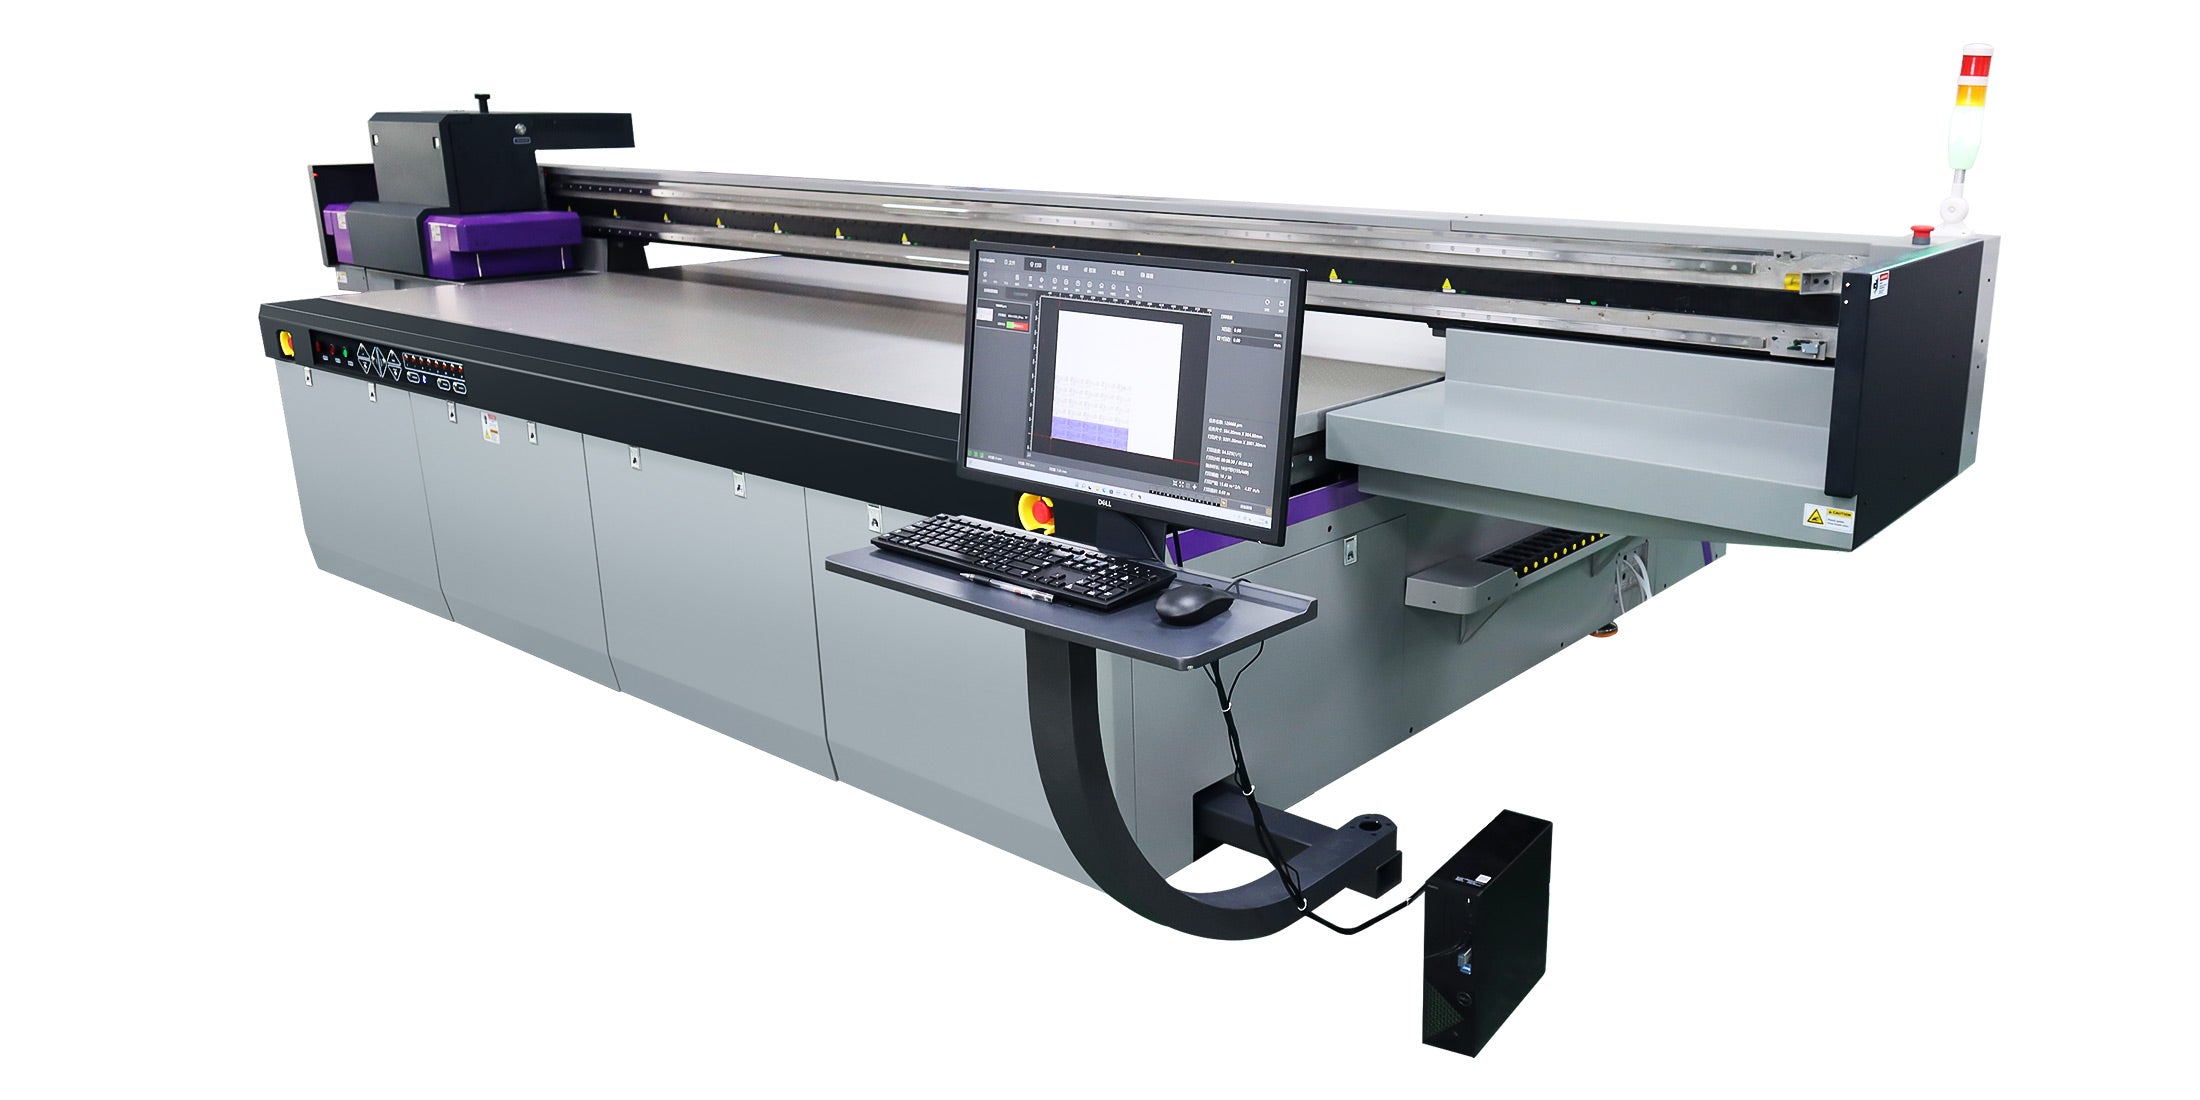
Access test print functions by opening your RIP software (RIIN Print or PhotoPrint on AndresJet systems), navigating to the Maintenance or Diagnostics menu, and selecting Nozzle Check, Print Quality Report, or Alignment Pattern. Load test media on the flatbed, confirm 4-zone vacuum is active, and press Print. Results display within 30-60 seconds, depending on pattern complexity and resolution.
RIIN Print and PhotoPrint are the standard RIP interfaces for AndresJet UV flatbed printers, including the AJ2130EX, AJ2130G/R, AJ2512G/R, and AJ3220EX models. Both software platforms provide intuitive Maintenance tabs that house diagnostic tools:
Step 1: Launch RIP Software — Open RIIN Print or PhotoPrint on your production computer. Ensure the printer is powered on, the hard-anodized aluminum flatbed is clean, and the 4-zone vacuum system is engaged (listen for the dual 1500W blowers running).
Step 2: Navigate to Maintenance Menu — Click Maintenance or Diagnostics in the top toolbar. You'll see options like Nozzle Check, Print Quality Diagnostic, Color Calibration, and Alignment Test.
Step 3: Select Test Pattern — Choose the appropriate diagnostic. For a quick nozzle health check, select Nozzle Check Pattern. For detailed alignment and color accuracy, choose Print Quality Diagnostic.
Step 4: Load Test Media — Place a rigid substrate (PVC, MDF, or acrylic panel) on the flatbed. Confirm media thickness is between 1–100mm and that the auto-height detection (available on AJ2130G/R and AJ2512G/R models) registers correctly. Activate the 4-zone vacuum to secure the media.
Step 5: Set Resolution and Print — Select your desired resolution (360×1200, 720×1200, or 720×1800 DPI, depending on your model). Choose uni-directional or bi-directional printing mode. Click Print and monitor the nozzle carriage as it moves across the media. The test completes in under 60 seconds for most patterns.
Check: Print Test Page Guide
RICOH Gen5/Gen6 nozzle test patterns include vertical line grids, color bar arrays (CMYK + White/Varnish), and crosshair alignment marks. Each pattern targets specific print head channels: missing vertical lines indicate individual nozzle clogs, gaps in color bars reveal weak ink delivery, and offset crosshairs signal servo motor or vacuum drift on the hard-anodized flatbed.
AndresJet's high-speed UV flatbed printers use industrial-grade RICOH Gen5 or Gen6 piezo drop-on-demand print heads. Understanding these nozzle patterns is essential for production managers:
Nozzle Line Grid Pattern: This diagnostic prints fine vertical lines, one per nozzle channel. On the AJ2130Ultra (24 RICOH Gen5 heads) or AJ2130EX (16 Gen5 heads), you'll see corresponding vertical lines. A missing line indicates that specific nozzle is clogged and not firing. Thin or faint lines suggest partial clogs reducing ink flow. This pattern is your fastest way to isolate which print head requires cleaning.
Color Bar Array (CMYK + White + Varnish): For 8-color configurations like the AJ2130G/R and AJ3220G/R, color bar arrays print solid blocks of each ink. Inspect for:
Grayscale Gradient Pattern: Prints a smooth transition from black to white. Healthy output shows no banding or visible steps. Banding indicates uneven nozzle firing or vacuum pressure variation across the 4-zone system, common when media thickness exceeds recommended ranges or vacuum zones are partially blocked.
Crosshair Alignment Marks: Prints crosshairs at multiple positions across the flatbed. Perfect alignment shows crosshairs meeting at exact centers. Offset or skewed crosshairs reveal servo motor drift, THK linear guide misalignment, or vacuum pressure imbalance affecting bi-directional printing accuracy—critical for high-speed production where even 0.5mm misalignment becomes visible on large panels.
Print dedicated white and varnish test patterns on the AJ2130G/R or AJ3220G/R by selecting the White Ink or Varnish Channel under Maintenance in your RIP. Check for solid coverage, no streaks or gaps, and proper raised effects (up to 0.15mm on the AJ360i cylinder printer). White ink clogs are common; if test shows gaps, run a 5-minute head cleaning cycle and retest before resuming production.
White and varnish inks behave differently than CMYK on UV flatbed systems. White ink is thicker, requiring higher pressure, and varnish is viscous, prone to settling. AndresJet's extended-color models address this with dual negative pressure systems:
White Ink Diagnostics: On the AJ2130G/R and AJ3220G/R, white ink uses four dedicated channels for opacity and coverage on dark or colored substrates. A white test pattern should show:
If white shows gaps or faint areas, the issue is typically:
Varnish Ink Diagnostics: Varnish (protective or glossy finish) must print cleanly to function. A varnish test pattern should display:
Varnish clogs are common because the ink is formulated thick for durability. If your test shows varnish gaps:
Secure 100mm media on the hard-anodized flatbed by activating all four vacuum zones in sequence, confirming pressure gauges read 0.8–1.0 bar per zone. Print an alignment pattern at 720×1200 DPI; crosshairs should meet precisely. If vacuum is uneven, clean flatbed surface, check for media debris blocking vacuum ports, and verify dual 1500W blowers are running at full power before resuming production.
Vacuum alignment is critical for high-speed UV flatbed printers handling thick, rigid media. The AJ2130EX, AJ2130G/R, AJ2130Ultra, and AJ3220EX all feature hard-anodized aluminum flatbeds with 4-zone vacuum systems. Proper vacuum ensures:
Step 1: Inspect Flatbed Surface — Before loading media, visually inspect the hard-anodized aluminum flatbed for dust, dried ink, or debris. Use a soft brush or compressed air to clean all four vacuum zones. Debris blocks vacuum ports, reducing pressure and causing media to shift during printing.
Step 2: Load Media Carefully — Place your rigid substrate (PVC panel, MDF, acrylic) on the flatbed. For 100mm thick media, use the auto-height detection feature (available on AJ2130G/R and AJ2512G/R) to register thickness automatically. Manually position media so it aligns with the origin point marked on the flatbed.
Step 3: Activate Vacuum Zones Sequentially — In RIIN Print or PhotoPrint, select Vacuum Control. Activate zones 1, 2, 3, and 4 in order. Listen for the dual 1500W blowers to engage (you'll hear a distinct hum). Check vacuum pressure gauges on the printer control panel—each zone should read 0.8–1.0 bar. If a zone reads below 0.6 bar, stop, investigate (check for leaks or blockages), and reactivate.
Step 4: Print Alignment Test Pattern — Select Alignment Pattern or Crosshair Test from Maintenance in your RIP. Print at 720×1200 DPI resolution. Observe the print head carriage movement—it should move smoothly without hesitation. The printed pattern should show:
Step 5: Interpret Results — If crosshairs are offset or skewed, vacuum pressure is uneven. Recheck all four zones and ensure media is fully seated. If misalignment persists, the servo motors or THK linear guides may require calibration—contact AndresJet support for advanced diagnostics.
| Vacuum Zone Reading | Status | Action Required |
|---|---|---|
| 0.8–1.0 bar | Optimal | Proceed with printing |
| 0.6–0.8 bar | Acceptable (light media only) | Monitor; clean flatbed ports |
| Below 0.6 bar | Critical | Stop; check for leaks or blockages |
| Zone inactive (0 bar) | Failure | Blower malfunction; contact support |
Print a color bar and grayscale test pattern at your production speed (e.g., 120+ sqm/hr on AJ2130Ultra). Solid CMYK bars with no streaks indicate healthy nozzles. Smooth grayscale gradient with no banding confirms even ink delivery and vacuum pressure. Color shifts or banding suggest partial nozzle clogs or uneven 4-zone vacuum—clean heads and retest before resuming high-speed runs.
Color accuracy is non-negotiable in high-volume production. On the AJ2130Ultra (capable of 120.5 m²/h in high-speed production mode) or AJ3220EX (111.5 m²/h standard), color consistency directly impacts customer satisfaction and repeat business. Here's how to read test results:
Color Bar Interpretation:
Grayscale Gradient Interpretation:
| AndresJet Model | Max Print Speed (sqm/hr) | Print Heads (Type) | Recommended Test Frequency |
|---|---|---|---|
| AJ2130EX | 128.6 (draft) | 16 × RICOH Gen5 | Daily (before high-speed runs) |
| AJ2130Ultra | 140.7 (ultra-draft) | 24 × RICOH Gen5 | Daily (multiple heads; higher risk) |
| AJ2130G/R | 48.3 (draft) | 6 × RICOH Gen6 | 2–3 times per week |
| AJ3220EX | 154.3 (draft) | 16 × RICOH Gen5 | Daily (largest format; highest volume) |
| AJ3220G/R | 35.88 (4-color) | 4 standard (expandable to 8) | 2–3 times per week |
High-speed UV flatbed printers like the AJ2130Ultra (140.7 m²/h) experience clogs due to ink settling, UV curing residue, or rapid nozzle cycling. Common symptoms: missing lines in RICOH Gen5 patterns, color dropout in specific channels, or intermittent streaks. Fixes: run automated head cleaning (2–3 minutes), manually clean nozzle plates if clogs persist after three cycles, or replace cartridges if ink is over 6 months old.
At 120+ sqm/hr, print heads fire thousands of times per minute. This intensity exposes weaknesses in ink delivery and nozzle health. Understanding common failure modes helps production managers minimize downtime:
Ink Settling and Partial Clogs: UV inks, especially white and varnish formulations, settle over time. If a printer sits idle for 24+ hours, heavier pigments accumulate at the cartridge bottom, causing weak ink flow. Symptom: thin or faint lines in color bar test patterns, particularly in white or varnish channels. Fix: shake cartridges gently before reinstalling, run automated head cleaning for 2–3 minutes, and retest. On AndresJet systems, the RIIN Print interface has a Cartridge Shake reminder that alerts operators to agitate inks before high-speed production.
UV Curing Residue in Nozzle Plates: UV ink cures instantly when exposed to LED UV light. If ink mist or overspray reaches the nozzle plate during printing, it hardens and blocks nozzles. Symptom: random missing lines in nozzle grid patterns, appearing in different positions on successive test prints. Fix: stop production immediately. Use the automated head cleaning cycle (PhotoPrint and RIIN Print both offer 1-minute, 3-minute, and 5-minute options). If clogs persist after three cycles, manual cleaning is required: remove the print head cartridge, use a lint-free cloth and isopropyl alcohol to gently wipe the nozzle plate, and reinstall. AndresJet's 2-year comprehensive warranty covers head replacement if manual cleaning fails.
Nozzle Fatigue from Rapid Cycling: At 120+ sqm/hr, print heads cycle continuously without rest. Over weeks of production, individual nozzles weaken, firing inconsistently. Symptom: grayscale test patterns show banding or faint sections; color bars display thin streaks in specific channels. Fix: run extended head cleaning (5-minute cycle) to reset nozzle pressure. If banding persists, reduce print speed to standard mode (92.9 m²/h on AJ2130EX) for 1–2 days to allow heads to stabilize. Contact AndresJet support if fatigue-related clogs continue—replacement print heads are available under the 8-year spare parts guarantee.
Vacuum Pressure Fluctuations: On the AJ2130Ultra and AJ3220EX, uneven vacuum across the 4-zone flatbed causes media to shift slightly during high-speed passes. This misalignment stresses nozzles, leading to partial clogs. Symptom: crosshair alignment test shows skew; color bar pattern has horizontal streaks. Fix: clean all vacuum ports on the hard-anodized flatbed, rebalance vacuum zones to 0.8–1.0 bar per zone, and retest. If vacuum remains uneven, the dual 1500W blower may require service.
Contact AndresJet support if test pages show persistent clogs after three automated head cleaning cycles, misalignment that doesn't resolve after vacuum rebalancing, or color shifts affecting production quality. AndresJet engineers offer phone and remote diagnostics included in the 2-year warranty, plus 8-year spare parts availability. Free training (3 days on AJ360i; available for all models) ensures operators maximize printer uptime and diagnostic accuracy.
While most test page issues resolve with head cleaning or vacuum adjustments, some problems require expert intervention. AndresJet's support team is equipped to handle advanced diagnostics:
When to Escalate:
For the complete decision path, continue with the UV printhead and nozzle care guide.


