

- by John White
UV Printing on Acrylic, Glass, Metal and Wood: A Rigid Materials Guide
- by John White
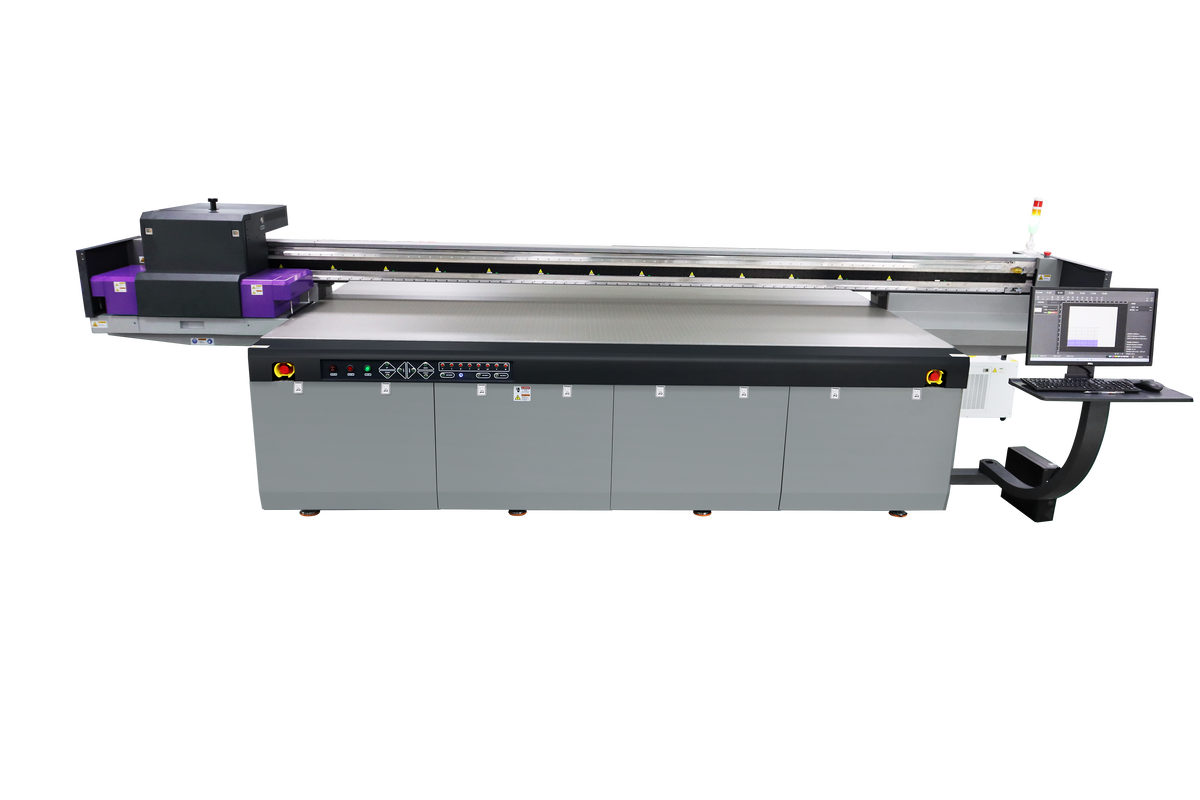
Print bigger, print faster — wide-format UV flatbed printers for signs, decor and industrial work.

Rigid materials are well suited to flatbed handling, but they do not share one preparation recipe. Acrylic carries static and often needs white layers; glass and smooth metals can be difficult to bond; wood varies with grain, moisture and sealing. Qualify the actual sheet or part instead of transferring settings between material families.
Last updated:

This sub-hub belongs to the UV printing materials guide and focuses on rigid panels and objects. It organizes preparation, holding, layer order and acceptance checks around the way each surface fails.
Remove protective film only when the sheet is ready, control static and avoid touching the print area. Clear acrylic usually needs a defined white-under, white-over or sandwich sequence based on which side will be viewed.
Test mirrored and first-surface printing separately because the layer order changes color and protection. Keep the accepted clear sample with the RIP setup so production does not reverse the sequence.
Clean glass with the approved method and confirm whether its coating or prior treatment affects bonding. Primer may be necessary, but it must be tested for appearance and durability rather than assumed.
Evaluate the finished use: decorative glass, handled objects and washable items need different checks. State the test boundary clearly and avoid promising wash or chemical resistance without evidence.
Bare, anodized, painted and powder-coated metals are different printing surfaces. Record the finish and cleaning method, then test the exact production part for wetting, adhesion and abrasion.
Avoid broad claims that UV ink works on metal. The useful statement is that a named finish passed a named test with a recorded primer and print mode.
Open grain can absorb ink unevenly and create soft edges or inconsistent gloss. A sealer can stabilize the surface, but it also changes color and adhesion, so sealed and unsealed samples should be compared.
Control dust before printing and inspect sheet flatness. Warped stock changes the head-to-media distance and can turn an appearance problem into a collision risk.
Foam board, corrugated sheet and coated display board may dent, bow or react to heat. Support the full sheet, reduce handling pressure and test edge behavior before committing to a large run.
Use the production thickness and coating in the sample. A supplier change can alter both print quality and cutting or finishing performance.
Use stops, masks or jigs to locate repeated objects without covering the printable area. The fixture must hold the part against movement and keep its highest point inside the approved clearance.
Mark orientation and origin on the fixture. A repeatable loading method reduces registration errors more reliably than correcting each piece in the file.
Cutting, routing, bending or protective coating can expose weaknesses that were invisible on the bed. Include the real finishing sequence in qualification and inspect edges and handled areas afterward.
Retain one finished reference, not only a flat print sample. That evidence is what the customer will actually receive.
Before uv printing on acrylic, glass, metal and wood: a rigid materials guide becomes a production workflow, request and retain the evidence that defines it: the exact material or ink identity, model and configuration, preparation steps, approved file, print mode, layer order, curing condition, timed sample and the acceptance checks relevant to the finished product. Record assumptions separately from measured results so an estimate cannot quietly become a guarantee.
Run the trial on the most demanding regular job, not a simplified demonstration. Keep one approved finished sample and note where the result stops applying, such as a supplier change, different coating, heavier layer build, outdoor exposure, washing, bending or a new viewing condition. When repeat output changes, compare it with this evidence pack and alter one variable at a time. That discipline protects quality, makes support requests more useful and prevents an isolated attractive print from being mistaken for a repeatable process.
Turn the approved condition into a short operator checklist with named responsibility for preparation, startup checks, file selection, sample approval and shutdown. Add a stop rule for output outside the reference: quarantine the job, preserve the failed sample and record the first failed check rather than continuing production. Review the record after the first full run because handling time, waste and rework often differ from a demonstration. Updating measured values gives the next quotation and schedule a defensible basis while keeping uncertainty visible.
Clear acrylic often needs white ink when opacity or accurate color is required, but the layer order depends on the viewing side and design. Test the finished construction.
It can print on glass, but adhesion varies with coatings, contamination, primer and intended use. Test the exact glass and do not assume washing resistance.
Seal porous or strongly grained wood when testing shows that absorption harms edge quality or color. Compare sealed and unsealed samples because sealing also changes appearance and adhesion.
Bare, anodized, painted and powder-coated surfaces can behave differently even when the base metal is identical. The finish is part of the material specification.
It should control position, orientation and height without blocking the printable area or creating head-contact risk. Follow the printer manual for clearance.
Return to the materials hub for the full qualification workflow, or compare plastics and packaging when the job is flexible or molded.
 RIP Software, ICC Profiles and UV Print Quality Control: A Production Guide
Guides
RIP Software, ICC Profiles and UV Print Quality Control: A Production Guide
Guides
 White Ink, Varnish and UV Curing: A Practical Layer Workflow
Guides
White Ink, Varnish and UV Curing: A Practical Layer Workflow
Guides
 UV Ink and Color Management: The Complete Guide to Stable Print Production
Guides
UV Ink and Color Management: The Complete Guide to Stable Print Production
Guides
 UV Printing on Plastics and Packaging: Preparation, Adhesion and Production
Guides
UV Printing on Plastics and Packaging: Preparation, Adhesion and Production
Guides