


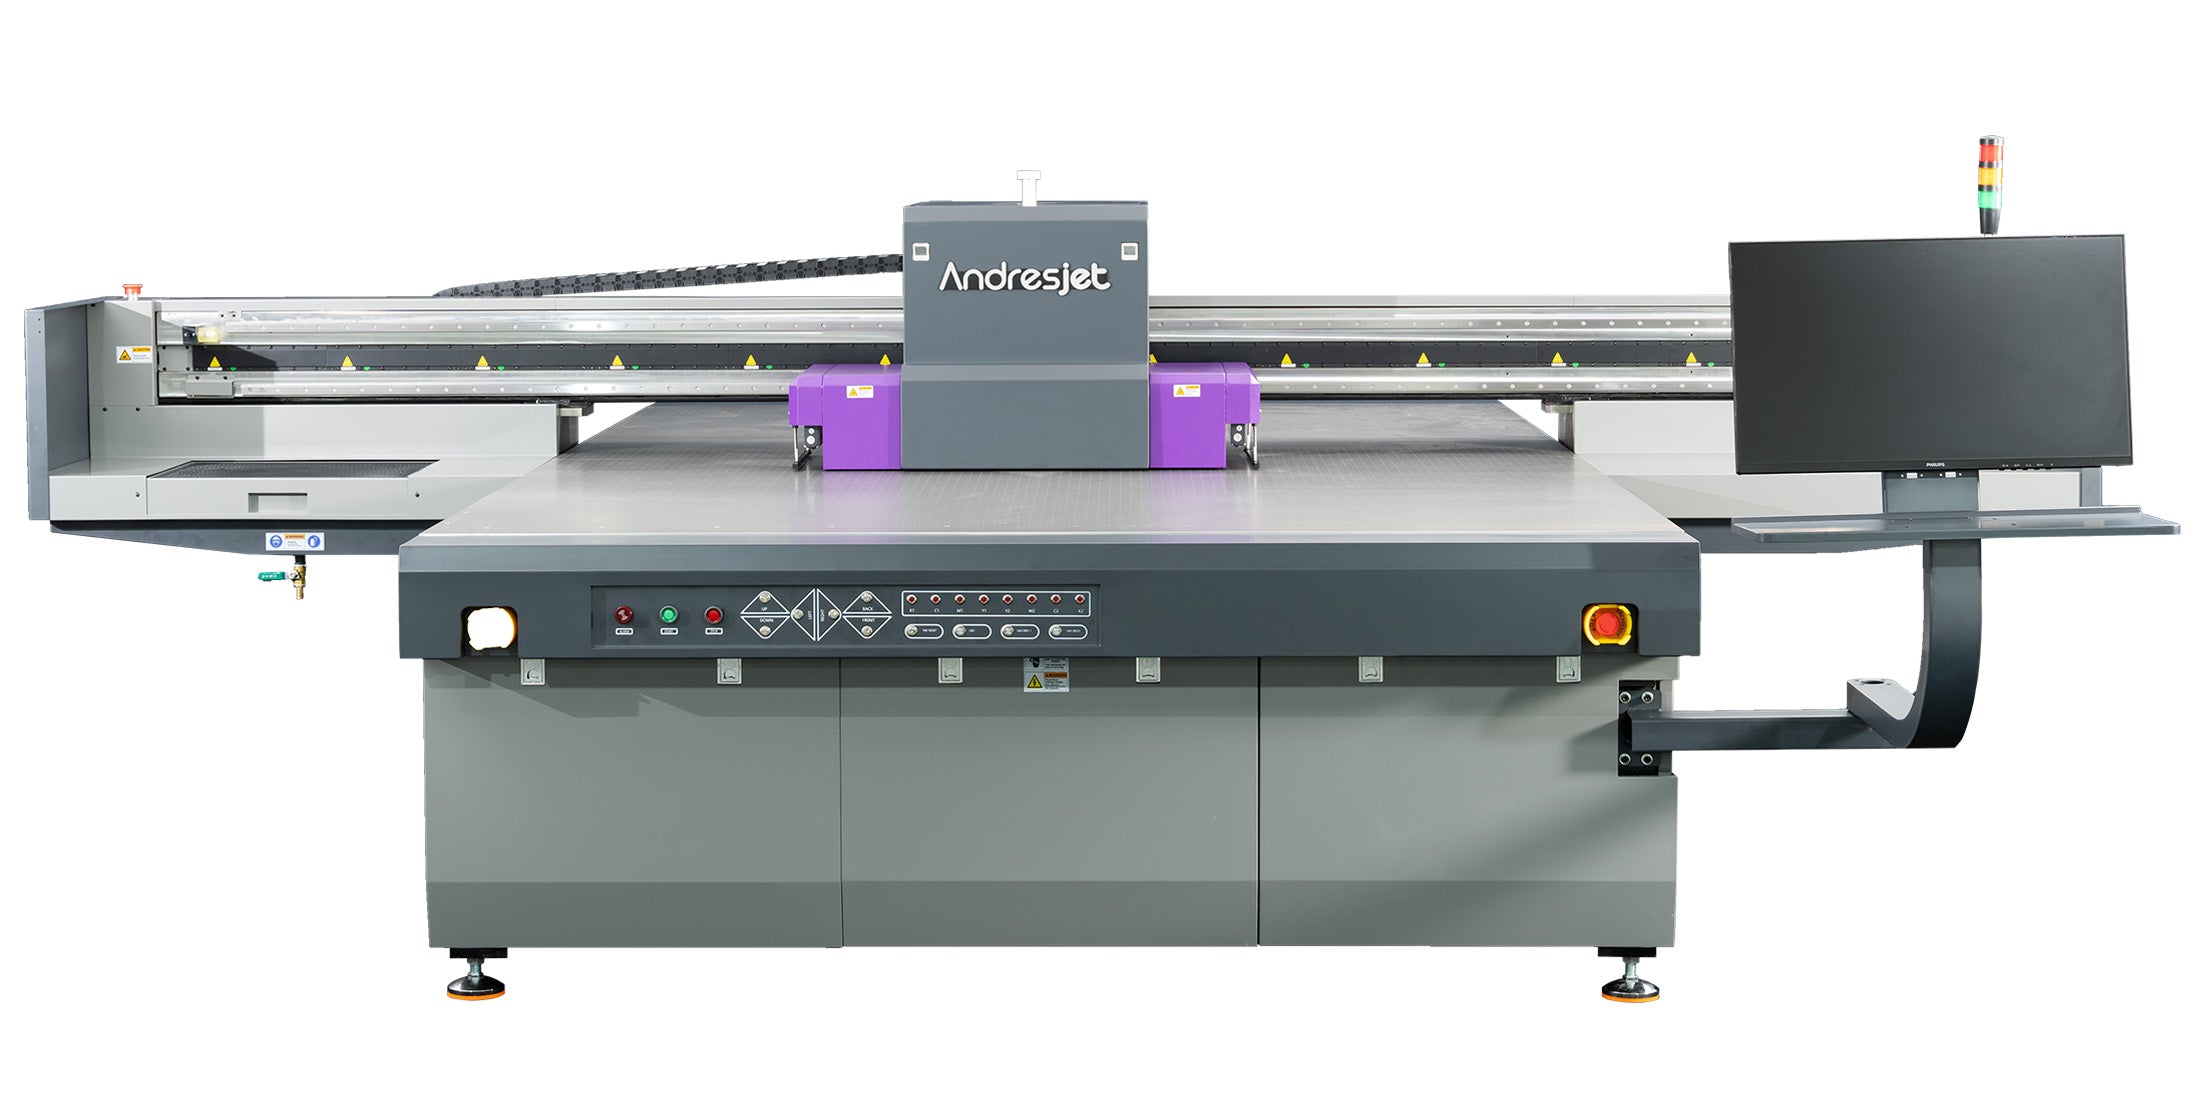


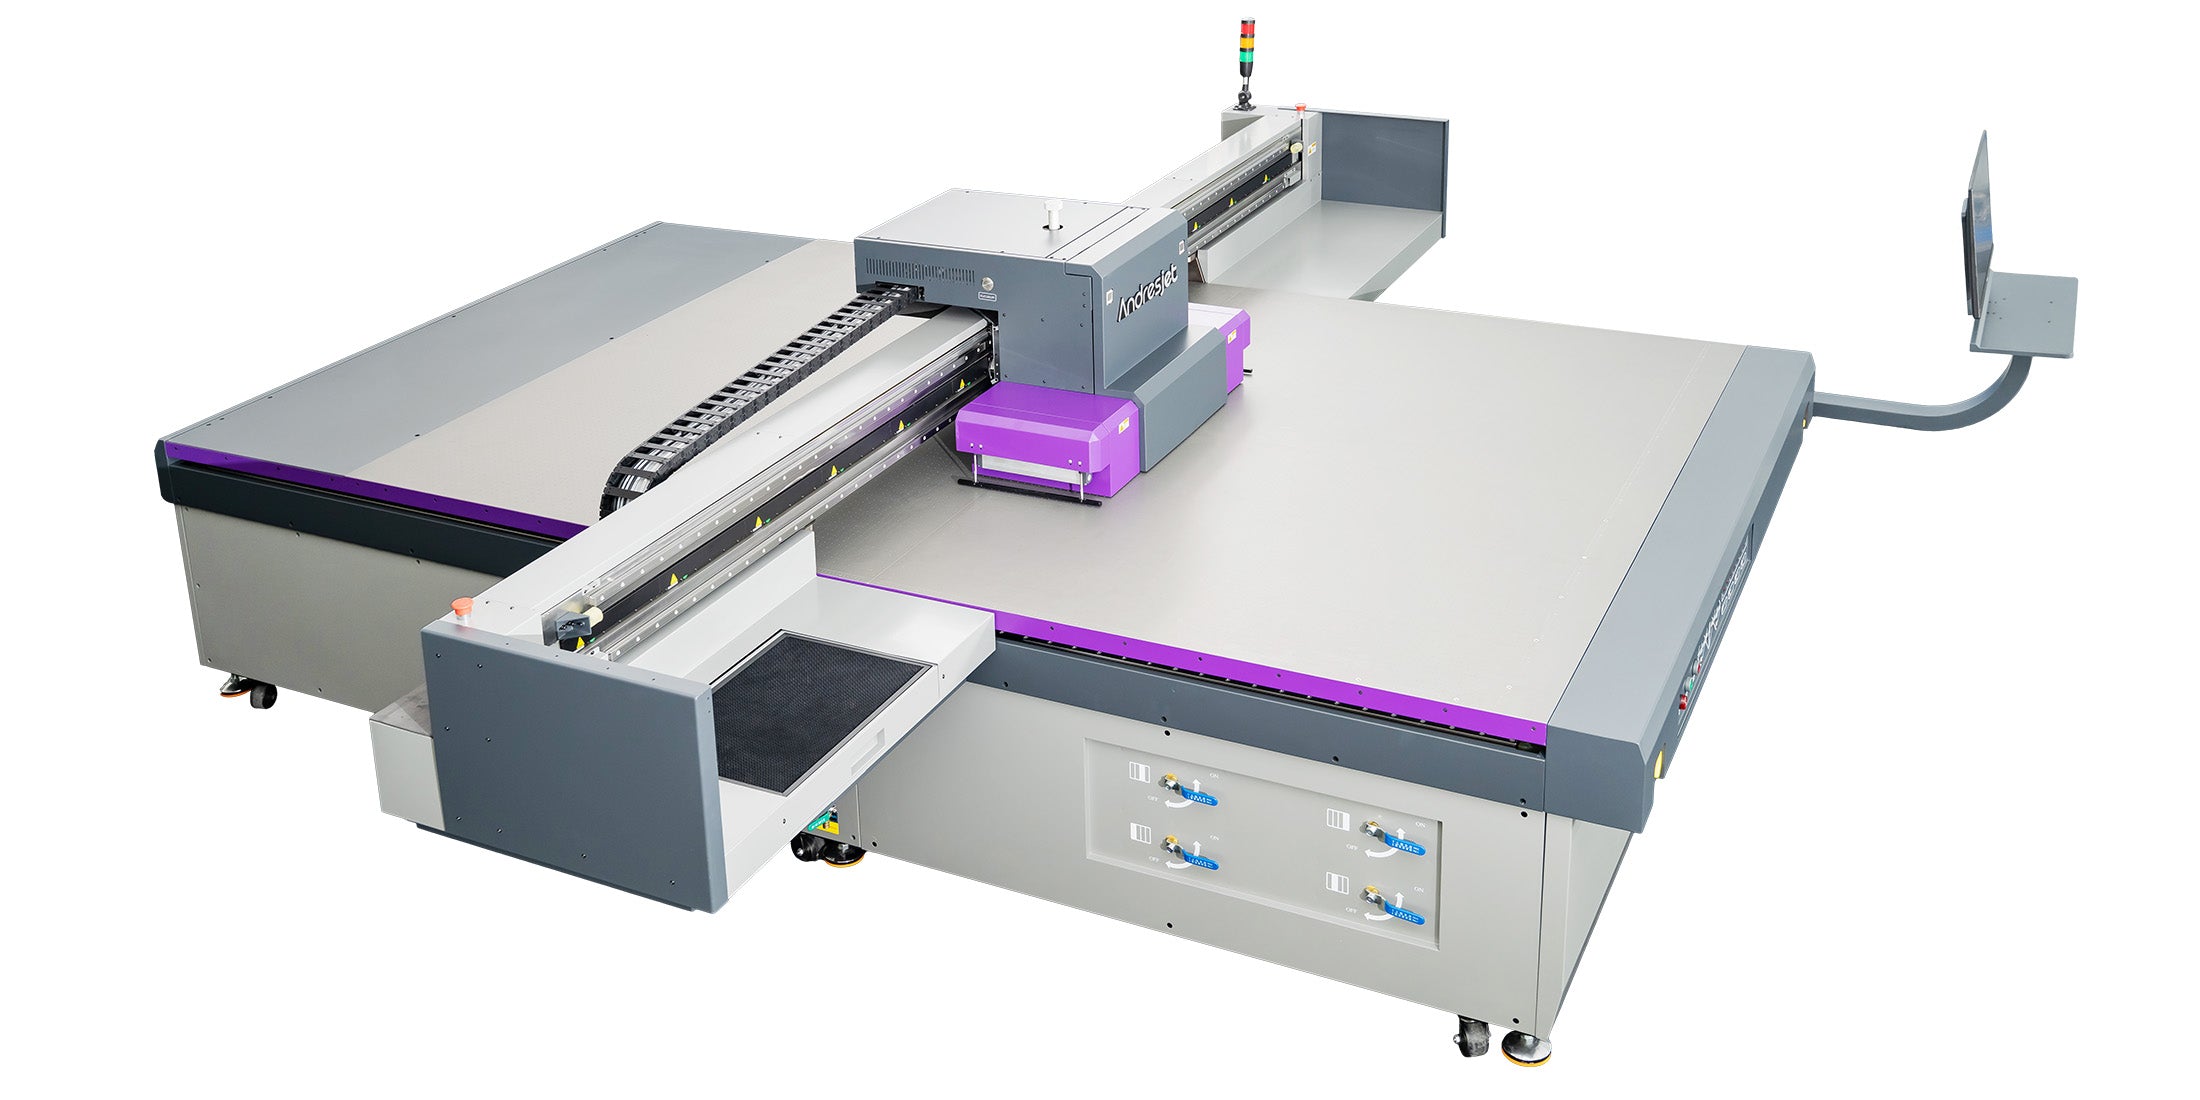


PET felt wall panels
Produce controlled patterns on qualified flat felt panels after confirming fiber surface, dust, flatness, ink coverage, handling and the required acoustic verification.
Review the AJ2130G/R

PET felt, textile-faced, perforated and slotted acoustic panels differ in fiber, pore structure, facing, coating, thickness and rigidity. Test the exact production face for color, surface appearance, adhesion and handling. Keep perforations, slots and other designed sound paths clear unless the approved construction specifies otherwise.
Print coverage and added ink layers can change airflow or the effective open area. Approve the fully assembled and installed panel—not only a small visual coupon—and use the panel supplier or a qualified acoustic test whenever a performance rating must be maintained.
Functional interior panel printing
Direct UV printing can add graphics to compatible PET felt and selected flat acoustic-panel faces, but appearance is not the only acceptance criterion. Fiber, facing, porosity, perforations, ink coverage, assembly, air gap and installation can influence acoustic behavior. Qualify the material, printed face and completed panel as one system.
Produce controlled patterns on qualified flat felt panels after confirming fiber surface, dust, flatness, ink coverage, handling and the required acoustic verification.
Review the AJ2130G/RPlan panel-to-panel artwork, orientation, margins, seams and installation order on a larger bed while keeping functional openings and edges under control.
Review the AJ3220G/REvaluate a production platform only after the approved panel construction, coverage, loading, inspection and downstream assembly have been timed together.
Review the AJ2130UltraUse artwork masks and a verified panel map so ink does not unintentionally bridge openings or obstruct a designed sound path.
Review the acoustic panel overviewRecord PET felt, textile face, perforated or slotted rigid face, backing, core, coating, supplier, product code, batch and certified properties.
Map pores, slots and perforations. Control coverage and added layers so the printed sample represents the intended functional surface.
Confirm flatness, fiber or edge condition, hold-down, height, origin and safe carriage clearance without compressing or deforming a soft panel.
Inspect appearance and handling, then confirm any required acoustic, fire, emissions or durability rating through the responsible supplier or test method.
Three current panel platforms
Start with the largest flat printable face, then define material construction, surface openness, coverage, loading, ink layers, inspection, assembly and acoustic acceptance. Published machine dimensions do not prove that a specific acoustic panel is printable or that a certified rating will remain unchanged.
Configurable 2100 × 3000 mm platform
Large 3200 × 2000 mm platform
High-output 2100 × 3000 mm platform
Finished output changes with panel preparation, dimensions, nested layout, artwork coverage, resolution, pass count, ink layers, loading, inspection, assembly and testing. Time an approved pilot before setting panels-per-shift targets.
For a useful recommendation
The best recommendation starts with the complete panel system and its acceptance criteria—not simply a photograph, material nickname or maximum bed size.
Fiber or rigid face, core, backing, coating, supplier, product code, batch, thickness, porosity, perforations, weight and certified properties.
Printable face, individual dimensions, flatness, edges, pieces per bed, orientation, safe height, hold-down and handling method.
Production file, color reference, smallest detail, total coverage, openings to protect, required white layers and acceptable surface feel.
Cutting, framing, backing, air gap, mounting, installation, cleaning, quantity and the visual, acoustic, fire, emissions or durability tests required.
Final compatibility and functional performance should be confirmed with the production panel and completed assembly.
No. PET felt, textile-faced panels, perforated wood or MDF faces, coatings, cores and backing systems differ. Loose fibers, uneven surfaces, dust, flexibility, thickness, flatness and heat or ink sensitivity can affect safety and output. Test the exact panel construction before production.
It should not be assumed. Coverage, ink film, white layers, filled pores, blocked perforations, backing, air gap and installation can affect acoustic behavior. If an NRC, absorption coefficient or other rating must be maintained, verify the completed printed assembly with the panel supplier or an appropriate qualified test.
It may be technically possible on some constructions, but unintentionally bridging or filling openings can change appearance and functional open area. Use an accurate hole or slot map, mask protected regions in the artwork, inspect every opening and retest the completed panel when performance is specified.
Not automatically. A controlled white underbase can change opacity and color appearance, but it also adds coverage and ink film. Compare color-only and white-layer samples on the actual felt, then assess surface feel, fiber appearance, adhesion and any required acoustic performance.
Only when the panel fits the printer's published size, height and weight limits, remains stable and can be held without unsafe compression or raised edges. Verify the complete panel, backing, fixtures, origin, carriage clearance and loading method before printing.
Test the complete panel
Share representative material, panel construction, dimensions, artwork, coverage, assembly and required performance. AndresJet can review the print application, identify a suitable current platform and arrange visual and surface sample testing.
Functional panel production guide
A useful pilot controls panel identity, surface openness, coverage, handling and assembly, then separates visual print approval from any required acoustic or regulatory verification.
Places digital artwork directly on a qualified flat panel face. It avoids a separately applied graphic layer, but coverage, adhesion and functional performance still require evaluation.
Prints a separate fabric that is later tensioned or wrapped over an acoustic core. Fabric, ink system, tension, frame and assembly follow a different qualification route.
Adds a continuous decorative layer. It may change airflow or cover openings, so it should not replace a tested construction unless the panel system is designed and verified for it.
Identify the construction. Record face, fiber or rigid material, core, backing, coating, supplier, product code, batch and stated certifications.
Map the functional surface. Locate pores, perforations, slots, edges, mounting zones and regions that must remain free of ink or fixtures.
Inspect and load safely. Check dust, loose fibers, flatness, thickness, weight, hold-down, origin, height and carriage clearance.
Print controlled coverage tests. Compare representative color, detail, coverage and any white layer while keeping settings and sample locations traceable.
Complete the assembly. Cut, frame, back, mount and install the sample using the intended air gap, hardware and orientation.
Separate approvals. Record visual and handling results, then complete any required acoustic, fire, emissions or durability verification with the responsible party.
A graphic can look acceptable while changing surface airflow, open area or how a facing interacts with the core. Acoustic behavior also depends on panel thickness, backing, air cavity, frame, mounting and frequency range. A print sample therefore answers visual and surface questions; it does not automatically preserve a published acoustic rating.
When performance matters, approve the same printed and assembled construction that will be supplied to the project.
Compare partial and heavier coverage on the real felt. Record fiber appearance, surface feel, color, adhesion and any change that requires acoustic verification.
Build a reliable opening map into the production artwork. Keep critical openings clear and inspect for bridging, overspray or blocked holes.
Add layers only when they serve the approved appearance. More ink film can affect coverage, texture, flexibility, production time and the functional test plan.
Headline printer speed is only one part of finished-panel capacity. A realistic pilot includes:
Time the approved process before committing to panels per shift or project turnaround.
Representative face and complete panel, supplier code, fiber or rigid construction, core, backing, coating, batch and stated certifications.
Production file, panel map, protected openings, final size, color reference, viewing distance, coverage and white-layer expectations.
Cutting, framing, backing, air gap, mounting, orientation, hardware, cleaning, handling, packing and installation method.
Quantity, versions, turnaround, visual criteria and the acoustic, fire, emissions or durability requirements that remain to be verified.